

Page 1
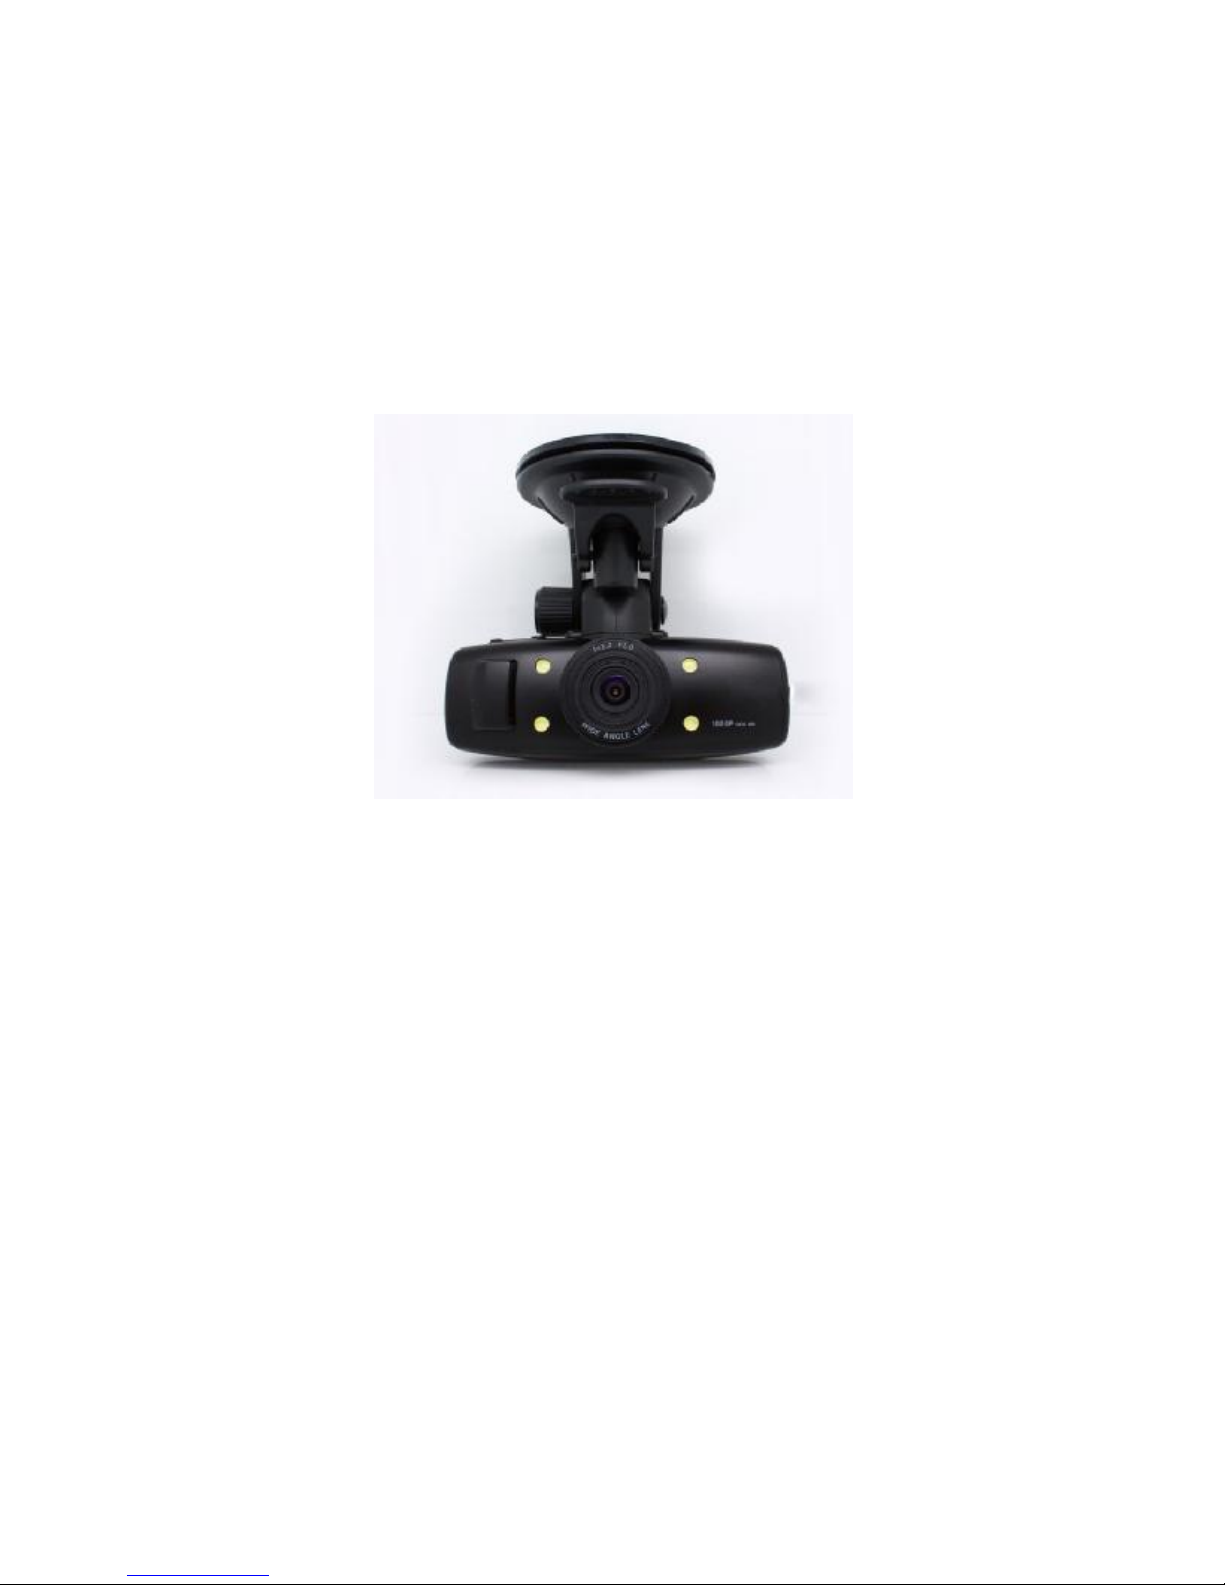
VSFHD1080 USER MANUAL
Preface
Thank you for purchasing this HD CAR DVR whose appearance is mini and exquisite. This manual will
descript in detail how to use this product and at the same time provide you detailed product information,
including operation, installation, and technical specifications, etc., please read and understand this
manual fully before using, also keep this manual we hope that our product can meet your needs and
provide you a long service.
Introduction
This product is a super small high definition digital video camera aimed at the market demand,and it
has the functions of leading the high-definition digital audio recording, video recording, photographing,
high-speed USB data transmission, USB charging .
It is widely use and convenient to record anytime as well as anywhere.
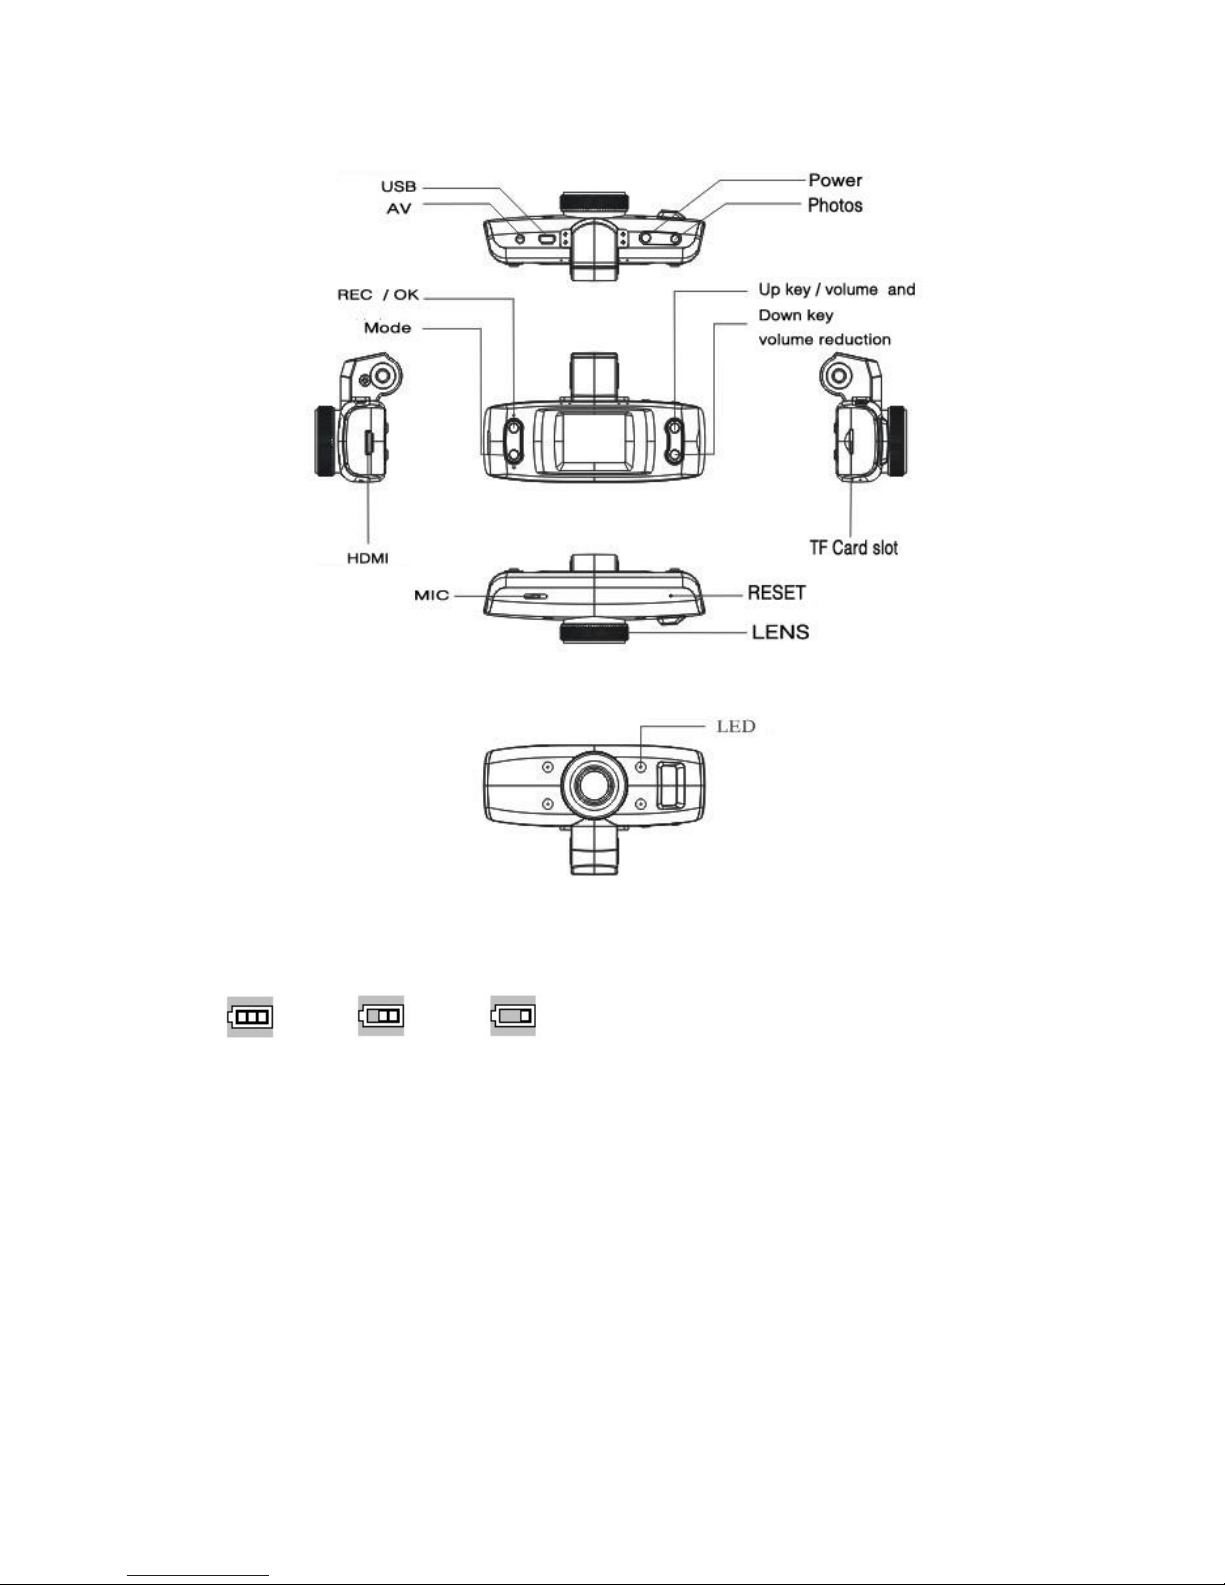
Picture introduction of product function
Page 2
Installation and use
Battery capacity indicator, please refer to diagram
Full slightly low low
Battery charging
1, Directly connect car charger to USB interface to charge, can charge in shutdown state in this way
also.
2,) USB charge, connect this product to computer via Use USB data line to charge, can charge in
shutdown state in this way also.
SD card’s installation and removal
1, In accordance with the indicated direction, insert TF card to slot until the TF card is fixed.
2, Gently press TF card, can remove after it pops up
Note
1, Please note the direction of inserting TF card, machine and TF card maybe damaged due to reverse
insertion.
2, When you insert TF card into machine, the machine will set it as the default storage device, the
Page 3

original information in the TF card information may not be able to be read.
3, If the TF card is incompatible with the machine, please re-plug it or change one and retry.
4,Please use high speed TF card
User Guide
Turn on and off video camera
1. Press the power button for one second to boot
2,Press the power button for 3 seconds to shut down
How to enter system setup options...
Press MODE key twice to enter "system settings" option, at this time task "system settings" is gray
I. Video recording Settings
1, mage quality:1920*1080@30fps,1440*1080@30fps,1280*720@30fps,848*480@60fps
2, EV value
3, Audio: on/off
4, White balance: Off/automatic
5, Contrast settings
6, Sharpness:High / soft / standard
7, Special effect:Standard / bright / black &white / negative / nostalgia / Art
8, Circular camera:128M/256M/512M/cancel
9, Delay shutdown: cancel / yes
10, LED:on/ automatic on / off
11, Mobile detection : on/off
12, MD SENS:1/2/3/4/5/6/7/8
II,System settings
1, Language: Chinese Simplified / traditional Chinese / English / Korean / English / Italian / Japanese
2, Volume:1/2/3/4/5/6/7
3, Date setting:2012.08.09
4, Time setting:12:00
5, TV output:NTSC/PAL
6, Format:cancel/yes
7, restore default setting:cancel/yes
8, automatic shutdown:1 minute/3 minutes/5minutes/off
9, Frequency:50HZ/60HZ
10, Time stamp:Date/time
11, Screen setting:On/1 minute/3 minutes
12, Acceleration sensor:1/2/3/4/5/6/7
13, GPS: Yes/No
14, Version:V2.0.4G|HB
1, How to record video and set options
Page 4
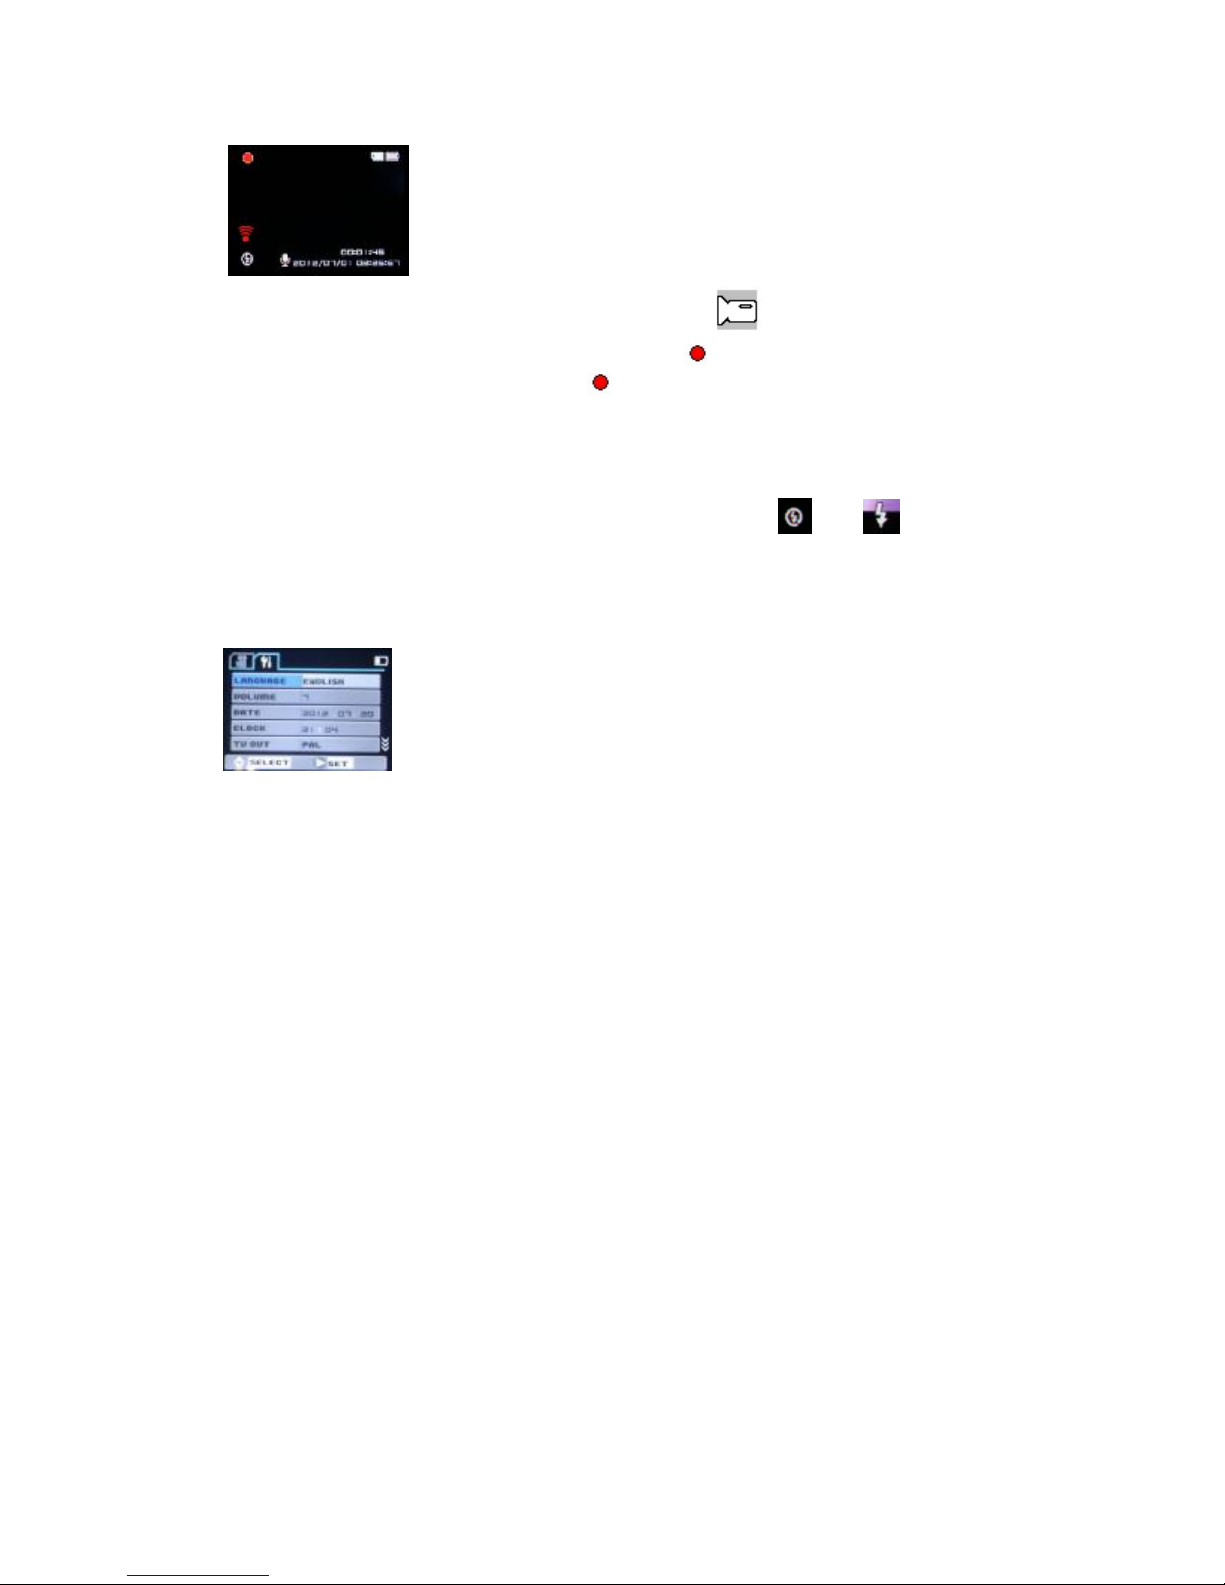
Machine enters into video recording mode, when there is a ”on the upper left corner of the
screen, press REC /OK to start recording,there is a flashing“ ” on the upper left corner of the screen.
Press REC /OK again to stop, at the same time “ ”disappears。
2, Selection of night light:
In the standby mode, short press to open switch key can switch between “ ” and“ ”,Night mode
is to turn on fill light.
III,DVR Settings
Press button MODE twice, enter into the setting options
Resolution:1920*1080@30fps,1440*1080@30fps,1280*720@30fps,848*480@60fps
Circulating video:128M/256M/512M/取消
Mobile detection:On/Off
Video audio:On/Off
Date label:On/Off
Photographing
Press button Power ON/OFF, DVR goes into standby mode, and aims at the camera body, now you can
press the up and down keys to adjust digital zoom, at this time hold the DVR and make sure it is not
moving. Press photographing key to take a picture, DVR issues " Kacha " sound, finish photographing.
Tip:
1, In the state of recording, playback, menu, can press MODE to switch between them.
Playback mode
Page 5
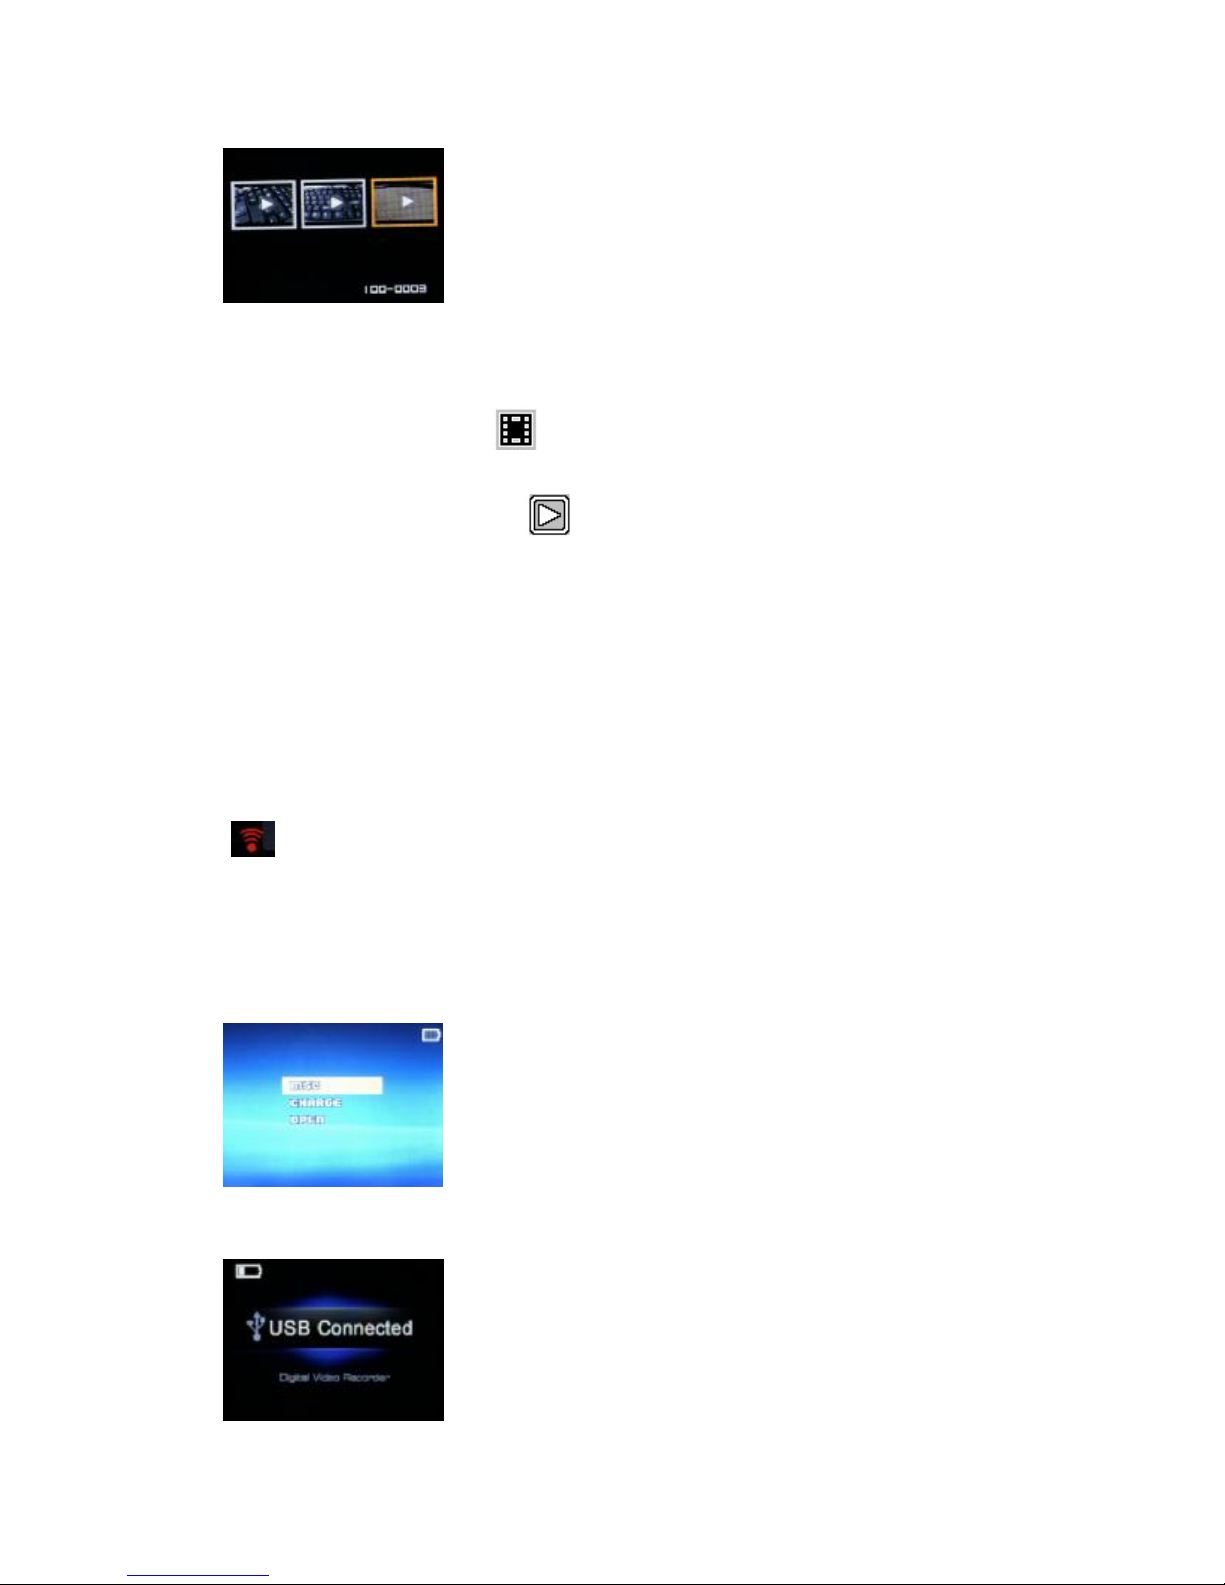
1,When DVR enters into recording mode, at this time press MODE twice, can go to the state of browsing
6 pictures 2. Press UP/DOWN to view pictures and videos. No press OK to enter into single mode, also
can edit these files. When there is “ ” on the up left corner,which means video. Press OK to play
and pause video, and at the same time press UP/DOWN to control volume as well long press UP/DOWN
for fast forwarding/back during playing. “ ”on the screen means picture files。
2, deleting
In playback mode, if press button photograph, option Delete and Format appear, move to the items
you want and press OK to “delete” or “delete all", and press OK again to confirm.
Mode of recording video while charging
Connect charger to the USB interface of machine, can enter into the mode of recording video while
charging after booting
Signal GPS search
“ ” is GPS signal indicator icon, it will change to " green " when normal searched to GPS signals,
that means signal GPS has been searched.
Data backup
USB mode backup
Connect DVR to computer via USB cable, at this time machine will boot automatically and show below
icon
Select “Memory” and press OK to confirm, click “My Computer, there is a removable disk, can find related
files under removable disk /DCIM
Page 6
Remark:
1,Operating system:Windows 2000/XP/Vista/Windows 7,MAC OSX 10.3.6以上。
2,Select storage media to transfer file
3, Select charge, can charge DVR
4, Select boot,can normally boot DVR
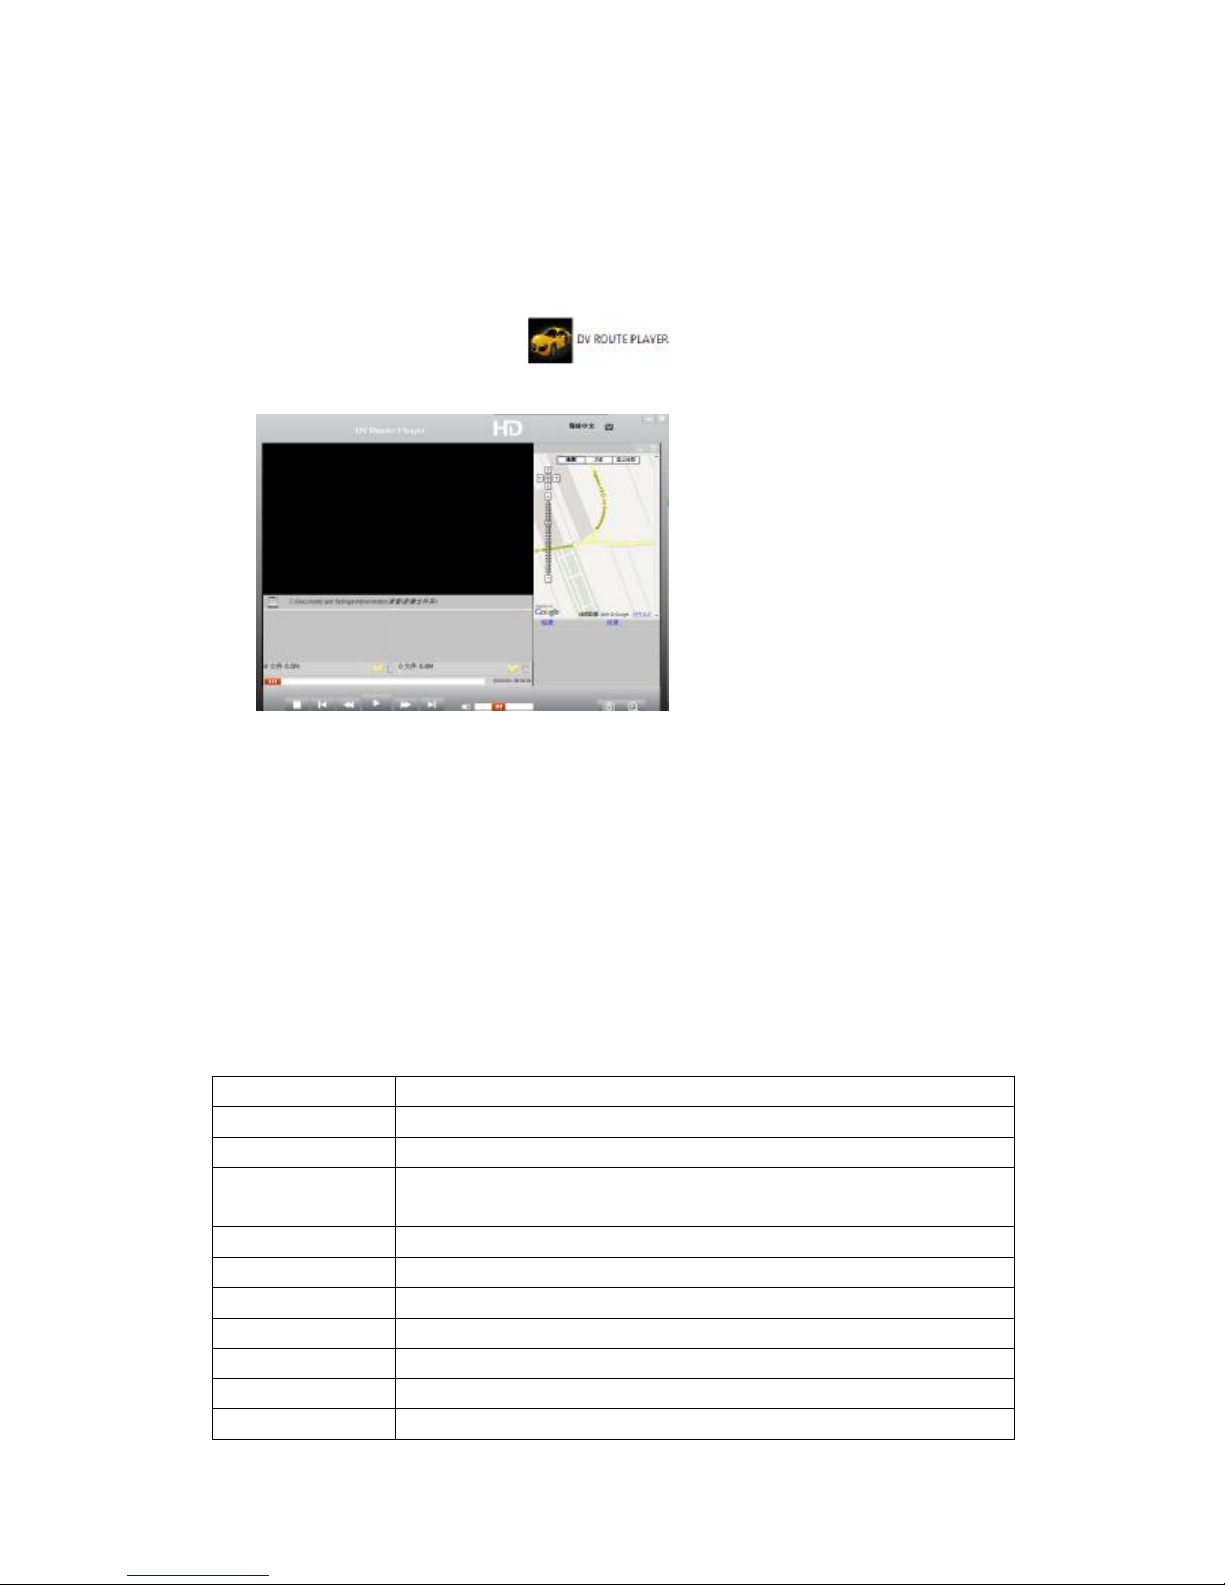
Play video: use the player in CD to play
Connect to television to play
1, Use HDMI line to connect high-quality television to play
2, Use TV line to connect TV to record video, photograph, brow picture and files
Tip: Can use removable disk in DV’s starting state without installing drivers.
Remark: If this product is Down, which is caused by improper operation, you can use small hard objects
to tap Reset button, then it will work again.
Technical specifications
LCD screen size 1.5” 4:3 TFT LCD
SENSOR 5MP OV5653
Camera lens 130 degrees A+ high level resolution and ultra wide angle lens
Optional language Chinese Simplified / traditional Chinese / English / Korean / English / Italian /
Japanese
Video 1920*1080@30fps,1440*1080@30fps,1280*720@30fps,848*480@60fps
Video format AVI
Picture format JPG
TF Memory card TF
Microphone/ speaker Built-in
Photographing mode Single shot
Light frequency 50Hz/60Hz
Page 7

TV output NTSC/PAL
USB interface USB2.0
Power interface 5V 500MA
Battery Built-in
System requirements Windows 2000/XP/Vista/Windows 7,MAC OSX 10.3.6 above
Note:The product design is reserved and its specification may change without notice.
 Loading...