

Video Systems Clock/Radio DVR User Manual
Covert Video Systems
Clock/Radio
Digital Video Recorder
User’s Manual
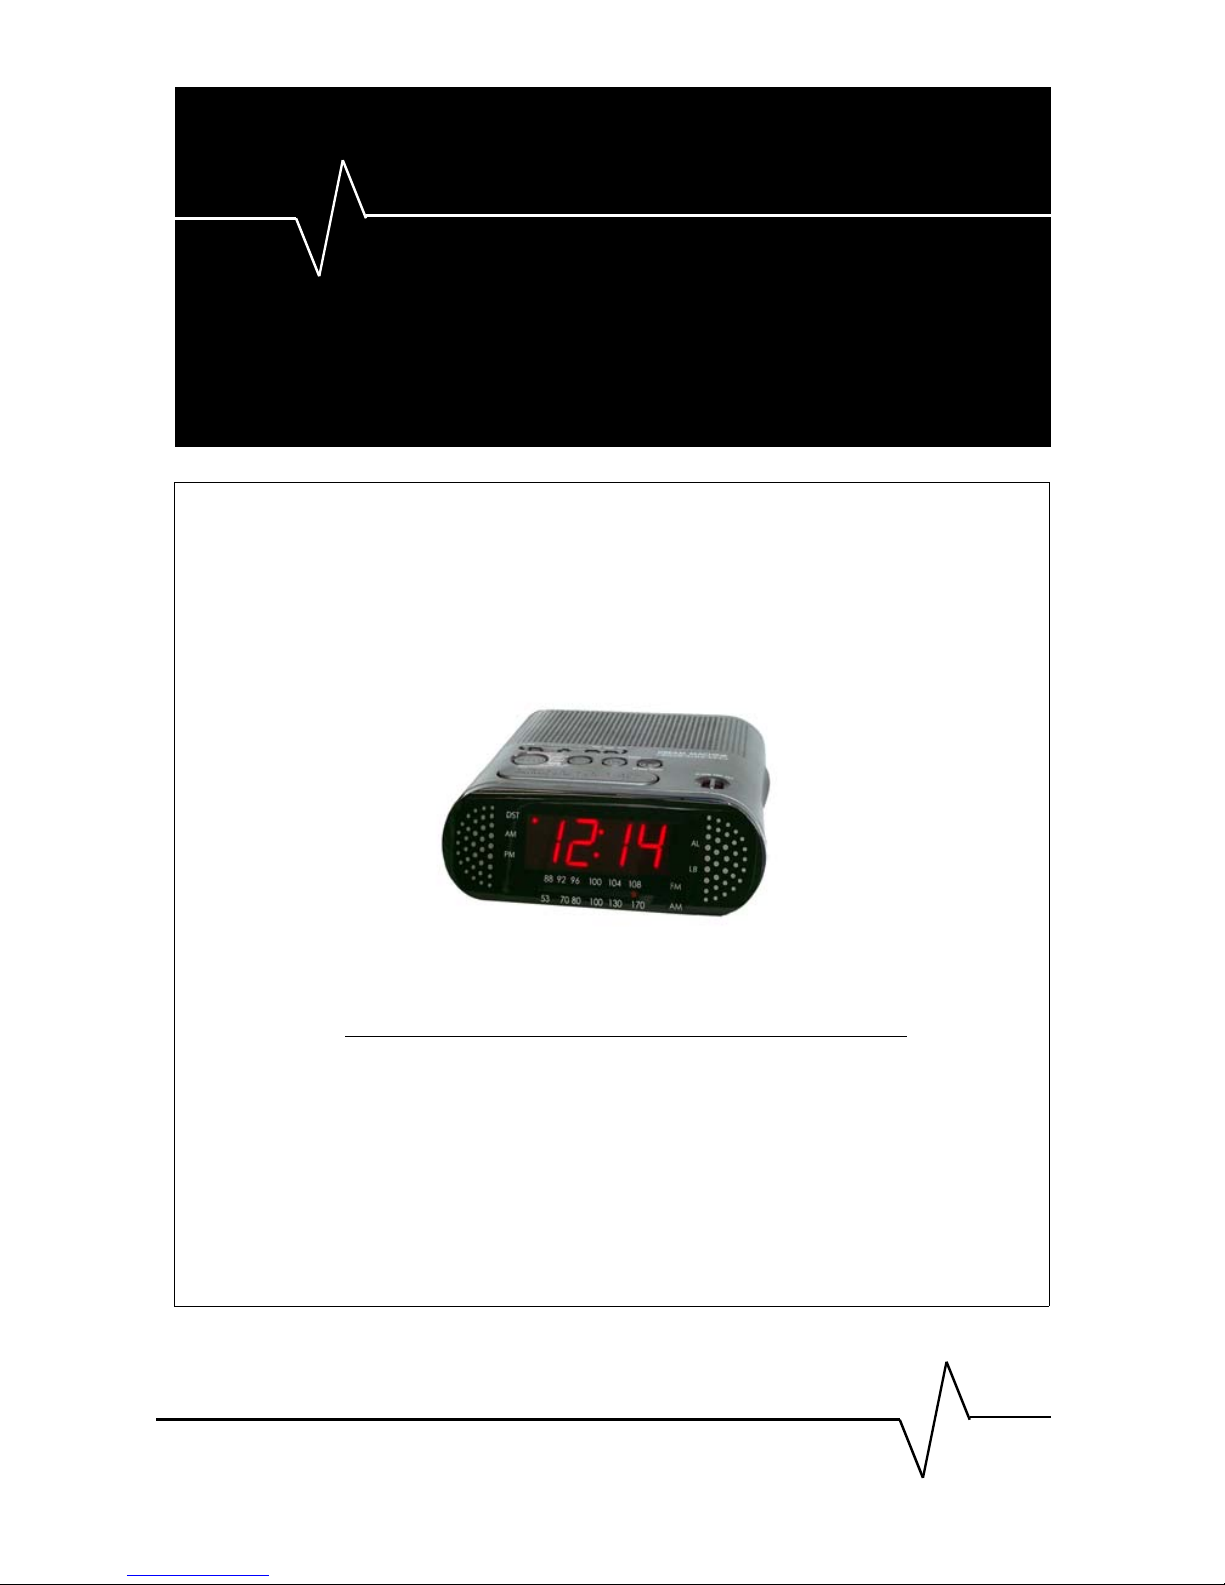
Clock/Radio
Digital Video Recorder
“See what you’ve been missing!!”

2
The Clock/Radio DVR is a Digital Security System designed to record/retrieve
up to 1 channel of video at the same time. It adopts a digital image compression technology to compress the input channel video streams, and uses a SD
Memory to record the compressed video stream.
The Clock/Radio DVR is manufactured to satisfy international safety standards. Review the following safety precautions to avoid injury and prevent
damage to the system or any products connected to it.
Some things to remember before use:
• Use a proper power source. Do not operate this product from a power
source that applies more than the specified voltage (AC120V).
• Do not operate in wet and dusty conditions. Keep product surfaces
clean and dry. Avoid placing the Clock/Radio DVR in areas like a damp
basement or a dusty hallway.
• Do not expose this product to rain or use near water. If the product gets
wet, unplug it and contact an authorized dealer immediately.
• Do not operate with suspected failures. If there are any unusual sounds
or smells are coming from the Clock/Radio DVR, unplug it immediately
and contact an authorized dealer or service center.
• Handle the Clock/Radio DVR carefully to avoid damaging the product. If
you accidentally drop the system on any surface, it may cause a malfunction. If the Clock/Radio DVR doesn’t work properly due to physical
damage, contact an authorized dealer for repair.
INTRODUCTION
APPENDIX
TABLE OF CONTENTS
Overview
4
Remote Controller Panel
5
Setup Procedures
6
SD Memory Installation and Connection to a Monitor
7
OSD Menu and Main Menu
8
Record Mode and Video Quality
9
Event Mode
10
Alarm Setup and Motion Setup
11
Schedule Setup and Search
12
Sub Menu
13
Password Change and Time Set
14
Brightness and Video
15
Memory Sync and Reset Default Settings
16
Troubleshooting
17
Appendix
19
Warranty information
20
4
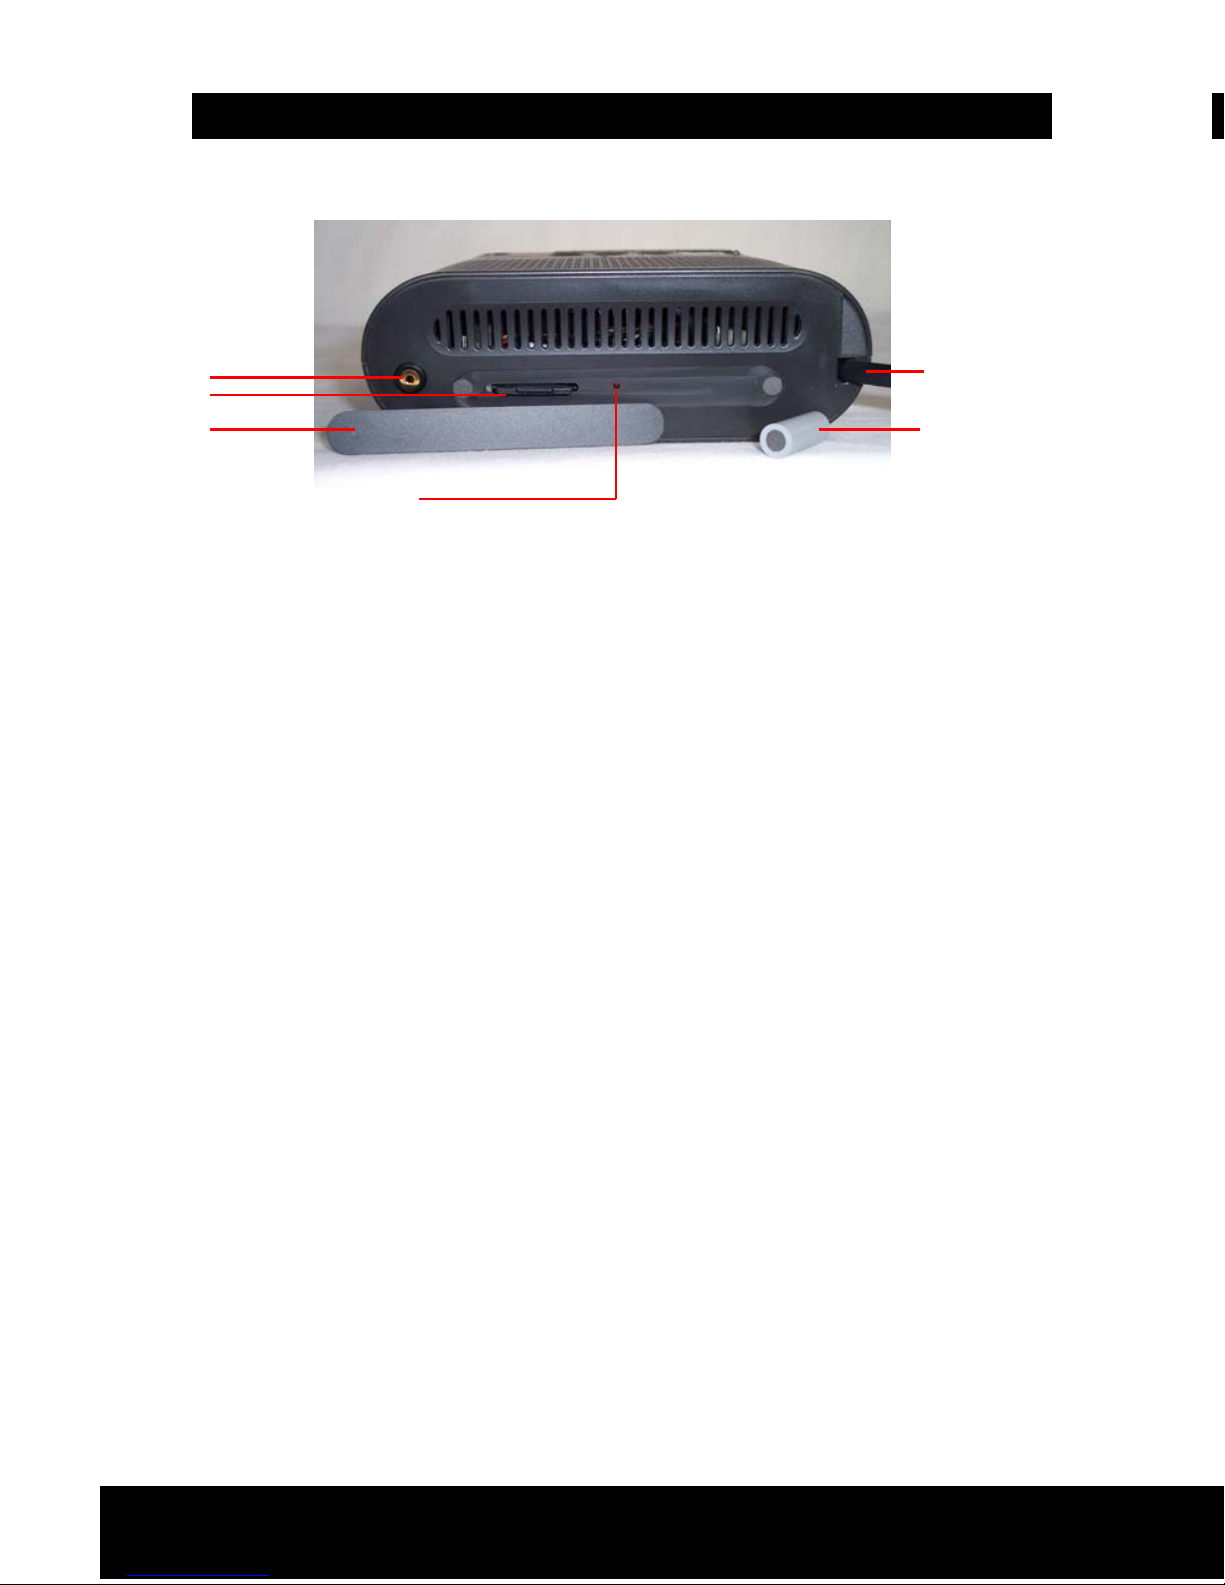
This chapter briefly describes the functions of the Clock/Radio DVR. These features can also be
activated by using the remote control. For more details on the set-up and operation of the system, refer
to the Clock/ R a di o DV R M E NU se ction.
1. VIDEO OUT
Connect the Clock/Radio DVR to a TV or monitor using a BNC cable. If you connect one of the
VIDEO OUT ports to the VCR, you can backup data with the VCR.
2. AC 120 Volt
This is used to connect AC adapter jack for DC power. Connect the power adapter to the Clock/
Radio DVR. Use only the AC adapter that comes with the unit. The Clock/Radio DVR contains a
power supply that is enclosed in the unit.
3. SD MEMORY SLOT
The SD Memory slot holds the standard SD Memory card.
4. Cover
This cover hides the SD Card and record LED.
5. RECORD LED
This light indicates the system is recording. The record LED illuminates in red while the system
is recording.
6. Cover Removal Tool.
Use this tool to remove the SD cover.
7. RECORD Button
Press the RECORD button to record. Located on the bottom of the radio.
4
OVERVIEW
2 1
Rear View of Clock/Radio
3
6
5
TROUBLESHOOTING
TROUBLESHOOTING
1. I pushed the menu button but it doesn’t show the menu directory.
When the unit is in record mode no button on the front panel will work. The red light
below the REC button is on when the system is recording. To end recording, press
the STOP button.
2. I see an SD error message on the screen.
If you see the error messages such as “SD Memory Check Fail”, “SD BUSY Error”,
“SD initial is Error”, pull out and put in the hard disk drive or replace the SD mem-
ory. Also make sure that SD rack is firmly locked.
3. I push the record button but nothing records.
Make sure that there are no slash ( -- ) signs on the Record Schedule Menu. If you
see any slash ( -- ) signs, change it to the “T” sign using the select button. Or
change it to the “S” sign if there are any sensors installed on the system and you
prefer motion sensor recording.
4. Can I record everything 24 hours 7 days a week without stopping?
Yes. In the Record Schedule Menu, select “T” for all time periods.
5. Can I prevent other people from stopping the recording while I am gone?
Would creating a password do it?
The only way to prevent this is to place the device in a room where nobody else can
enter.
6. Can I still record all the events while I review the previous recording?
No. The system doesn’t support recording during playback.
7. How long is the warranty period?
One year after the date of purchase. We will gladly offer replacement for all defec-
tive units.
8. What is the correct format for using a SD Memory?
You may not need to change the format / FAT32 after you purchase SD Memory
and install it into the device. Check the documentation that came with your SD
Memory.
5
REMOTE CONTROL
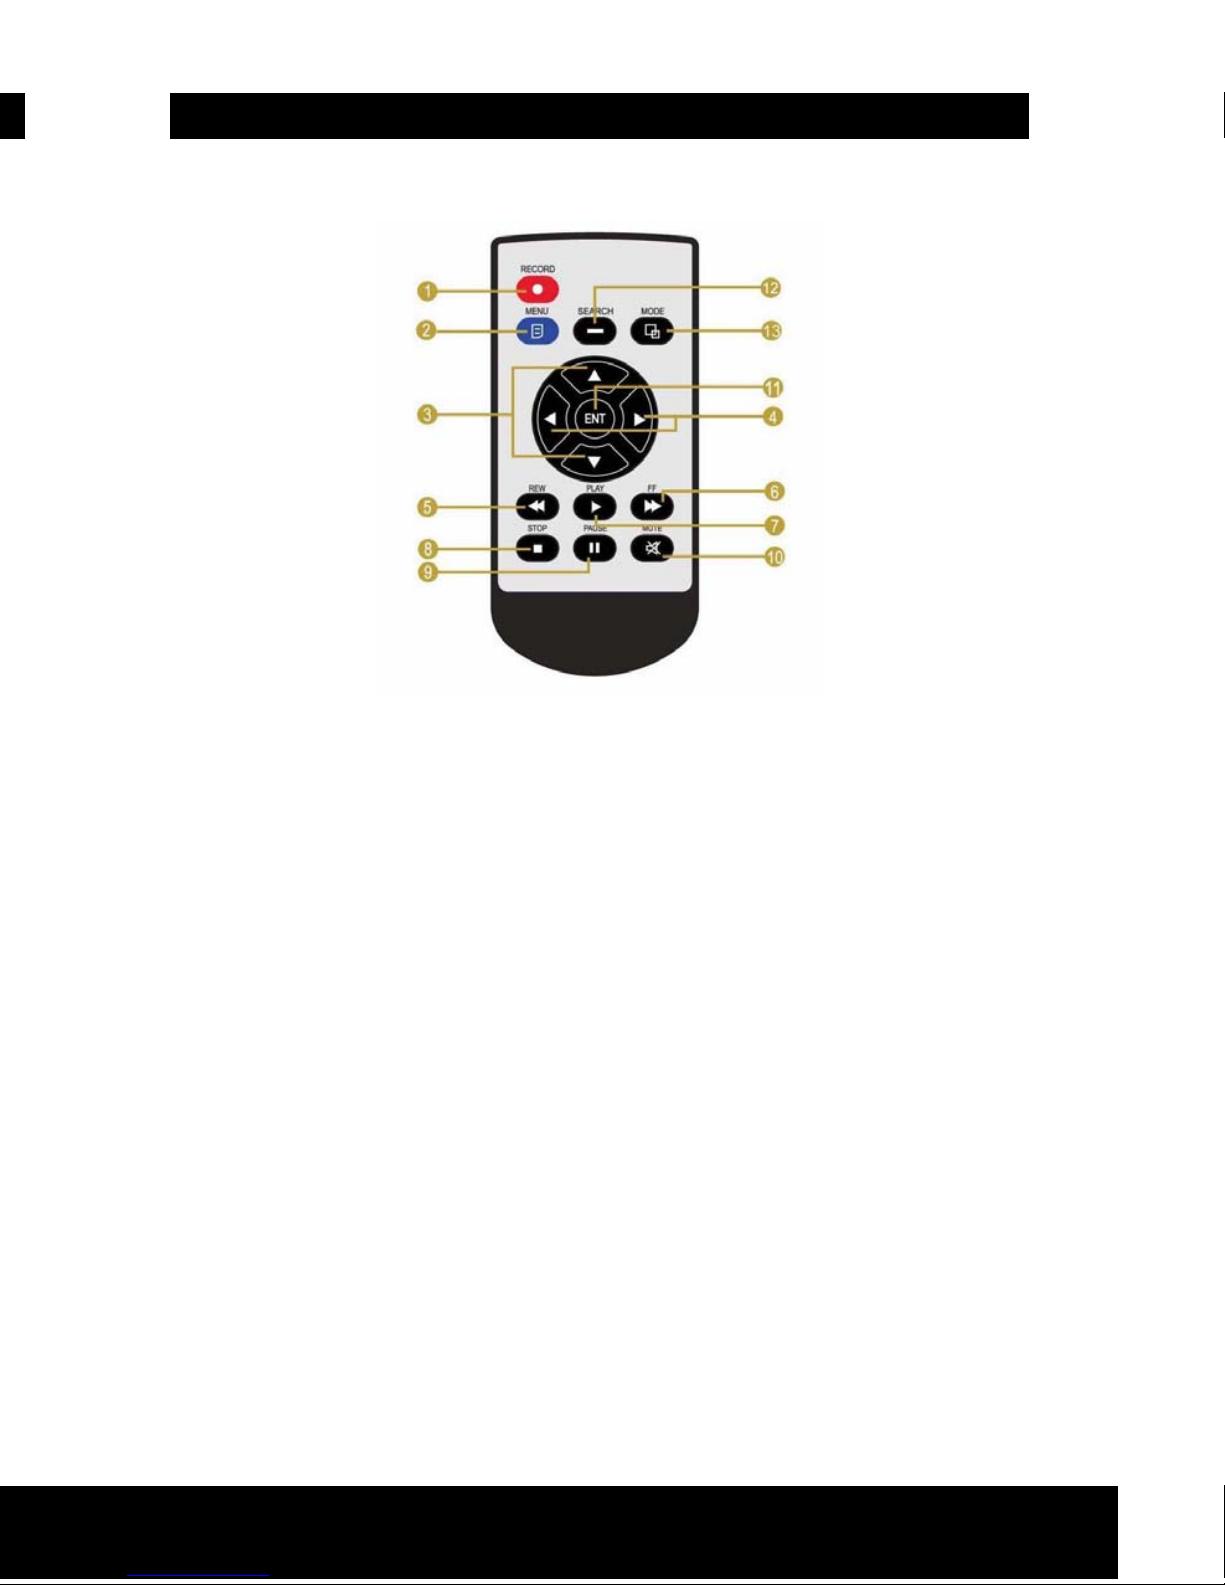
1. REC: The button to start recording.
2. MENU: The button to display the on screen menu.
3. UP/DOWN: The buttons to choose a menu field.
4. FF: The button to playback recorded video faster.
REW: The button to play recorded video backward.
5. REW: The button to play recorded video backward.
6. FF: The button to playback recorded video faster.
7. PLAY: The button to start video playback.
8. STOP: The button to stop playback.
9. PAUSE: The button to pause video playback.
10. MUTE: The button to pause audio.
11. ENT: The button to choose or change a menu option or values in a menu field.
12. SEARCH: The button to find recorded files in SD memory.
13. MODE: The button to switch between playback and recording mode.
5

6
SETUP PROCEDURES
OVERVIEW ON SET-UP PROCEDURES
Below is an overview of the i nstal l at i on st e ps requi re d to operate the Clock/Radi o DVR.
Each step is explained in detail in the Hardware Installation section.
(1) Insert a standard capacity SD MEMORY.
(2) Connect the system to a TV set or monitor.
(3) Connect the power.
(4) Plug the unit in to turn the power on.
(5) Start TV Monitoring and recording.
General Operating Advice:
• Make sure that a standard SD Memory, not high capacity is inserted. (See Hardware Installation)
• The firmware used in this device is compatible with your computer’s operating system (i.e. Windows).
Therefore, you can take the SD memory card from this system and install it in your computer to view
recorded video. (Refer to the PC Viewer manual.)
• You will see a blue screen with no camera images. When the system starts up, it enters the default
operational state: VIEW mode. In this mode, the unit does not record nor play the recorded stream. It
just shows the current images from the camera connected to the device.
• The default recording setting for this system is set to 30 frames per second and normal video quality. If
you use 1GB SD Memory, the Clock/Radio DVR can record for 2 hours in a row approximately.
• There is an exception to entering the VIEW mode at start up. If the power is turned off while recording
(i.e. a power failure), the device will enter POWER RECOVERY mode at start up and detect that it has
been shut down by a power failure, it will then reinitiate the recording process.
Refer to the Hardware Installation section for more information on insta llation procedures.
MICRO DVR MENUS
7.3 BRIGHTNESS
Select brightness value among low, medium and high.
7.4 VIDEO
Select video format between NTSC and PAL.
 Loading...