

Videoswitch Vi600 User Manual
Vi400/Vi600 Digital Recorder
User Manual
Models covered by this manual
Hard Drive
Capacity
160 Gbytes Vi400-G160-12e Vi400-G160-16e
250 Gbytes Vi400-G250-12e Vi400-G250-16e
300 Gbytes Vi400-G300-12e Vi400-G300-16e
320 Gbytes
400 Gbytes Vi400-G400-12e Vi400-G400-16e
480 Gbytes
500 Gbytes Vi400-G500-12e Vi400-G500-16e
750 Gbytes
900 Gbytes
1200 Gbytes
1500 Gbytes
Document Reference
12 Camera
Vi400
Date Firmware
16 Camera
Vi400
9 Camera
Vi600
Vi600-G320-9e Vi600-G320-16e
Vi600-G480-9e Vi600-G480-16e
Vi600-G750-9e Vi600-G750-16e
Vi600-G900-9e Vi600-G900-16e
Vi600-G1200-9e Vi600-G1200-16e
Vi600-G1500-9e Vi600-G1200-16e
16 Camera
Vi600
Vi604e.doc 27/10/2005 From Vi011b01/Vi013b01
Videoswitch
Ocean House, Redfields Industrial Park Fax 01252-851296
Redfields Lane, Church Crookham Email sales@videoswitch.co.uk
Hants GU52 0RD Web www.videoswitch.co.uk
Telephone 01252-851510

Vi604e.doc

Digital Recorder
Contents:
1 Start Here ..................................................................1
1.1 Connecting Up Vi400.............................................................................................................2
1.2 Connecting Up Vi600.............................................................................................................3
1.3 Setting Date/Time ..................................................................................................................4
1.4 Recording...............................................................................................................................5
1.5 Routine Checks......................................................................................................................5
1.6 Care of the Hard Drive(s).......................................................................................................5
1.7 Critical Alerts..........................................................................................................................6
2 LIVE ...........................................................................7
2.1 Viewing Full Screen Images ..................................................................................................7
2.2 Quad Display..........................................................................................................................7
2.3 Multi-Screen...........................................................................................................................8
2.4 Spot monitor...........................................................................................................................8
3 FIND...........................................................................9
3.1 FIND-1 Date/Time..................................................................................................................9
3.2 FIND-2 Sweep......................................................................................................................10
3.3 FIND-3 Event List.................................................................................................................11
3.4 FIND-4 Incidents..................................................................................................................12
4 PLAY........................................................................13
4.1 Play Events..........................................................................................................................14
4.2 Play Incidents.......................................................................................................................14
5 BURN.......................................................................15
5.1 BURN-1 Edit Incident...........................................................................................................15
5.2 BURN-2 Multiple Incidents...................................................................................................16
6 PSW (Passwords)...................................................17
6.1 Log-On.................................................................................................................................17
6.2 Log-Off.................................................................................................................................18
7 FN (Functions)........................................................19
7.1 Using Functions ...................................................................................................................19
7.2 Repeating last used Function ..............................................................................................19
7.3 List of Functions...................................................................................................................20
8 INFO.........................................................................22
8.1 INFO-1 Configuration...........................................................................................................22
8.2 INFO-2 Status......................................................................................................................22
8.3 INFO-3 Drives......................................................................................................................22
8.4 INFO-4 Record.....................................................................................................................22
8.5 INFO-5 Play .........................................................................................................................22
9 MENU.......................................................................23
9.1 Date/Time.............................................................................................................................24
9.1.1 Date/Time ........................................................................................................................24
9.1.2 Summer/Winter Time....................................................................................................... 25
9.2 Record..................................................................................................................................25
9.2.1 Normal Record Mode.......................................................................................................25
9.2.1.1 Days ...............................................................................................................25
9.2.1.2 Cameras.........................................................................................................26
9.2.1.3 Quality ............................................................................................................26
9.2.1.4 Image Size Control.........................................................................................26
i

Digital Recorder
9.2.1.5 Audio Sensitivity.............................................................................................26
9.2.1.6 Record Timers................................................................................................27
9.2.1.6.1 Weekday 27
9.2.1.6.2 Weekend 27
9.2.2 Custom Record Mode......................................................................................................27
9.2.2.1 Rate................................................................................................................27
9.2.2.2 Cameras.........................................................................................................27
9.2.2.3 Custom Record Timers ..................................................................................27
9.2.2.3.1 Weekday 27
9.2.2.3.2 Weekend 27
9.2.3 Activity/Alarm Record Mode.............................................................................................27
9.2.3.1 Rate................................................................................................................27
9.2.3.2 Cameras.........................................................................................................27
9.2.3.3 Record Options ..............................................................................................28
9.2.3.4 Storage Allocation..........................................................................................28
9.3 Display .................................................................................................................................29
9.3.1 Keypad Brightness...........................................................................................................29
9.3.2 Titles ................................................................................................................................29
9.3.2.1 Digital Recorder Title......................................................................................29
9.3.2.2 Camera Titles.................................................................................................29
9.3.2.3 Text Alignment ...............................................................................................30
9.3.2.4 Time/date Alignment ......................................................................................30
9.3.3 Auto Seq Dwell - Main .....................................................................................................30
9.3.3.1 Sequence Mode .............................................................................................30
9.3.3.2 Camera List....................................................................................................30
9.3.3.3 Dwell Times....................................................................................................30
9.3.4 Auto Seq Dwell - Spot......................................................................................................30
9.3.4.1 Sequence Mode .............................................................................................30
9.3.4.2 Camera List....................................................................................................30
9.3.4.3 Dwell Times....................................................................................................30
9.3.5 Pip Mode..........................................................................................................................30
9.3.6 Day/Night Options............................................................................................................31
9.3.6.1 Day/Night Timers............................................................................................31
9.3.6.2 Day Settings...................................................................................................31
9.3.6.2.1 Spot Camera 31
9.3.6.2.2 Sequence Spot 31
9.3.6.3 Night Settings.................................................................................................31
9.3.6.3.1 Spot Camera 31
9.3.6.3.2 Sequence Spot 31
9.3.7 Power Up Options............................................................................................................31
9.3.7.1 Main Monitor Mode.........................................................................................31
9.3.7.2 Sequence Main ..............................................................................................31
9.3.7.3 Main Camera..................................................................................................31
9.3.7.4 PIP Camera....................................................................................................31
9.4 Alarms..................................................................................................................................32
9.4.1 Alarm Inputs.....................................................................................................................32
9.4.1.1 Alarm Polarities ..............................................................................................32
9.4.1.2 Camera Mapping............................................................................................32
9.4.1.3 Preset Mapping ..............................................................................................32
9.4.1.4 Alarm Timers..................................................................................................32
9.4.1.4.1 Weekday Alarm Times 32
9.4.1.4.2 Weekend Alarm Times 32
9.4.1.5 Enable All Day................................................................................................32
9.4.2 Activity Detection .............................................................................................................32
ii

Digital Recorder
9.4.2.1 Activity Zones.................................................................................................32
9.4.2.2 Activity Timers................................................................................................33
9.4.2.2.1 Weekday Alarm Times 33
9.4.2.2.2 Weekend Alarm Times 33
9.4.2.3 Enable All Day................................................................................................33
9.4.2.4 Display Active Pixels......................................................................................33
9.4.3 Wireless PIR Inputs .........................................................................................................33
9.4.3.1 Enable PIRs 1-16 ...........................................................................................33
9.4.3.2 Enable PIRs 17-32.........................................................................................33
9.4.3.3 Enable PIRs 33-48.........................................................................................33
9.4.3.4 Enable PIRs 49-64.........................................................................................33
9.4.3.5 Camera Mapping............................................................................................33
9.4.3.6 Preset Mapping ..............................................................................................34
9.4.3.7 Wireless PIR Timers.......................................................................................34
9.4.3.7.1 Weekday Wireless PIR Times 34
9.4.3.7.2 Weekend Wireless PIR Times 34
9.4.3.8 Enable All Day................................................................................................34
9.4.4 Critical Alerts....................................................................................................................34
9.4.4.1 Cameras.........................................................................................................34
9.4.5 Clear Event List................................................................................................................34
9.4.6 Pull-Up Settings...............................................................................................................34
9.4.6.1 Pull-Up Monitor...............................................................................................34
9.4.6.2 Pull-Up Hold Time ..........................................................................................34
9.4.6.3 Sequence Time ..............................................................................................34
9.4.6.4 Relay Hold Time.............................................................................................35
9.4.6.5 Restore after Activity/Alarm............................................................................35
9.5 Domes..................................................................................................................................36
9.5.1 Preset Programming........................................................................................................36
9.5.1.1 Dwell/Speed/Tour Settings.............................................................................36
9.5.1.1.1 Dwell Time 36
9.5.1.1.2 Speed 36
9.5.1.1.3 Include preset in tour 36
9.5.1.2 Go to Preset ...................................................................................................36
9.5.1.3 Set Preset.......................................................................................................36
9.5.2 Tour Programming...........................................................................................................36
9.5.2.1 Dwell/Speed Settings .....................................................................................36
9.5.2.1.1 Dwell Time 36
9.5.2.1.2 Speed 36
9.5.2.2 Start Programming Tour.................................................................................36
9.5.2.3 Add preset to Tour..........................................................................................36
9.5.2.4 Finish Programming Tour...............................................................................36
9.5.3 Protocol Set-Up................................................................................................................36
9.5.3.1 DOMES-1 protocol (twisted pair)....................................................................36
9.5.3.2 DOMES-2 protocol (twisted pair)....................................................................37
9.5.3.3 Up-the-coax Protocol......................................................................................37
9.5.3.4 Type of control for each camera.....................................................................37
9.6 Network................................................................................................................................37
9.6.1 IP Address .......................................................................................................................37
9.6.2 Port ..................................................................................................................................37
9.6.3 Sub-Net mask ..................................................................................................................37
9.6.4 Gateway...........................................................................................................................37
9.6.5 PSTN Rings .....................................................................................................................38
9.6.6 RS232 Baud Rate............................................................................................................38
Configuration........................................................................................................................................39
iii

Digital Recorder
9.6.7 Passwords .......................................................................................................................39
9.6.7.1 Logged-Off Access Rights..............................................................................39
9.6.7.2 User 1.............................................................................................................39
9.6.7.2.1 User 1 Password 39
9.6.7.2.2 User 1 Access Rights 40
9.6.7.3 User 2.............................................................................................................40
9.6.7.3.1 User 2 Password 40
9.6.7.3.2 User 2 Access Rights 40
9.6.7.4 User 3.............................................................................................................40
9.6.7.4.1 User 3 Password 40
9.6.7.4.2 User 3 Access Rights 40
9.6.7.5 User 4.............................................................................................................40
9.6.7.5.1 User 4 Password 40
9.6.7.5.2 User 4 Access Rights 40
9.6.8 Camera Inputs .................................................................................................................40
9.6.8.1 Brightness ......................................................................................................40
9.6.8.2 Colour Boost...................................................................................................41
9.6.8.3 Termination ....................................................................................................41
9.6.9 Camera Inputs .................................................................................................................42
9.6.9.1 Record Brightness..........................................................................................42
9.6.9.2 Record Colour Boost......................................................................................42
9.6.10 Record Audio...................................................................................................................42
9.6.11 Restore Factory Config....................................................................................................43
9.6.12 Erase Hard Drive .............................................................................................................43
9.6.13 Multi-Unit Configuration ...................................................................................................44
9.6.13.1 Unit Number ...................................................................................................44
9.6.13.2 Number of Linked unit ....................................................................................44
9.6.13.3 Connection of multiple units...........................................................................44
10 Connections............................................................45
10.1 Audio....................................................................................................................................45
10.2 Ethernet connection to a PC................................................................................................46
10.3 Ethernet connection to a LAN..............................................................................................46
10.4 Ethernet connection to Broadband ......................................................................................47
10.5 Remote Keyboard................................................................................................................47
10.6 Dial-Up Access.....................................................................................................................48
10.6.1 Vi-PSTN...........................................................................................................................48
10.6.2 Vi-ISDN and Vi-ISDN/TA .................................................................................................48
10.6.3 Connecting a Dial-up Adaptor..........................................................................................48
10.7 Wireless PIR........................................................................................................................49
11 Technical Data........................................................50
11.1 Power-On Reset ..................................................................................................................50
11.2 Accessories Included...........................................................................................................50
11.3 Changing the Hard Drive .....................................................................................................50
11.4 Connector Pin-Outs.............................................................................................................51
11.4.1 Alarms..............................................................................................................................51
11.4.2 Relays..............................................................................................................................52
11.4.3 Remote Keyboards ..........................................................................................................53
11.4.4 PSTN/ISDN Modem.........................................................................................................54
11.5 Specifications.......................................................................................................................55
11.5.1 Storage ............................................................................................................................55
11.5.2 Digital recording/Replay...................................................................................................55
1.1.1 Display.............................................................................................................................55
1.1.2 Control and Interface .......................................................................................................55
iv

Digital Recorder
11.5.3 Dome Control...................................................................................................................56
11.5.4 Remote Viewing...............................................................................................................56
11.5.5 Power, Physical & Environmental....................................................................................57
1.1.3 Upgrades .........................................................................................................................57
11.5.6 CE Marking......................................................................................................................58
11.5.7 Ventilation........................................................................................................................58
11.5.8 Safety...............................................................................................................................58
12 Warranty Fax-Back.................................................61
v
Digital Recorder
1 Start Here
Please fill in the warranty fax-back form on page 61 and return it to Videoswitch
• The Vi400/Vi600 is designed to be easy to use whilst offering high quality digital
video recording and playback, primarily for CCTV security applications.
• The video images from all connected cameras are continuously recorded onto the
built-in hard drives. When the drives are full, the Vi400/Vi600 keeps on recording,
overwriting the oldest images.
• Images are retained for a specified user programmable number of days, typically
31. All images recorded within the period will be available for replay. Older image
are no longer available.
• Several methods are provided for finding the recorded images you want quickly.
• The built-in CD writer allows a selected part of the recorded information to be
written onto a CD, typically to back-up an incident for use as evidence by the Police.
• The recording process continues all the time, even when playing back or writing to
CD.
• An optional dial-up module allows images to be viewed on a PC (with a modem) via
a telephone line.
• Audio and ethernet are standard features.
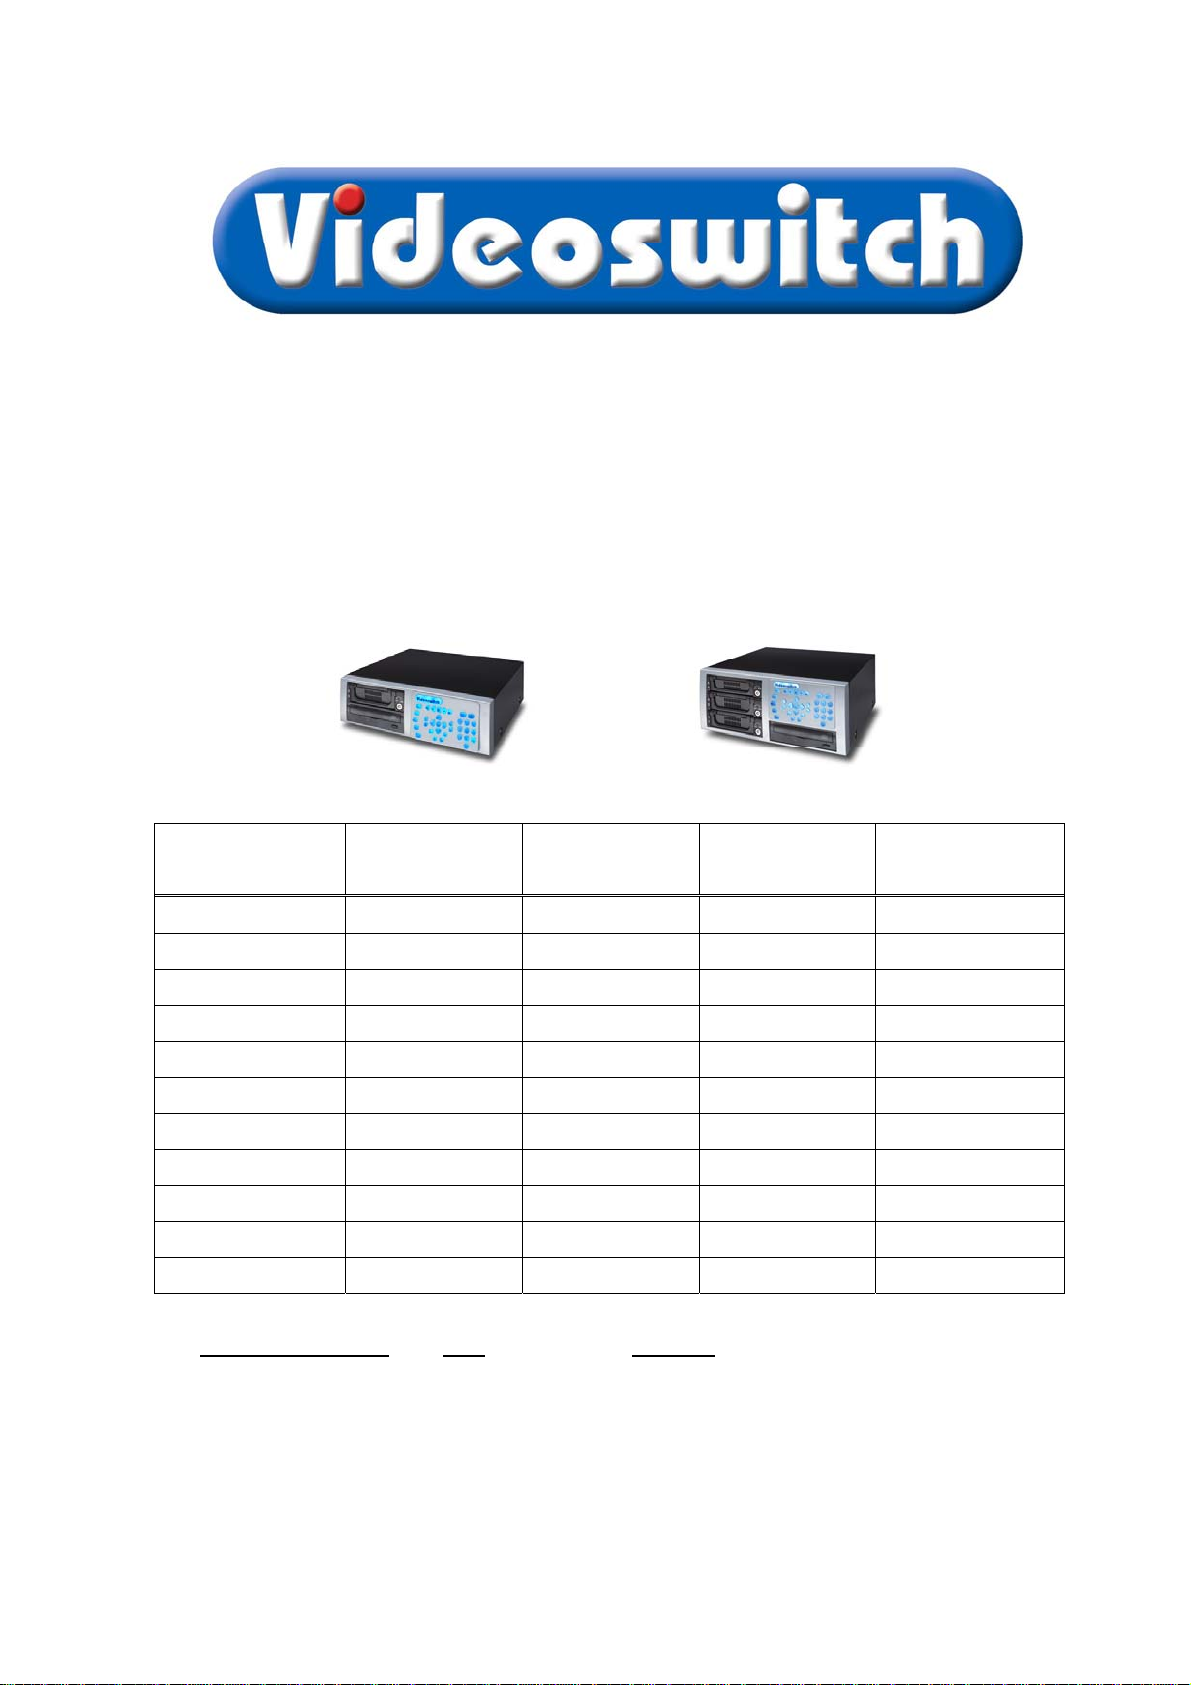
• The main differences between the Vi400 and the Vi600 is that the latter has 3 hard
drives instead of one and also has video loop-through BNC connectors.
1
Digital Recorder
1.1 Connecting Up Vi400
For a standard digital recording system you will need
The Vi400 recorder
Some cameras with lenses
A video monitor (with S-video or BNC composite video input).
BNC cables
MAIN
MONITOR
(S-VIDEO)
LOOP TO MAIN
KEYBOARD OF
NEXT UN I T
IBM
KEYBOARD
LOOP TO
SPOTKEYBOARD
OF NEXT UNIT
GPS
RECE IV ER
ETHERNET
RELAYS /DOMES
ALARM
INPUTS
ISDN/PSTN
RS232 PORT
MAINS
VOLTAGE
SELECTOR
MAIN
MONITOR
(BNC)
CAMERA
SPOT
MONITOR
NOT
USE D
CAM ERA
INPUT 1
MAIN
KEYBOARD
KEYBOARD
SPOT
NOT
USE D
NOT
USE D
INPUT 16
LINE
OUTP UT
MICROPHONE
INPUT
LINE
INPUT
Connect the monitor output (MAIN) of the Vi400 to a Video Monitor using a BNC or S-
Video cable (supplied).
MAINS
POWER
INPUT
Make sure that the monitor termination is switched on (i.e. to 75 Ohms)
Connect a camera to Camera Input 1 on the Vi400 using a BNC cable
Connect further cameras to Inputs 2,3,4 etc
Make sure that the voltage select switch is set to suit the mains supply. The setting
required in UK and Europe is normally 230Vac.
Connect the mains power using the mains cable provided
2
Digital Recorder
1.2 Connecting Up Vi600
For a standard digital recording system you will need
The Vi600 recorder
Some cameras
A video monitor (with S-video or BNC composite video input).
BNC cables
LINE OUT
LOOP TO MAIN
KEYBOARD OF
NEXT UNI T
MAIN
MONITOR
(S-VIDEO)
LOOP TO SPOT
KEYBOARDS OF
NEXT UNI T
GPS
RECEIVER
LINE IN
MICROPHONE
ISDN/PSTN
RS232 PORT
RELAYS/DOMES
ALARM
INPUTS
MAIN
MONITOR
(BNC)
IBM
KEYBOARD
ETHERNET
MICROPHONE
SPOT
MONITOR
NOT
USED
CAME RA
INPUT 1
MAIN
KEYBOARD
KEYBOARD 1
SPOT
TILL INPUTS
SPOT
KEYBOARD 2
LINE
OUTPUT
INPUT
LINE
INPUT
Connect the monitor output (MAIN) of the Vi600 to a Video Monitor using a BNC or S-
Video cable (supplied).
Make sure that the monitor termination is switched on (i.e. to 75 Ohms)
MAINS
POWER
INPUT
CAMERA
LOOPTHROUGHS
1-16
CAMERA
INPUT 16
Connect a camera to Camera Input 1 on the Vi600 using a BNC cable
Connect further cameras to Inputs 2,3,4 etc
Make sure that the voltage select switch is set to suit the mains supply. The setting
required in UK and Europe is normally 230Vac.
Connect the mains power using the mains cable provided
3
Digital Recorder
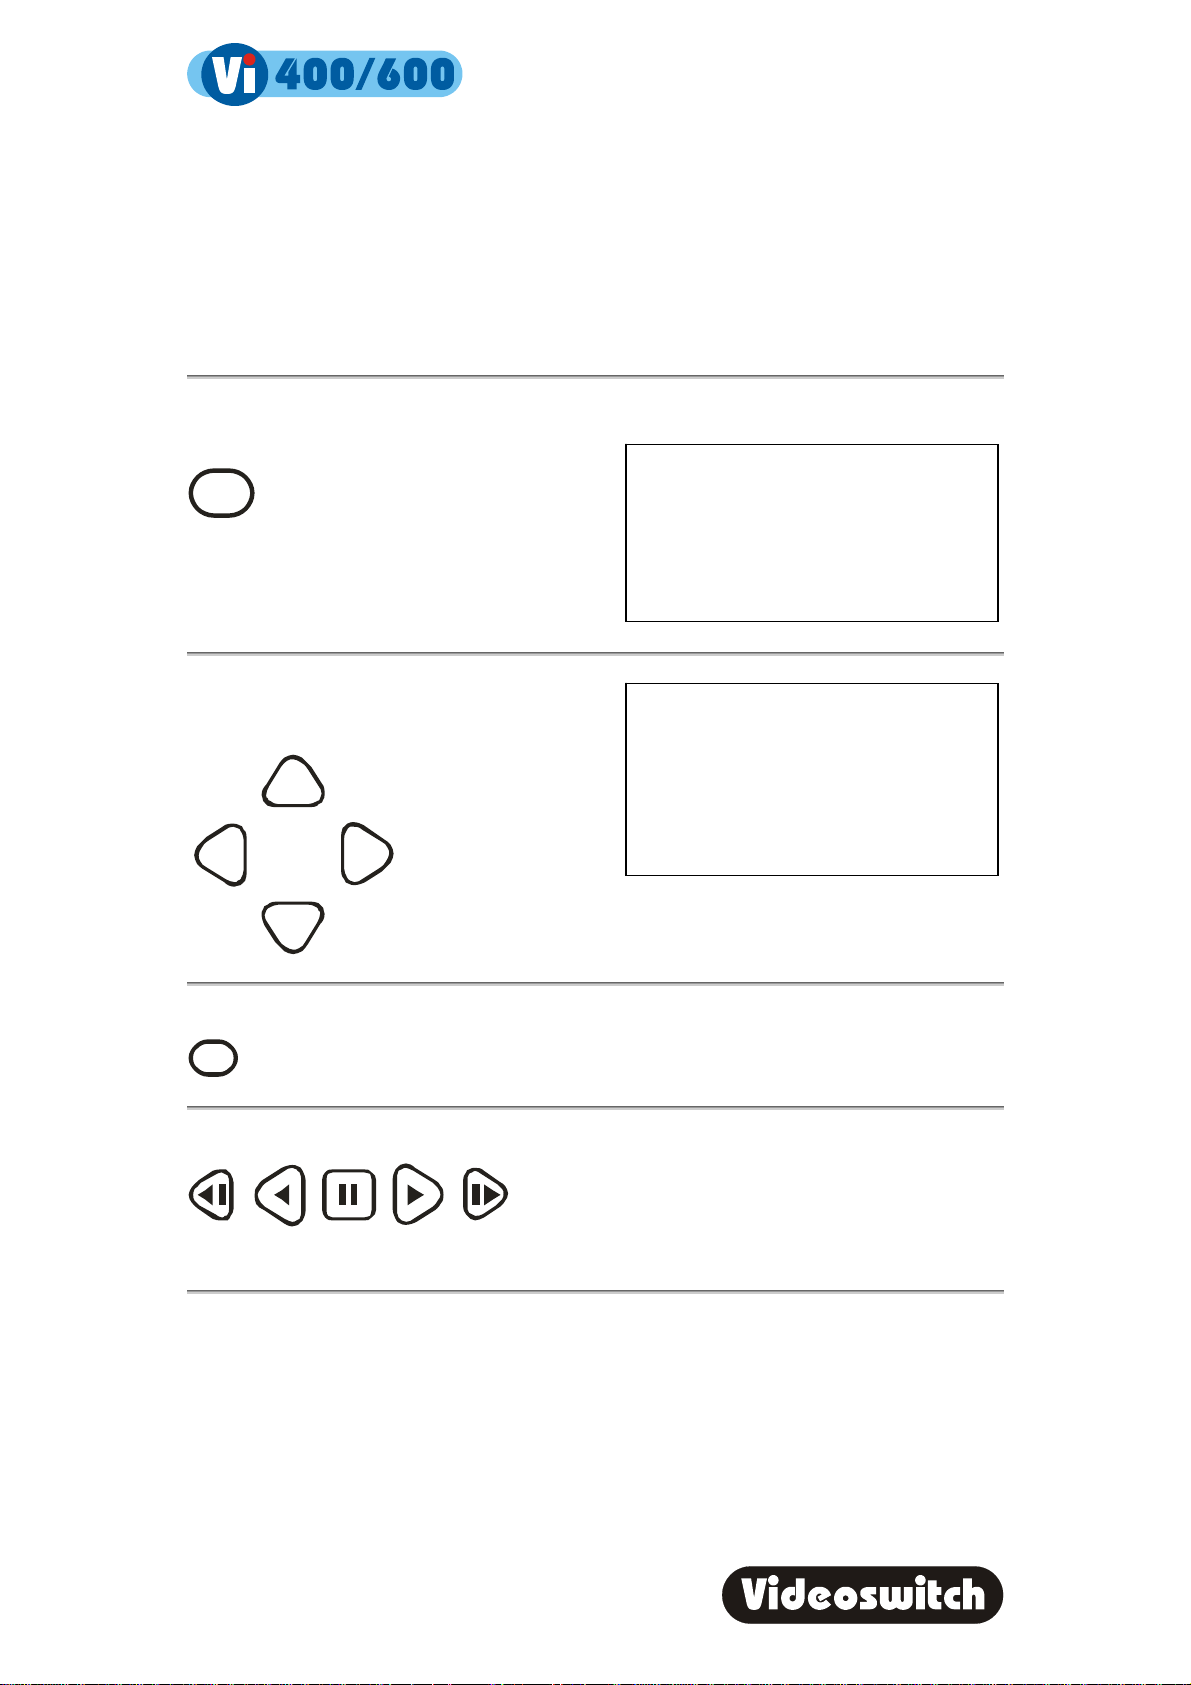
1.3 Setting Date/Time
For proper operation of the Vi400/Vi600 Digital Recorder it is essential that the date
and time are set correctly.
If the system clock has an invalid date or time when the Vi600 is powered up (or at any time
during operation), the date and time setting window will be automatically displayed
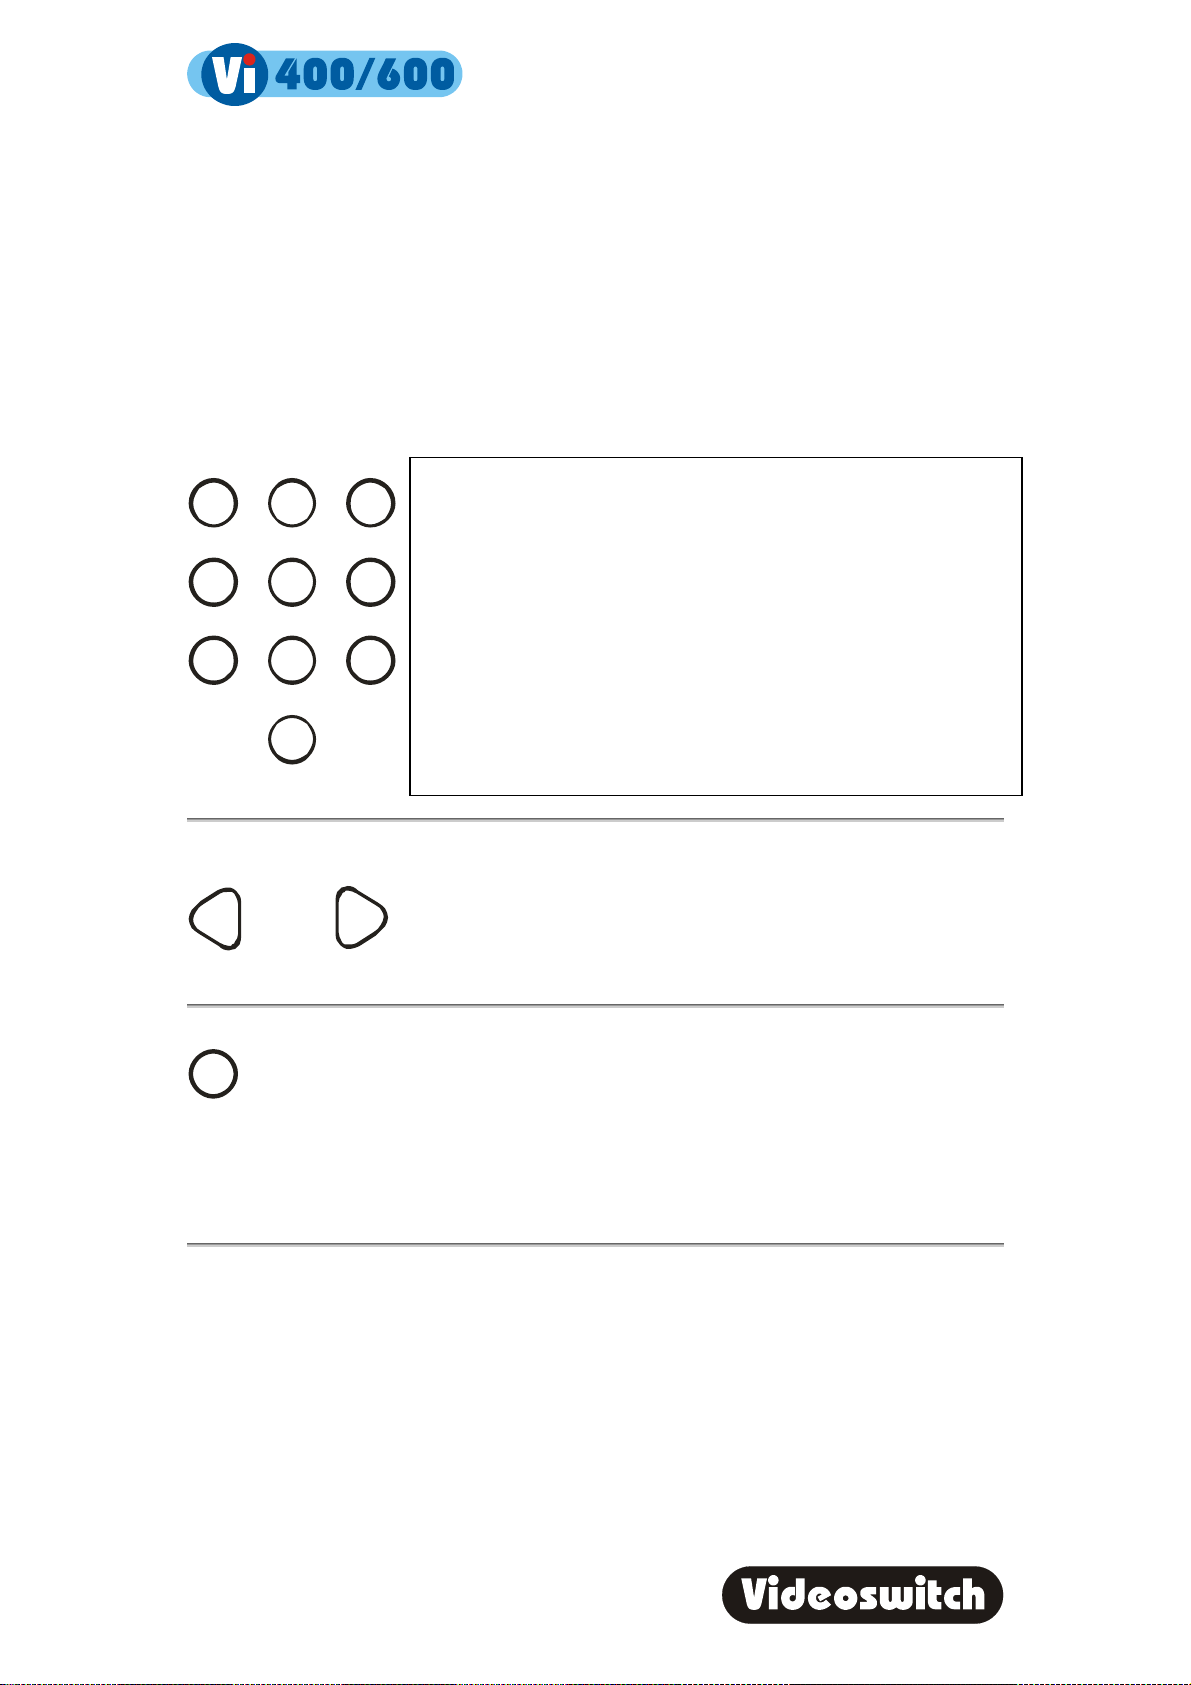
If this occurs, use the number keys to enter the date and time.
The format for the date and time is DD/MM/YY HH:MM:SS
1
2
where:
3
• DD is the day of the month (00 to 31),
4
7
The arrow keys may be used to move the cursor to different positions if only some digits
need changing:
Í
Press OK to finish:
OK
5
8
0
6
9
Í
• MM is the month (01 to 12),
• YY is the year (e.g. 04 for the year 2004),
• HH is the hour in 24-hour format (00 to 23),
• MM is the number of minutes past the hour (00 to 59)
and
• SS is the number of seconds past the minute (00 to 59).
If you need to adjust the time and date at any other time, refer to section 9.1. Note that the
time is automatically adjusted forwards or backwards by an hour at the appropriate dates to
take account of British Summertime so no user action is required.
4

Digital Recorder
1.4 Recording
The Vi600 Digital Recorder should now be fully operational and recording images from all
cameras. The default image retention period is 31 days unless set otherwise in the menu
(see section 9.2.1).
1.5 Routine Checks
If the Vi600 is not recording, the message RECORDING STOPPED will be displayed on
the video monitor. This should only happen if there is no video, if no hard drive is fitted or if it
is faulty, or if record timers have been set to disable recording.
Although the system is intended for continuous un-attended operation, it is recommended
that the user regularly check that images from all cameras replay correctly. Any
potential problems with the cameras or recording system will then be detected as soon a
possible, rather than continuing un-noticed until a critical incident needs to be recalled from
the system.
Similarly, w hen a CD has been created you should check that it plays back correctly
before the images on the hard drive in the Vi600 become over-written. The CD may be
checked by either by playing it on the Vi600 or on a PC.
1.6 Care of the Hard Drive(s)
The hard drive is a delicate mechanical item that should be handled with care. Before
moving a Vi400/Vi600 that has been powered up, remove power and wait for 30 seconds
for the drive to stop spinning. This is a precaution to avoid possible damage to the hard
drive.
,
5

Digital Recorder
1.7 Critical Alerts
The Vi400/Vi600 constantly monitors the hard drive, camera inputs and system so that
detected fault conditions will be reported to the user as soon as possible by means of a
“critical alert” message on the screen. Alerts are also added to the event list.
• FailTest This alert indicates that the self-test has failed – try the
following
Press the INFO key to call up the “INFO-2 Status” screen.
One of a number of fault conditions may be noted.
Enter the menu, change any setting and return to LIVE
mode so that settings are saved.
Switch off the Vi400/Vi600, wait 10 seconds and switch on
again.
Try a power-on reset
If the problem persists, contact your supplier.
• HD1,2,3 Fail This alert indicates that the hard drive is not working.
Check that the drive drawer is correctly fitted
Check the lock in the drive drawer is turned full counter-
clockwise
Check the DISC ACTIVITY LED is flickering
Check that the red DISC POWER led it lit.
• HD1,2,3 SMART This alert indicates that the hard drive may stop working soon
• The SMART monitoring detects imminent failure of a hard
drive, so if this warning occurs, the drive should be
changed at the earliest opportunity.
To cancel a critical alert, press the FIND key several times until the “FIND-3 Event”
screen is displayed.
FIND
The time of alert will be displayed on the list (see section 3) and the alert will be cancelled.
Note that if the alert condition persists, the alert message will re-appear.
6
Digital Recorder
2 LIVE
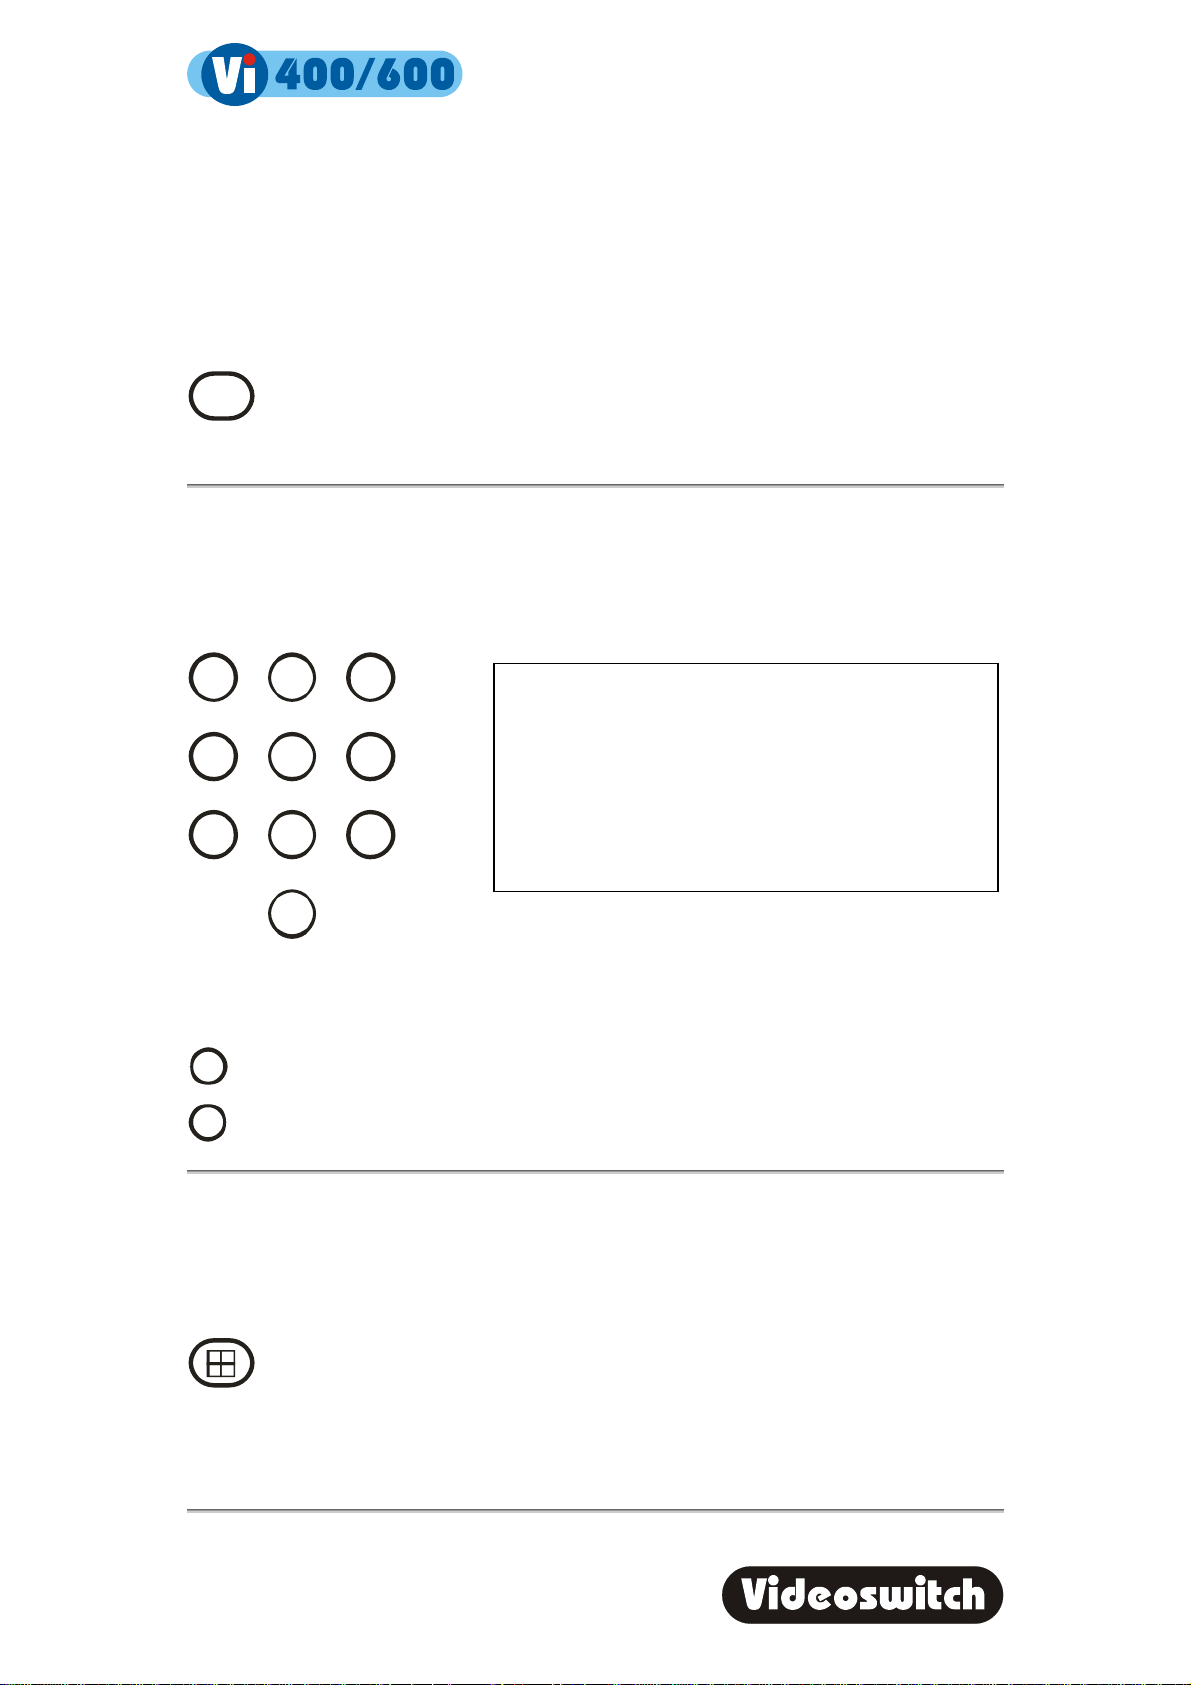
Press this key to view live images on the main monitor.
LIVE
This key may be pressed at any time to exit from any other screen.
2.1 Viewing Full Screen Images
Select full screen views of different cameras on the main monitor by pressing the NUMBER
keys:
1
4
7
To step forwards or backwards through the cameras displayed on the main monitor, press
one of these keys:
INC
DEC
2
5
8
0
3
6
9
To select cameras 1 to 9 either press the required
number and wait a moment for the camera to select,
Alternative, enter 01, 02, 03 etc.
To select cameras 10 to 16, enter the number 10 to
16;
If you select a camera number above 16, this will
select cameras on other linked V i400’s if they are
present.
2.2 Quad Display
Select quad display on the main monitor by pressing the QUAD key. Cameras 1, 2, 3 and 4
will be displayed together.
Press again to see cameras 5, 6, 7 and 8. Successive presses will select the next set of
four camera images.
Press a number key to revert to full screen display of one camera.
7

Digital Recorder
2.3 Multi-Screen
Select 9-camera Multi-Screen display on the main monitor by pressing the
MULTISCREEN key. Press again to display a 16-camera multi-screen image.
Press a number key to revert to full screen display of one camera.
2.4 Spot monitor
To step forwards or backwards through the cameras displayed on the spot monitor, press
one of these keys:
BACK
DEF
8
Digital Recorder
3 FIND
If there is a CD in the CD drive with previously stored images on it, the Vi400/Vi600
will replay from the CD. Otherwise, the Vi400/Vi600 will replay from the built-in hard
drive.
3.1 FIND-1
Date/Time
This mode finds images by date and time. Press
this key to enter the Date/Time search mode:
FIND
Use the NUMBER keys to enter
any date and time for which there
is still video available.
1
4
7
2
5
8
0
3
6
9
The format for the date and time is DD/MM/YY
HH:MM:SS where:
• DD is the day of the month (00 to 31),
• MM is the month (01 to 12),
• YY is the year (e.g. 04 for the year 2004),
• HH is the hour in 24-hour format (00 to 23),
• MM is the number of minutes past the hour
(00 to 59) and
• SS is the number of seconds past the
minute (00 to 59).
Sometimes it is useful to press the
DEF key when in search mode, to call
up the latest available recorded
images
Scroll through dates and times using the ARROW
keys:
Í
Í
Í
When you have found what you want, use the play keys to view the video:
Í
Note that as any digit of the date
and time is changed, the
corresponding image is
immediately found on the hard
drive and displayed.
This is the “active search”
facility.
9
Digital Recorder
3.2 FIND-2 Sweep
An alternative to the date/time search is the sweep facility. Press this key until the sweep
mode is displayed:
FIND
Use these keys to scan through the whole
range of recorded images:
To step in finer time increments, press the
OK key to access the fine mode.
Í
To quickly step between start, middle and end, press this key:
DEF
When you have found what you want, use the play keys to view the video:
Í
Note that the slider changes from a solid
block to a magnifying glass icon.
Press again to cancel.
10
Digital Recorder
3.3 FIND-3 Event List
When activity detection or alarm contacts are being used, events will be created in the event
list. This screen allows you to quickly find an event and play the video associated with it.
Press the FIND key until the FIND-3 screen is displayed:
System events and critical alerts also
FIND
Use the up/down keys to scroll through events
and the left/right keys to select different pages
of events.
Í
appear in the event list.
Entering the EVENT screen clears
any critical alert conditions. If a critical
alert problem still exists, new alert
events will be created.
Up to 480 events can be recorded
before older ones are over-written.
As events are highlighted, the
corresponding image will be
immediately recalled and displayed.
Í
Í
Press this key to go to the latest event:
DEF
When you have found what you want, use the play keys to view the video:
Í
11

Digital Recorder
3.4 FIND-4 Incidents
If one or more incidents have been set (refer to BURN, section 5) they can be selected and
replayed via this screen. This is particularly relevant when playing a CD.
Press the FIND key until the FIND-4 screen is displayed:
When playing from a CD, all the
FIND
To select the incident you wish to replay, use these keys:
stored video is within one or more
incidents. This screen allows you to
select which incident to play.
Í
Í
To play the incident forwards from the start, press the “play forward” key:
To play the incident backwards from the end, press the “play backwards” key:
12
Digital Recorder
4 PLAY
• If there is a CD in the CD drive with previously stored images on it, the
Vi400/Vi600 will replay from the CD. If the CD has more than one incident, use
the FIND-4 screen to select each incident (see section 3.4).
• If there is no CD in the CD drive, the Vi400/Vi600 will replay from the built-in
hard drive.
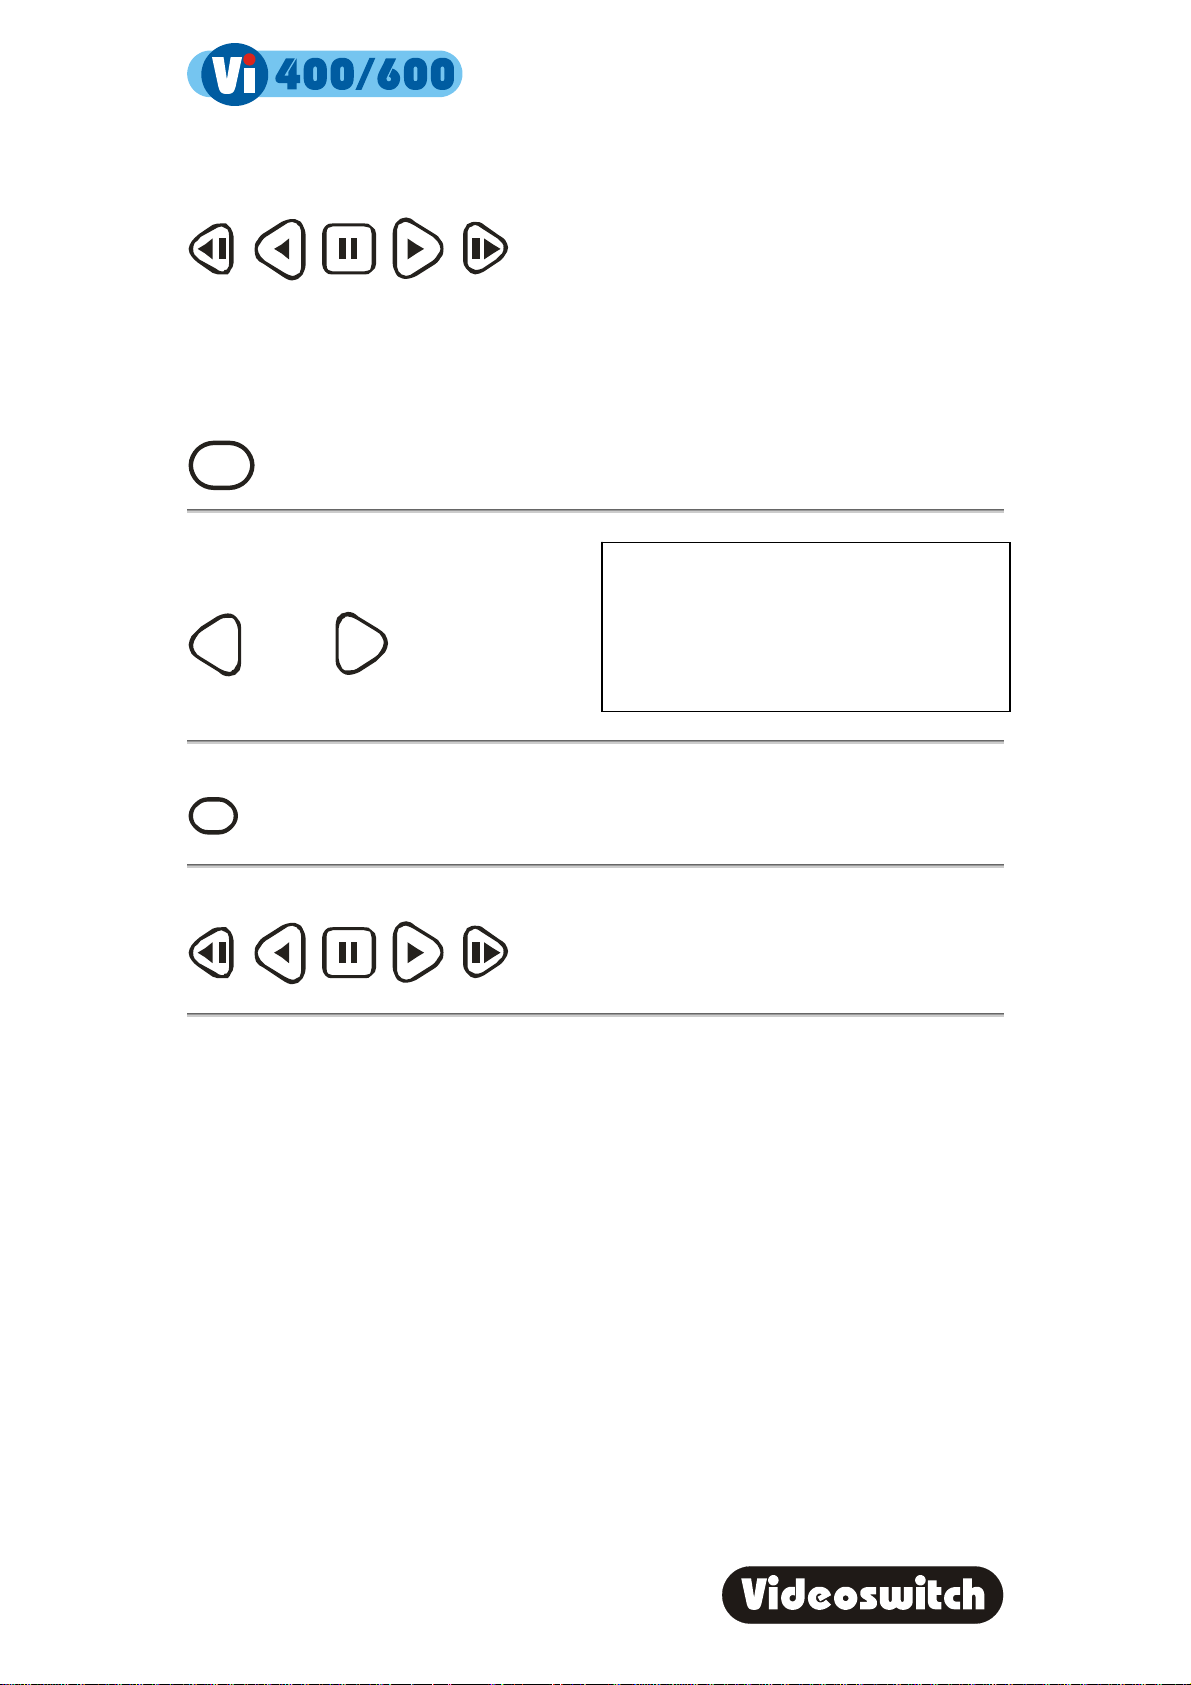
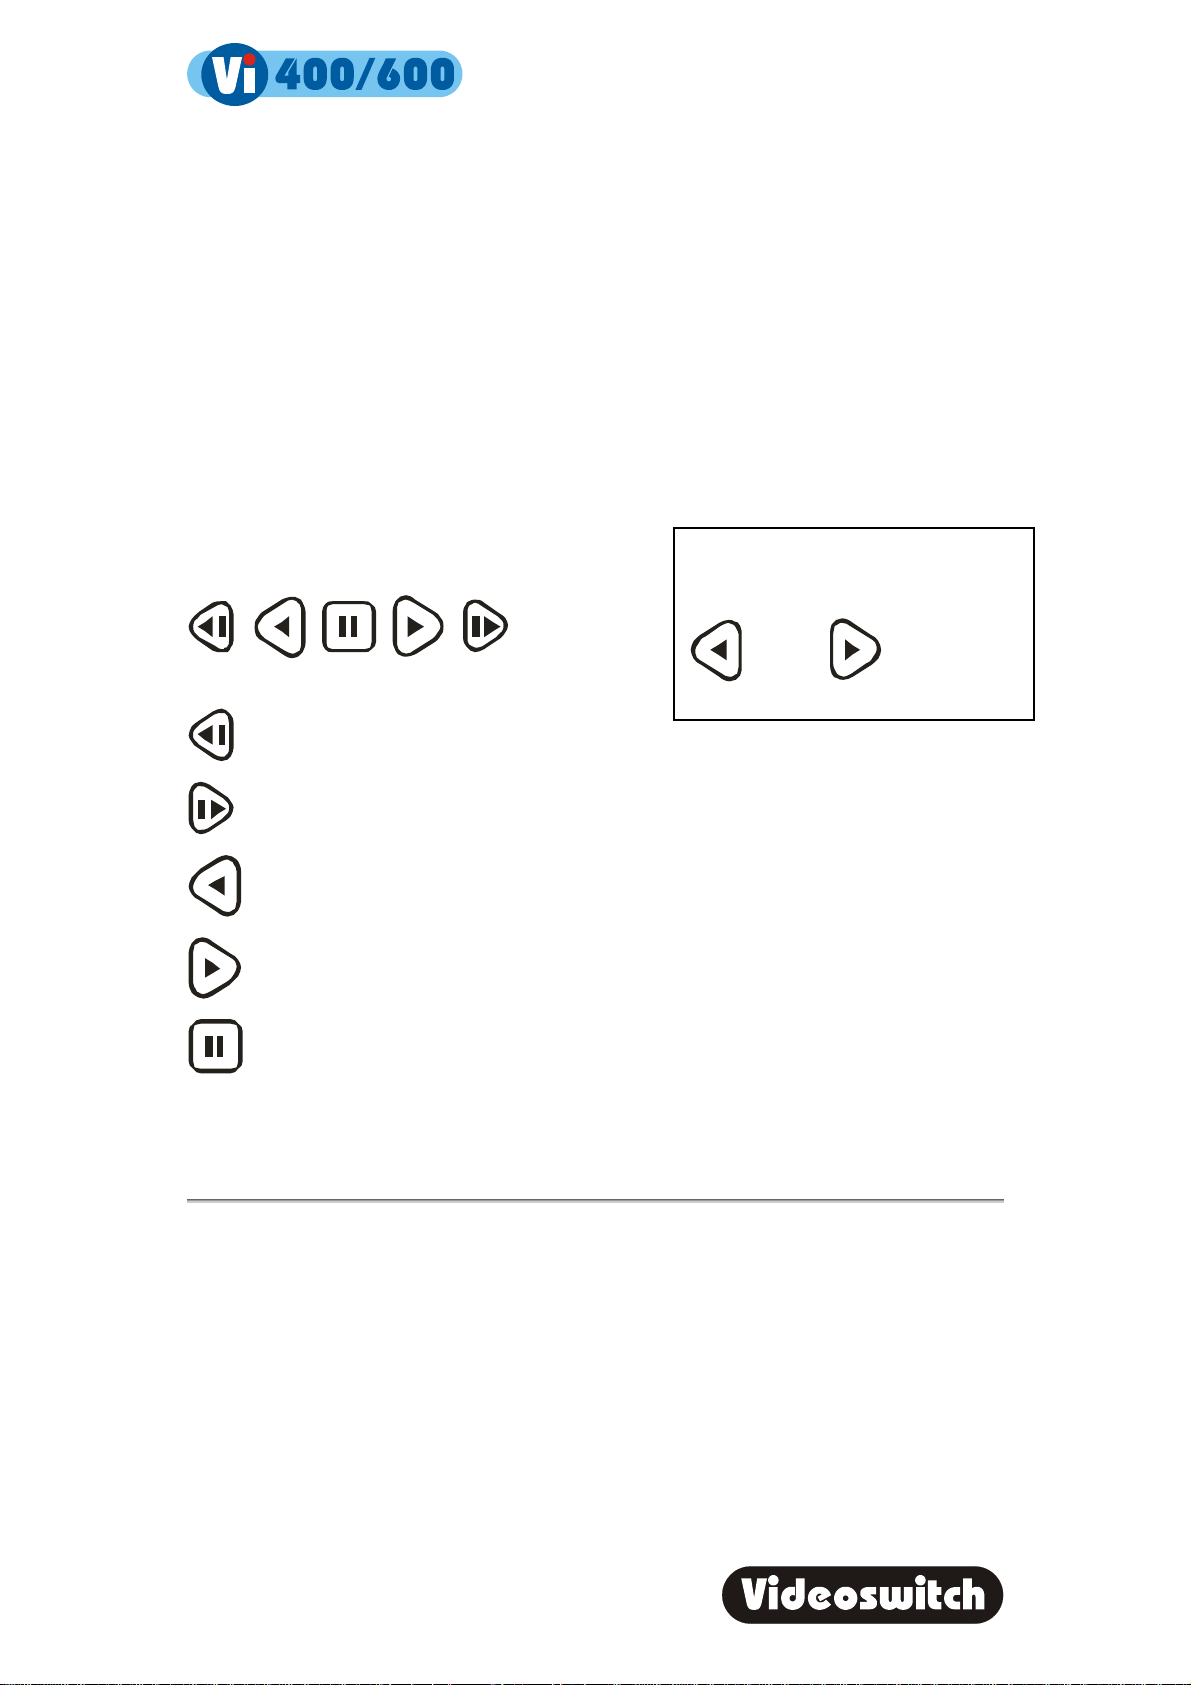
Having found what you want using the FIND key,
you can use these keys to move forwards and
backwards through the recorded video images.
The function of each key is:
Press the forward or reverse play
keys repeatedly to increase the
replay speed.
Step backwards one image
Step forwards one image
Play backwards (press again to increase speed)
Play forwards (press again to increase speed)
Pause at currently displayed image
When unit is in playback mode you can also using the function menu 15 zoom command to
zoom in on a specific area of replay.
View different cameras by pressing the NUMBER keys:
13

Digital Recorder
1
4
7
2
5
8
0
3
6
9
4.1 Play Events
Press these keys to step backwards or forwards through events in the event list:
Í
Í
4.2 Play Incidents
Press these keys to step backwards or forwards through incidents in the incidents list:
Í
Í
14
 Loading...