

VIDEOMAN BIDP-500, BIDP-500HD Installation And Operation Manual
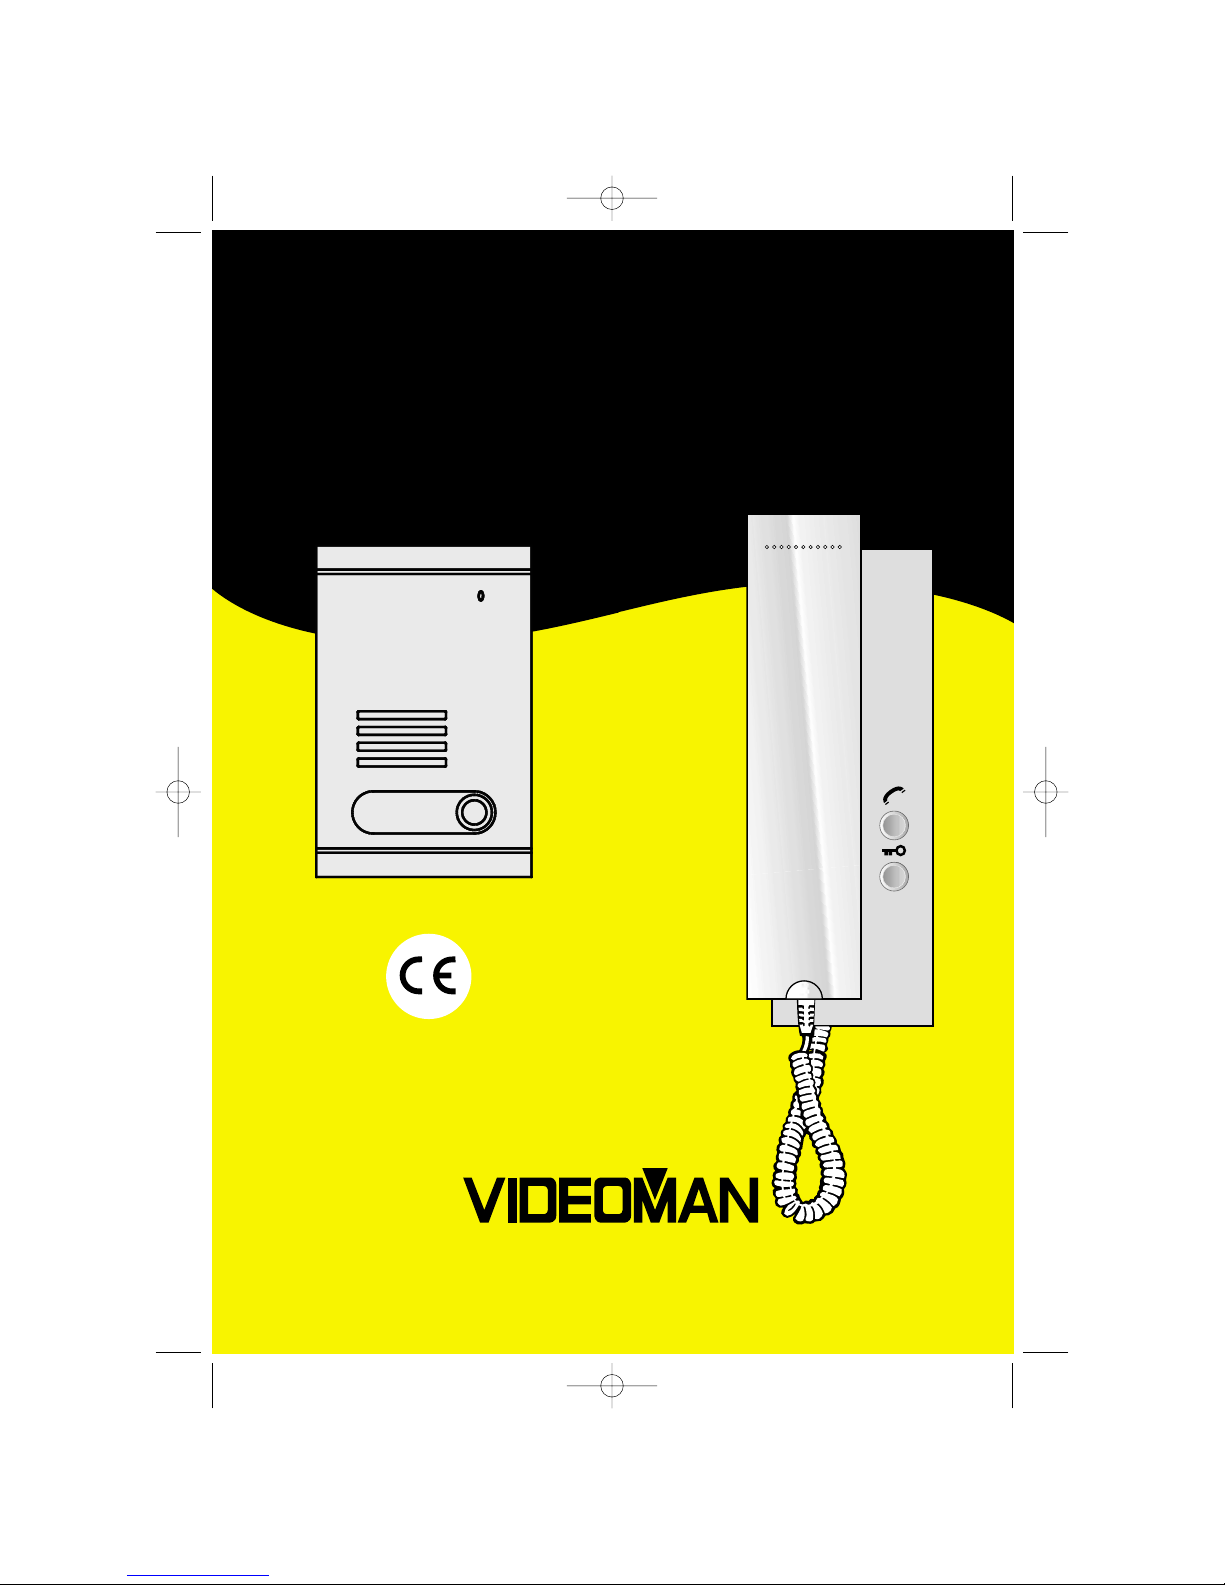
INSTALLATION AND OPERATION MANUAL
BIDP-500
BIDP-500HD
www.videoman.com.au
1A 1B
1C 1D
2
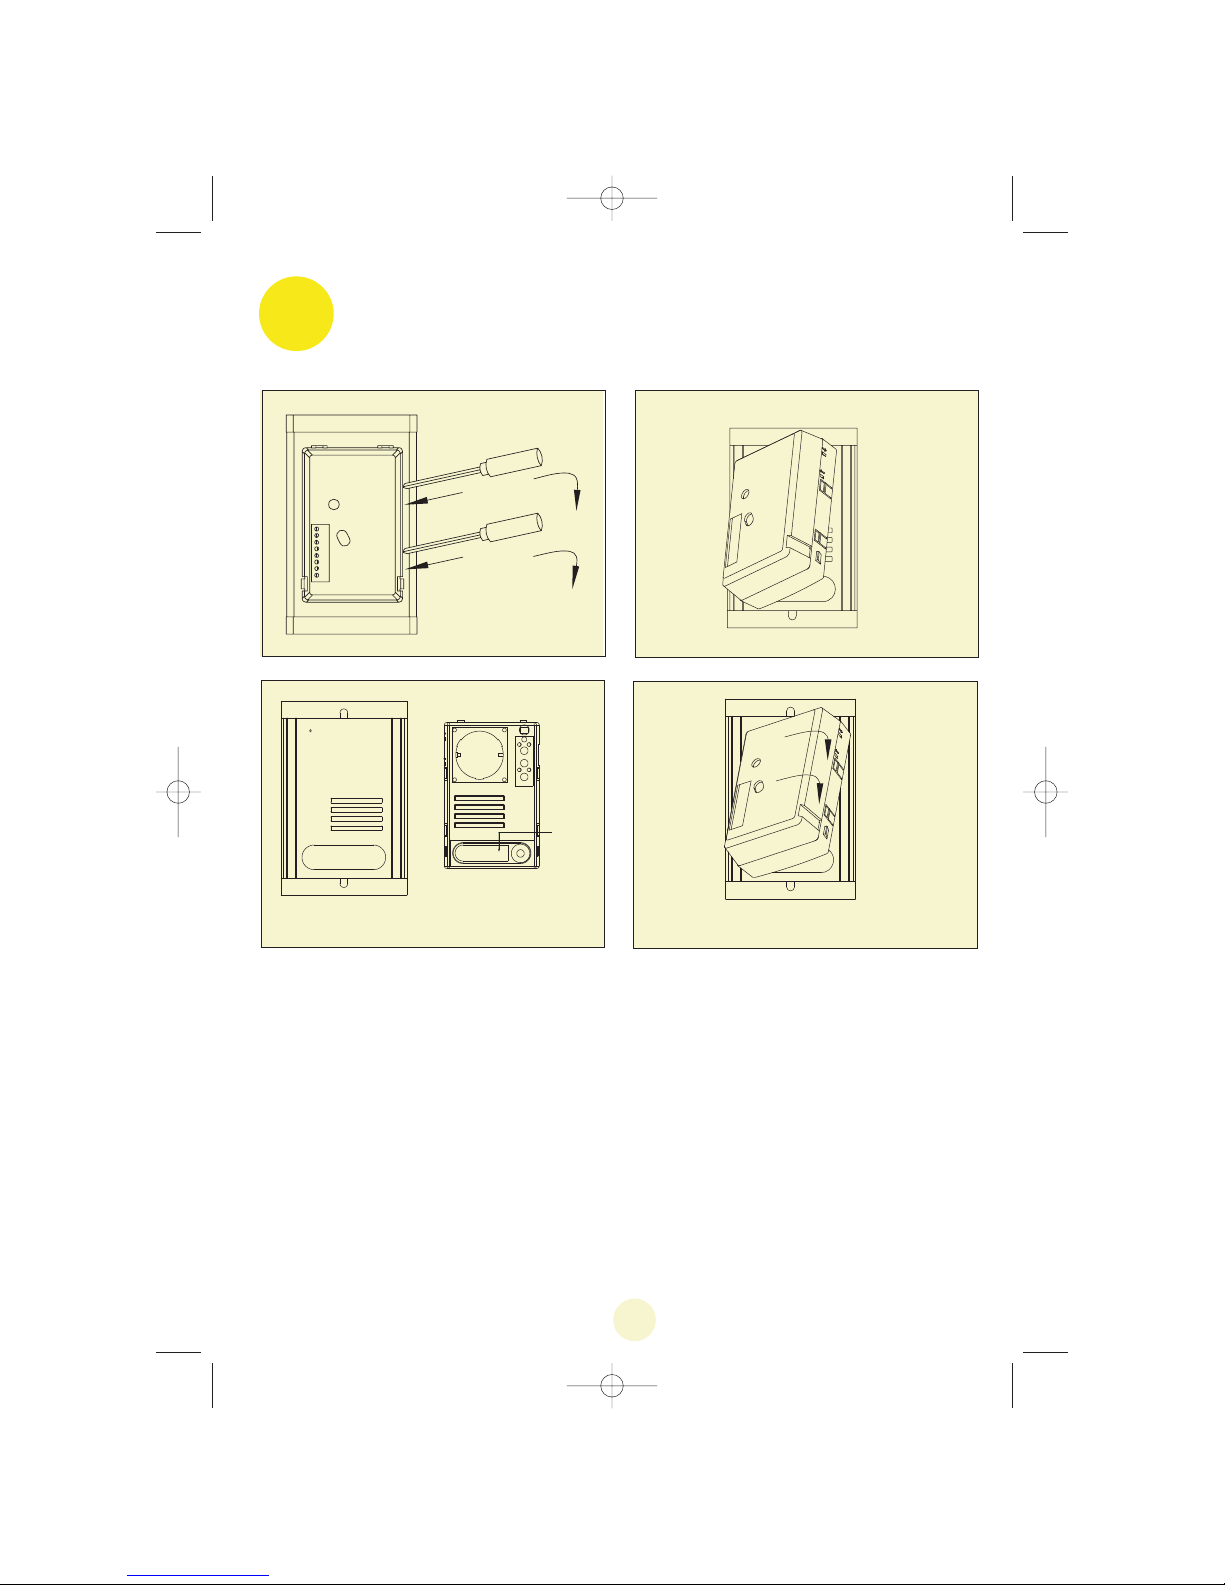
1. NAME PLATE ON THE CALL PANEL
a. Release the block (fig.1A et 1B).
b. The name plate is now accessible (fig. 1C).
c. Write the name on the name plate.
d. reassemble the block(fig. 1D).
NAME PLATE
3
Manuel wePA 241 - 06-2005 27/04/05 16:52 Page 5
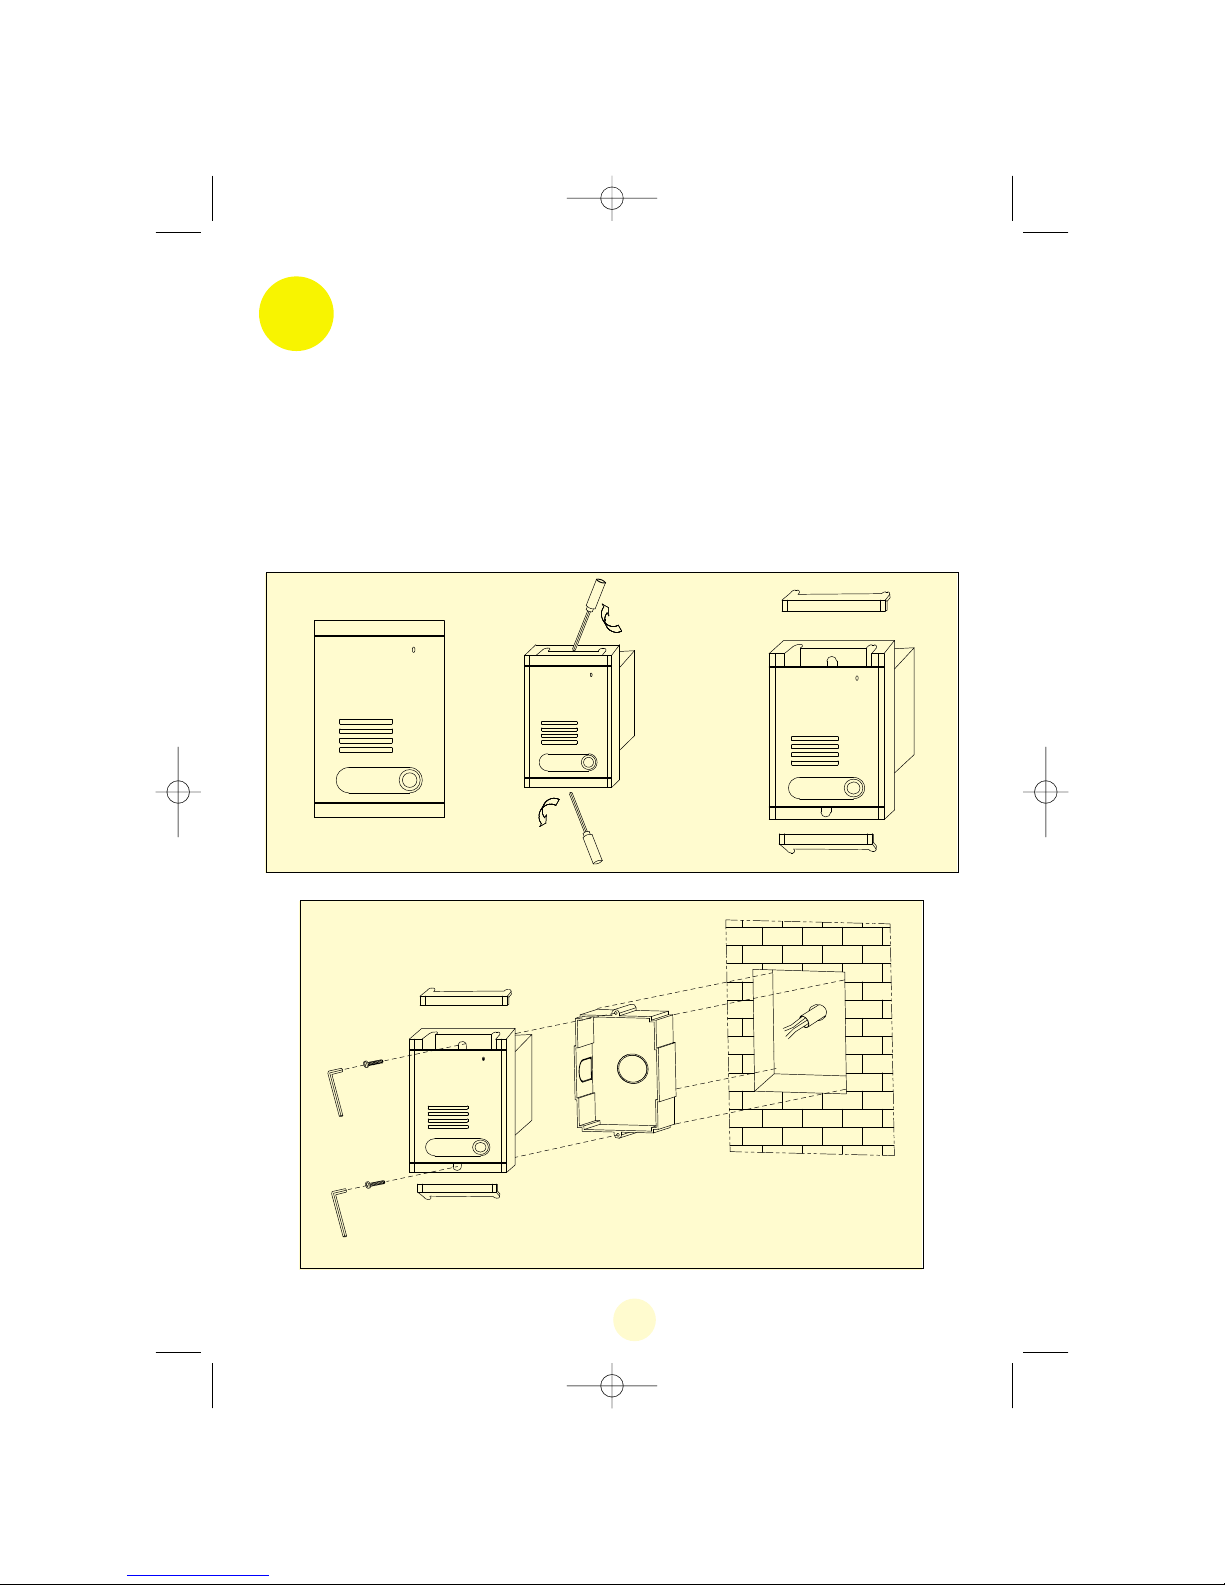
2. MOUNTING THE PANEL (FLUSH-MOUNTING)
a. Use a small screwdriver to open the screw cover flaps (fig. 2A, 2B et 2C).
b. Seal the flush-mounting box in the wall (cut out 88 mm x 142 mm
x 52mm), with the frame pressing against the surface of the wall (fig. 2D).
c. Carefully connect the wires to the terminals (no tools needed) as shown
on (fig.1 -p.6).
d. Use a spanner to attach the call panel with the two hex head screws
supplied.
e. Close the flaps to hide the screws.
2A
2B
2C
2D
 Loading...