

Videocon WallCam CCTV, WallCam Quick Setup Manual

AHD WallCam DVR
Quick Setup Guide
V-Con Intelligent Security Pvt. Ltd.
B-71 Phase VII, Industrial Area, Mohali -160055, Punjab (India)
Toll Free No. 1800 137 0030 I Email : customercare.wallcam@videocon.com
www.videoconwallcam.com
Welcome
Thank you for purchasing Videocon WallCam DVR! This manual is
designed to be a reference tool for the installation and operation
of our DVR. Before installation and operation please read the
following safeguards and warnings carefully!
Note: This document contains preliminary information and subject to change without notice.
H.264 AHD WallCam DVR
Certification & Compliance:
This equipment has been tested and found to comply with FCC,
CE, RoHS and ISO standards.
Warning
To prevent fire or shock hazard, do not expose the unit to rain or
moisture
CAUTION
RISK OF ELECTRIC SHOCK
DO NOT OPEN
CAUTION : TO REDUCE THE RISK OF ELECTRIC SHOCK, DO NOT REMOVE COVER (OR BACK).
THERE ARE NO USER-SERVICEABLE PARTS INSIDE.
REFER SERVICING TO QUALIFIED SERVICE PERSONEEL.
This symbol alerts the user to the presence of noninsulated dangerous volta ge withi n the product's
enclosure that may be of sufficient magnitude to
constitute a risk of electric shock.
This symbol alerts the user to the presence of important
operating and maintenance (servicing) instructions in the
literature accompanying the product.

1 PACKING DETAIL:- The content of the package include:
1 DVR - 1N
2 Power adapter & cable - 1N
3 Wireless Mouse - 1N
4 Remote - 1N
5 CD (USER Manual & Software) - 1N
6 Caution Stickers - 2N
2 HDD installation:-
1. Remove the screws of
both sides of the shell.
2. Extract the upper cover
of the DVR.
3. Place the HDD in
accordance with the
screw holes and connect
HDD & mother board.
4. Fix the screws of the
hard disk.
5. Close the DVR cover. 6. Put the screws on both
sides of the shell.
HDD
Data Cable
HDD
Power Cable
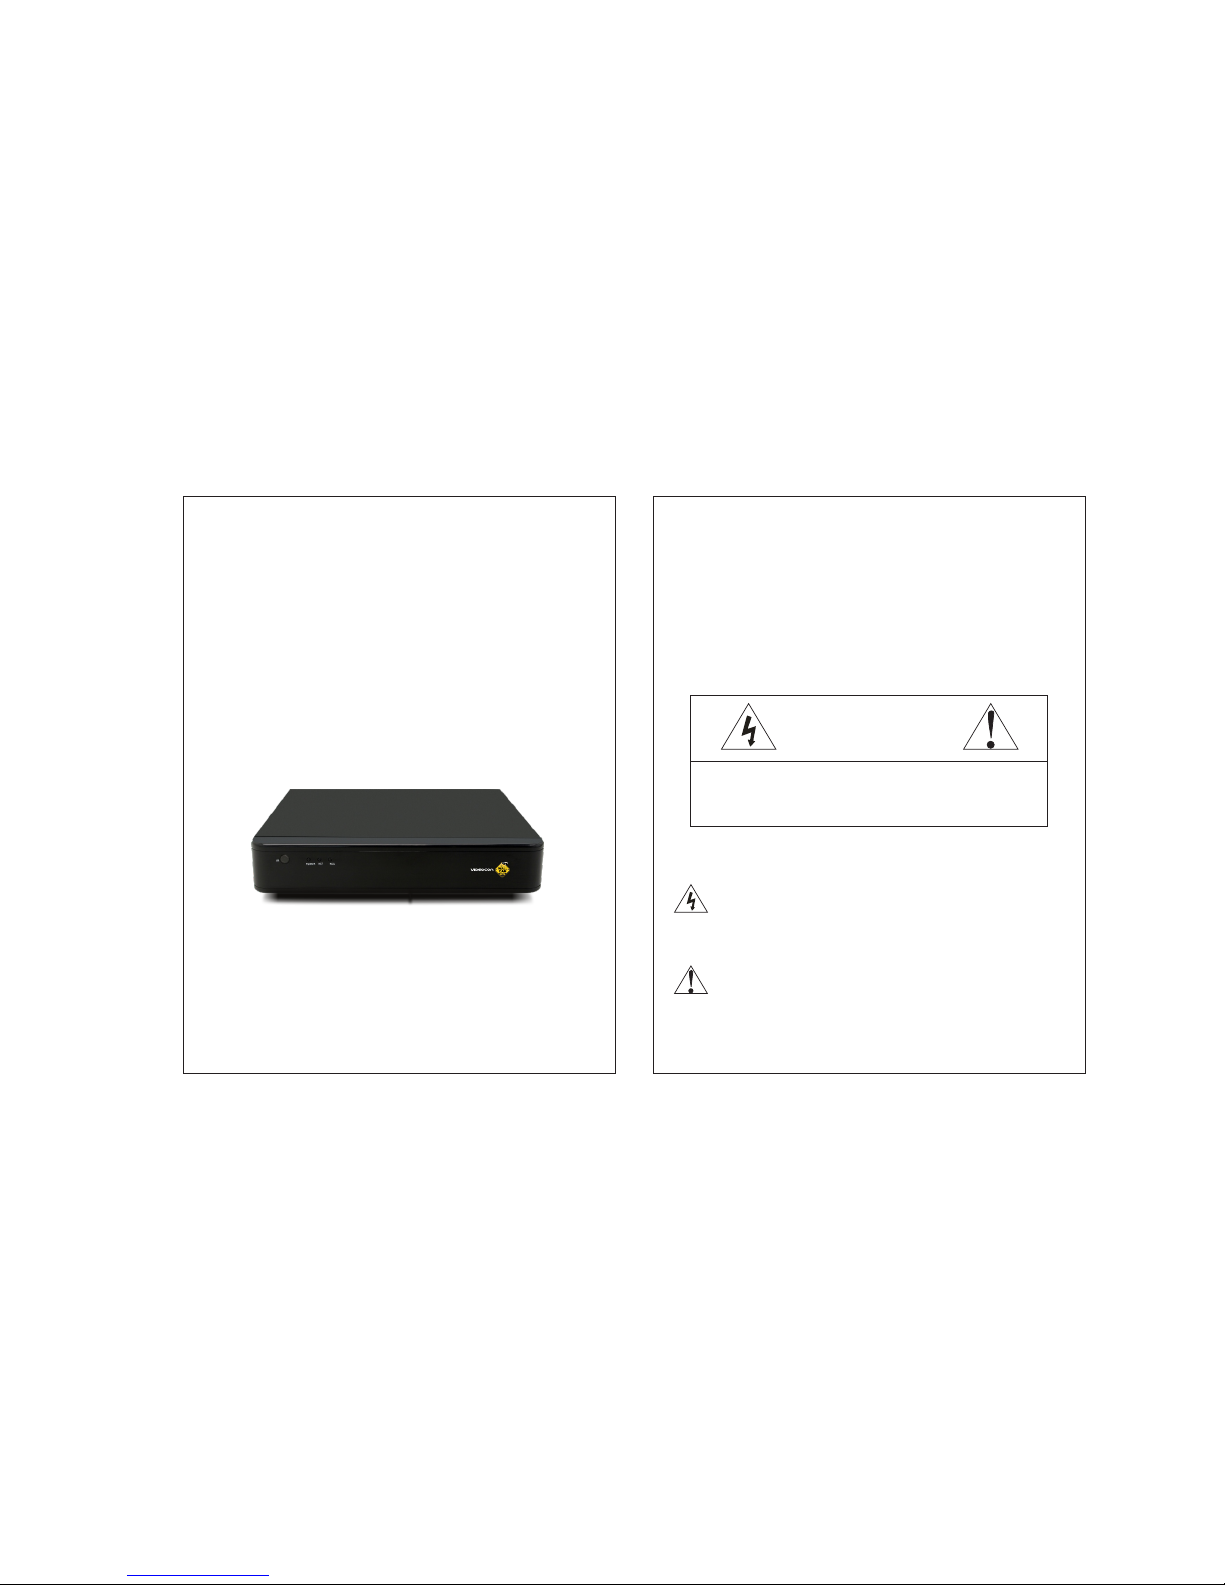
3 Front Panel:-
1
2 3 4
1
Infrared (IR)
Becomes active while using remote.
Power indicator light
2
The red light will be ON when the power
connection is ok.
3
The red light will be ON when the DVR
is connected to network.
Network status indicator
light
4
The red light will be ON when the
recording is ON.
Recording indicator light
SN
Indicator
Function
 Loading...