

Video Associates Labs VALCam USB Quick Start Manual

VALCam USB with Flash
Introduction
Thanks for purchasing the VALCam USB, the first image acquisition system
designed specifically for photo-ID and visual database applications. All
camera controls (pan, tilt, zoom and exposure level) are available from the
mouse or keyboard. Manual positioning of the camera is eliminated for
increased operator efficiency.
The VALCam Professional also includes One Click Auto Centering.
Double click on the subject’s nose and the camera will immediately center
itself in under a second.
In addition to hands off control, the VALCam USB provides a synchronized
photoflash for consistent high quality image acquisition in any environment.
Software controls are provided for flash intensity and flesh tone adjustments
making the acquisition of top quality images a snap. High quality captures
with perfect skin tones and exposure can be obtained effortlessly in any
environment, even dark rooms!
Video Associates Labs, Inc.
11525A Stonehollow Dr., Suite 130
Austin, TX 78758
1-800-331-0547
www.VAL.com
Features Include:
• One Click Auto Centering on USB Professional
• Complete SDK available on request
• Complete USB hardware interface
The only connection to the computer is a USB cable
• Mouse control of pan, tilt, zoom and exposure in Pan/Tilt/Zoom
version. Zoom in/out for the Zoom version.
• Uses optical pan, tilt, zoom for highest resolution.
• Synchronized photoflash with software control of flash exposure
and flesh tones. Perfect captures even in dark rooms.
• Hassle free integration of photoflash.
• Includes 32 Bit Twain Driver. Optional Software Developers Kit
available.
• Will work in all major Windows photo ID and imaging
applications.
• High-resolution single chip CCD array (796x494).
• Auto Focus, S-video output.
• Available in both NTSC and PAL video standards.
Quick start instructions for hardware and software installation are provided.
A trouble-shooting guide will help resolve any installation and operational
problems. The Imaging Hints and Tips section will help the end user
achieve high quality captures.
If technical support is needed please contact:
Video Associates Labs, Inc.
Phone: 800-331-0547
Fax: 512-491-7619
support@val.com
Email:
2
Parts List for available VALCam products:
8500-630 VALCam Pro with Flash
High resolution Pan/Tilt/Zoom Camera
External USB interface box
Multi-cable interconnect
Hi Intensity Photo-Flash
Universal mounting bracket for flash
USB cable
4 Port USB Hub
Brick power supply for USB interface box
Instruction Manual
Installation Disk
8000-630 VALCam Pro with Flash
High resolution Pan/Tilt/Zoom Camera
External USB interface box
Multi-cable interconnect
Hi Intensity Photo-Flash
Universal mounting bracket for flash
USB cable
4 Port USB Hub
Brick power supply for USB interface box
Instruction Manual
Installation Disk
8000-628 VALCam Zoom with Flash
High resolution USB Zoom camera
Hi Intensity Photo-Flash
USB cable
4 Port USB Hub
Brick power supply for camera
Instruction Manual
Installation Disk
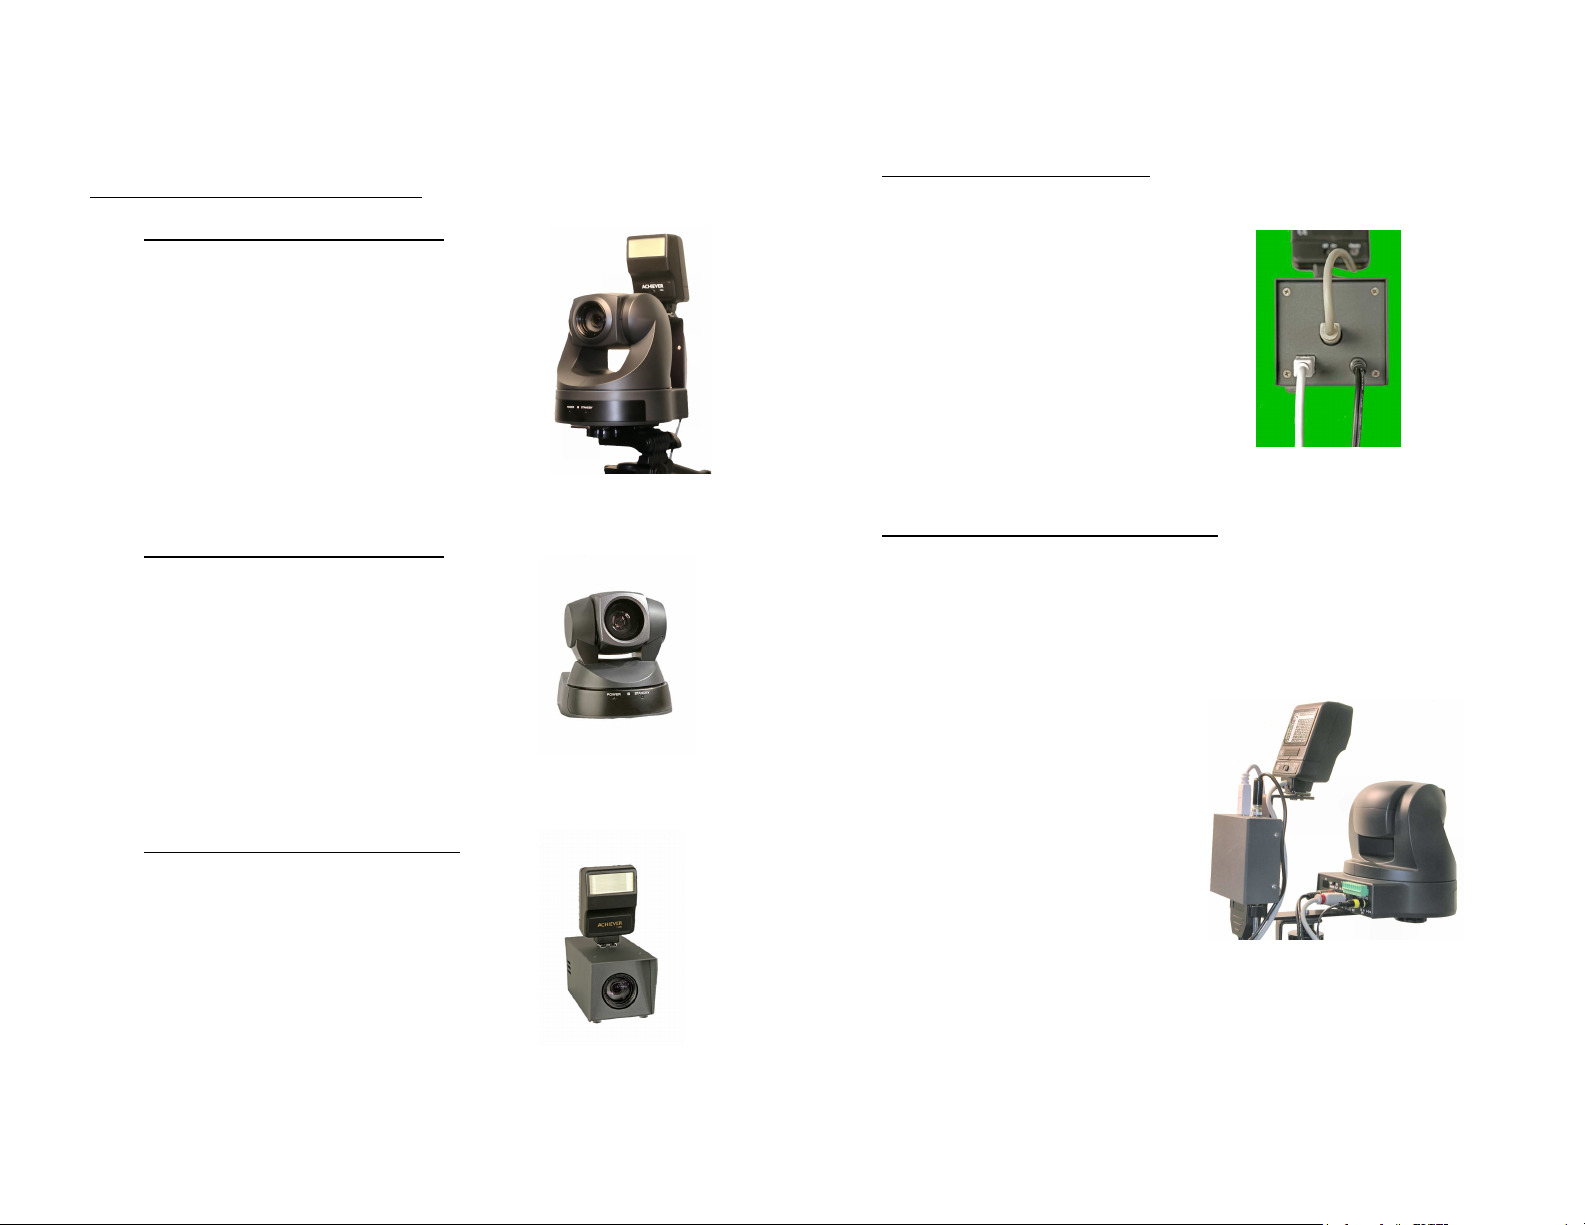
Installing the VALCam USB Zoom
1. Do not connect the camera to the computer until after software
installation.
2. Mount the photoflash to the hot-shoe
connector on top of the camera.
3. Connect the flash cable to the matching
receptacle on the back of the camera.
4. Connect the power adaptor to the
matching connector on the back of the
camera. Plug the power adaptor to a wall
socket.
5. Connect the USB cable to the back of the
camera.
Do not connect the USB cable to the computer.
Installing the VALCam USB Pan/Tilt/Zoom
1. Do not connect the camera to the computer until after software
installation.
2. Attach the flash-mounting bracket to the bottom of the camera. Use
the knob on the bottom of the flash bracket to secure the attachment.
3. Attach the complete unit to the
tripod.
4. Attach the photoflash to the hot-
shoe connector on the flash
bracket.
5. Locate the camera multi-cable.
6. Connect the brown S-video
connector on the multi-cable to the
matching S-Video connector on
the camera. Verify that the connector is properly oriented and gently
insert the connector. Do not force the connection.
7. Connect the red Visca connector to the matching red connector on
the camera.
3
4
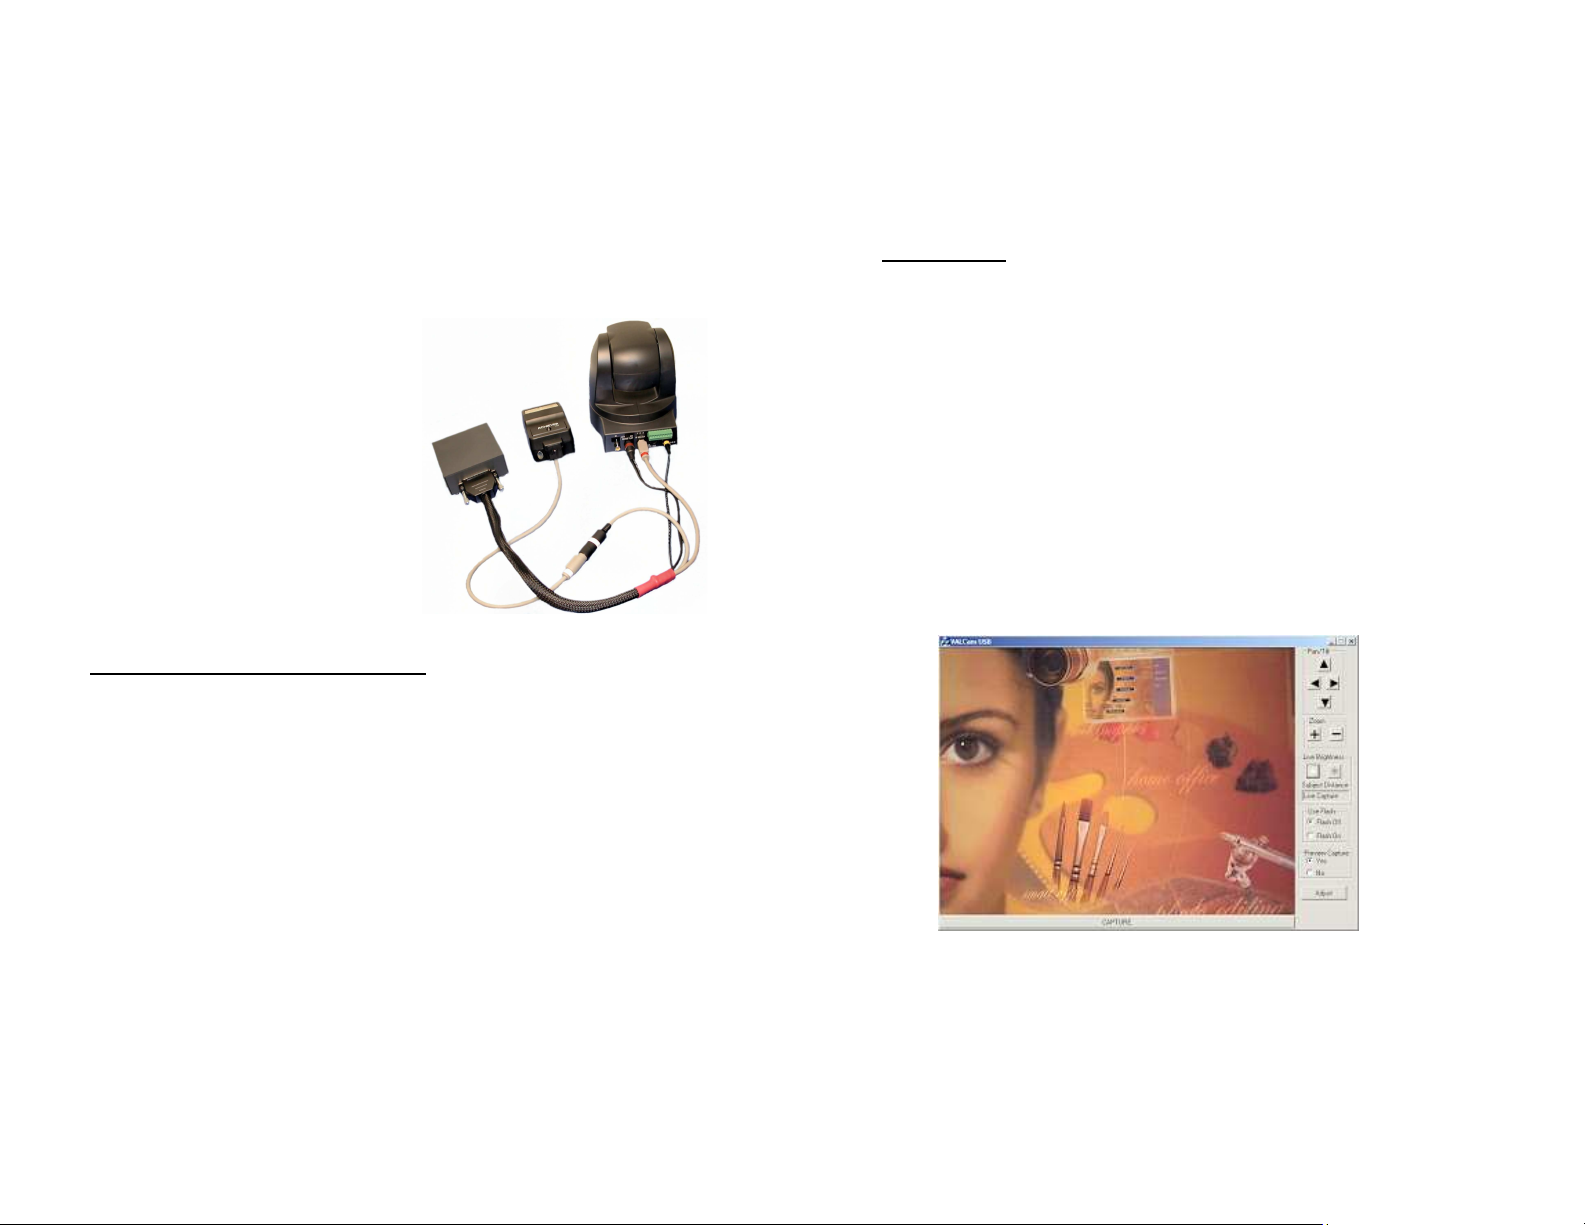
8. Connect the yellow power connector to the matching yellow connector on
the camera.
9. Connect the photoflash cable to the matching white connector on the multi-
cable.
10. Connect the 25-pin connector on the multi-connector to the USB converter
box.
11. Connect the power supply to the
USB converter box.
12. Connect the USB cable to the
converter box. Do not connect the
other end of the USB cable to the
computer.
13. If desired the external USB
converter can be removed from the
flash bracket. An extended 10 ft
cable is available from Video
Associates.
Final Installation for Win XP and Win 2000
1. Run Setup VALCam USB.EXE located on the installation CD.
2. Verify that the camera is configured as described above. Make sure the
power supply is connected and plugged in to a wall outlet.
3. Verify that the USB cable from the Zoom camera or the converter box is
attached. Plug the USB cable to your computer USB port.
4. The computer will find new hardware and install the device. Answer Yes or
Continue if you are queried during the installation.
5. The installation process will install 2 devices before the process is
completed.
6. You can confirm the installation by opening Device Manager and noting the
“VALCam USB Camera” listed under “Imaging Devices”
NOTE: When upgrading software ALWAYS UNPLUG THE POWER
SUPPLY CONNECTOR before installing the new software. Plug in the
5
Power Supply Connector after the software upgrade is installed.
Camera firmware will not be upgraded unless this procedure is
followed.
Basic Operation
1. Confirm that the display settings of your computer are set to 24 or
32-bit color (16 bit is not recommended).
2. Click on START->PROGRAMS->VALCam USB and start the
application.
3. The application will determine if the DirectX version installed on the
computer is capable of using the camera. If the version needs to be
upgraded, an error message will be displayed. The Microsoft DirectX
upgrade is provided on the installation CD. If necessary run the
DirectX upgrade and restart the camera application.
4. The VALCAM ID capture control box will appear. If you receive an
error message or the capture control box does not appear
displaying live video, consult the troubleshooting guide.
6
 Loading...