

Victory Motorcycles 2873551 Application Data
OIL CHANGE KIT
KIT PN 2873551
Application
All Victory Models
Before youbegin, it is very important thatyou readand understand these instructions. Make sure you follow
them exactly. Make certain all parts and toolsare accountedfor. Please retainthese installationinstructions
for future reference and parts ordering information.
Qty.
6* Victory Engine Oil, Qt., Synthetic Blend 2872175 *NO TE: O il capacity varies by
model. Refer toOwner’s Manual orService Manualfor engineoilcapacity. Donot over-fill.
1 Oil Filter (All Models) 2540086
1 Washer, Drain Plug (1999-2000) 7556039
1 O-Ring, Drain Plug (2001-2002) 5412020
1 Washer, Drain Plug (2003-Current) 5812232
1 Instruction 9916735
You will need to supply:
Oil Filter Wrench
14mm Allen Wrench (1999-2001) Torque Wrench
3/8 Square Drive Breaker Bar or equivalent (2002) Oil Drain Pan
6mm Allen Wrench (2003-Current) Shop Cloth
Theengine and exhaust systembecome veryhotduring operation andremains hot foraperiod of time
after the engineis shut off. Wear insulated protection for hands and arms orwait until the engineand
exhaust system have cooled before working on the machine.
Part Description Part No.
CARBON MONOXIDE Never runan enginein anenclosed area. Exhaust contains poisonouscarbon
monoxidegasthatcancause loss of consciousnessandmayleadtodeath. If youmust runtheengineto
dosomerepairs,dosoinanopenareaorwithan exhaust evacuationsystemconnected andfunctioning
properly.
Theengine exhaustfrom thisproductcontains chemicalsknown to causecancer,birthdefects orother
reproductive harm.
Do not put in any chemical additives. Victory’s motorcycle oil has been specifically designed for this
application and any additional additives are not necessary and have not been tested by Victory. Do
not allow foreign material to enter the crankcase.
-- 1 --
NOTE: Make certain motorcycle kick stand is stabilized on a flat surface.
IMPORTANT: Perform all items correctly and completely.
1. Warm up the engine for several minutes.
2. Stop the engine. Securely support the machine on its
sidestand. IMPORTANT: Take the proper precautions
sothemachinedoesnottipwhileworkingon it. Placean
oil pan under the engine and loosen the oil fill cap /
dipstick.
1
2
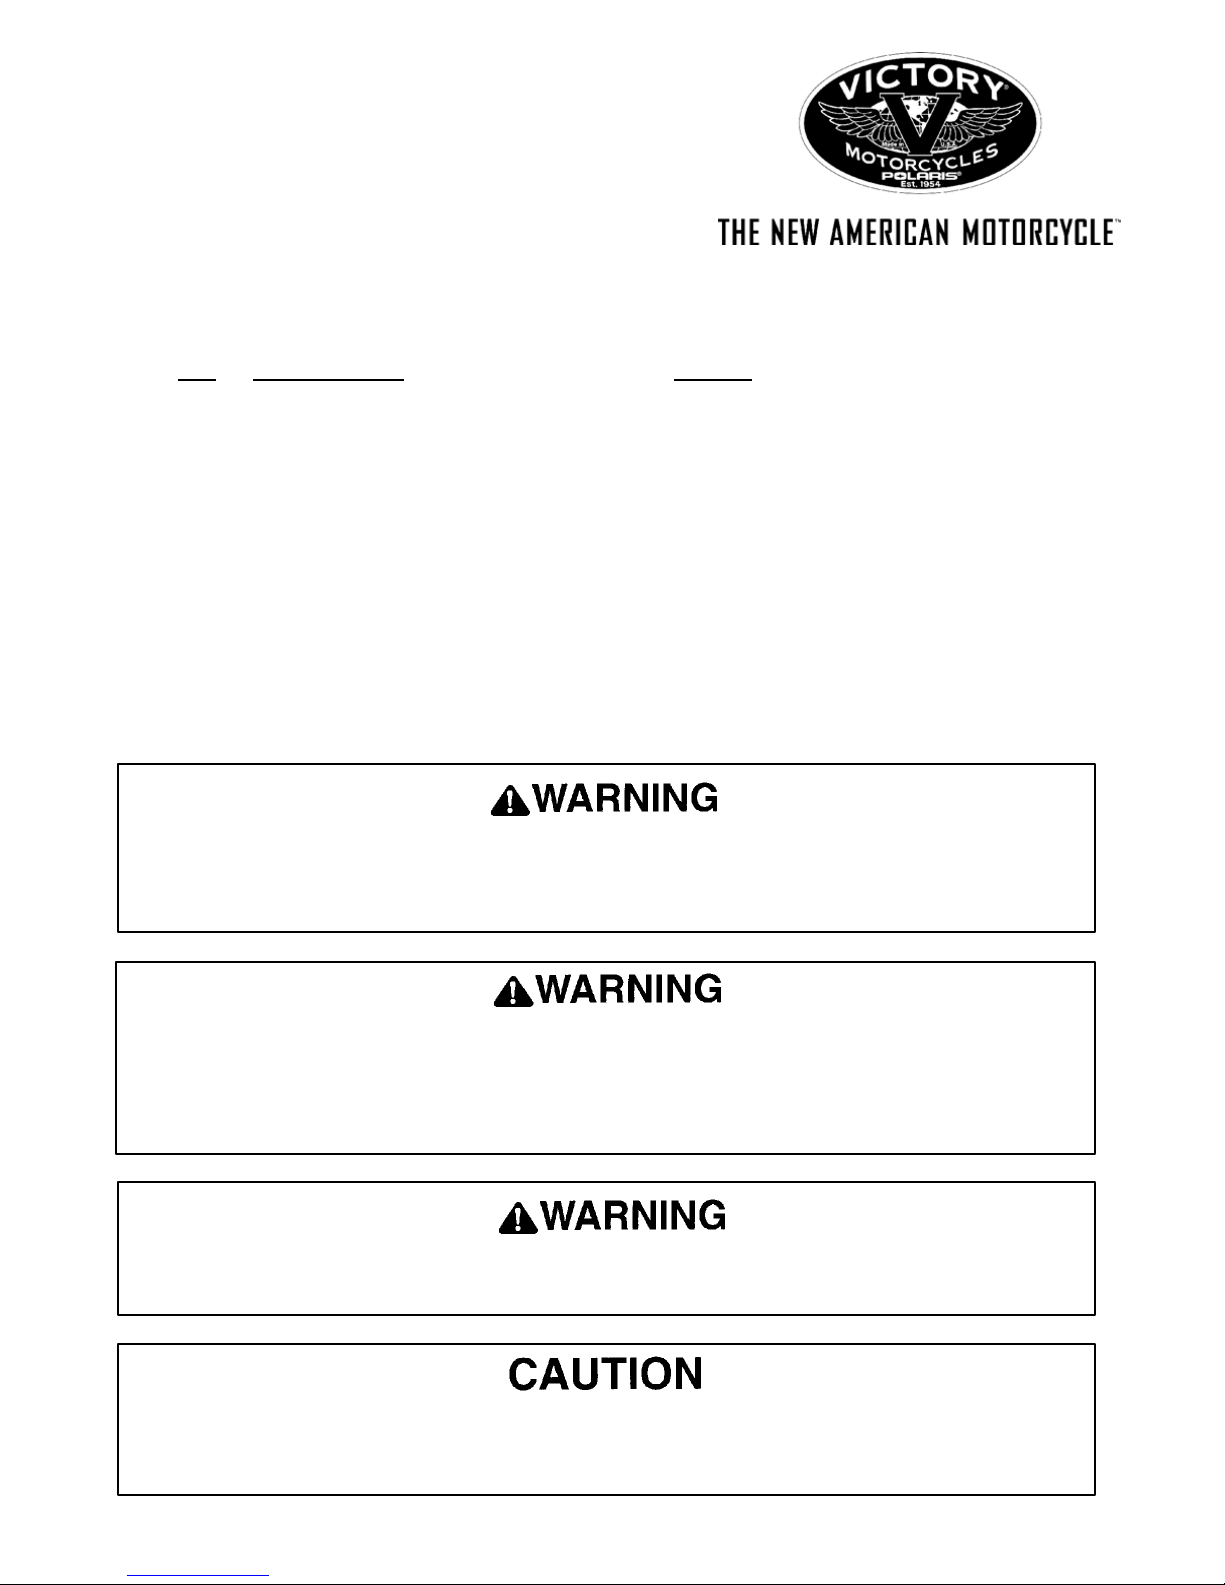
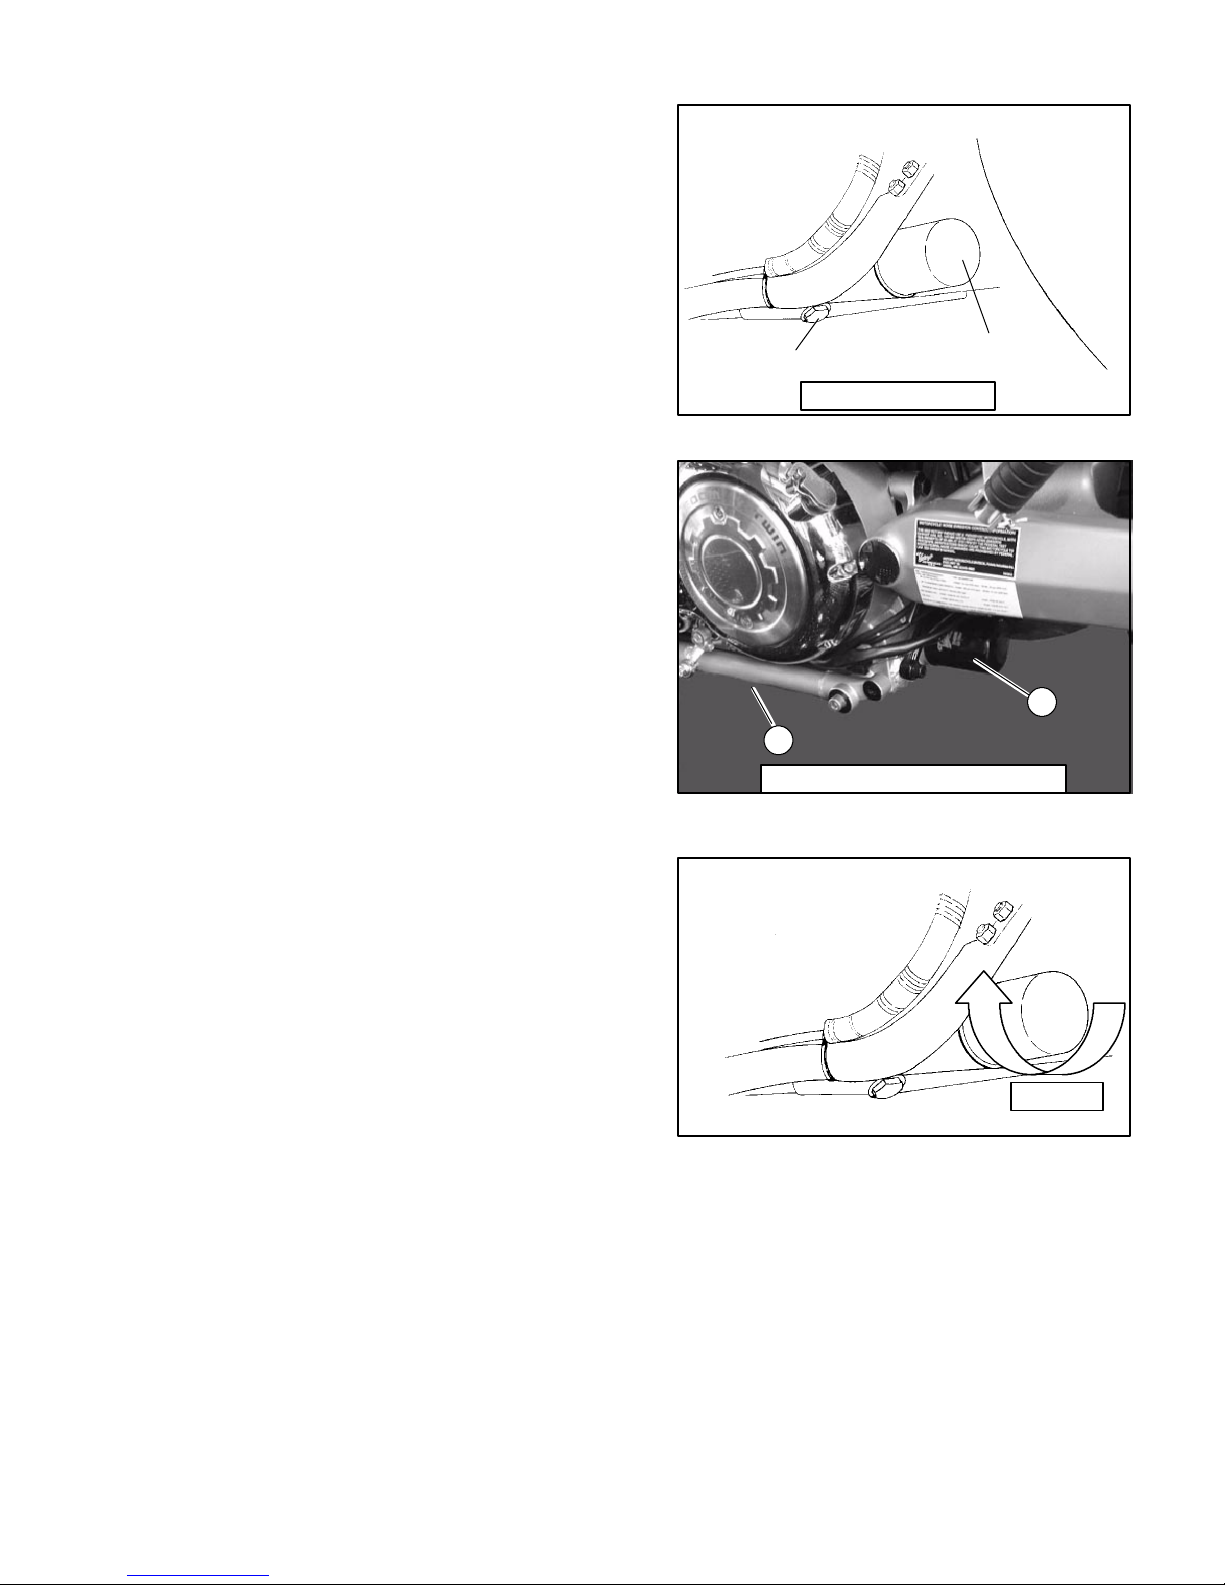
3. Remove the drain plug (1) and drain the oil.
4. Remove the oil filter (2).
5. Reinstall the drain plug with a new sealing washer or
O-rIng from the kit. Torque drain plug to the
specification listed in the Owner’s Manual or Service
Manual.
6. Applya light coatofengine oil totheO-ring of thenewoil
filter. Make sure the O-ring is seated properly in the
groove on the filter.
7. Install filter and tighten it 3/4 of a turn after O-ring
contacts engine case.
8. Remove the fill cap /dipstick and fillthe engine with the
amount of oil recommended in the Owner’s Manual or
Service Manual and reinstall the dipstick / filler cap.
1999-2001 Models
1999-2001 Drain Plug Location
2
1
Freedom Engine 2002-Current
9. Start the engineand warm it up for several minutes and
check for leaks. If any leaks are found, stop the engine
and determinethe sourceof the problembefore starting
the engine again. Contact your Victory dealer if you
cannot determine the source of the leak.
NOTE: After the engineisstarted, theoilindicator lightshould
go off. If the indicator lightflickers or remains on, immediately
stop the engine and take your motorcycle to a V i ctory dealer.
10. Stop the engine and inspect oil level (refer to the
Owner’s Manual or Service Manual).
11. Install the fill cap / dipstick and tighten securely.
PN 9916735 Rev 03 7/05
Printed in U.S.A.
3/4 turn
-- 2 --
 Loading...