

Victor Tools MJHG017 Instructions For Use Manual
Electric Weed Burner 11253 Instructions for Use
Please read and retain these instructions for future reference v003: 25/06/19
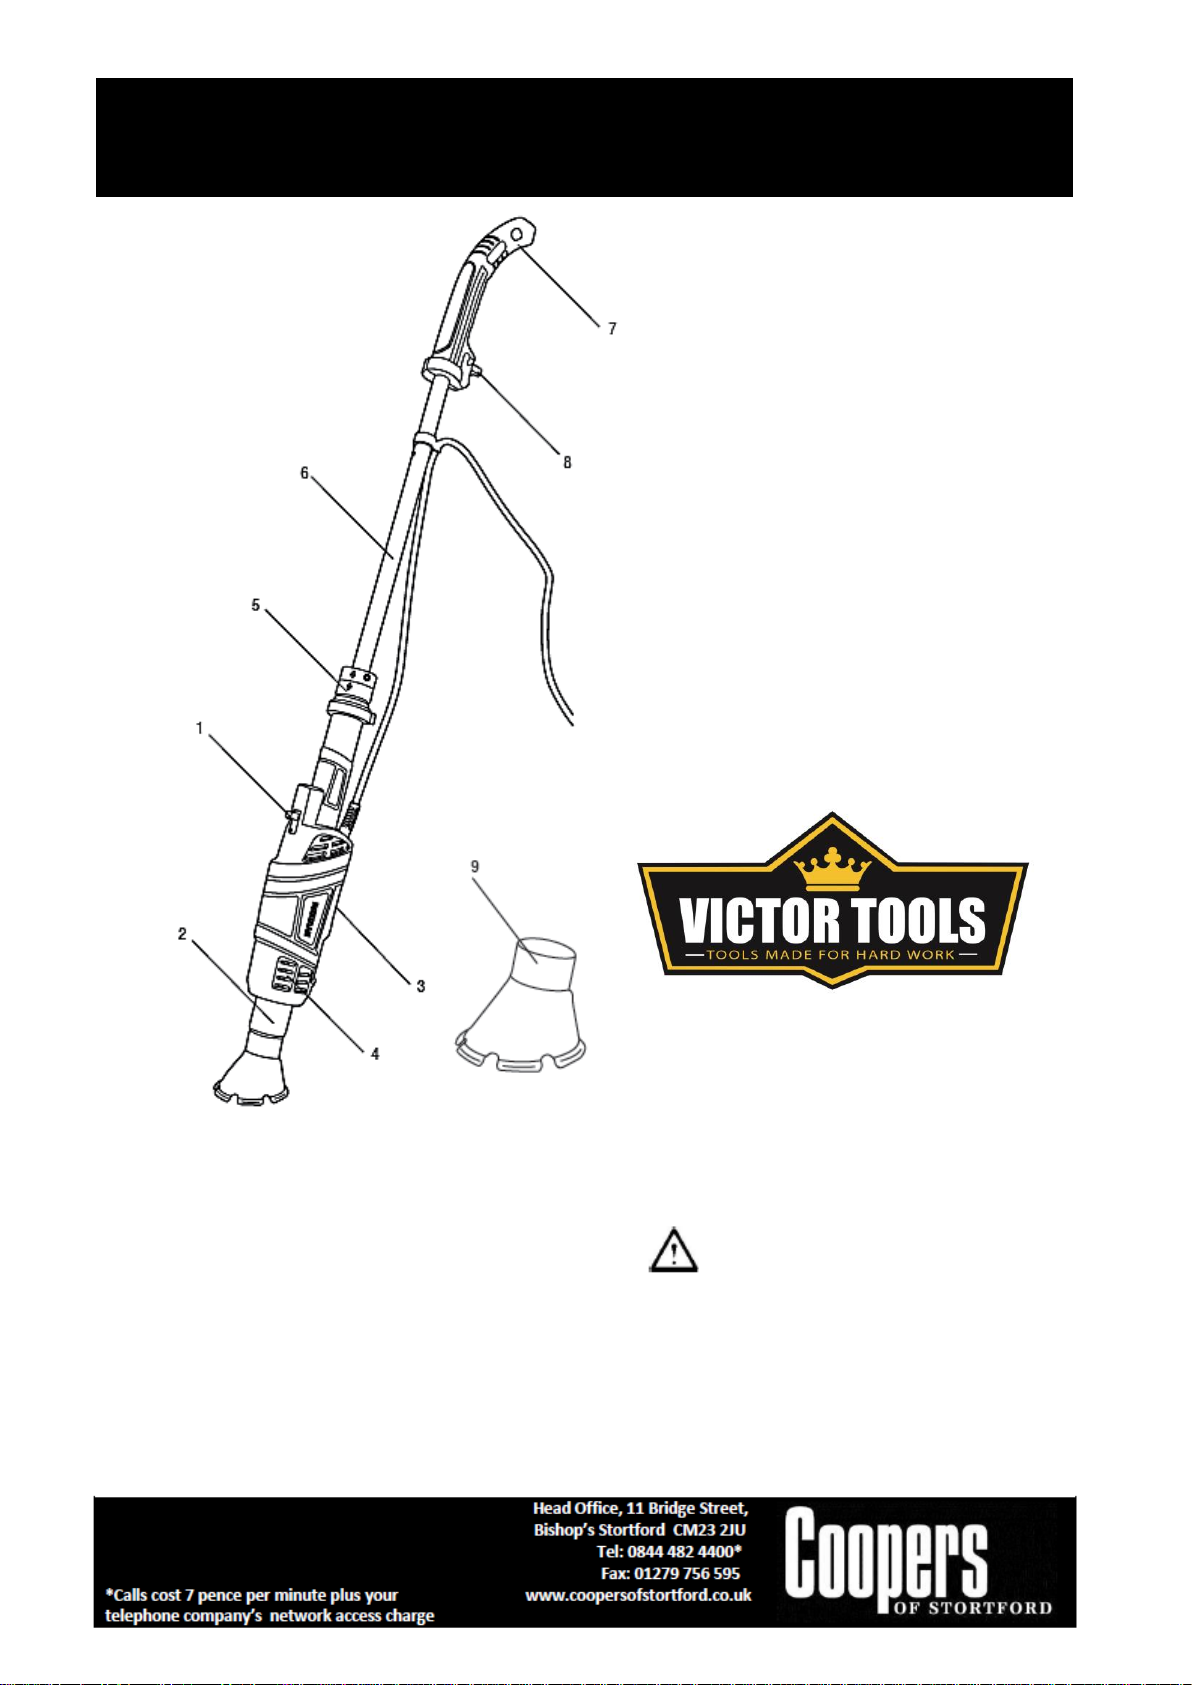
1. On/off switch
2. Hot air outlet
3. Stand
4. Ventilation openings
5. Extension handle connection
6. Extension handle
7. Handle
8. Cord retainer
9. Outlet
A
Warning: This weed burner gets hot in
use. Please use heat resistant gloves and keep
away from flammable materials.
Use this appliance for the intended purposes only!
Any forms of use can lead to injuries or accidents!
Power Details:
Mains voltage: 230-240V a.c.
Mains frequency: 50Hz
Power input: 2,000W
Number of temperature settings: 2
Max air temperature: 50/600°C (230V)
78/635-724°C (240V)
Air speed: 500 l/min
Weight: 1.75kg
Electric Weed Burner 11253 Instructions for Use
Please read and retain these instructions for future reference v003: 25/06/19
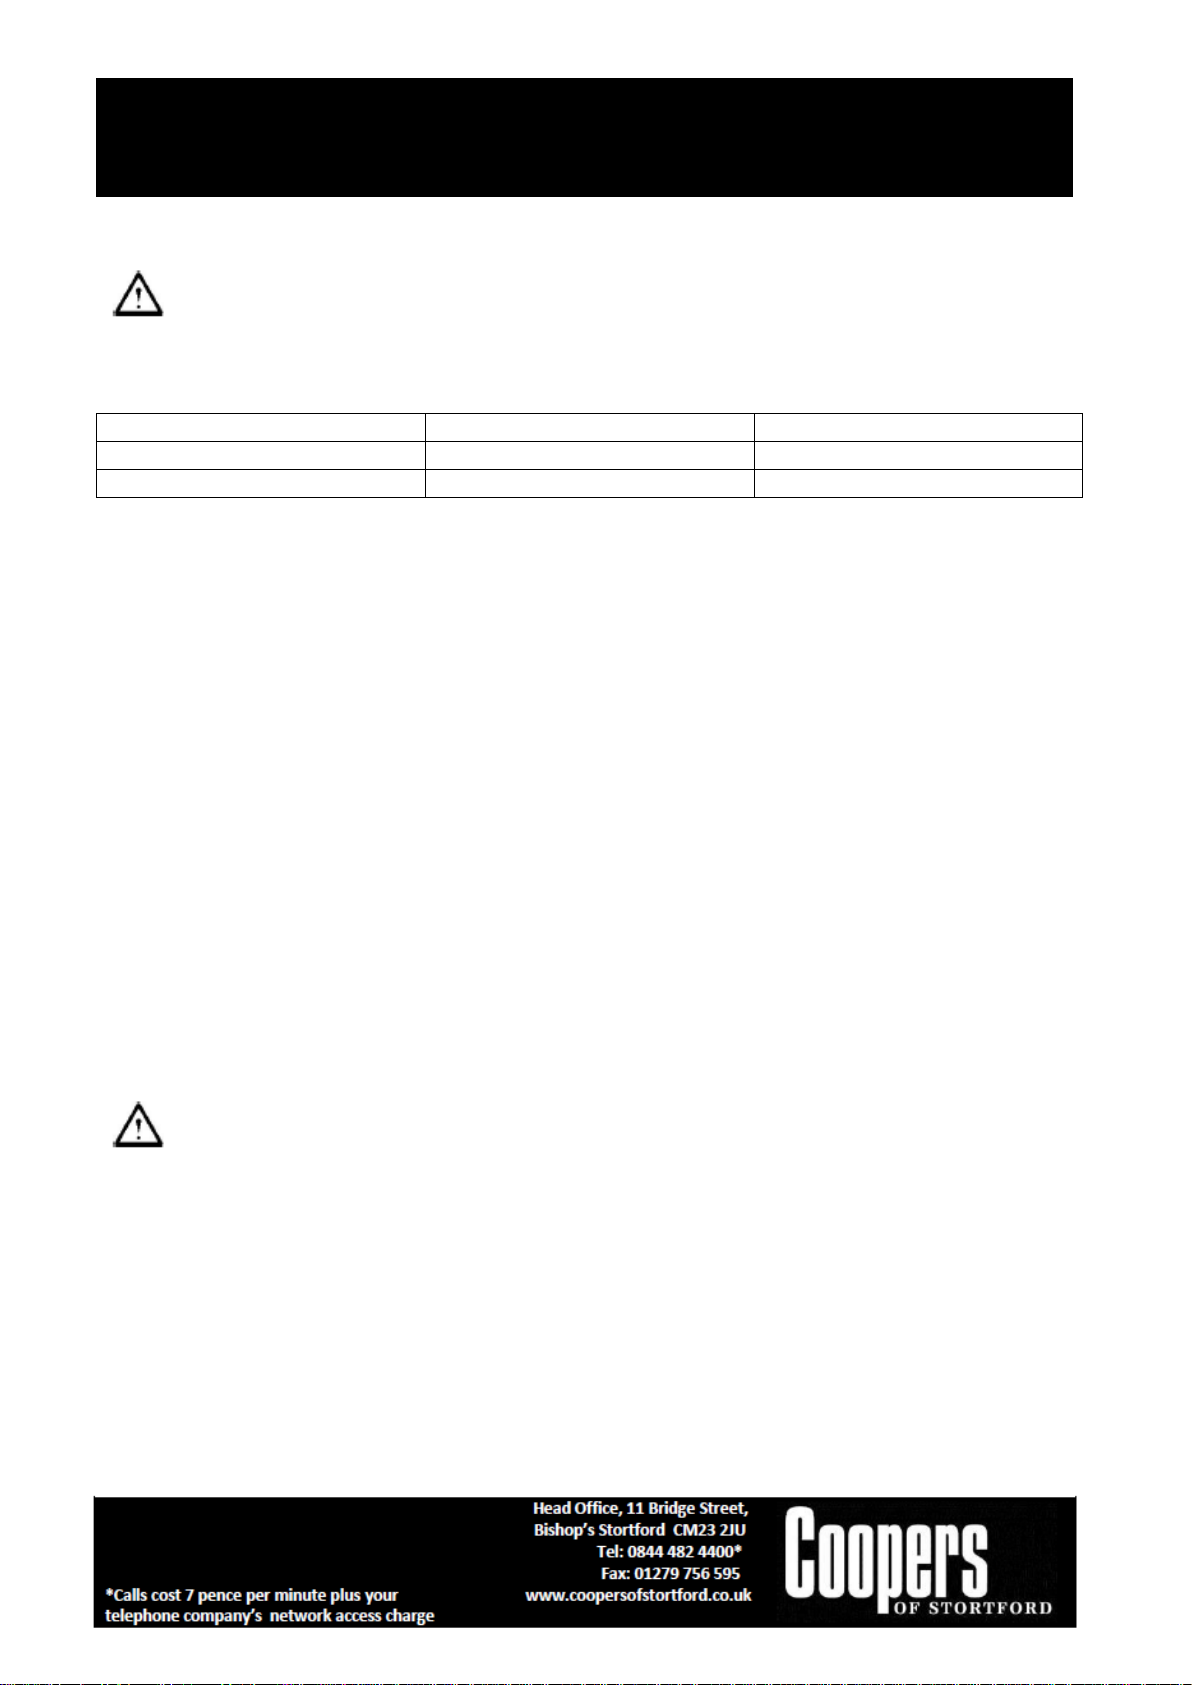
Always use with caution! Do not cover the ventilation openings during use as it causes a risk of
burns! Do not touch the hot outlet!
230V
240V
Setting I
50°C (venting/cooling)
78
Setting II
600°C
635-724°C
You must use the extension handle. Hold the weed burner firmly by holding the end of the
extension handle.
Operation
Temperature settings
With the temperature switch (1) you can select from two temperature settings.
The volume of air on either setting is 500 l /min.
To turn on the power
• Push the switch (1) in position I or position II.
To turn off the appliance
• Push the switch on position 0.
To install the outlet
The outlet can easily be pushed over the hot air outlet. Never touch the outlet during or immediately after
use of the device. It is very hot. Always fit and secure the outlet before use!
INSTRUCTIONS FOR USE
Assemble the extension handle:
The extension handle consists of two parts. Connect both parts and attach the extension handle to the
device. To attach the extension handle, place the extension handle in the machine and turn it a quarter
turn to the right. Make sure that the extension handle firmly clicks into position. Once assembled the
extension handle connection and extension handle cannot be separated.
Ensure that the device is turned off.
• Install the outlet (9) to destroy weeds.
• Insert the plug into the socket.
• Check to ensure the outlet is not blocked before turning the device on.
• Set the temperature to setting II.
• Allow the device about 45 seconds to warm up.
• To eliminate weeds, hold the outlet over the weeds and slowly rotate around the weed for about 3
seconds. During these 3 seconds the cell structure of the weed is destroyed. As a result, the weed dies
within a few days. For best results hold the weed burner above the weed and lower until it is about
5mm from ground. Do not point the weed burner on the same area for extended period of time due to
fire risk.
• It is not necessary to completely burn the weeds, 3 seconds is more than sufficient.
Electric Weed Burner 11253 Instructions for Use
Please read and retain these instructions for future reference v003: 25/06/19
Read all safety warnings and all instructions. Failure to follow the warnings and instructions may
result in electric shock, fire and/or serious injury. Save all warnings and instructions for future
reference.
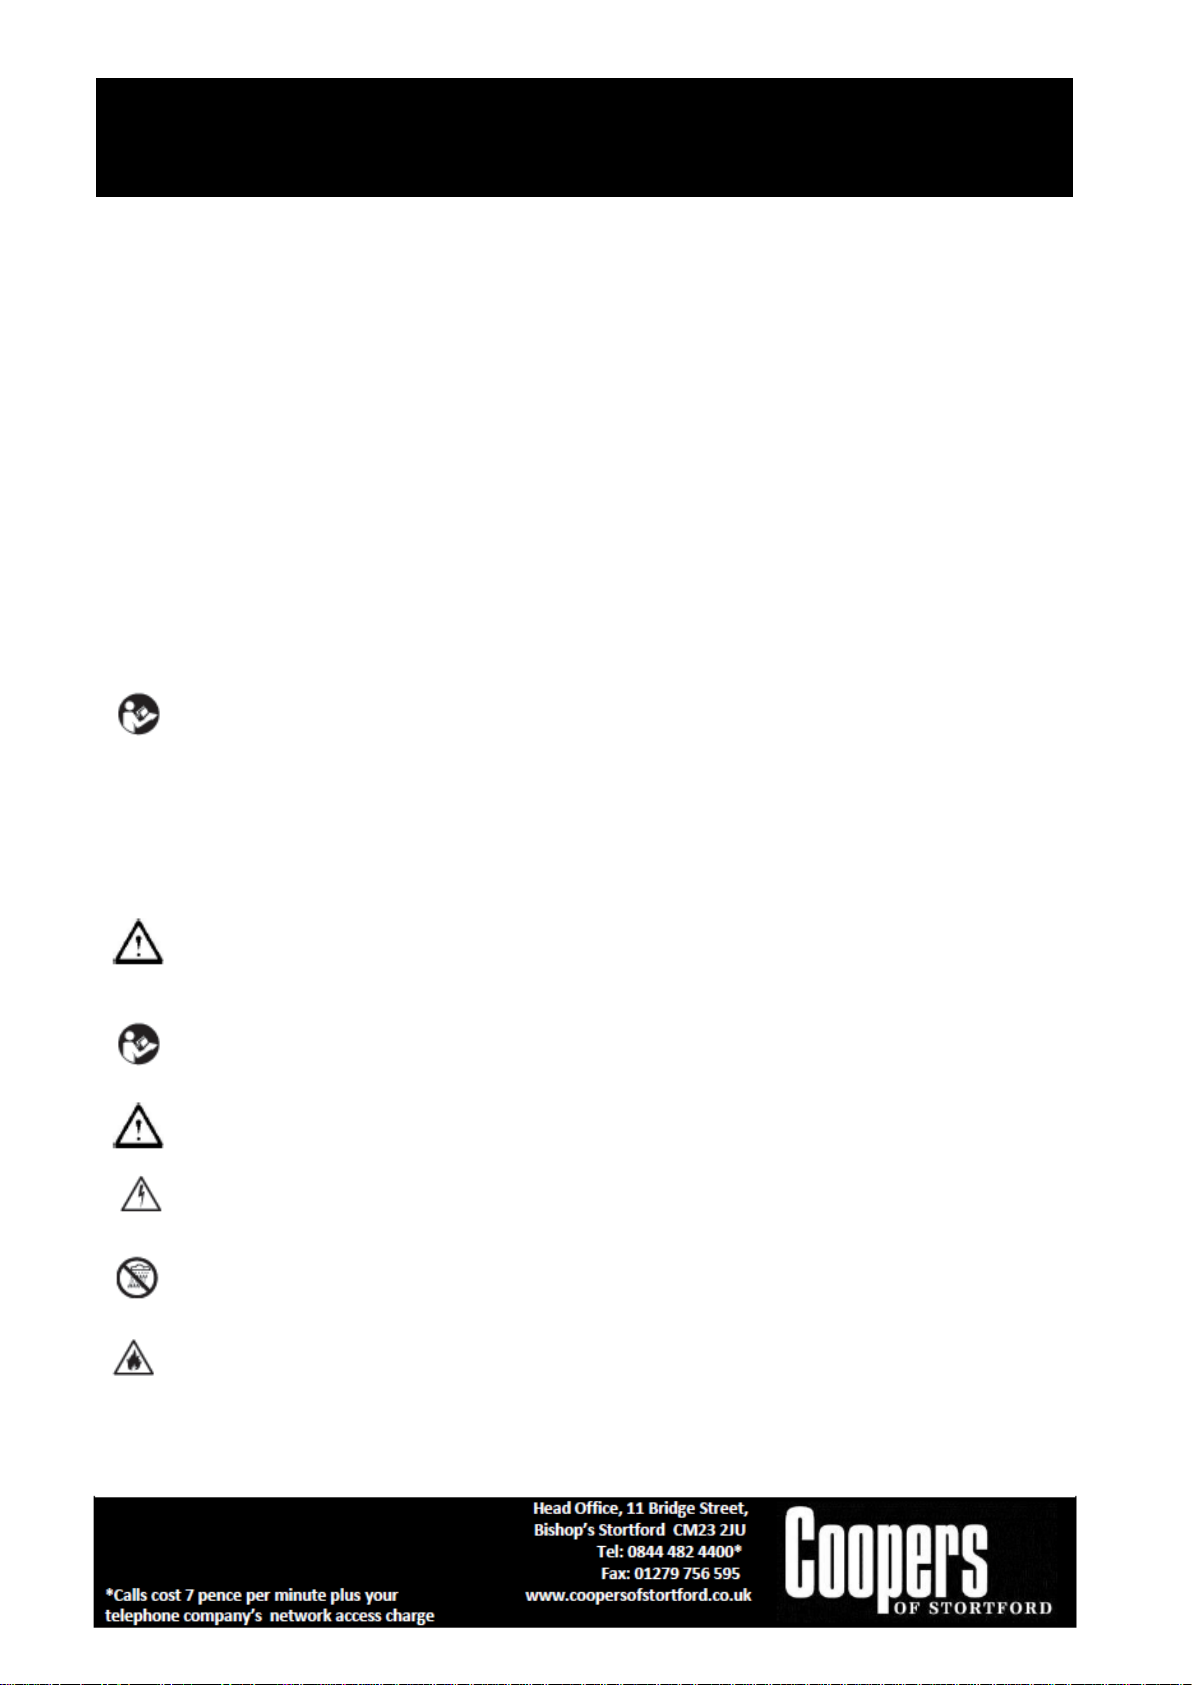
Denotes risk of personal injury or damage to the machine.
Explanation of the symbols
Warning! Read the user manual.
Denotes risk of personal injury, loss of life or damage to the tool in case of non-observance of the
instructions in this manual.
Indicates electrical shock hazard.
Do not expose to rain!
There is a fire hazard.
• For an efficient treatment the outlet should be held around 0 to 5 cm above the weeds.
• The effects are not visible immediately but will take a while before they can be seen. It is more of a
long-term effect.
• In the case of very leafy plants, the treatment may have to be repeated several times at intervals of 1 -
2 weeks.
COOLING DOWN
With the aid of the stand (3), it is possible to lay the appliance down while it is cooling.
• Leave device to run for at least one minute in setting I.
• Switch off the device and leave to cool.
• Pull the plug out of the socket.
• Allow the appliance to cool down completely.
• Remove the accessories.
• Once completely cooled item can be safely stored.
WARNING
SAFETY WARNINGS
When using the machine, always observe the enclosed safety warnings as well as the additional safety
warnings.
The following symbols are used throughout this manual:
 Loading...