

Victorinox Ambassador 241189, Air Boss 24832, Dive Master 241353, Dive Master 241354, Dive Master 241355 Instructions Manual
...
I N S T R U C T I O N S
A ND
WA R R A N T Y
English 2-19
Français 20-38
Español 39-57
Brasileiro 58-71
72-85
86-99
100-113
114-127
128-141
Authorized service centers 142-151
USA and Canada Repair Coupon 155-156
1
English USA Basic VSA 24.9.2009 11:34 Page 1
VICTORINOX SWISS ARMY
INSTRUCTIONS FOR USE AND LIMITED WARRANTY
2
English Summary
I. GENERAL INFORMATION 3
Disposal of used batteries 3
Special recommendations 4
II. INSTRUCTIONS FOR USE
Setting the time 4
Setting the date 5
Manual or automatic winding 6
III. OTHER FUNCTIONS
2nd time zone 7
Dual time 7
Alarm 8
Visual countdown 9
GMT time scale 10
Rotating bezel
with countup function 11
with countdown function 11
Water resistance 12
IV. INTERNATIONAL WARRANTY 13
V. NORTH AMERICAN WARRANTY
3-year limited warranty 16
Repair coupon 155
VI. AUTHORIZED SERVICE CENTERS
142
English USA Basic VSA 24.9.2009 11:34 Page 2
I. GENERAL INFORMATION
Congratulations on having chosen a Victorinox Swiss Army timepiece. To ensure
your timepiece operates perfectly, we recommend that you follow the advice given
in these instructions (All instruction manuals are also available on our website:
www.victorinoxswissarmy.com – Customer Service – User Manuals. For U.S. and
Canada: www.swissarmy.com).
Your timepiece is fitted with either a screw-down or a “pull-out” crown. In order to
establish which, gently try to pull out the crown to position 2, if that works, your
timepiece is fitted with a “pull-out” crown. If not, use your thumb and forefinger to
apply mild pressure on the crown, while rotating towards you to release it. If it does
so, you have a screw-down crown.
After use, push the crown back in or screw it down until it is secure in
order to maintain the water resistance of your timepiece.
Quartz timepieces are battery-operated. When the battery is exhausted, we
recommend that you have it replaced immediately at an authorized Victorinox Swiss
Army Service Center where the water resistance of your timepiece will also be
checked. The battery is not covered by the warranty.
COLLECTION AND DISPOSAL OF QUARTZ TIMEPIECE BATTERIES*
This symbol indicates that this product must not be thrown away with
household rubbish. It must be disposed of at an authorized battery
disposal point. By doing so you will be protecting the environment and
human health. Recycling conserves natural resources.
*Applicable in EU member countries and countries with similar
legislation.
3
General information English
English USA Basic VSA 24.9.2009 11:21 Page 3

12 3
SPECIAL RECOMMENDATIONS
– To avoid any errors, do not perform the DATE SETTING between 9:00 p.m. and
3:00 a.m. when the date mechanism is in action. Be careful not to confuse noon
and midnight.
– Never operate pushers or crown when your timepiece is under water or if
it is wet and ensure that the crown and pushers are properly pushed back
or screwed down after each use.
– We recommend that you have the water resistance of your timepiece checked
at an authorized Victorinox Swiss Army Service Center every 18 months or
whenever the timepiece case is opened.
II. INSTRUCTIONS FOR USE
SETTING THE TIME
Quartz and self-winding timepieces
1. Pull out the crown to position 3.
2. Turn to the desired time. Remember the
date advances at 12:00 midnight, not
12:00 noon.
3. Push the crown back to position 1.
(Remember to screw it back down if you
have a screw-down model.)
4
English Special recommendations / Instructions for use: Setting the time
English USA Basic VSA 24.9.2009 11:21 Page 4
Manual winding timepieces
1. Wind the movement if necessary by turning
the crown a few times (position 1).
2. Pull out the crown to position 2.
3. Turn to the desired time. Remember the
date advances at 12:00 midnight, not
12:00 noon.
4. Push the crown back to position 1.
(Remember to screw it back down if you
have a screw-down model.)
SETTING THE DATE
Adjusting the date for some particular mechanical timepieces
– for Dive Master Mecha, ref. 241353 / 241354 / 241355 / 241356
– for Ambassador, ref. 241189 / 241075 / 241076
– for Air Boss Mach 5, ref. 24832 / 24833.
To determine the reference of your Victorinox Swiss Army timepiece, please look at
the number engraved on the caseback of your timepiece.
1. Wind the movement if necessary by turning the crown a few times (position 1).
2. Pull out the crown to position 3. Move the hands by turning the
crown counter-clockwise until you reach midnight, the calendar
date will change. Set the correct time.
3. Set the crown in position 2.
5
Instructions for use: Setting the date English
12
English USA Basic VSA 24.9.2009 11:21 Page 5
4. Turn it counter-clockwise to the desired date.
5. Push the crown back to position 1.
Adjusting the date and day for all other timepieces
(For timepieces with alarm and dual time features, please refer to the related
sections in Chapter III):
1. Pull out the crown to position 3. Turn the crown counter-clock-
wise to move hands until you reach midnight (as the calendar jump
phase is situated at 12:00 midnight or between 10:30 p.m. and
12:00 midnight) and then set the correct time.
2. Set the crown in position 2.
3. Turn it clockwise to the desired date.
4. Turn it counter-clockwise to the desired day (if your timepiece is fitted with this function).
5. Push the crown back to position 1.
MANUAL OR AUTOMATIC WINDING
Crown in position 1 (unscrewed)
Manual winding: You must wind any simple mechanical timepiece daily and at a
regular time in order to ensure the smooth running of your timepiece. All you have
to do is turn the crown back and forth until you feel a slight resistance. (To avoid
damaging the mechanism, do not over-wind.)
Automatic winding: Mechanical self-winding timepieces wind themselves
automatically when worn on the wrist. If your timepiece stops or is not worn
6
English Instructions for use: Manual or automatic winding
English USA Basic VSA 24.9.2009 11:21 Page 6
sufficiently, the movement will have to be wound manually by turning the crown
back and forth a few times.
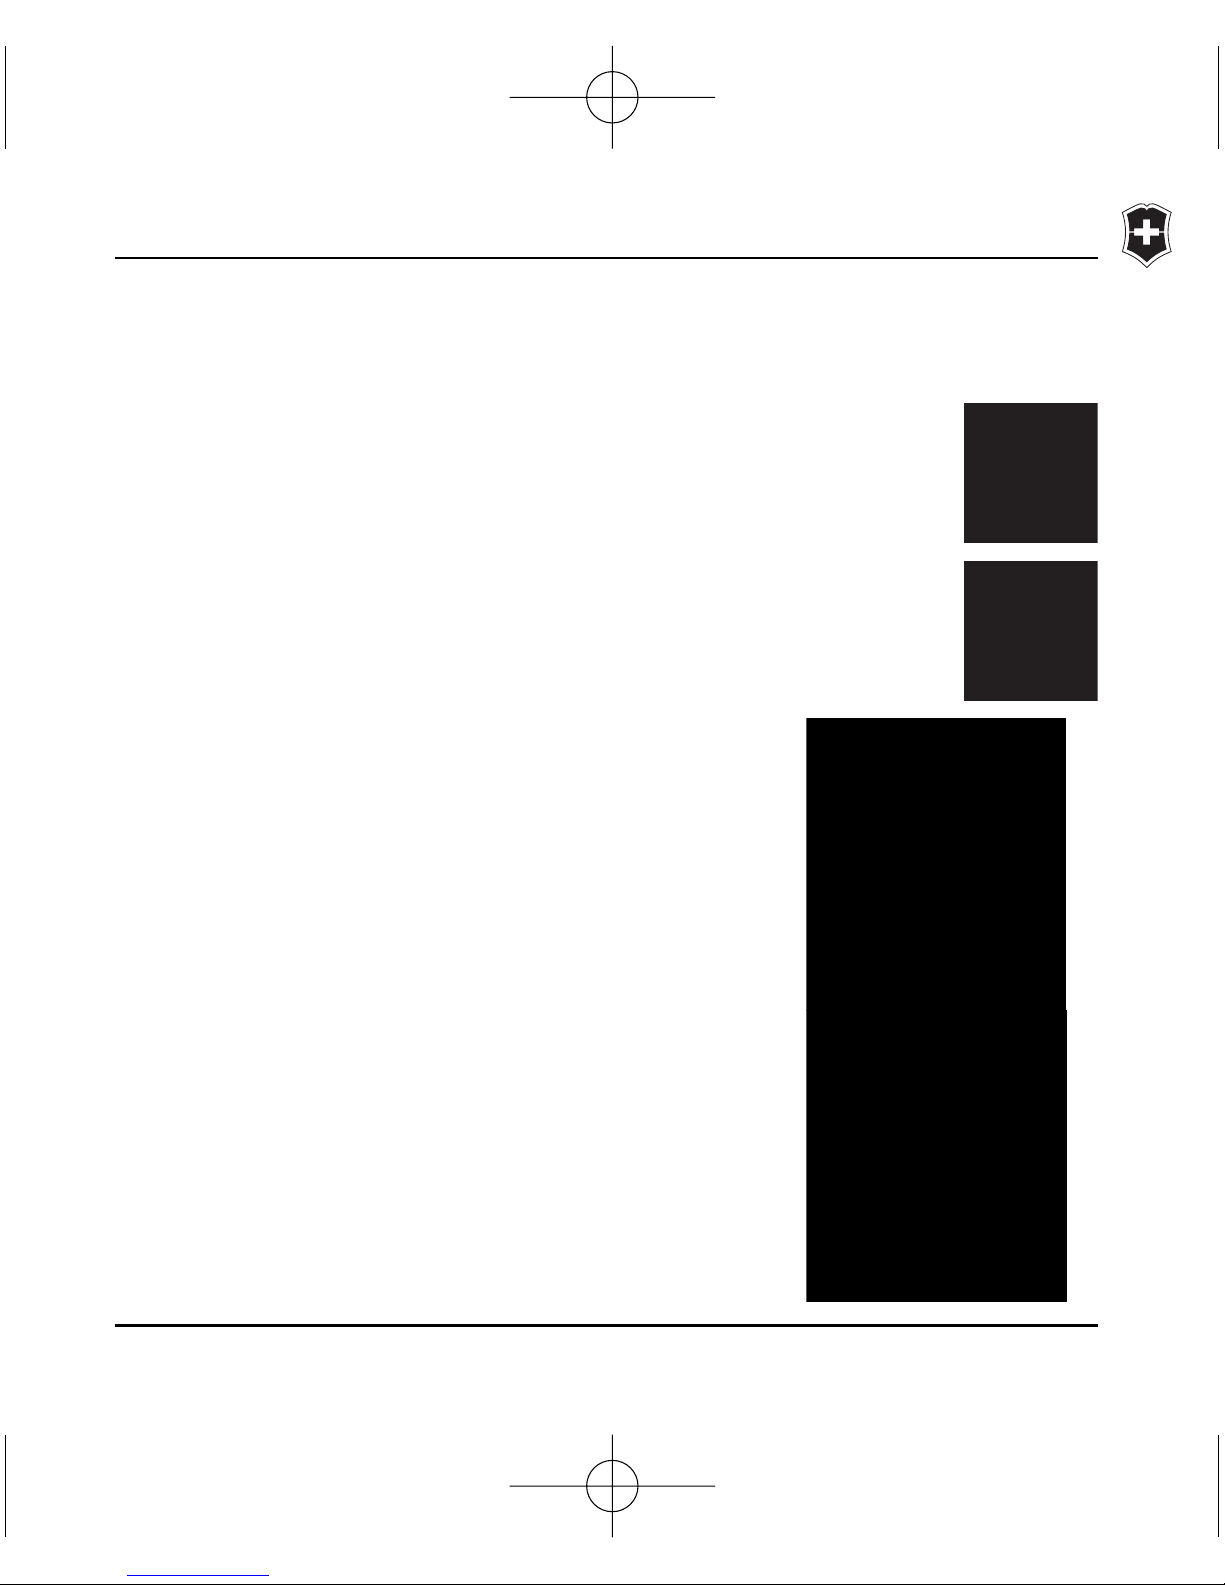
III. OTHER FUNCTIONS
2ND TIME ZONE
The timepiece has 4 hands in the center (hour,
minute, second and 2nd time zone). The 2nd
time zone reading is indicated on the outer
scale of the dial (24 hours):
1. Pull out the crown to position 2.
2. Turn it counter-clockwise to set the 2nd
time zone.
3. Push the crown back to position 1 once the
desired time is set.
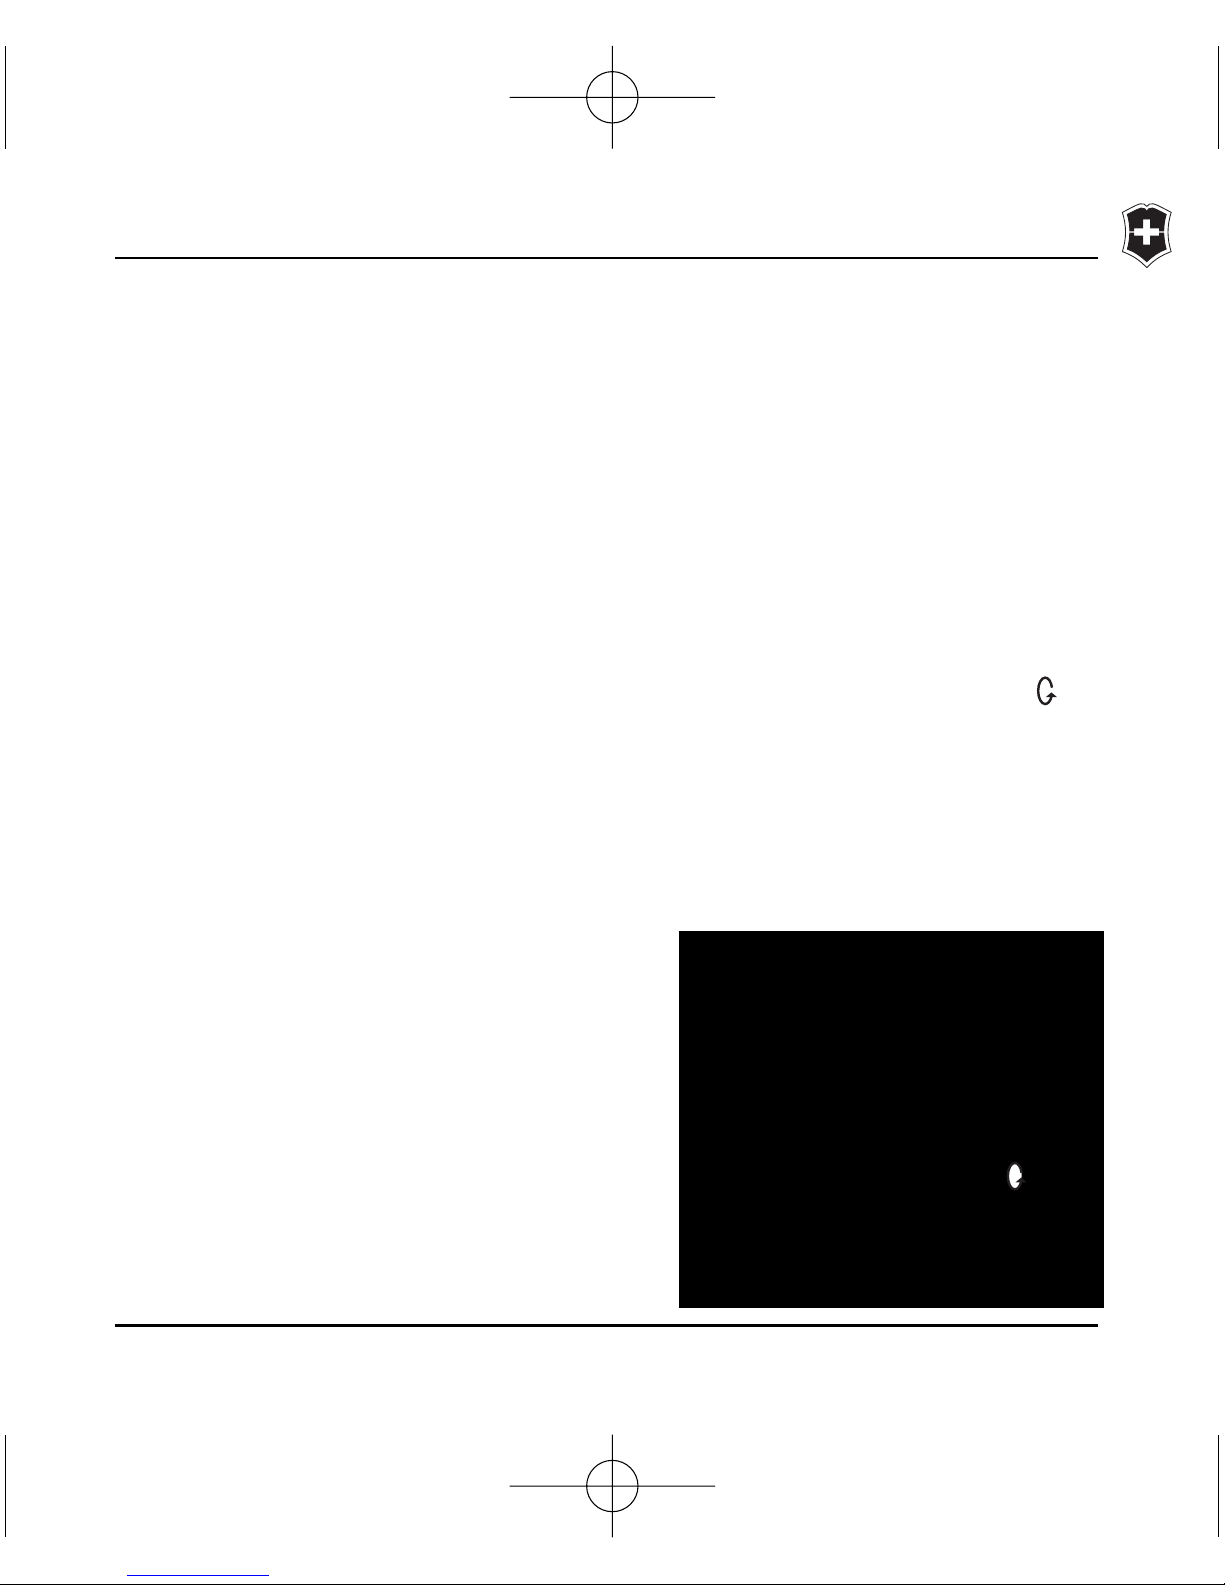
DUAL TIME
The timepiece has a second crown (C) located
at 4 o’clock. The 2nd time zone reading is
shown on the second subdial.
1. Pull out the small crown C to position 2.
2. Turn it counter-clockwise or clockwise to
set the 2nd time zone.
7
Other functions: 2nd time zone / Dual time English
123
1
2
C
English USA Basic VSA 24.9.2009 11:21 Page 7

3. Push the crown back to position 1 once the desired time is set.
Setting the date (for timepieces with dual time function)
1. Pull out the crown to position 3. Turn the crown clockwise to move
hands until you reach midnight (as the calendar jump phase is situated at 12:00 midnight) and then set the correct time.
2. Set the crown in position 2.
3. Turn it clockwise to the desired date.
4. Push the crown back to position 1.
ALARM
The alarm can be set to operate only within a period of 12 hours in relation to when
it is set. Setting the alarm hands on the dial subdivisions between the numerals
allows accurate setting at 15 minute intervals.
Setting the alarm time:
1. Pull out the crown to position 2.
2. Move the crown clockwise to set the alarm
time.
3. Push the crown back to position 1 once the
desired alarm time is set.
Switching on the alarm:
Pull out the alarm pusher (A) to position 2. The
activation of the alarm is confirmed by a beep.
8
English Other functions: Alarm
1
2
A
123
English USA Basic VSA 24.9.2009 11:21 Page 8
Switching off the alarm
Push back the alarm pusher (A) to position 1. Alarm is switched off.
Setting the date (for timepieces with alarm function)
1. Pull out the crown to position 3. Turn the crown clockwise to move
hands until you reach midnight (as the calendar jump phase is situated at 12:00 midnight).
2. Set the crown in position 2. Turn it counter-clockwise to the
desired date and then set the correct time.
3. Push the crown back to position 1.
VISUAL COUNTDOWN
To determine if you have the visual countdown feature, look at the timepiece dial. You will see an inner
bezel. If it has a triangle at 12 o’clock with numerals
counting down clockwise from 60, you have the
visual countdown feature.
When rotating the countdown setting crown (A), simply align minutes on the inner bezel to be counted
down with the minute hand (i.e. 20 minutes).
When the minute hand reaches the triangle
(0 minute), 20 minutes will have been counted
down.
Note: the countdown feature works for a duration
between 1 and 60 minutes.
9
Other functions: Visual countdown English
A
A
English USA Basic VSA 24.9.2009 11:21 Page 9

GMT TIME SCALE
Using the rotating crown (A), rotate inner bezel to select the time zone where you
currently are and align it with “City” marking at 12 o’clock.
Note: GMT time is on a 24 hour military time scale.
To set the GMT time (hand with special arrow)
1. Pull out crown C to position 2 and rotate it
clockwise to adjust the GMT arrow hand to
your local time. (Example: 7 p.m. is
19 hours military time.)
2. Push in crown C to position 1.
To read the GMT time in other cities
Select any city on the bezel and rotate crown
A until it is aligned with “City” marking at 12
o’clock. The GMT hand (special arrow) will
indicate the time in this zone.
10
English Other functions: GMT time scale
1 2 3
C
A
English USA Basic VSA 8.10.2009 8:29 Page 10
 Loading...