

Page 1
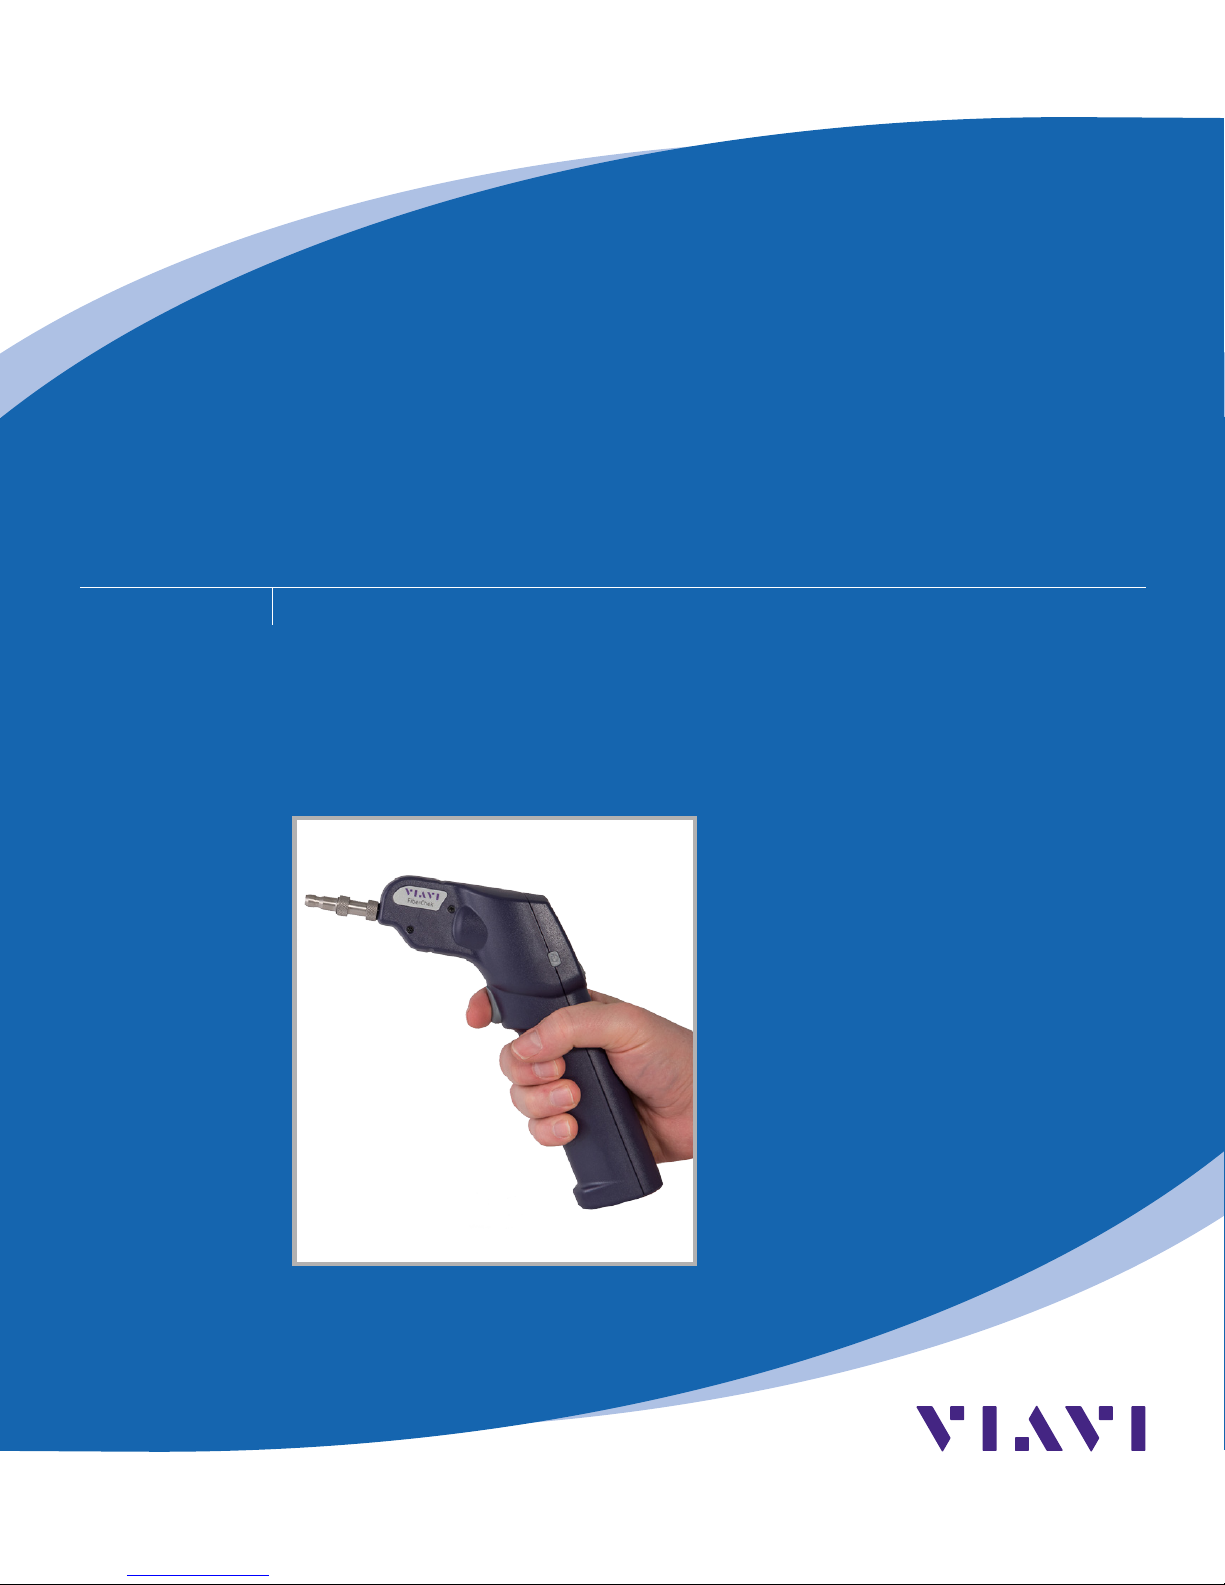
FiberChek Video Inspection Probe
QUICK START GUIDE
Inspect, test, certify, and save with one device
Page 2

QUICK START GUIDE2
Notice Every eort was made to ensure that the information in this document was accurate at the time
of printing. However, information is subject to change without notice, and Viavi reserves the
right to provide an addendum to this document with information not available at the time that
this document was created.
Copyright © Copyright 2016 Viavi Solutions. All rights reserved. Viavi, Enabling Broadband and Optical
Innovation, and its logo are trademarks of Viavi Solutions. All other trademarks and registered
trademarks are the property of their respective owners. No part of this guide may be reproduced
or transmitted electronically or otherwise without written permission of the publisher.
Trademarks Viavi is a trademark of Viavi Solutions in the United States and other countries.
FCC Information Electronic test equipment is exempt from Part 15 compliance (FCC) in the United States.
European Union Electronic test equipment is subject to the EMC Directive in the European Union. The EN61326
standard prescribes both emission and immunity requirements for laboratory, measurement,
and control equipment. This unit has been tested and found to comply with the limits for a
Class A digital device.
Independent
Laboratory Testing
This unit has undergone extensive testing according to the European Union Directive and
Standards.
Page 3
FiberChek Video Inspection Probe 3
CHAPTER 1
INTRODUCTION .............................................................................................................................. 4
TABLE OF CONTENTS
CHAPTER 2
OVERVIEW..................................................................................................................................... 5–6
Device Layout .......................................................................................................................... 5
Using the Menu ....................................................................................................................... 6
CHAPTER 3
OPERATION ................................................................................................................................7–10
Getting Started with PASS/FAIL Analysis .................................................................. 7–8
Setting up PASS/FAIL Analysis ................................................................................. 7
Performing PASS/FAIL Analysis ............................................................................... 8
Working with Groups ....................................................................................................... 8–9
Creating a New Group ............................................................................................... 8
Closing the Current Group ....................................................................................... 9
Syncing FiberChek with FiberChekPRO ...................................................................9–10
Syncing FiberChek with FiberChekPRO using Wi-Fi ........................................ 9
Syncing FiberChek with FiberChekPRO using Bluetooth ............................10
Using the MP-60 Optical Power Meter with FiberChek ..........................................10
Page 4
QUICK START GUIDE4
INTRODUCTION
1
Thank you for purchasing the FiberChek Video Inspection Probe!
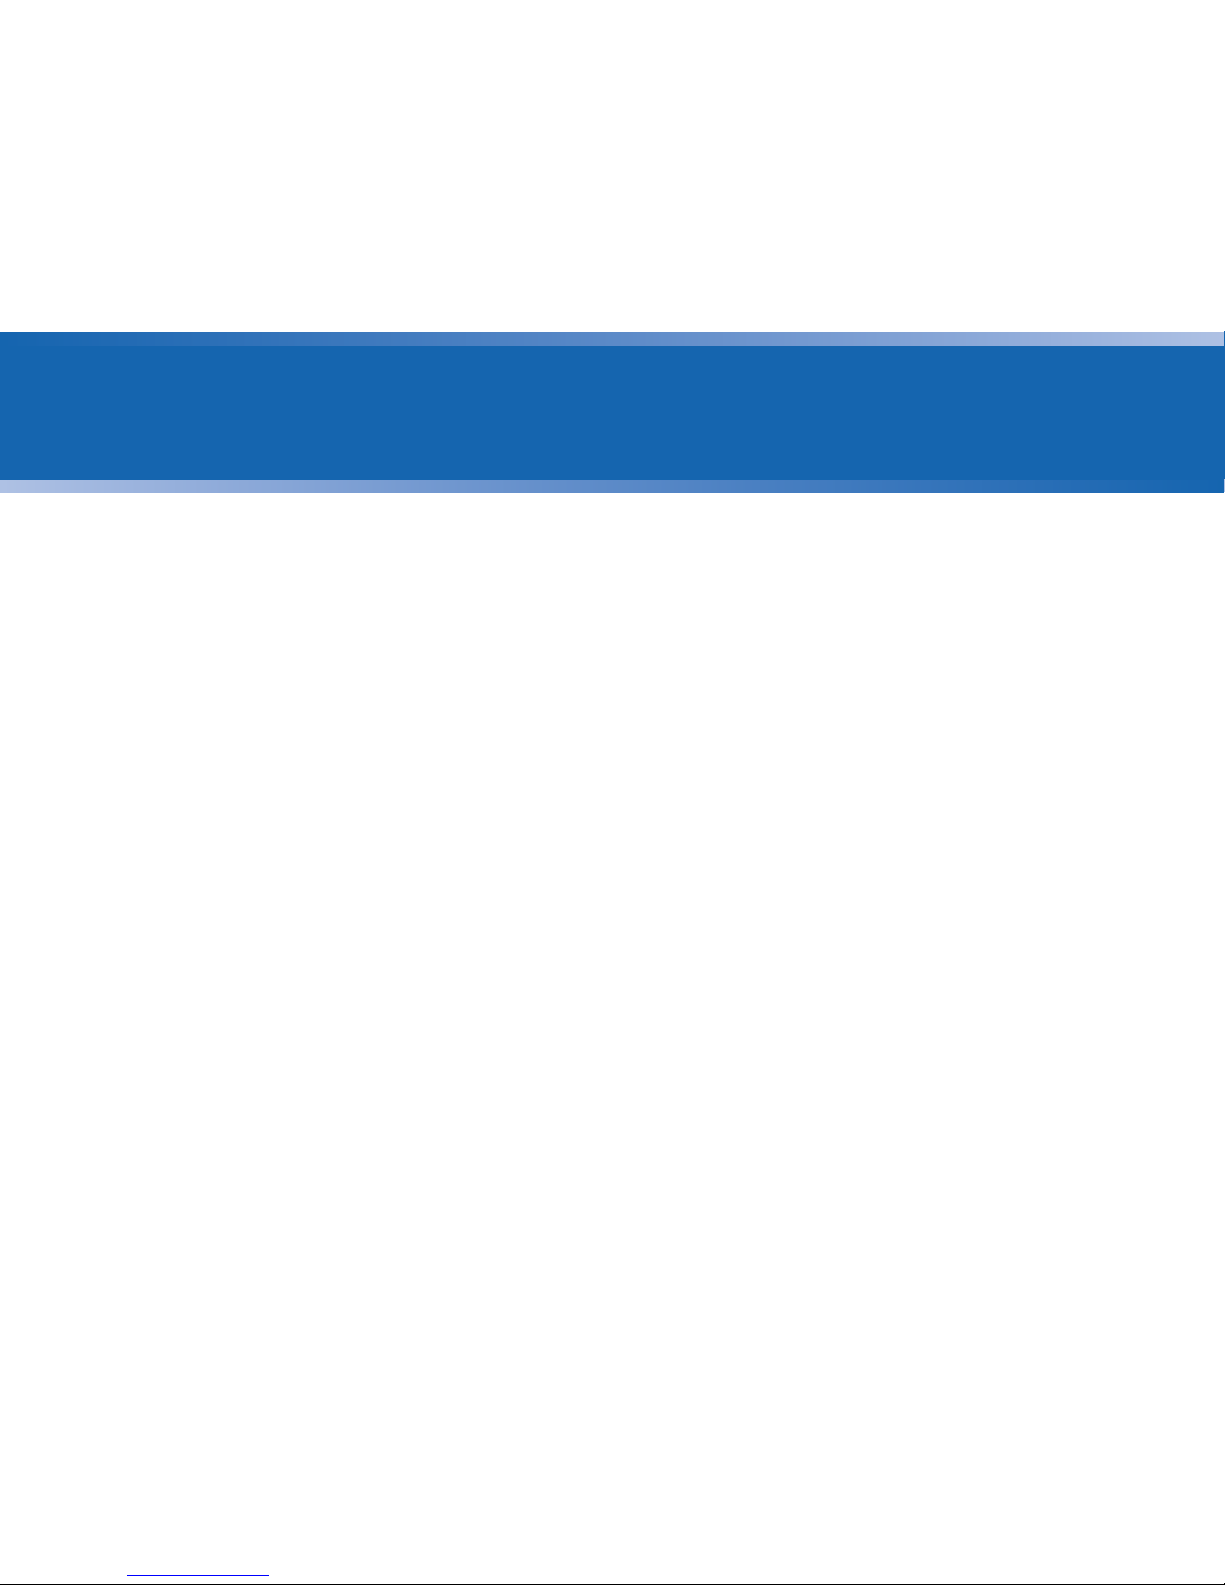
Inspection of ber optic interconnects is essential for the optimal performance and longevity of ber
optic networks. Every time they are handled, ber connectors must be inspected to ensure no debris or
damage is present. Viavi has made this critical task easier than ever with the FiberChek inspection probe.
FiberChek's standalone operation, color touchscreen display, and Wi-Fi and Bluetooth connectivity allow
fast, reliable maintenance of optical connector quality.
CHAPTER 1 FiberChek Video Inspection Probe
Page 5
CHAPTER 2 FiberChek Video Inspection Probe
OVERVIEW
2
FiberChek Video Inspection Probe 5
Page 6
Overview CHAPTER 2
QUICK START GUIDE6
Using the Menu
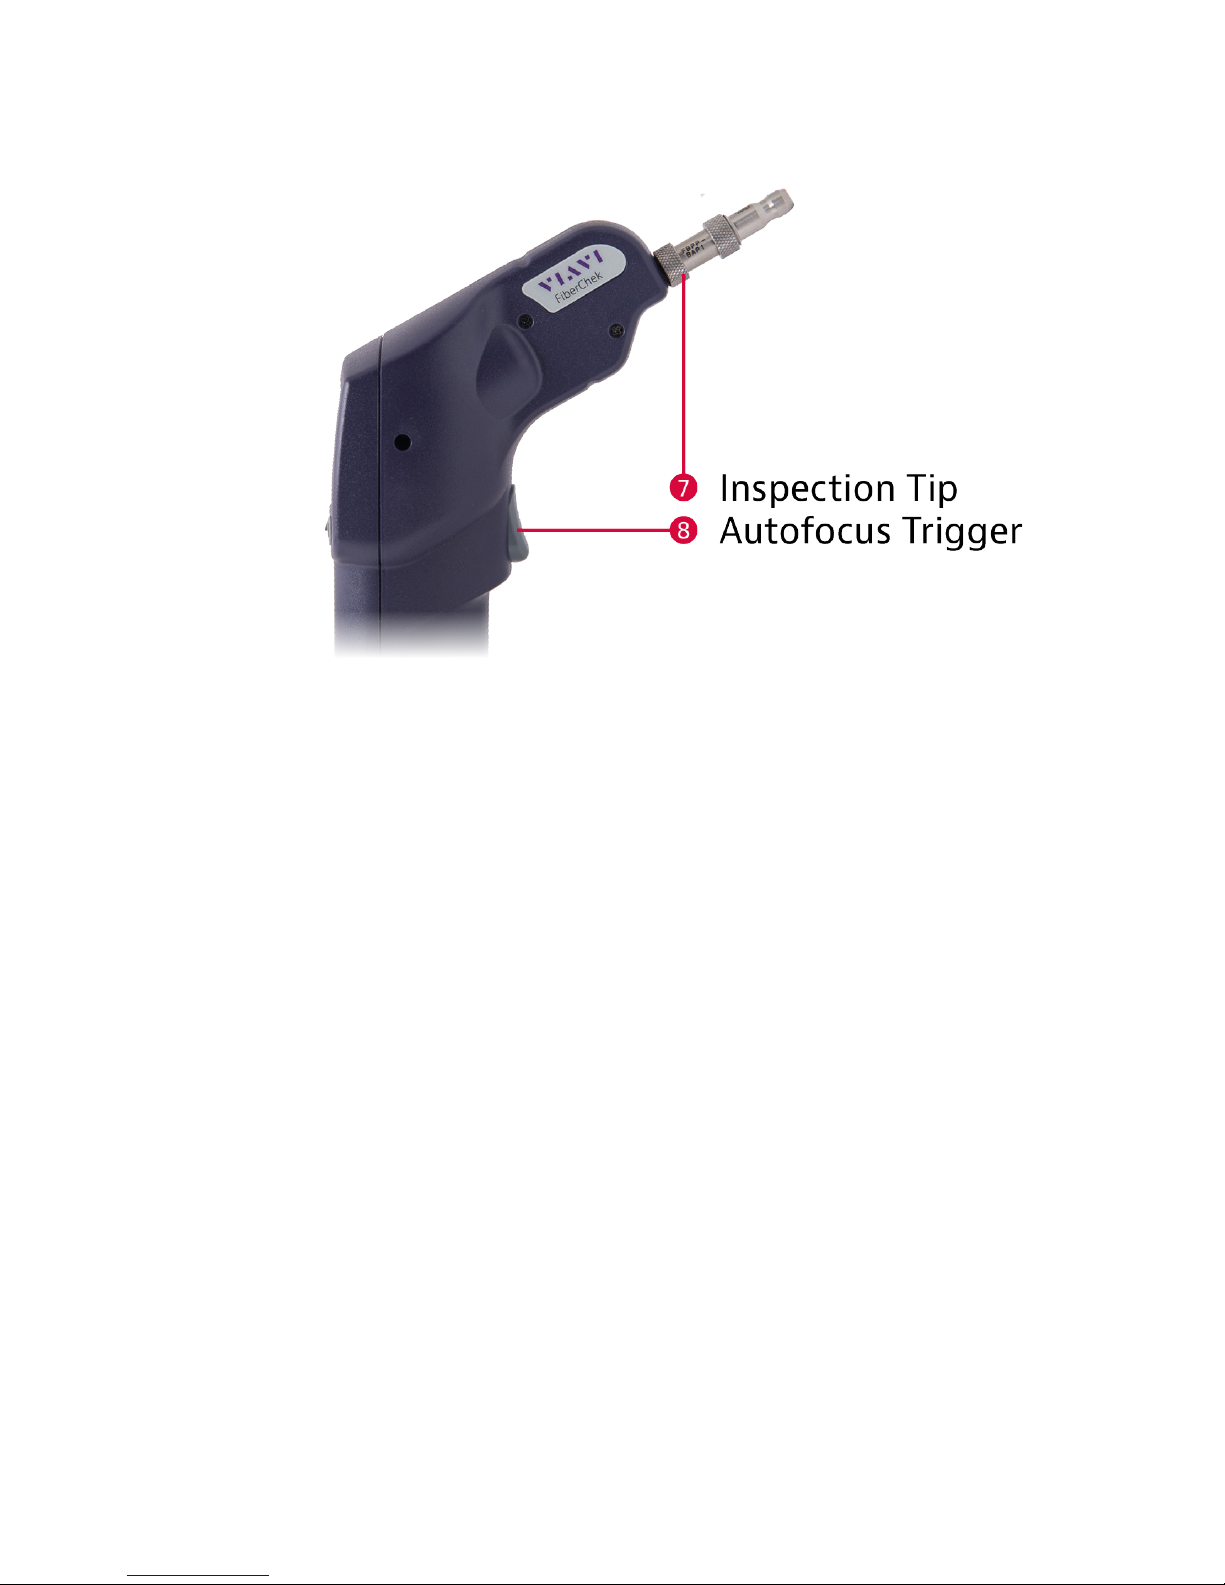
Many of FiberChek's features and settings can be found in the Menu. The Menu
is accessible from the Live Inspection View; tap the Touchscreen Display to
enter the Menu. (If FiberChek is displaying an analysis result or still image, return to
the Live Inspection View by pressing the Autofocus/Inspection Trigger once.)
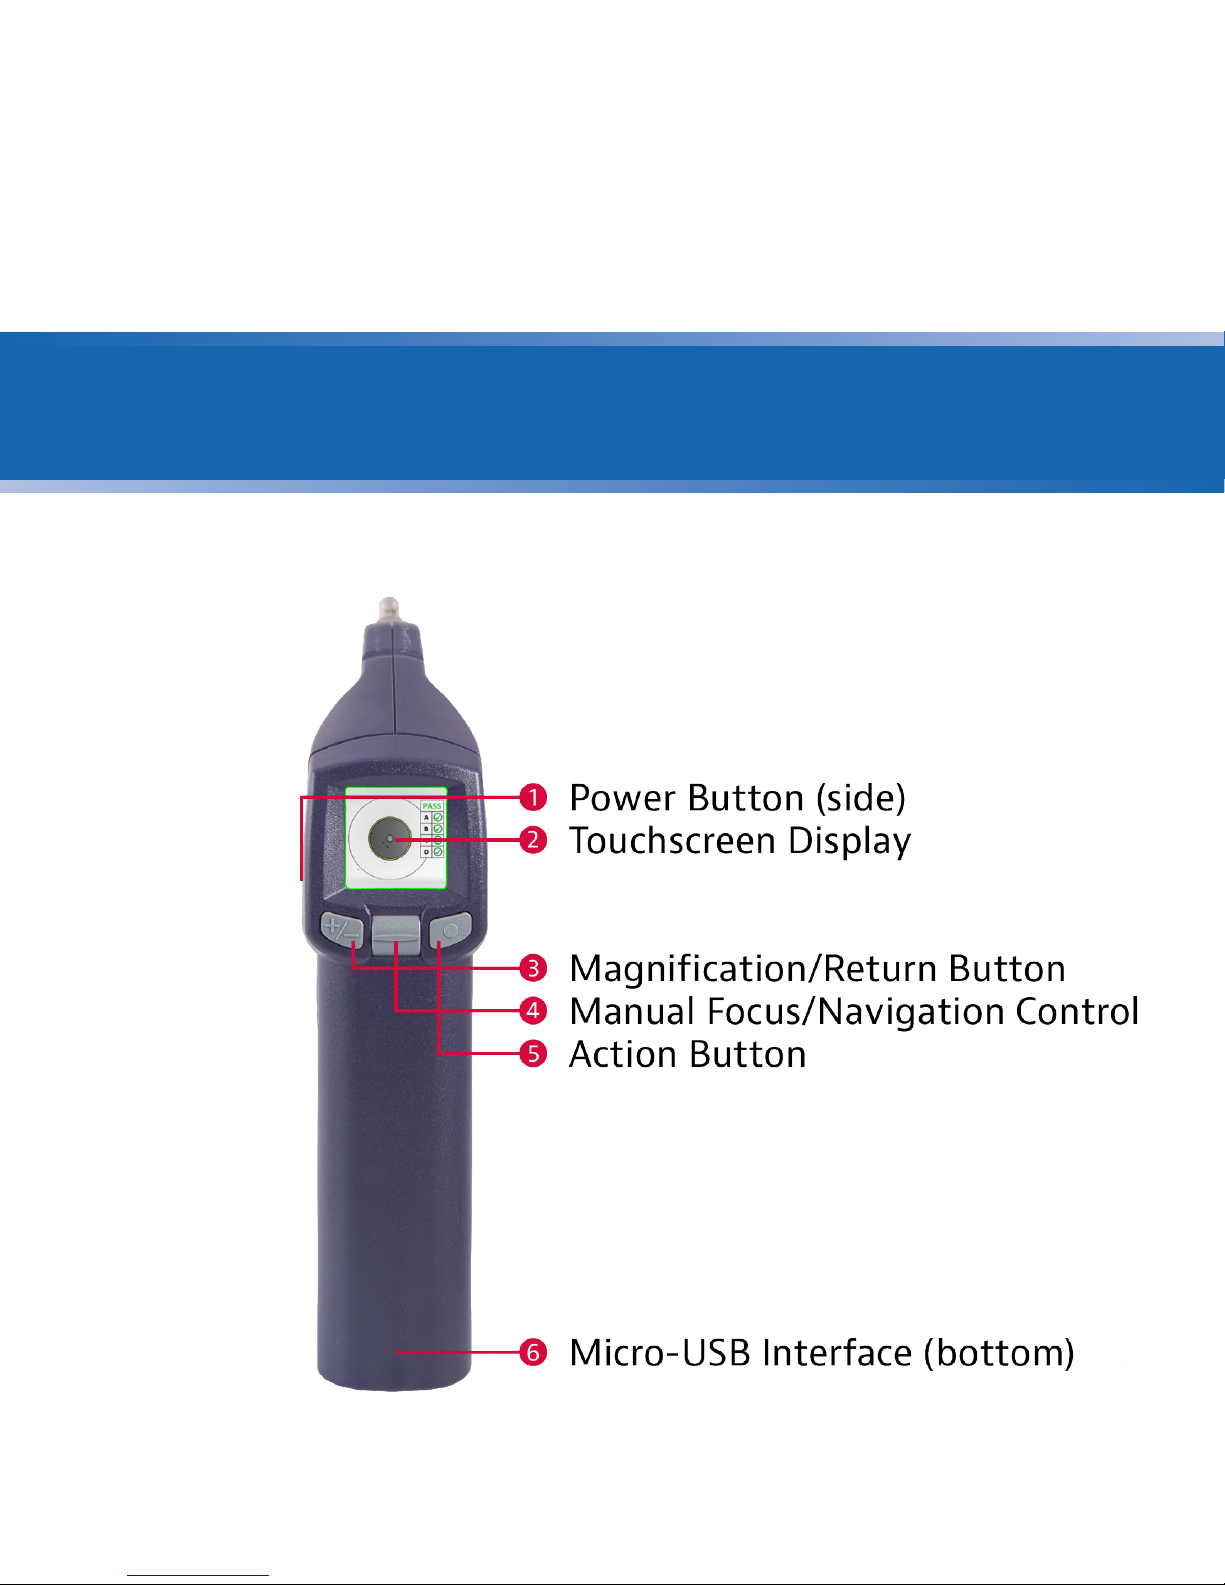
• Select an item using the Manual Focus/Navigation Control.
• Press the Action Button to conrm a selection or view additional options.
• Press the Magnication/Return Button to return to the previous screen.
(Pressing the Magnication/Return Button from FiberChek's top-level Menu will
return to the Live Inspection View.)
• Press the Autofocus/Inspection Trigger at any time to return to the Live
Inspection View.
Navigating the
Menu:
Page 7
OPERATION
3
FiberChek Video Inspection Probe 7
CHAPTER 3 FiberChek Video Inspection Probe
Getting Started with PASS/FAIL Analysis
1. From the Live Inspection View, tap the Touchscreen Display to enter the
Menu.
2. Select PROFILE using the Manual Focus/Navigation Control, then press the
Action Button.
3. Choose the desired inspection prole using the Manual Focus/Navigation
Control, then conrm your selection by pressing the Action Button.
4. Return to the Menu by pressing the Magnication/Return Button.
5. Select TIP using the Manual Focus/Navigation Control, then press the Action
Button.
6. Chose the desired tip using the Manual Focus/Navigation Control, then
conrm your selection by pressing the Action Button.
7. Return to the Live Inspection View by pressing the Autofocus/Inspection
Trigger once, or by pressing the Magnication/Return Button twice.
FiberChek is ready to perform PASS/FAIL Analysis.
Setting Up PASS/
FAIL Analysis:
Page 8

8 QUICK START GUIDE
Operation CHAPTER 3
1. From the Live Inspection View, press and hold the Autofocus/Inspection
Trigger. This will focus the ber automatically, then perform PASS/FAIL
analysis. (To focus the ber manually instead, adjust the Manual Focus/
Navigation Control until the Focus Quality Meter turns yellow or green. Then,
press the Action Button to perform PASS/FAIL analysis.)
2. FiberChek will briey display the analysis result, then enter the Analysis
Result View. A green screen with a "check" graphic indicates a PASS result. A
red screen wtih an "X" graphic indicates a FAIL result. To perform additional
actions from the Analysis Result View:
• Tap the Touchscreen Display to display or hide additional information.
The modes are No Overlay, Rings, and Rings + Table.
• Press the Magnication/Return Button to toggle between High
Magnication and Low Magnication of the ber.
• Press the Action Button to save the current analysis to FiberChek's
storage or current group. (See "Working with Groups.")
• Press the Autofocus/Inspection Trigger to return to the Live Inspection
View.
Performing PASS/
FAIL Analysis:
Working with Groups
You may nd it useful to collect several analysis results or still images into a group.
Saving completed PASS/FAIL analyses into a group makes it easy to keep track of
analyses from the same job. To begin adding analyses or images to a group:
1. From the Live Inspection View, tap the Touchscreen Display to enter the
Menu.
2. Select CREATE NEW GROUP using the Manual Focus/Navigation Control, then
press the Action Button.
3. Return to the Live Inspection View by pressing the Autofocus/Inspection
Trigger once, or by pressing the Magnication/Return Button twice. You
may begin perfoming PASS/FAIL analysis as usual. (See "Performing PASS/FAIL
Analysis.") Saving an analysis result will add it to the current group.
Creating a New
Group:
Page 9

Operation CHAPTER 3
FiberChek Video Inspection Probe 9
1. From the Live Inspection View, tap the Touchscreen Display to enter the
Menu.
2. Select CLOSE GROUP using the Manual Focus/Navigation Control, then press
the Action Button.
3. Return to the Live Inspection View by pressing the Autofocus/Inspection
Trigger once, or by pressing the Magnication/Return Button twice.
FiberChek will now save analysis results or still images without a group.
Closing the Current
Group:
Connecting FiberChek to FiberChekPRO or FiberChekMOBILE
By connecting the FiberChek Video Inspection Probe with Viavi's FiberChekPRO
desktop software or FiberChekMOBILE Apps, you can view inspection results on
your computer or mobile device, download data saved on the FiberChek Probe,
and keep your FiberChek's software up to date. FiberChek can connect with
FiberChekPRO using a USB cable or built-in WiFi or Bluetooth.
1. From FiberChek's Live Inspection View, tap the Touchscreen Display to enter
the Menu.
2. Select RADIO SETTINGS using the Manual Focus/Navigation Control, then
press the Action Button.
3. Select WIFI ENABLE using the Manual Focus/Navigation Control, then press
the Action Button. WIFI ENABLE will become highlighted.
4. For Android or iOS devices, navigate to your WiFi settings. Your FiberChek
probe will appear in the list of Available Devices. Select it and click the
"Connect" button.
5. Launch the FiberChekMOBILE App
6. Your FiberChek probe will appear in the list of Available Devices. Select it and
click the "Connect" button.
7. For Windows, launch FiberChekPRO, Navigate to FiberChekPRO's Setup
and select Wi-Fi from the navigation bar at the left. (Setup > FiberChekPRO
Setup...). Your FiberChek probe will appear in the list of Available Devices.
Select it and click the "Connect" button.
Connecting
FiberCheck using
Wi-Fi:
Page 10

Operation CHAPTER 3
1. From FiberChek's Live Inspection View, tap the Touchscreen Display to enter
the Menu.
2. Select RADIO SETTINGS using the Manual Focus/Navigation Control, then
press the Action Button.
3. Select BT ENABLE using the Manual Focus/Navigation Control, then press the
Action Button. BT ENABLE will become highlighted.
4. For Android or iOS devices, navigate to your Bluetooth settings. Your
FiberChek probe will appear in the list of Available Devices. Select it and click
the "Connect" button.
5. Launch the FiberChekMOBILE App.
6. For Windows, launch FiberChekPRO, Navigate to FiberChekPRO's Setup and
select Bluetooth from the navigation bar at the left. (Setup > FiberChekPRO
Setup...). Your FiberChek probe will appear in the list of Available Devices.
Select it and click the "Connect" button.
Connecting
FiberCheck using
Bluetooth:
10 QUICK START GUIDE
Using the MP-60 Optical Power Meter with FiberChek
1. Connect an MP-60 Optical Power Meter to FiberChek via the Micro-USB
Interface.
2. Press the Action Button on the MP-60.
3. FiberChek is now in the Optical Power Meter View.
4. To return to FiberChek's Live Inspection View, disconnect the MP-60.
Using the MP-60 Optical Power Meter with FiberChek
1. Connect FiberChek to your computer or Android device via the Micro-USB
Interface and launch the FiberChekPRO software.
Connecting
FiberCheck using
USB:
Page 11

FiberChek Video Inspection Probe 11
Page 12
NORTH AMERICA
TEL: 1 866 228 3762
FAX: 1 301 353 9216
LATIN AMERICA
TEL: +1 954 688 5660
FAX: +1 954 345 4668
ASIA PACIFIC
TEL: +852 2892 0990
FAX: +852 2892 0770
EMEA
TEL: +49 7121 86 2222
FAX: +49 7181 86 1222
www.viavisolutions.com
Test and Measurement Regional Sales
Product specications and descriptions in this document subject to change without notice. © 2016 Viavi Solutions. June 2016
 Loading...