

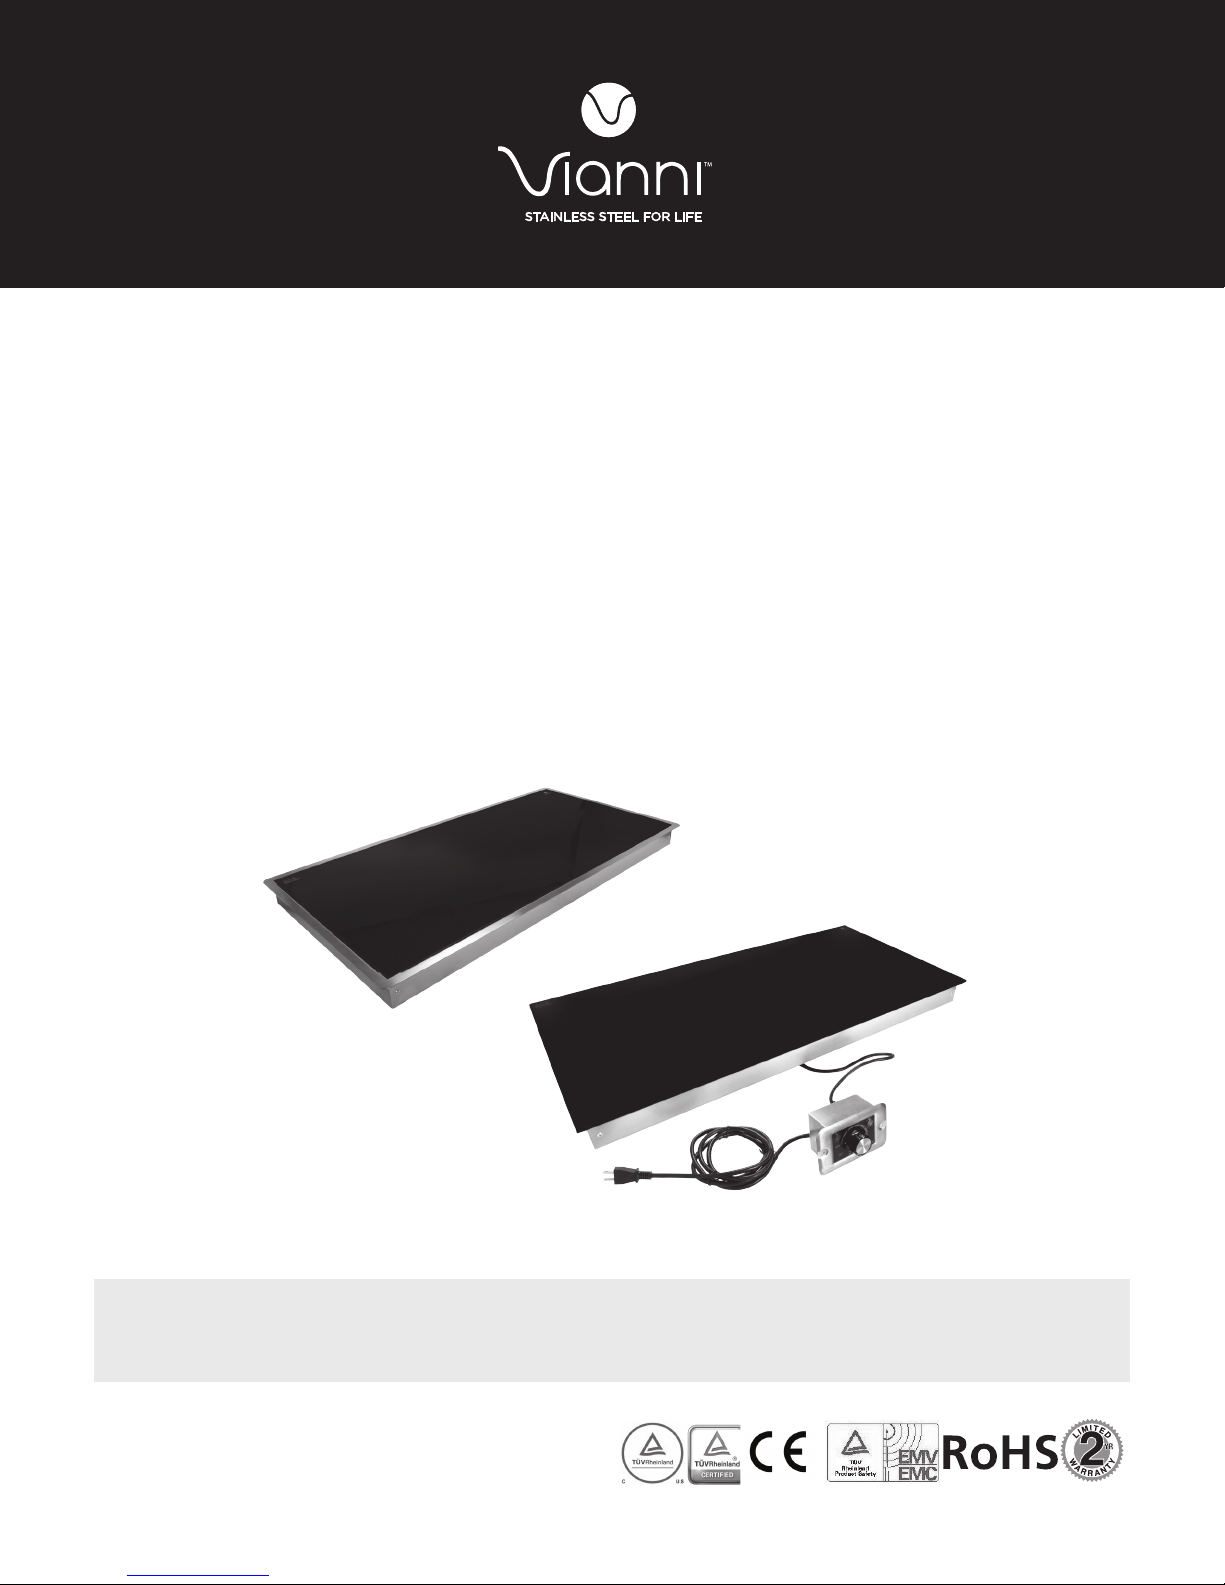
Built-in Heated
Black Glass Shelves
Model Series FS-VGSR-50 and FS-VGR-50
OPERATING INSTRUCTIONS AND PRODUCT MANUAL
Please read and understand this manual before installation and operating this equipment. Failure
to comply with the operating instructions may result in serious personal injury. Please follow all safety
recommendations in this manual and keep in a safe place for reference.
FDA
DESCRIPTION
The Vianni Heated Black Glass Shelves are designed to hold and display hot food products safely at the
proper serving temperature while preserving quality. The Black Glass is designed and produced by SCHOTT, a
125 year old German company and global leader in glass technology and innovation.
These units feature top caliber components including German made E.G.O. temperature controller to
maintain a uniform surface heat ranging from 100°- 248°F (38°- 120°C).
The approved food safe material was selected for durability and maximum performance while giving a
sophisticated look to t many settings. These Built-in Heated Shelves are ideal for buffet lines, pass-through
areas and hors d’oeuvres displays.
GENERAL SAFETY INFORMATION
Only qualied and trained personnel should operate foodservice equipment. This food warmer is not
intended for use by young children or persons with physical, sensory or mental disabilities unless adequately
supervised by a responsible person to ensure they can use the appliance safely. Young children should be
supervised to ensure they do not play with the appliance.
WARNING Electric Shock Hazard: Unit must be properly grounded by plugging into the
correct voltage, size and plug conguration. If the plug and socket do not match, contact a
certied electrician to check and install the properly sized outlet and voltage.
• Always turn off and disconnect the power source before servicing or cleaning unit. Failure to do
so can result in serious injury or death from electric shock.
• Unit is not weatherproof. Do not use outdoors or in wet conditions.
• Unit is not waterproof. Do not immerse, saturate or spray the unit with water and/or other liquids.
• Do not operate if power cord is cut, frayed, worn, or damaged. Cord must be replaced by a
qualied service person
• Do not pull unit by power cord.
WARNING Fire hazard: Risk of re, personal injury or property damage is possible if local
codes or safety recommendations are not followed.
• The unit should be located a minimum of 1” (25mm) from walls or combustible materials. Do not
cover unit or let it touch ammable materials such as drapes, walls, or furnishings while unit is in
operation.
• Do not let power cord touch unit’s hot surface or hang over table or countertop.
CAUTION Burn hazard: The surface of unit will get hot when in use. The operating
temperature is 100°- 248°F (38°- 120°C). To avoid burns, do not let bare skin touch hot surfaces.
Use caution when touching these hot areas. Use hot pad or mitt when placing or removing
food from hot surface.
• Place the unit at the proper counter height. The location needs to be level and strong enough
to support the unit’s weight and contents so it does not fall.
IMPORTANT: The unit is not intended to reheat prepared foods or cook raw food. Food must be fully
cooked and heated to safe temperature of at least 140° F (60° C) prior to placing on the unit. The heated
warming shelf is designed to display and keep already-hot food warm, not for heating it from a cold or
frozen state. Failure to heat food to the proper food safe minimum temperature of 140° F (60° C) prior to
placing on the unit may result in serious health risks.
NOTICE:
• Vianni does not cover damage to countertop material caused by heat produced from the unit.
• Damage or breakage of glass caused by misuse is not covered under warranty.
• DO NOT cut food on glass surface. DO NOT slide pans or drop anything on glass surface.
Breakage or scratching may occur.
2
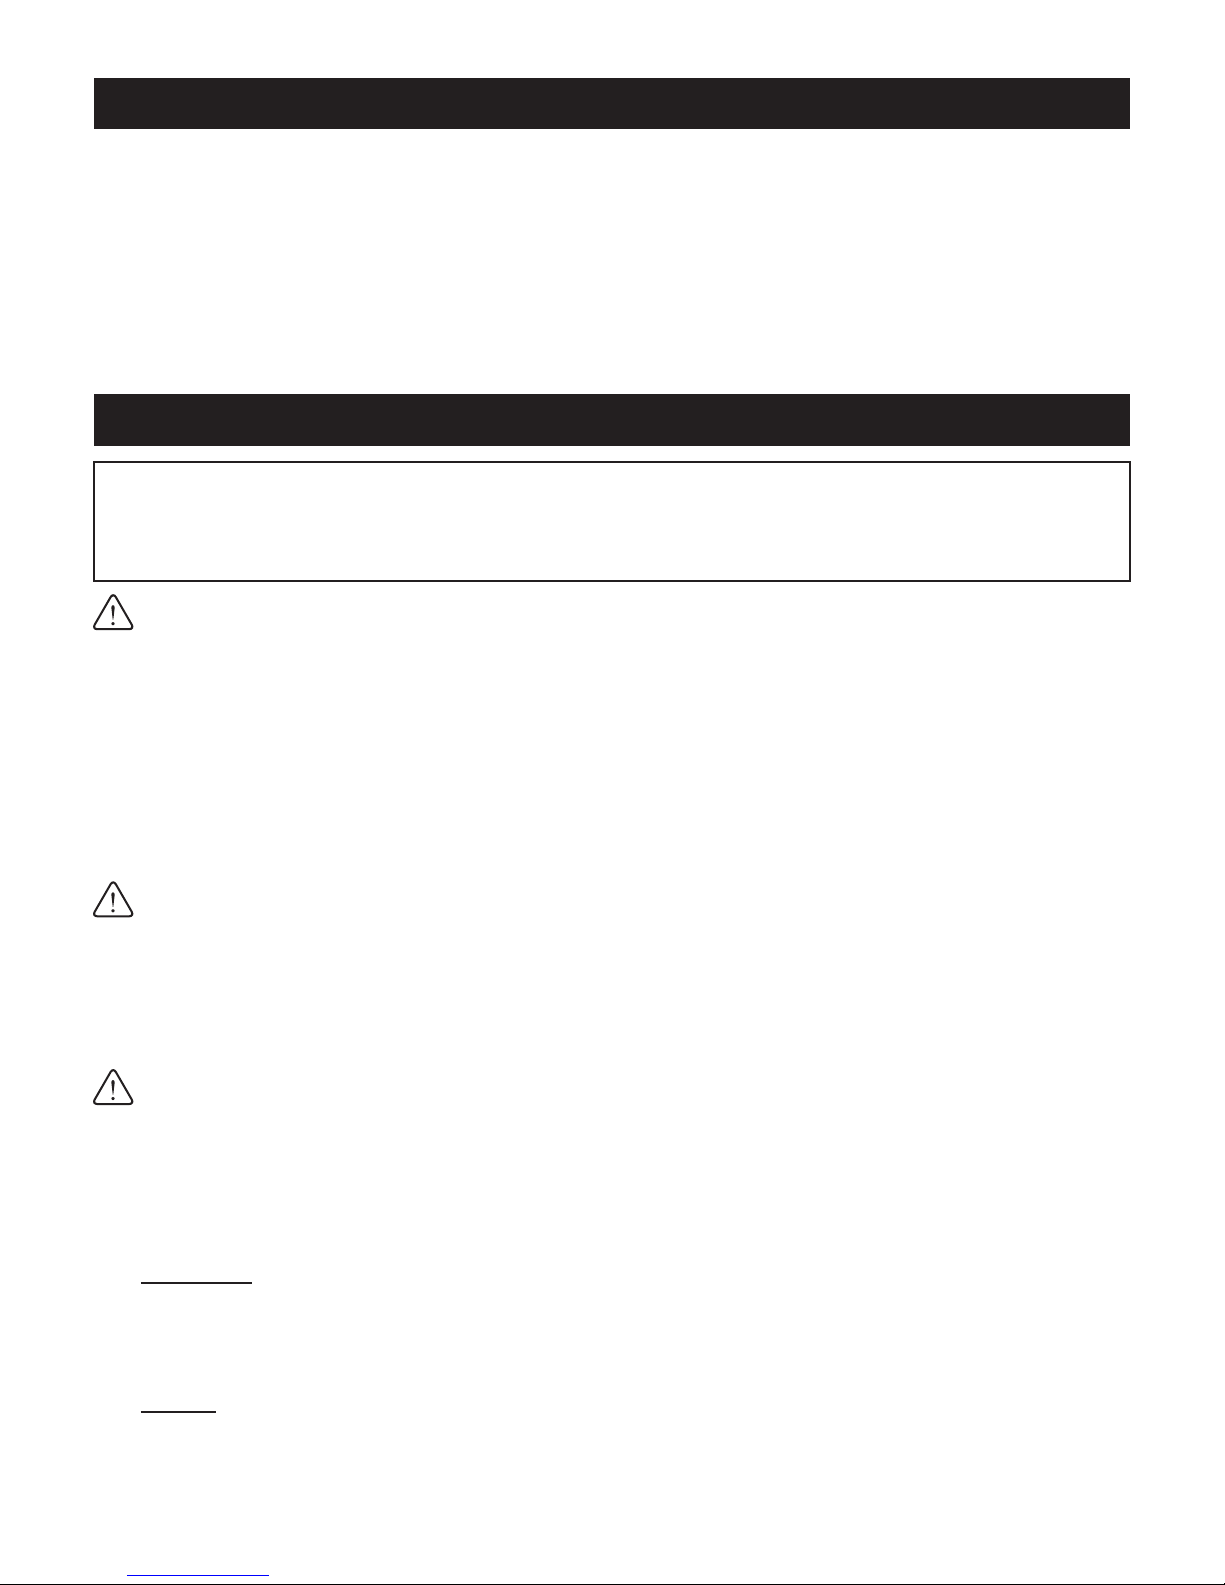
SPECIFICATIONS
SCHOTT
SCHOTT
Model
Length L mm
Width W mm
Height H mm
Power 220V/110V Current
Model:BNKD-7544
Model:BNKD-5234
SCHOTT
Width W mm
Height H mm
Power 220V/110V Current
SCHOTT
Power 220V/110V Current
SCHOTT
Bornoble
W
FS-VGSR-0912-50
DH
SCHOTT
Bornoble
D
Built-in Heated Shelf with recessed top (includes stainless steel trim)
Model Watts Voltage Amps Unit Size (W x D x H) inch/mm Shipping size (W x D x H) inch/mm Unit Wt. Shipping Wt.
FS-VGSR-09120-50 990 120 8.25 37
(960 x 500 x 80 mm) (1090 x 530 x 130 mm) (15.76 kg) (19.32 kg)
Built-in Heated Shelf with recessed top (all glass without trim)
Model Watts Voltage Amps Unit Size (W x D x H) inch/mm Shipping size (W x D x H) inch/mm Unit Wt. Shipping Wt.
FS-VGR-09120-50 990 120 8.25 37
(960 x 500 x 80 mm) (1090 x 530 x 130 mm) (15.76 kg) (19.32 kg)
Countertop Cutout Dimensions: 36
Voltage: Export voltage available
13
/16 x 19 11/16 x 3 1/8” 42
13
/16 x 19 11/16 x 3 1/8” 42
5
/16”L x 18 3/8”W ( 923 x 467 mm)
15
/16 x 20 7/8 x 5 1/8” 35 lbs 42.9 lbs
15
/16 x 20 7/8 x 5 1/8” 35 lbs 42.9 lbs
Additional models are not stocked and are available by special order. Processing and transit time will vary.
FS-VGSR-50 : 06120, 09120,13120,16120, 19120 : 31
FS-VGR-50 : 06120, 09120, 13120, 16120, 19120 : 31
1
/2”, 47 1/4”, 59 1/16” & 70 7/8 ” W x 19 11/16” D x 3 1/8” H (800, 1200, 1500 & 1800 x 500 x 80 mm)
1
/2”, 47 1/4”, 59 1/16” & 70 7/8 ” W x 19 11/16” D x 3 1/8” H (800, 1200, 1500 & 1800 x 500 x 80 mm)
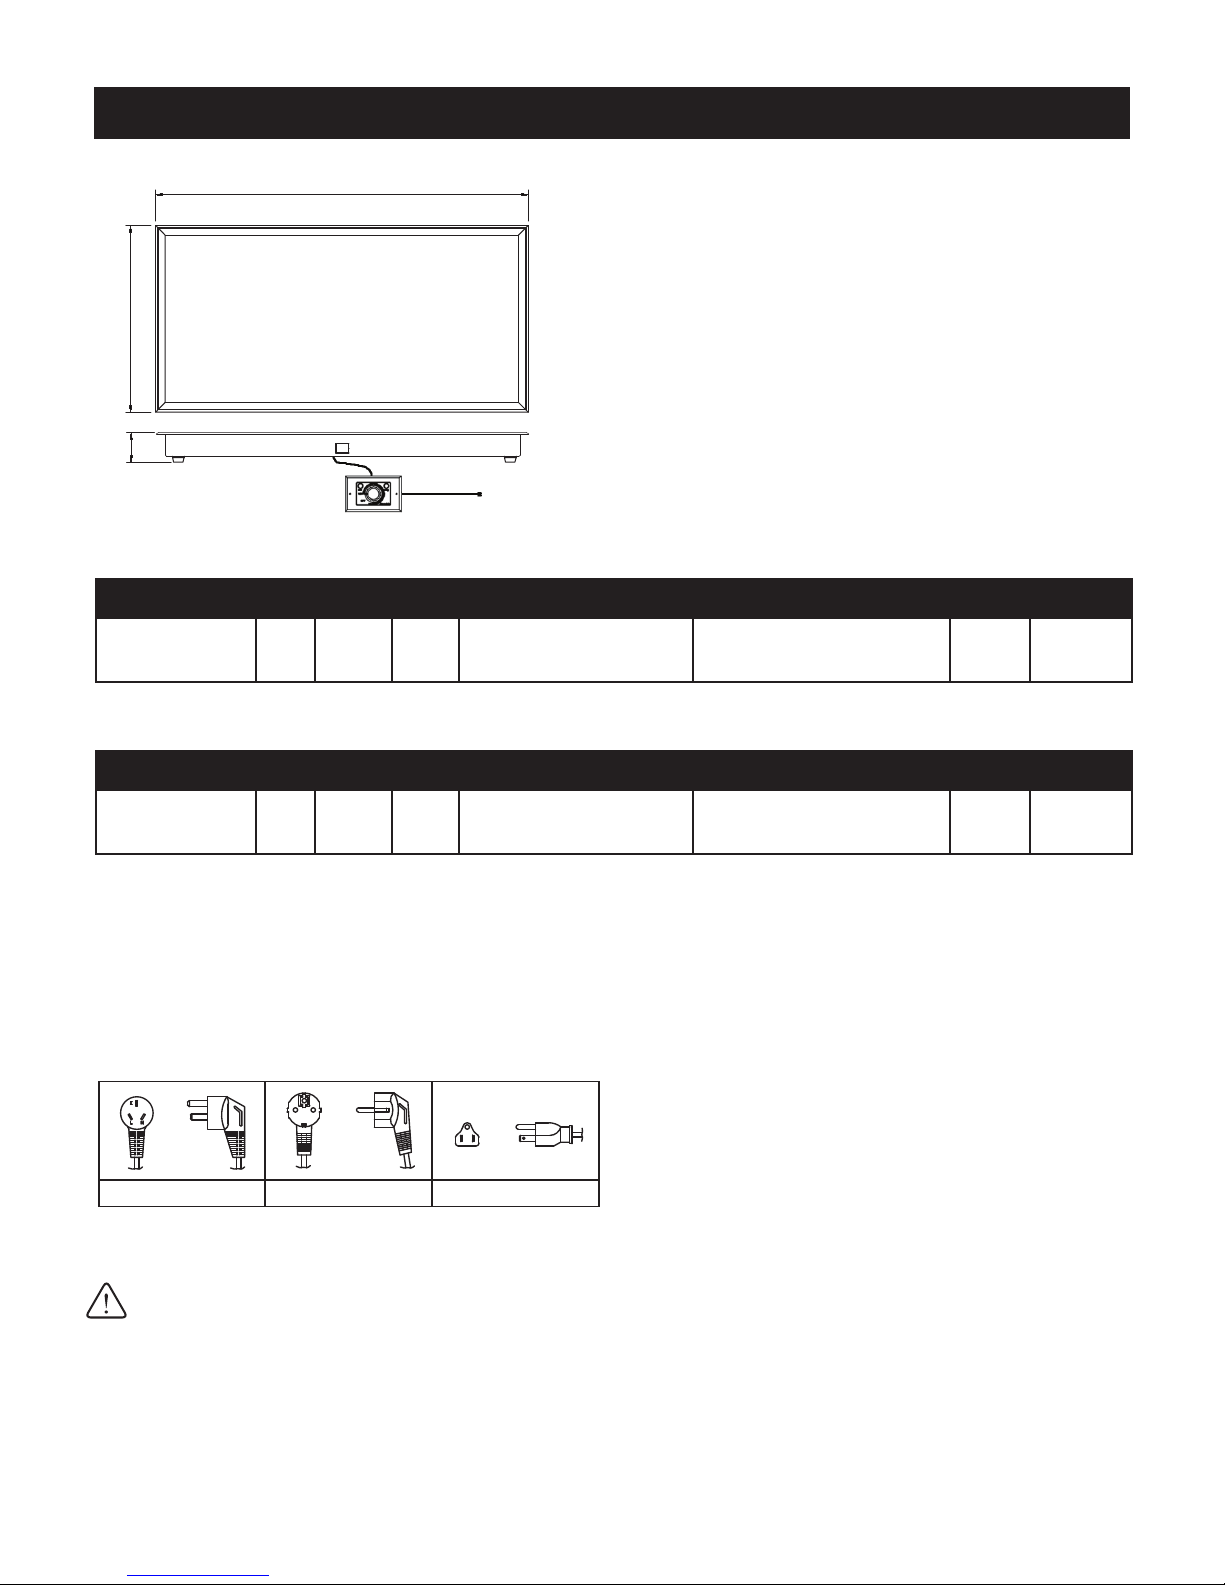
Plug Congurations
CN-001 EU-001 US-001
Each 120V unit is equipped with a 6’ power cord and a standard three pronged NEMA 5-15 plug.
WARNING Electric shock hazard:
Plug the unit into a grounded electrical outlet of the correct voltage, plug conguration and size. If the
plug and socket do not match, contact a certied electrician to check and install the proper size outlet
and voltage.
3

UNPACKING & INSTALLATION
SCHOTT
Bornoble
Control Box Size
Length L1 140 mm
Width W1 90 mm
Depth D 60 mm
Mounting Opening Size 103x75x70 mm
WARNING Electric Shock Hazard: Unit is not weatherproof. To protect against electrical hazards,
locate the unit indoors. Not intended for use in wet or moist conditions.
• To prevent electrical shock that can result in serious injury or death, this unit must be properly
grounded by plugging unit into the correct voltage, size and plug conguration.
CAUTION Do not operate without the control box mounted as described in instructions.
1. Remove unit from the shipping box and remove all protective material.
2. Cut and prepare a level opening in the countertop at the proper height. (See recommended cutout
dimensions in the specications section).
3. Apply food grade NSF-approved high temperature rated silicone around perimeter of unit between
the top edge of the countertop and underside of unit top.
4. Set the unit in place and level. Remove excess silicone.
apply silicone
countertop
FLUSH MOUNT CONTROL BOX
NOTE: It is recommended that the installation of the remote ush mount control box is completed by a qualied
electrician. Do not operate built-in models without the control box mounted properly. See specications
section for details.
1. Find a location where the remote-mounted control box assembly is convenient to operate.
2. Mount on a vertical panel or surface under the countertop in the horizontal position.
3. Prepare opening using cutout dimensions of 4
plate as a template for hole positions.
4. Position the box into the opening and mount to the surface using two screws (not supplied).
5. Continue to General Operation Instructions after all elements are installed.
NOTE: The control box has a 6’ (1829 mm) conduit that connects to the unit. The conduit should have slack
after mounting the control box.
Power Heating
1
/16” x 2 15/16” x 2 ¾”. Drill mounting holes. Use the front
Control Box Dimensions
Length (L1) 5
Width (W1)
Depth (D)
1
/2” (140 mm)
3 9/16” (90 mm)
2 3/8” (60 mm)
4

GENERAL OPERATING INSTRUCTIONS
IMPORTANT: The unit is not intended to reheat prepared foods or cook raw food. Food must be fully
cooked and heated to safe temperature of at least 140°F (60°C) prior to placing on the unit. The heated
warming shelf is designed specically to keep already-hot food warm, not for heating it from a cold or
frozen state. Failure to heat food to the proper food safe minimum temperature of 140°F (60°C) prior to
placing on the unit may result in serious health risks.
CAUTION Burn hazard: The surface of unit will get hot. Use caution when touching these
areas. Use hot pad or mitt when placing or removing food from hot surface.
IMPORTANT Do not turn the unit on until it has been cleaned. (Refer to Cleaning & Maintenance section)
1. Ensure the temperature control knob located on the control box is in the off position. Plug the unit into a
properly grounded electrical outlet with the correct voltage, size and plug conguration.
2. Turn the temperature control knob clockwise until the appropriate temperature is reached.
3. The unit will need approximately 30 minutes to reach the desired operating temperature before it is
ready to hold pre-heated or pre-cooked food.
4. The food to be set on the unit must be a minimum temperature of 140° F (60°C).
5. When the unit is done being used, turn the control knob to the off position and unplug unit from the
electrical outlet.
Note: The red power light will glow when the unit is on. Turning the control knob clockwise will increase the
temperature; turning it counterclockwise will decrease the heat level. The green light will turn on and off
during the heating cycle.
CLEANING & MAINTENANCE
Daily cleaning will increase the service life and maintain and protect the appearance of the glass
surface. Always clean before rst use. DO NOT use abrasive cleaners, wipes or pads that may
damage the glass surface.
WARNING Electric shock hazard: Unit is not waterproof. Do not immerse, saturate or spray
the unit with water and/or other liquids. Failure to comply with these instructions may result in
voiding the warranty.
• Unplug power and let unit cool before cleaning.
CAUTION Burn hazard: The surface of unit will get hot when in use. To avoid burns, do not let
bare skin touch the hot surface. Use hot pad or mitt when cleaning a warm unit.
1. Turn unit off and disconnect the power source.
2. Clean the glass surface using a damp cloth. DO NOT use abrasive cleaners, wipes or pads that may
damage the glass surface
3. Do not immerse, saturate or spray the unit with water and/or other liquids.
4. If there is a sugary or sticky spill, the most effective time to clean the unit is while it is warm.
a. While unit is still warm, remove the majority of the spill using a soft paper towel. Use hot pad or mitt.
b. Allow the unit to cool. DO NOT use again until the entire spill has been cleaned.
c. Repeat the steps as needed until the residue is removed.
5. Use care if placing pans on the glass surface and do not slide across the glass.
5

PARTS LIST
Black Glass1
Part Name Part Number
Quantity
NO.
Heater3
Part Name Part Number
Quantity
NO.
Unique Part List
Insulator4
Part Name Part Number
Quantity
NO.
Retainer Plate9
Part Name Part Number
Quantity
NO.
Bracket6
Part Name Part Number
Quantity
NO.
Back Plate7
Part Name Part Number
Quantity
NO.
Temperature Controller
8
Part Name Part Number
Quantity
NO.
Thermo Protector10
Part Name Part Number
Quantity
NO.
Glass Frame2
Part Name Part Number
Quantity
NO.
Frame5
Part Name Part Number
Quantity
NO.
R-Type Clamp
12
Part Name Part Number
Quantity
NO.
Rubber Stand11
Part Name Part Number
Quantity
NO.
8 Temperature Controller
9 Retainer Plate
1 Black Glass
2 Glass Frame
10 Thermo Plate
11 Rubber Feet
12 R-Type Clamp
13 Cable Clamp
14 Power Cord
3 Heater
4 Insulator
5 Frame
6 Bracket
7 Back Plate
6

TROUBLESHOOTING
WARNING Electric shock hazard:
Always turn off and disconnect the power source before servicing or cleaning unit.
Unit does not reach operating temperature 1. Adjust temperature control knob to a higher setting.
2. Check if there are air currents from air conditioning or exhaust
ducts. If so, move to another location or block the currents.
Unit temperature is too hot 1. Adjust temperature control knob to a lower setting by
turning knob counter clockwise.
2. Check with qualied personnel or electrician that the power
source equals the units specication.
Unit is not working 1. Check if unit is plugged in.
2. Turn temperature control clockwise until light is illuminated.
3. Conrm with qualied electrician that power supply
matches specications.
If all of the above are okay, and you still have problems, contact a qualied repair shop.
If the supplied cord is damaged, it should be replaced with an identical cord.
LIMITED TWO-YEAR WARRANTY
Vianni by A-1 AccuTech Inc., warrants to the original purchaser of its Vianni food warming equipment against
defects in materials or workmanship under normal use for two years after the date of sale to the original
purchaser. No other warranty or afrmation of fact, expressed or implied, statutory or otherwise, including
without limitation any implied Warranties of Merchantability or Fitness for Purposes are authorized.
The seller shall not be held liable for direct, indirect or consequential damages in connection with Vianni
commercial food warming products. Liability is limited to and shall not exceed the purchase price paid.
The warranty does not cover damage in any manner contrary to the installation and product manual
including improper utility connection, improper installation or maintenance, work performed by unauthorized
personnel, damage from improper cleaning, water damage to controls or carelessness that occurs as a result
of accident, neglect, alteration, damage during transit, delivery or installation, re, ood, act of God.
Please follow the following steps to make sure that your warranty claim will be addressed properly.
End Users (Operators) of Product: For any product believed to be defective within the warranty period, rst
write or call the dealer from whom the product was purchased.
Dealers: Please contact Vianni / A-1 Accutech Inc., for details
The title and risk pass of loss to buyer on delivery to common carrier. If the product was damaged in transit to
you, a claim must be led with the carrier. Any person desiring to make a claim must do it within six months
after the expiration of the warranty claim.
FDA
Vianni Products.
1717 North Naper Blvd.
Naperville, IL 60563
(630) 470-6887
Info@vianniproducts.com
www.vianniproducts.com©2014 A-1 Accutech, Inc. Vianni is a trademark of A-1 Accutech, Inc.
 Loading...