

Vestal DIGICHORD Instruction Manual
DIGICHORD

WARRANTY
Your VESTAL watch limited warranty covers defects in materials and workman-
ship for a period of Three years from the date of purchase. The warranty does not
cover the watch case, battery, strap, bracelet, crystal and crown. Damage result-
ing from improper use, accidents, and normal wear and tear is not covered. Water
damage is not covered unless the watch is marked water-resistant. VESTAL’s war-
ranty is void if the product is disassembled in any manner by any party other than
an in-house VESTAL watch repair representative. If the watch is defective, please
call (949) 631-7036 or email warranty@vestalwatch.com for a Return Authoriza-
tion (RA) number. Watches sent back to us without a Return Authorization (RA)
number will not receive service. See below for return address.
CARING FOR YOUR WATCH BAND
If your watch band is made of leather, try to avoid getting it wet. Water will ruin
the leather. In the event that the leather band is ruined, VESTAL has a limited
supply of replacements that can be sold back to you. Call the VESTAL warranty
department for details (949) 631-7036). If your VESTAL watch is equipped with
a stainless steel band and it has been exposed to salt water, rinse band in fresh
water soon after exposure.
RETURN ADDRESS
VESTAL Watches
730 W. 17th Street
Costa Mesa, CA 92627
WARRANTY
Your VESTAL watch limited warranty covers defects in materials and workman-
ship for a period of Three years from the date of purchase. The warranty does not
cover the watch case, battery, strap, bracelet, crystal and crown. Damage resulting from improper use, accidents, and normal wear and tear is not covered. Water
damage is not covered unless the watch is marked water-resistant. VESTAL’s warranty is void if the product is disassembled in any manner by any party other than
an in-house VESTAL watch repair representative. If the watch is defective, please
call (949) 631-7036 or email warranty@vestalwatch.com for a Return Authorization (RA) number. Watches sent back to us without a Return Authorization (RA)
number will not receive service. See below for return address.
CARING FOR YOUR WATCH BAND
If your watch band is made of leather, try to avoid getting it wet. Water will ruin
the leather. In the event that the leather band is ruined, VESTAL has a limited
supply of replacements that can be sold back to you. Call the VESTAL warranty
department for details (949) 631-7036). If your VESTAL watch is equipped with
a stainless steel band and it has been exposed to salt water, rinse band in fresh
water soon after exposure.
RETURN ADDRESS
VESTAL Watches
730 W. 17th Street
Costa Mesa, CA 92627
3
ENGLISH
4
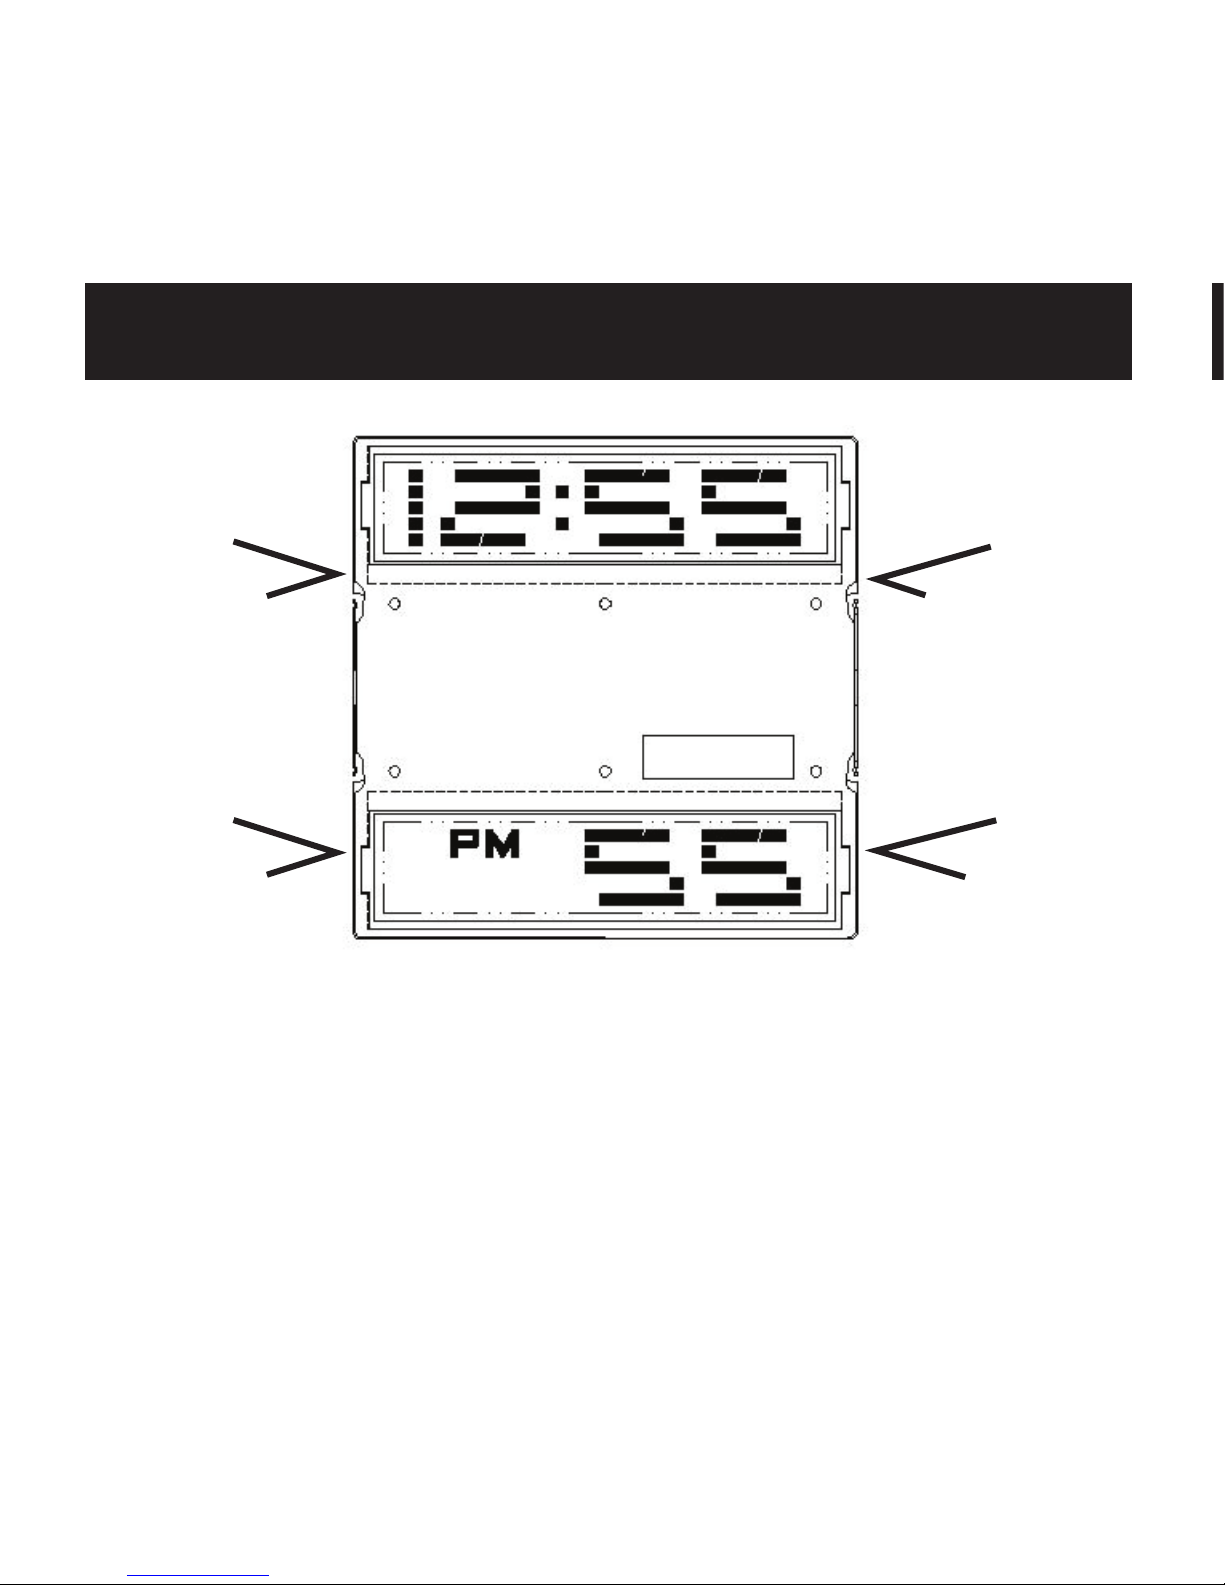
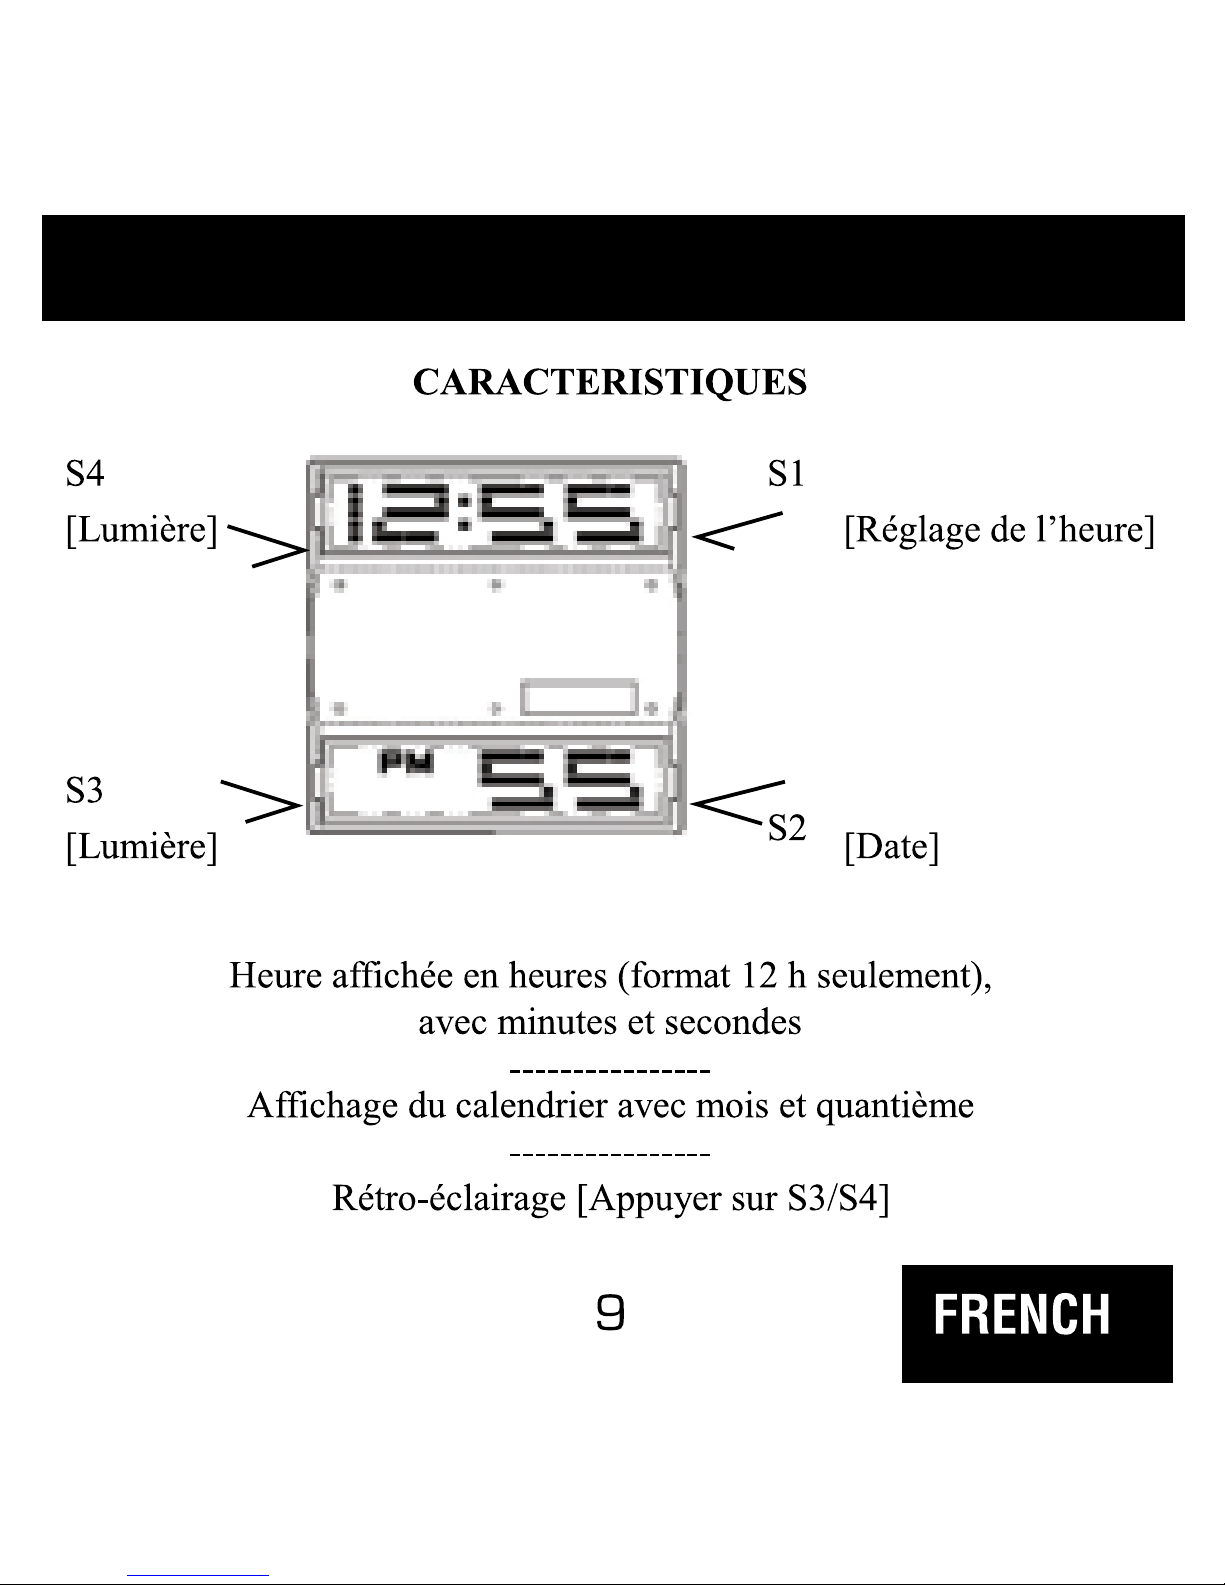
Time displayed in Hours (12-hr format only),
with Minute and Seconds.
- - - - - - - - - - - - -
Calendar display in Month and Date.
- - - - - - - - - - - - -
EL backlight (Press S3/S4)
S4
(Light)
S3
(Light)
S1
(SET TIME)
S2
(Date)
FEATURES
5
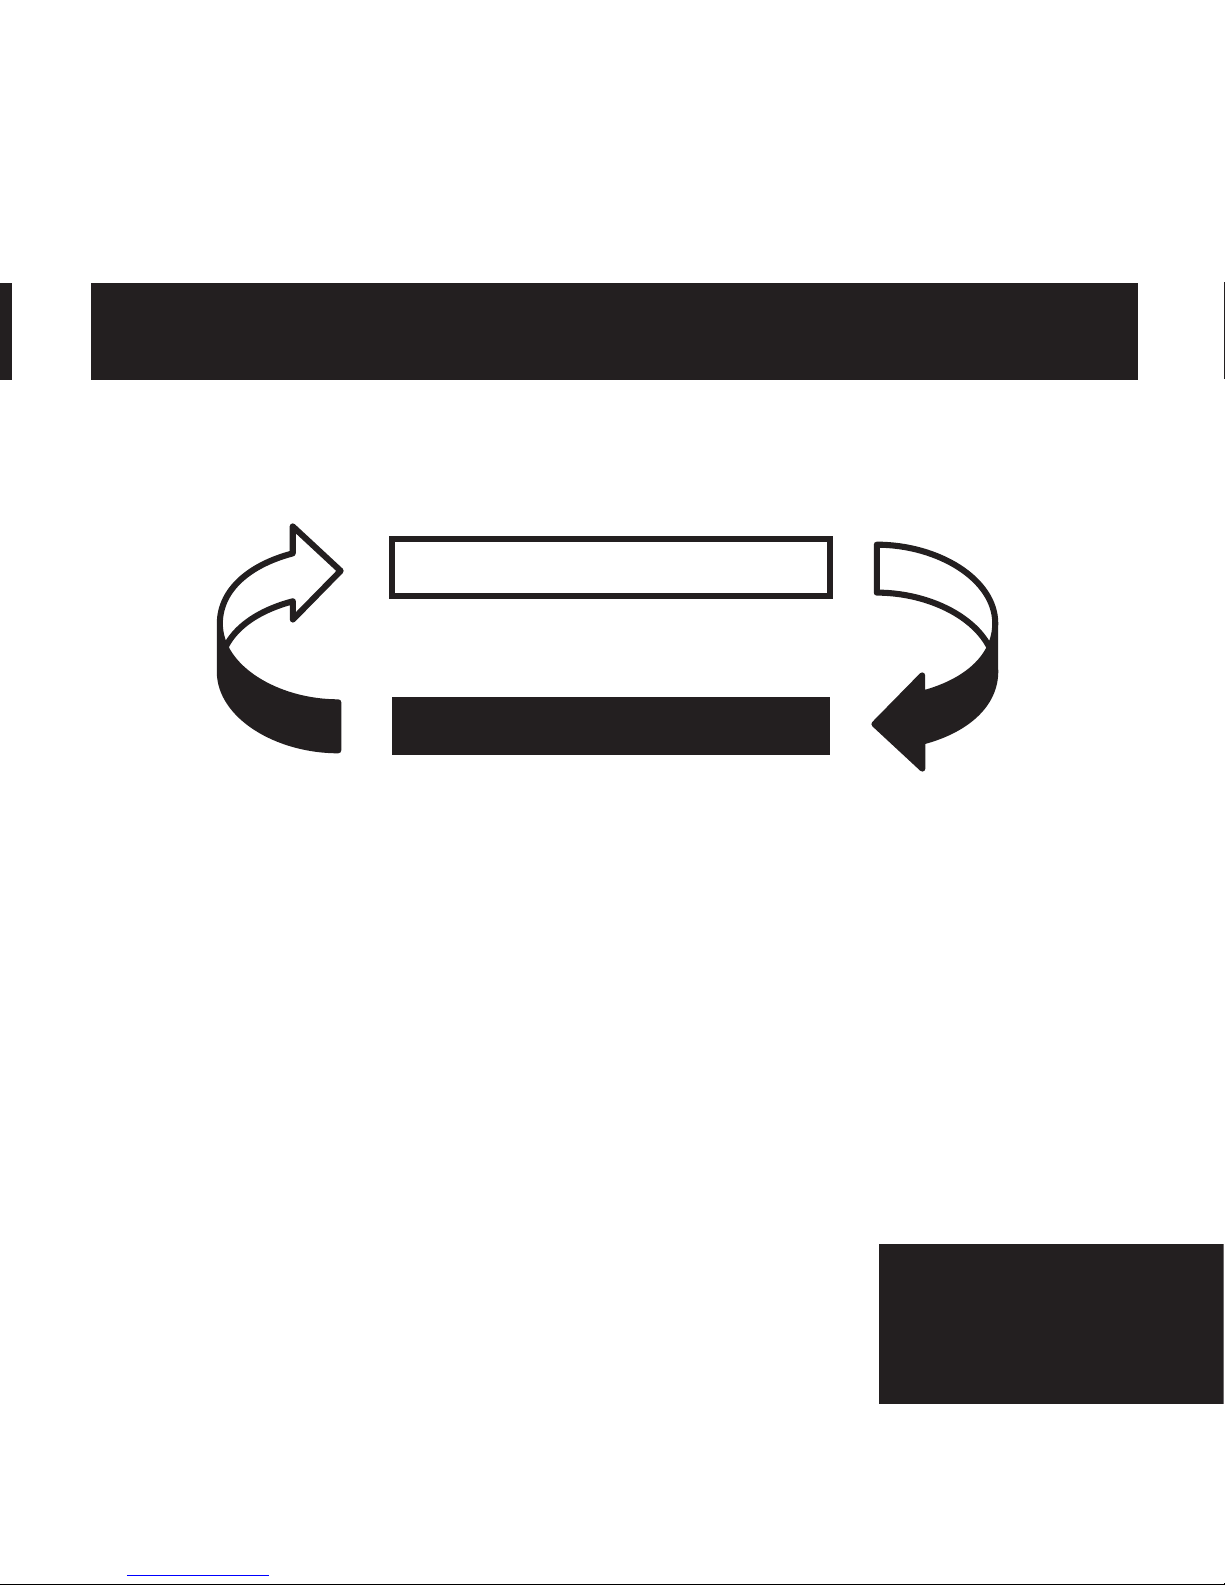
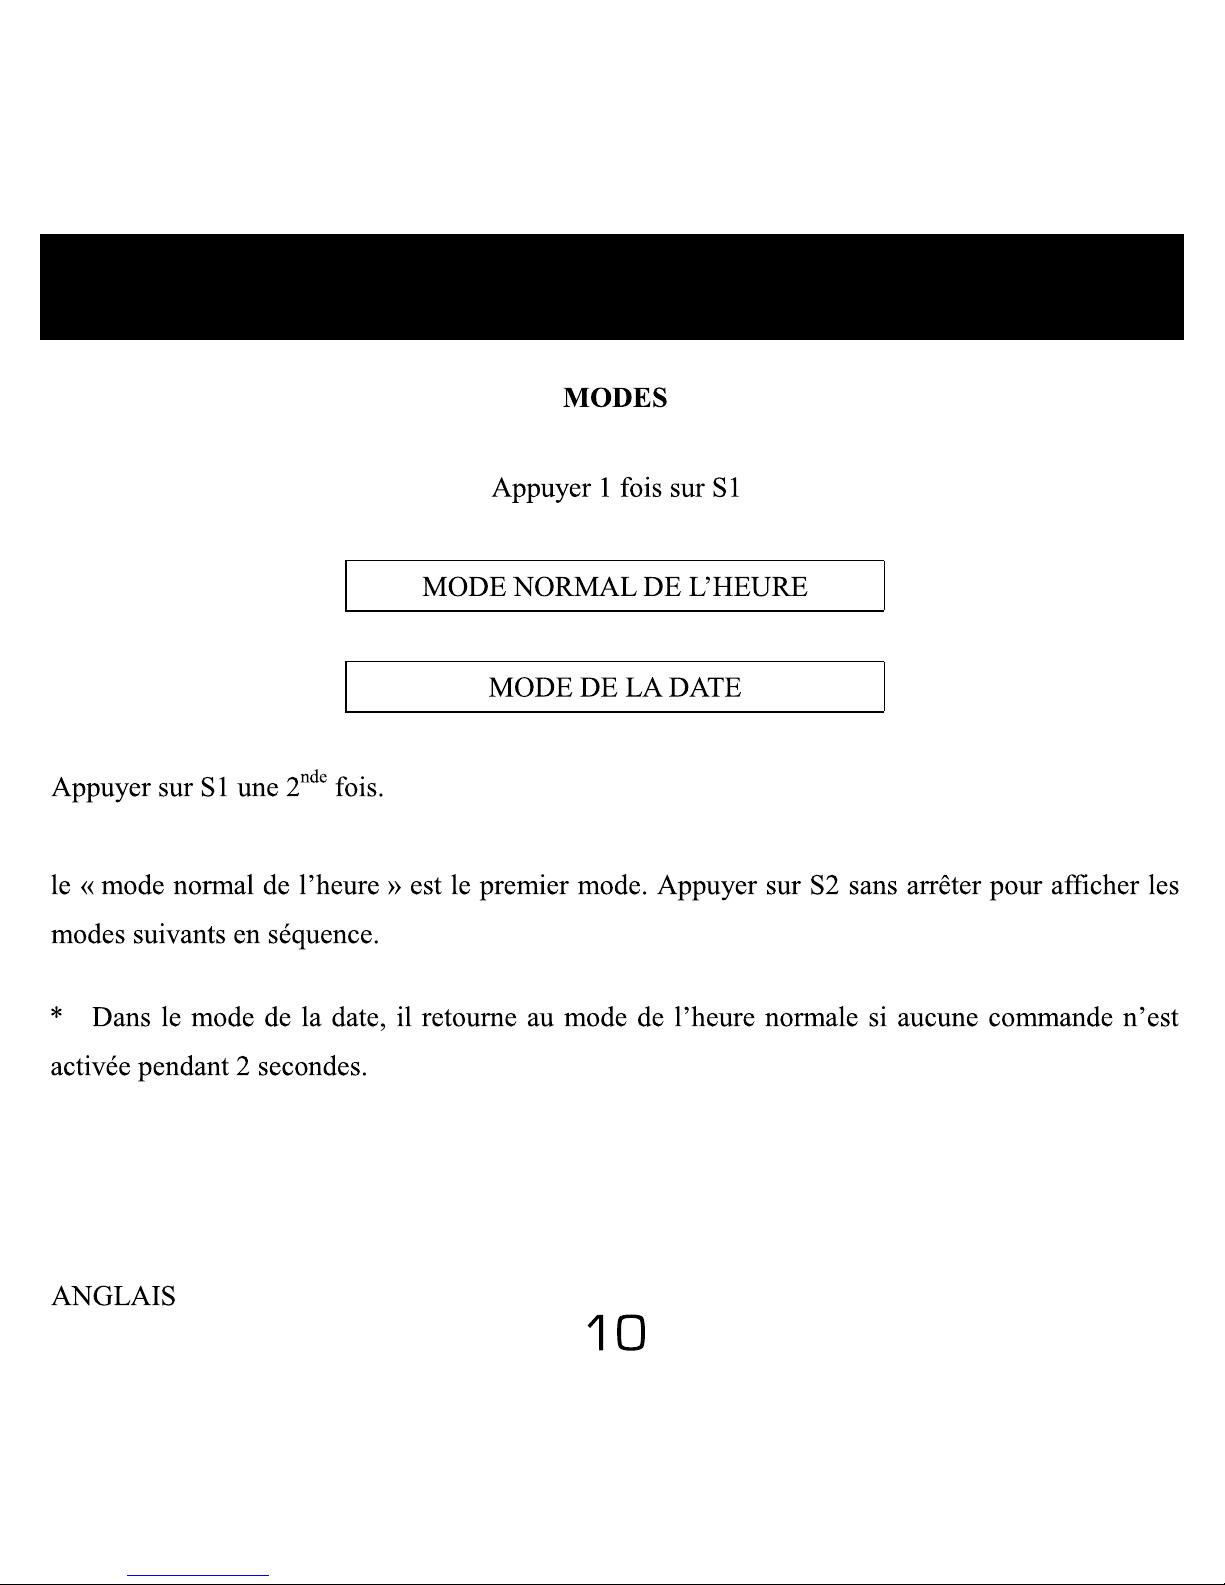
“Normal time mode” is the first mode. Press S2
continuously to show following modes in sequence.
* In Date Mode, it will auto return to Normal Time
Mode if no key was pressed in 2 seconds.
Press ‘S1’ 1st Time
Press ‘S1’ 2nd Time
NORMAL TIME MODE
DATE MODE
ENGLISH
MODES

6
Normal Time mode
- Press S2 to show month and date, then
press S2 again to return to Normal Time
Display.
- Press S3/S4 to turn on the EL-light.
- Press S1 to enter Setting Mode.
Date Mode
- Month and Date Display
- It will auto return to Normal Time Mode if
no key was pressed in 2 seconds.
- Press S3/S4 to turn on the EL-light.
Setting Mode
- In Time Mode, press S1 to enter Setting Mode.
- Press S1 to select the setting digit, and press S2
for increment of the blinking digit.
- The setting sequence of S1 will be in the following
sequence:
Second > Hour > Minute > Month > Date > Exit
and return to Normal Time Mode
- Press S3/S4 to turn on the EL-light.
Battery Replacement
- SR1120W or equivalent battery
OPERATION AND SETTING

7
Setting Mode
- In Time Mode, press S1 to enter Setting Mode.
- Press S1 to select the setting digit, and press S2
for increment of the blinking digit.
- The setting sequence of S1 will be in the following
sequence:
Second > Hour > Minute > Month > Date > Exit
and return to Normal Time Mode
- Press S3/S4 to turn on the EL-light.
ENGLISH
OPERATION AND SETTING
 Loading...