

Ves Electric SK-A7 Instruction Manual
ÐУССКИЙ ÐУССКИЙ
INSTRUCTION MANUAL
ИНСТРУКЦИЯ ПО ЭКСПЛУАТАЦИИ
VES ELECTRIC SPAIN
• WAFFLE MAKER •
• ВАФЕЛЬНИЦА •
MODEL SK-A7
МОДЕЛЬ
SK-A7
Фирма-изготовитель:
Адрес:
Rotwei n S.L., Ис пания
c/Diputatio 237,
6 1 08 007
Barcelona, Spain
Завод-производитель: Rotwein S.L., Китай
ENGLISH ENGLISH
2 3
Waffle maker MODEL: SK-A7
Dear customer!
We highly appreciate your choosing VES Electric home appliances. From our side we guarantee excellent quality, perfect
functioning and safety of your appliance upon keeping to all the
rules of home exploitation. Before using the appliance, please,
read carefully attached instruction.
This product is only for home use.
SECURITY REGULATIONS
As a security measure read this user manual carefully before using
the device the first time.
Please keep this user manual for future advising.
Before first using of this device it needs to be checked carefully and
visually. If some damages have been found, address to a authorized
service centre.
It is forbidden to use broken device.
To protect against the risk of electrical shock, do not immerse the
device, cord or its plug into the water or other liquid.
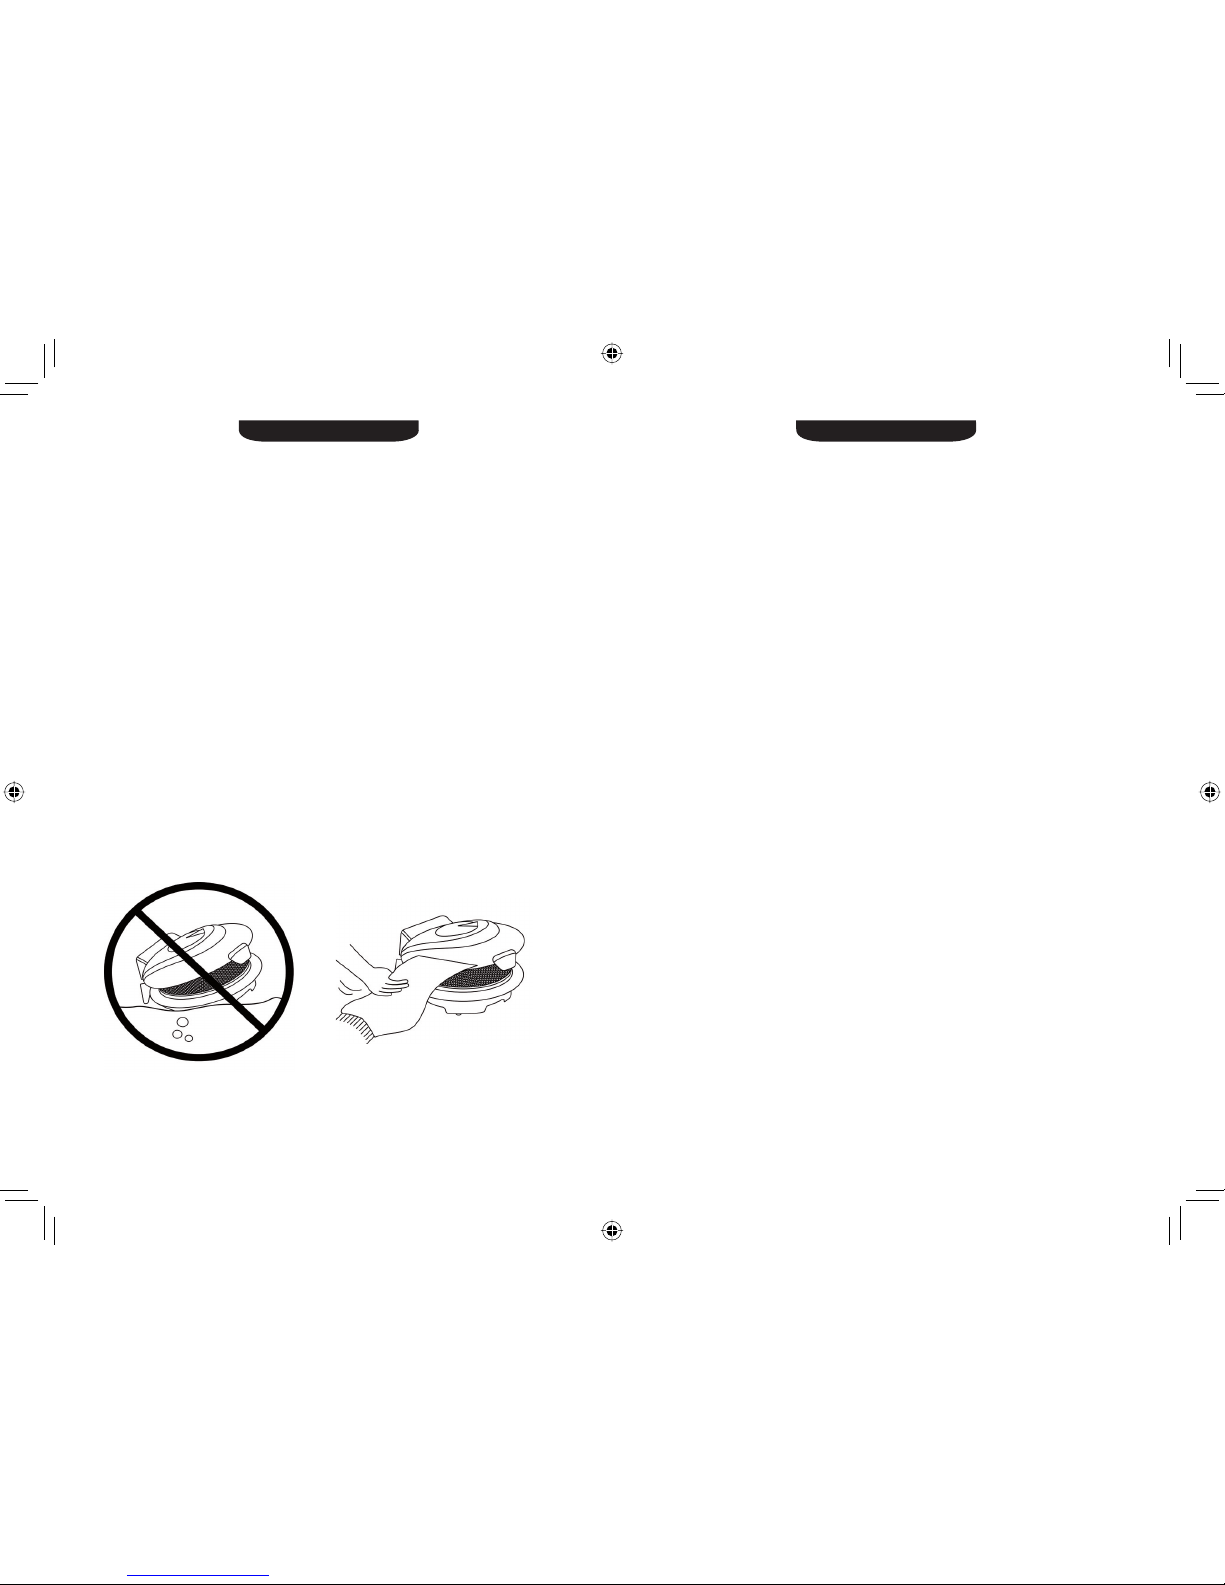
When using the appliance place it on a dry, heat-resistant sur-
face.
Never place the appliance on a hot surface or over an open
flame.
Use the device only on a stable and level surface with sufficient
free space around it, away from water.
Never touch the appliance’s hot surfaces to avoid scald.
Always use cooking gloves when you manipulate with hot objects.
To turn the device completely off, disconnect the cable plug from
the wall mains socket.
Never use this appliance together with an extension supply cable.
Always pull the plug when you have finished using the appliance.
Any time before cleaning it, disconnect the appliance from the
mains. Let it cool before washing it.
Before the first use, make sure the voltage of your home mains is
the same of this device.
Connect the appliance to an earthed wall socket.
Do not use the damaged appliance or it with a damaged cord/
plug.
Do not connect the appliance plug with damaged wall outlet.
Do not use the device outdoors.
Only special authorized service centres may carry out check and
repair work for this device. Self repair is forbidden.
Do not let the cable hang from a table or a counter, or be in
contact with hot surfaces.
Children should be kept away from the appliance. Close supervision
is necessary when the appliance is used near children.
Keep the device away from children and don’t let them play with it.
Do not use the device for other purposes than for the one it is
specifically designed.
Never place the device on or close to gas or electric burner, in
a microwave or traditional oven that is being warmed up, or directly
beneath a storage cupboard.
The use of accessories not provided or recommended by the
manufacturer may be the source of danger.
Do not use the device in the presence of explosives or solvent
Pleas keep and use this device with care not to drop and hit it in
ENGLISH ENGLISH
4 5
order to avoid possible damage.
Do not clean any part of the unit with abrasive cleaners or solvents.
Never use sharp or abrasive objects in contact with the cooking
plate as this will damage the non-stick surface.
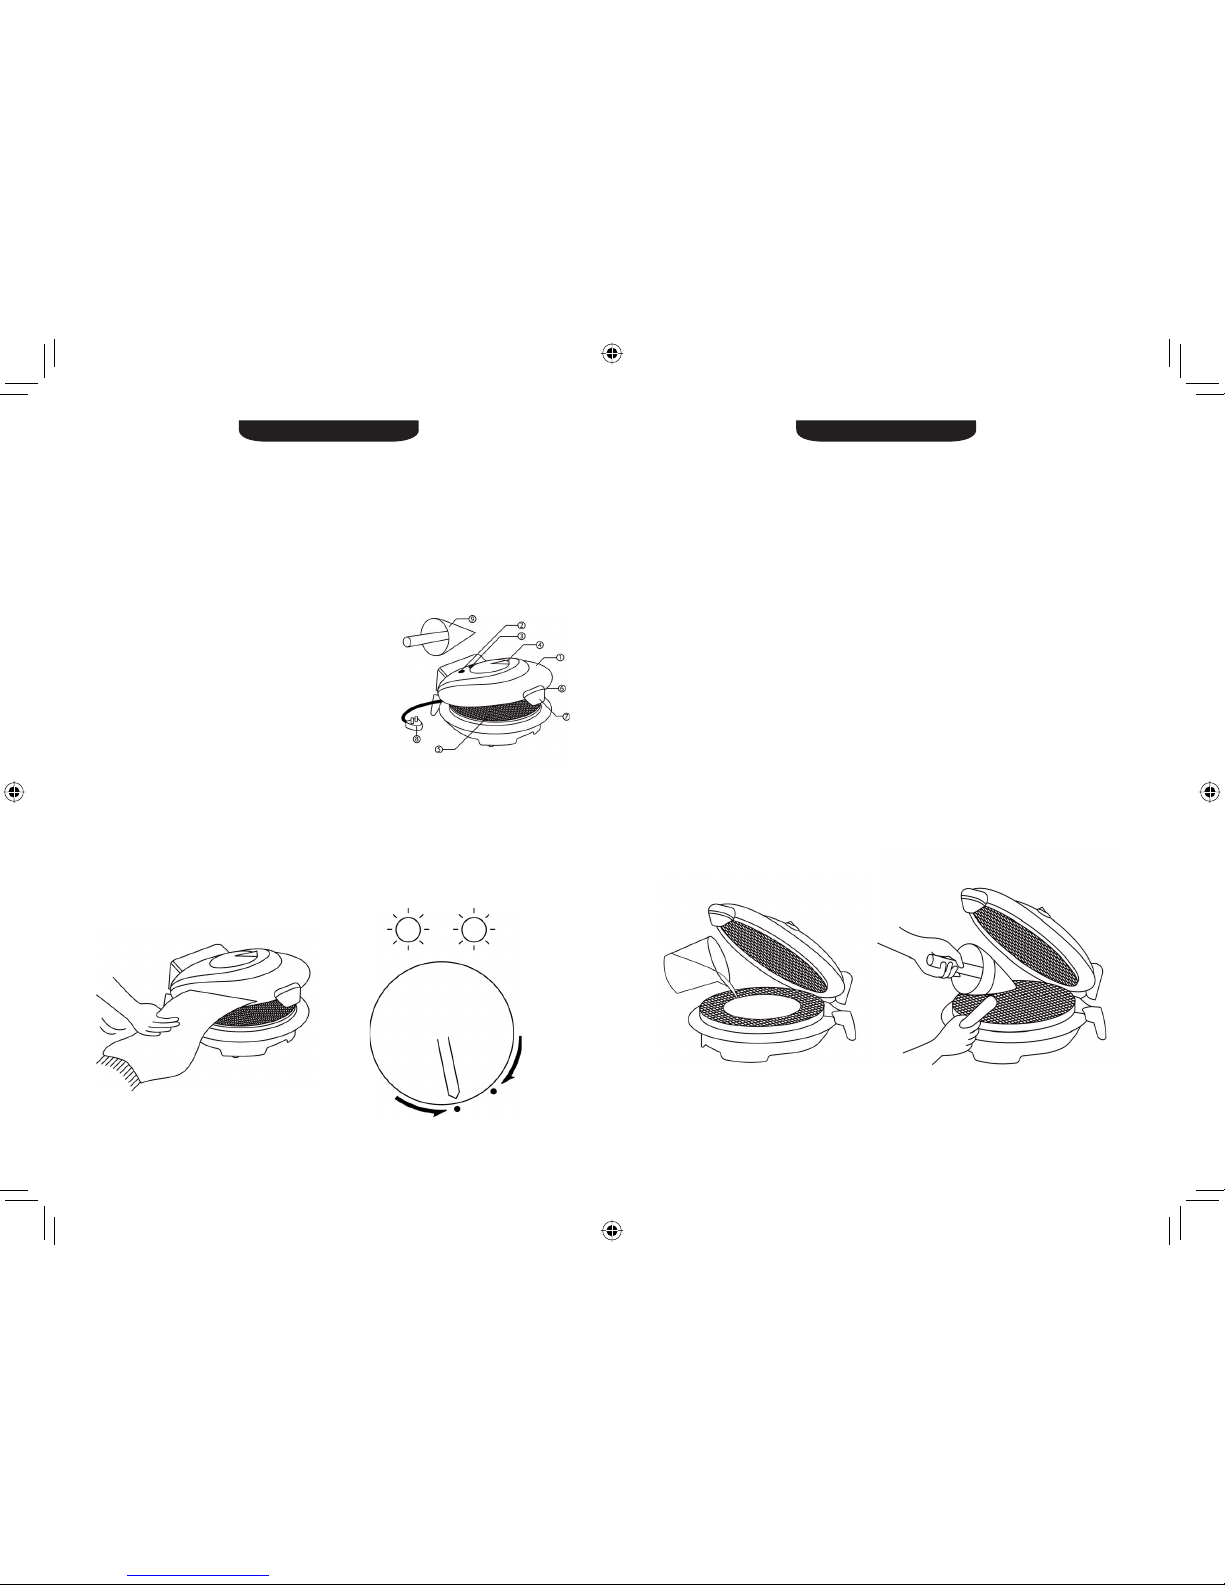
Description of waffle maker:
1.Upper cover
2.Red led ( power indication )
3.Green led ( readiness indication for
the required cooking temperature)
4.Thermostat “ÌÈÍ. - ÌÀÊÑ.” with
cooking temperature smooth adjustment
5.Bottom cover and bottom baking
non-stick coating plate
6.The top baking non-stick coating plate
7.The heat – insulated locking clip
8.The electrical cord with a plug
9. Waffle cone mould
Before using the first time
Remove the device and all its accessories from the box.
Clean the device, all its accessories and the baking plates with a
damp cloth or sponge.
Close the upper cover, establish thermostat in position “ÌÈÍ.”,
insert the power cord plug into a suitable mains supply socket and the
red “Power” led and green “Readiness for cooking” led on the upper
cower will light up.
Turn on the thermostat clockwise in the “ÌÀÊÑ.” position and the
green led turns off.
The green led turns on when the desired temperature of cooking
plates will achieve.
Wait about 10 minutes with unopened covers and then push the
plug off.
Let it cool down before cleaning.
Clean the baking plates with a damp cloth or sponge once
again.
The waffle cone maker is ready for use.
Note:
During first use there can be an easy smoke. This is normal
because of the initial heating of the internal components.
Don’t eat first two or three waffles at initial use of this device.
They can bear the rest of factory greasing and dust parts of new
plate’s non-stick coating.
Making of waffle cones, tubes, sheets
Close the upper cover, establish thermostat in position “ÌÈÍ.” put
the mains plug into the wall socket and the red led and the green
 Loading...