

Page 1

Vernier LabQuest® Mini
User’s Manual
Vernier LabQuest® Mini User’s Manual © 2010 Vernier Software & Technology
All rights reserved. You are entitled to reproduce parts of this manual for use in your
school only. No part of this manual may be used or reproduced in any other manner
without written permission of Vernier Software & Technology, except in the case of
brief quotations embodied in critical articles or reviews.
Logger Pro, LabQuest, Vernier, and Vernier and caliper design are our registered
trademarks in the United States. Vernier Software & Technology and Vernier.com
are our trademarks or trade dress.
All other marks not owned by Vernier Software & Technology that appear herein are
the property of their respective owners, who may or may not be affiliated with,
connected to, or sponsored by us.
Published by
Vernier Software & Technology
13979 SW Millikan Way
Beaverton, Oregon 97005-2886
(503) 277-2299
Toll Free (888) 837-6437
FAX (503) 277-2440
www.vernier.com
info@vernier.com
First Edition
First Printing
Vernier Software & Technology
13979 S.W. Millikan Way • Beaverton, OR 97005-2886
Toll Free (888) 837-6437 • (503) 277-2299 • FAX (503) 277-2440
info@vernier.com • www.vernier.com
2
Page 2
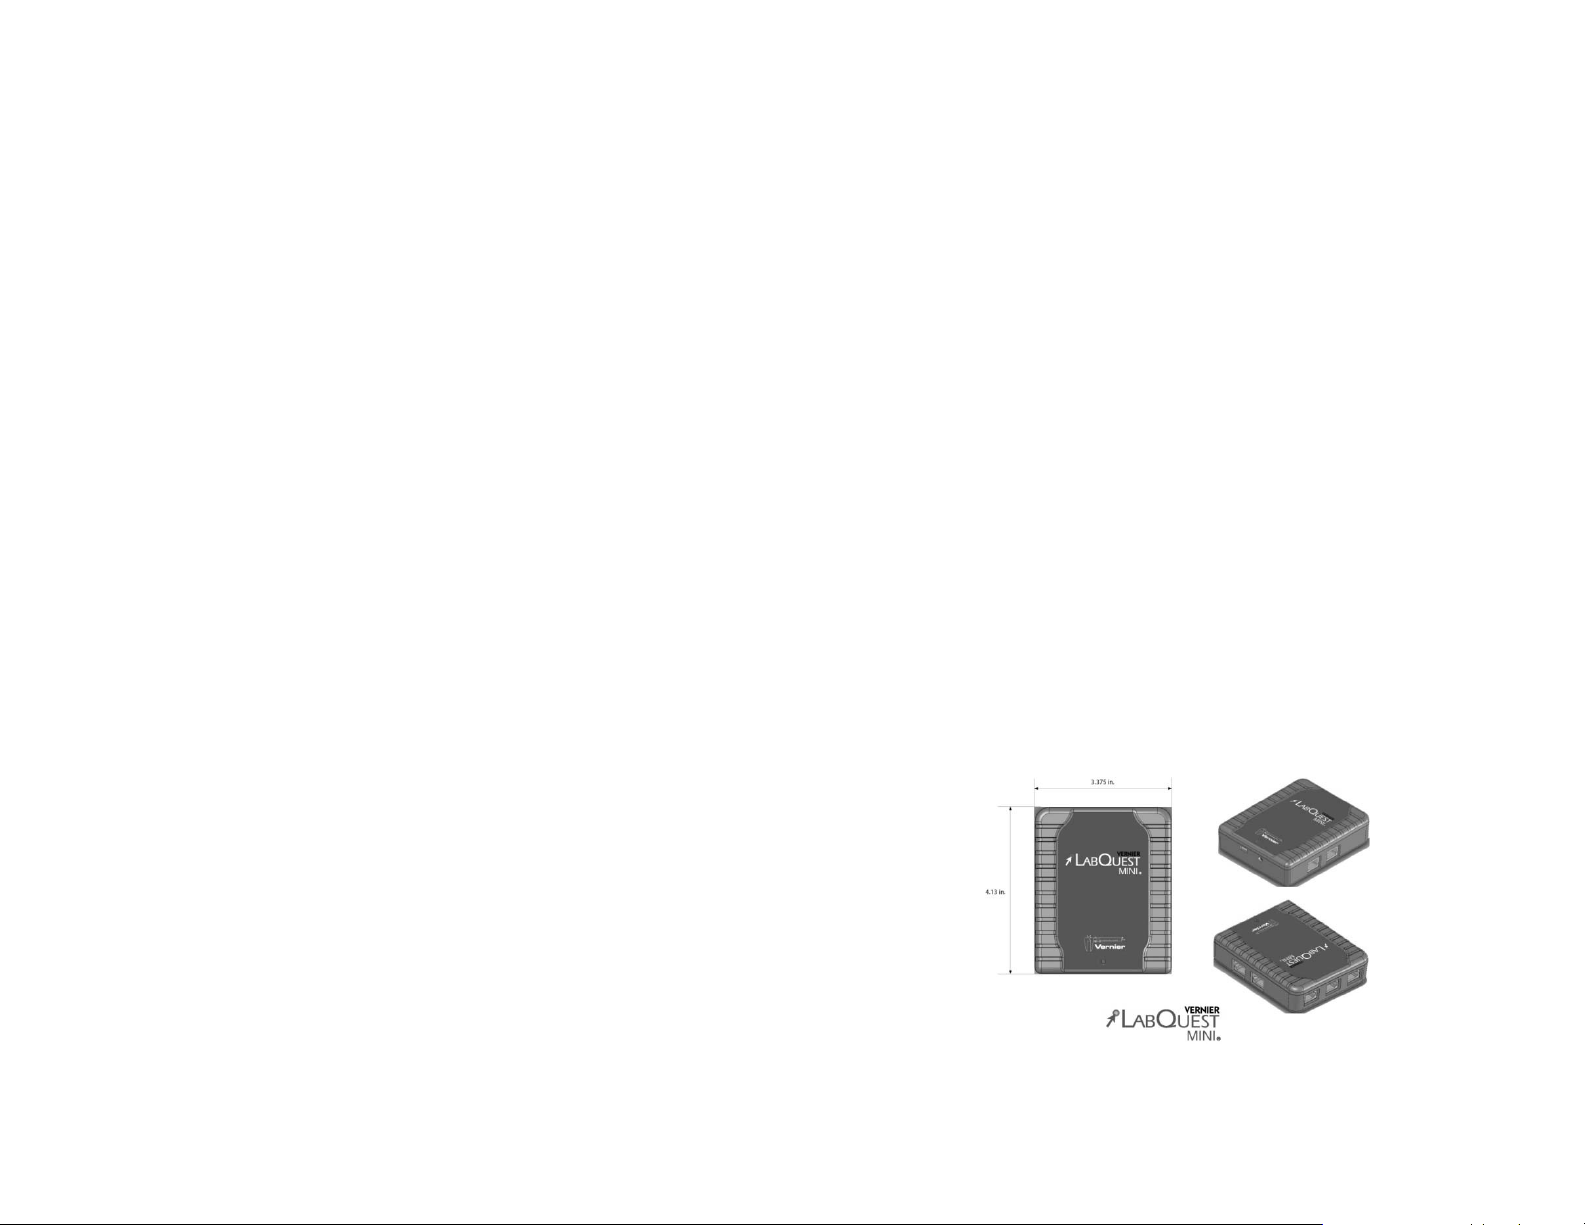
Table of Contents
Introduction ................................................................................................ 4
Quick Start Guide (for those who hate to read manuals) .......................... 4
LabQuest Mini Components ...................................................................... 4
Providing Power to LabQuest Mini ............................................................ 5
Connecting Sensors .................................................................................. 5
Software .................................................................................................... 6
Using LabQuest Mini with a Computer ...................................................... 6
Computer and Software Requirements ..................................................... 6
Attaching LabQuest Mini to a Computer ................................................... 7
Starting Logger Lite Software and Preparing to Collect Data ................... 7
Where to Go Next ...................................................................................... 8
Appendix A: Troubleshooting Tips ............................................................ 8
Warranty .................................................................................................... 8
Introduction
The Vernier LabQuest Mini is a versatile data-collection interface that can be used to
collect data while attached to a computer. More than 50 Vernier sensors are available
for use with LabQuest Mini.
By following this guidebook, you will learn to set up and collect data with a
Macintosh
®
or Windows® computer.
Quick Start Guide (for those who hate to read manuals)
To get started on a computer right away without the extra information provided
below, follow these easy steps.
1. Install the Logger Lite
2. Connect the small end of the USB cable to the USB port on the end of LabQuest
Mini.
3. Connect the other end of the cable to a USB port on your computer.
4. Start Logger Lite, and you are ready to collect data. Note: LabQuest Mini can
also be used with Logger Pro
®
software, which is included with the interface.
®
software, version 3.8.2 or newer.
LabQuest Mini Components
The LabQuest Mini package contains the hardware and software that you need to
connect LabQuest Mini to a computer. The package includes
• LabQuest Mini interface
• Logger Lite software CD
• User’s manual
• USB cable
The LabQuest Mini interface contains three analog channels (CH 1, CH 2, and
CH 3), two digital channels (DIG/SONIC 1 and DIG/SONIC 2), a USB computer
connection, and a port for auxiliary power.
3
4
Page 3

Providing Power to LabQuest Mini
Power for LabQuest Mini is supplied by the USB port of th e com put er. It does not
require auxiliary AC power or batteries. You simply connect the interface to the
computer through the USB connection and it is ready to collect data.
Please note: There may be configurations that limit how much power is available
from the USB port on the computer. Such configurations may include having other
devices that require USB power connected at the same time. You may receive a
warning from the computer that it cannot provide enough power for the LabQuest
Mini. In these situations, you may disconnect the other devices or you may use an
external supply (order code LQ-PS) to provide power to LabQuest Mini.
Connecting Sensors
Sensors can be divided into two basic types—analog and digital. Examples of analog
sensors include Temperature Probes, pH Sensors, Force Sensors, and Oxygen Gas
Sensors. Up to three analog sensors can be connected to LabQuest Mini at a time.
Three jacks for the analog sensors (CH1–CH3) are located on the top side. The
analog ports accept British Telecom-style plugs with a right-hand connector.
An analog sensor connected to LabQuest Mini
Examples of digital sensors include Motion Detectors, Radiation Monitors,
Photogates, and Rotary Motion Sensors. Up to two digital sensors can be connected
to LabQuest Mini at a time. The digital ports (DIG/SONIC1 and DIG/SONIC2),
which accept British Telecom-style plugs with a left-hand connector, are located on
the right side of the interface.
Logger Lite Software
The Logger Lite software is contained on the CD provided with LabQuest Mini.
To install the software on a Windows computer
1. Place the enclosed Logger Lite CD in the CD-ROM drive of your computer.
2. If you have Autorun enabled, the installation will launch automatically;
otherwise, choose Settings→Control Panel from the Start menu. Double-click on
Add/Remove Programs. Click on the Install button in the resulting dialog box.
3. The Logger Lite installer will launch, and a series of dialog boxes will step you
through the installation of the Logger Lite software. We recommend that you
accept the default directory.
To install the software on a Macintosh computer
1. Place the Logger Lite CD in the CD-ROM drive of your computer and doubleclick on the CD icon.
2. Double-click the “Install Logger Lite” icon and follow the on-screen instructions.
Computer and Software Requirements
To use LabQuest Mini on a computer, you will need Logger Lite software (included)
or Logger Pro software version 3.8.2 or newer running on a Macintosh OS
10.4.11, or 10.5.1 or newer or a Windows computer running Windows
SP2/SP3, Vista, Vista 64, Windows 7, or Windows 7 64, or newer. (If you own an
earlier version of Logger Pro 3 software, you can upgrade to the current version at
no cost by visiting our web site for updates: www.vernier.com/downloads/). Check
the software for complete computer system requirements.
If you use National Instruments LabVIEW software, you can obtain a LabVIEW VI
for collecting with the LabQuest Mini. Go to: www.vernier.com/labview/.
LabQuest Mini is also compatible with our beta version of Logger Pro for Linux.
Information concerning this option is available on our web site at
www.vernier.com/soft/lpl/index.html.
Before you continue, check to see that Logger Lite or Logger Pro is installed on
your computer. If not, now would be a good time to install it.
®
XP
®
OS X
A digital sensor attached to LabQuest Mini
Connect the sensor to the appropriate port. An important feature of LabQuest Mini is
its ability to detect auto-ID sensors, and automatically set up an experiment. If you
are not using sensors with the auto-ID ability, you can easily set them up with the
experiments provided with Vernier’s Logger Lite and Logger Pro software.
5
6
Page 4

Attaching LabQuest Mini to a Computer
r
The LabQuest Mini computer connection is located on the end of the interface. Plug
the small end of the USB cable into the LabQuest Mini USB connection. Plug the
other end of the USB cable into the USB port on the computer.
Starting Logger Lite Software and Preparing to Collect Data
Locate the Logger Lite icon on your computer and double-click on it, or use th e Start
menu (Windows). An important feature of LabQuest Mini is its ability to detect
auto-ID sensors, and automatically set up an experiment.
If Logger Lite does not detect your LabQuest Mini and/or a sensor is not connected,
the Collect button will appear faded
Mini connected to the USB port of your computer. Choose New from the File menu.
The software will again attempt to communicate with the interface. If this does not
work, consult Appendix A.
If you have connected a Stainless-Steel Temperature Probe, for example, and the
computer has detected the LabQuest Mini interface, you will see a screen that shows
a graph of temperature vs. time along with the live readout at the top.
. Make certain that you have LabQuest
Where to Go Next
Lab Books
Vernier offers over 500 experiments in subject areas including middle school
science, biology, physics, environmental science, earth science, chemistry, physical
science, math, and more. For more information visit www.vernier.com/cmat.
Software Tutorials
Both Logger Pro and Logger Lite data-collection programs contain interactive
tutorials that help you and your students learn the programs. You can also search the
Help section in each program to find answers to specific questions.
Appendix A: Troubleshooting Tips
Problem Cause/Solution
When LabQuest Mini is used
with the computer, the
Logger Lite or Logger Pro
Collect button appears faded.
The sensor is not working. This may be happening because the sensor is not
The readings are noisy. LabQuest Mini may be picking up interference
The Collect button does not appear because the
computer could not communicate with the
interface. Check each of the following:
• Make sure the cables are firmly attached.
• Confirm that the port on the computer is
working p
plugged into the correct port. Since LabQuest
Mini has 3 analog and 2 digital ports, make sure
that the sensor is connected to the proper port.
from other electrical devices, such as a
computer. Move the LabQuest Mini interface at
least 30 cm from another computer.
operly.
Logger Pro screen showing the automatic detection of a Temperature Probe
7
Warranty
Vernier warrants this product to be free from defects in materials and workmanship
for a period of five years from the date of shipment to the customer. This warranty
does not cover damage to the product caused by abuse or improper use.
Rev. 2/2010
8
 Loading...