

Page 1
1
6. Click or tap your Go Direct sensor
from the list of Discovered
Wireless Devices. Your sensor's ID
is located near the barcode on the
sensor. The Bluetooth LED will
blink green when it is successfully
connected.
7. Click or tap Done to enter datacollection mode.
Charging the Sensor
Connect Go Direct Gas Pressure to the included Micro USB Cable and any USB
device for two hours.
You can also charge up to eight Go Direct Gas Pressure Sensors using our
GoDirect Charge Station, sold separately (order code: GDX-CRG). An LED on
each Go Direct Gas Pressure indicates charging status.
Charging
Orange LED next to the battery icon is solid
while the sensor is charging.
Fully charged
Green LED next to the battery icon is solid
when the sensor is fully charged.
Powering the Sensor
Turning on the sensor
Press button once. Red LED indicator flashes
when unit is on.
Putting the sensor in sleep
mode
Press and hold button for more than three
seconds to put into sleep mode. Red LED
indicator stops flashing when sleeping.
Connecting the Sensor
See the following link for up-to-date connection information:
www.vernier.com/start/gdx-g p
Connecting via Bluetooth
Ready to connect Red LED next to the Bluetooth icon flashes
when sensor is awake and ready to connect.
Connected Green LED next to the Bluetooth icon flashes
when sensor is connected via Bluetooth.
Go Direct®Gas
Pressure
(Order Code GDX-GP)
Go Direct Gas Pressure is used to monitor pressure
changes in gas-law experiments in chemistry, biology,
and physics.
Note: Vernier products are designed for educational use. Our products are not
designed nor are they recommended for any industrial, medical, or commercial
process such as life support, patient diagnosis, control of a manufacturing
process, or industrial testing of any kind.
What's Included
l Go Direct Gas Pressure
l Two tapered valve connectors inserted into a No. 5 stopper
l One tapered valve connector inserted into a No. 1 stopper
l One two-way valve
l Two Luer-lock connectors connected to either end of a piece of plastic
tubing
l One 20 mL syringe
l Two transpiration tubing clamps
l Micro USBCable
Compatible Software
See www.vernier.com/manuals/gd x-g p for a list of software compatible with Go
Direct Gas Pressure.
Getting Started
Please see the following link for platform-specific connection information:
www.vernier.com/start/gdx-g p
Bluetooth Connection USB Connection
1. Install Graphical Analysis 4 on
your computer, Chromebook™, or
mobile device. See
www.vernier.com/ga4 for software
availability.
2. Charge your sensor for at least
2hours before first use.
3. Turn on your sensor by pressing
the power button once. The
Bluetooth®LED will blink red.
4. Launch Graphical Analysis 4.
5. Click or tap Sensor Data
Collection.
1. Install Graphical Analysis 4 on your
computer or Chromebook. If using
LabQuest 2, make sure LabQuest
App is up to date. See
www.vernier.com/ga4 for software
availability or
www.vernier.com/downloads to
update LabQuest App.
2. Connect the sensor to the USB port.
3. Launch Graphical Analysis 4 or turn
on LabQuest 2. You are now ready
to collect data.
Page 2
2
1. Click or tap the sensor meter to view sensor options.
2. Select Calibrate and follow the applicable prompts on the Calibrate Sensor
screen.
Once you have calibrated a Go Direct sensor, the calibration is automatically
stored to the sensor and will be used each time you connect to your device. You
can always choose to restore factory defaults if you feel the custom calibration
is invalid.
Specifications
Pressure range 0 kPa to 400 kPa
Maximum pressure without
permanent damage
410 kPa
Typical accuracy ±3 kPa
Internal volume 0.8 mL
Resolution 0.03 kPa
Maximum sampling rate 50 samples/s
USBspecification 2.0
Wireless specification Bluetooth 4.2
Maximum wireless range 30 m
Dimensions 9.5 cm × 6.0 cm × 3.25 cm
Battery 300 mA Li-Poly
Battery life (single full charge) ~24 hours with active use
Battery life (long term) ~500 full charge cycles (several years
depending on usage)
Care and Maintenance
Battery Information
Go Direct Gas Pressure contains a small lithium-ion battery. The system is
designed to consume very little power and not put heavy demands on the
battery. Although the battery is warranted for one year, the expected battery life
should be several years. Replacement batteries are available from Vernier (order
code: GDX-BAT-300).
Storage and Maintenance
To store Go Direct Gas Pressure for extended periods of time, put the device in
sleep mode by holding the Power button down for at least three seconds. The
red LED will stop flashing to show that the unit is in sleep mode. Over several
months, the battery will discharge but will not be damaged. After such storage,
charge the device for a few hours, and the unit will be ready to go.
Connecting via USB
Connected and charging Orange LED next to the battery icon is solid
when the sensor is connected to Graphical Analysis via USB and the unit is charging. LED next
to Bluetooth icon is off.
Connected, fully charged Green LED next to the battery icon is solid
when the sensor is connected to Graphical Analysis via USB and fully charged. LED next to
Bluetooth icon is off.
Charging via USB,
connected via Bluetooth
Orange LED next to the battery icon is solid
when the sensor is charging. Green LED next to
the Bluetooth icon flashes.
Identifying the Sensor
When two or more sensors are connected, the sensors can be identified by
tapping or clicking Identify in Sensor Information.
Using the Product
Connect the sensor following the steps in the Getting Started section of this user
manual.
Important: The Go Direct Gas Pressure sensing element will be damaged with
direct contact to liquid.
Videos
View videos related to this product at www.vernier.co m/gdx-g p
Calibrating the Sensor
You do not have to perform a new calibration when using Go Direct Gas
Pressure. The sensor is calibrated prior to shipping.
If you do choose to calibrate, a one-point calibration at atmospheric pressure is
adequate for most applications. Go Direct Gas Pressure has been calibrated to
read station pressure. Station pressure is the true atmospheric pressure at your
location, or station. If you prefer it to read sea-level pressure for conducting
weather studies, you can perform a one-point calibration to correct for elevation,
using the sea-level corrected pressure value for your location obtained from a
reputable source (e.g., NOAA, Weather Underground, etc.). Sea-level pressure is
the pressure after the station pressure has been adjusted to its equivalent pressure
at sea level. This is commonly done to normalize pressures at various altitudes
for weather forecasts.
To calibrate the sensor in Graphical Analysis, complete the following steps.
Page 3

3
Warranty
Vernier warrants this product to be free from defects in materials and
workmanship for a period of five years from the date of shipment to the
customer. This warranty does not cover damage to the product caused by abuse
or improper use. This warranty covers educational institutions only.
Disposal
When disposing of this electronic product, do not treat it as household waste. Its
disposal is subject to regulations that vary by country and region. This item
should be given to an applicable collection point for the recycling of electrical
and electronic equipment. By ensuring that this product is disposed of correctly,
you help prevent potential negative consequences on human health or on the
environment. The recycling of materials will help to conserve natural resources.
For more detailed information about recycling this product, contact your local
city office or your disposal service.
Battery recycling information is available at www.call2recycle.org
Do not puncture or expose the battery to excessive heat or flame.
The symbol, shown here, indicates that this product must not be disposed of
in a standard waste container.
Federal Communication Commission Interference Statement
This equipment has been tested and found to comply with the limits for a Class B digi tal device, pursuant to Part 15 of the FCCrules .
These li mits are designed to provide reasonable protection agains t harmful interference i n a residential install ation. This equipment
generates, uses and can radiate radio frequency energy and, if not install ed and used in accordance with the i nstructions, may c ause
harmful interference to radio communications . However, there i s no guarantee that i nterference wil l not occ ur in a particular installati on. If
this equipment does cause harmful interference to radio or tel evisi on reception, which can be determined by turning the equipment off and
on, the user is encouraged to try to c orrect the i nterference by one or more of the following measures:
Reorient or relocate the receiving antenna.
Increase the separation between the equipment and receiv er.
Connect the equipment into an outlet on a circuit different from that to which the receiver is connected.
Consult the dealer or an experienced radio/TV tec hnician for help.
FCC Caution
This dev ice complies with P art 15 of the FCC Rules. Operation i s s ubject to the following two conditions:
(1)thi s device may not cause harmful interference and
(2)thi s device must acc ept any interference received, includi ng i nterference that may c ause undesi red operation
RF Exposure Warning
The equipment compl ies with RF expos ure limi ts set forth for an uncontrolled environment. The antenna(s) used for this transmitter must
not be co-located or operating in c onjunction with any other antenna or transmitter. You are cauti oned that changes or modifications not
expressly approved by the party responsible forc ompliance could void your authority to operate the equipment.
IC Statement
This dev ice complies with Indus try Canada l icense-exempt RSS standard(s). Operation i s subject to the fol lowing two conditions :
(1)thi s device may not cause interference, and
(2)thi s device must acc ept any interference, incl uding interference that may c ause undesired operation of the devic e.
Industry Canada - ClassB This di gital apparatus does not exceed the Class B limits for radio noise emissions from digital apparatus
as s et out in the interference-causing equipment standard entitled “Digital Apparatus,” ICES-003 of Industry Canada. O peration is subjec t
to the following two conditions: (1) this device may not cause interference, and
(2)thi s device must acc ept any interference, incl uding interference that may c ause undesired operation of the devic e.
To reduce potential radio i nterference to other users, the antenna type and its gain should be so chosen that the equiv alent isotropically
radiated power (e.i.r.p.)i s not more than that permitted for suc cessful communic ation.
Exposing the battery to temperatures over 35°C (95°F) will reduce its lifespan. If
possible, store the device in an area that is not exposed to temperature extremes.
Water Resistance
Go Direct Gas Pressure is not water resistant and should never be immersed in
water.
If water gets into the device, immediately power the unit down (press and hold
the power button for more than three seconds). Disconnect the sensor and
charging cable, and remove the battery. Allow the device to dry thoroughly
before attempting to use the device again. Do not attempt to dry using an
external heat source.
How the Sensor Works
The sensor in this unit has a membrane that flexes as pressure changes. This
sensor is arranged to measure absolute pressure. O ne side of the membrane is a
vacuum, while the other side is open to the atmosphere. The sensor produces an
output voltage that varies in a linear way with absolute pressure. It includes
special circuitry to minimize errors caused by changes in temperature.
Troubleshooting
For troubleshooting and FAQs, see www.vernier.com/til/3850
Repair Information
If you have watched the related product video(s), followed the troubleshooting
steps, and are still having trouble with your Go Direct Gas Pressure, contact
Vernier Technical Support at support@vernier.com or call 888-837-6437.
Support specialists will work with you to determine if the unit needs to be sent
in for repair. At that time, a Return Merchandise Authorization (RMA) number
will be issued and instructions will be communicated on how to return the unit
for repair.
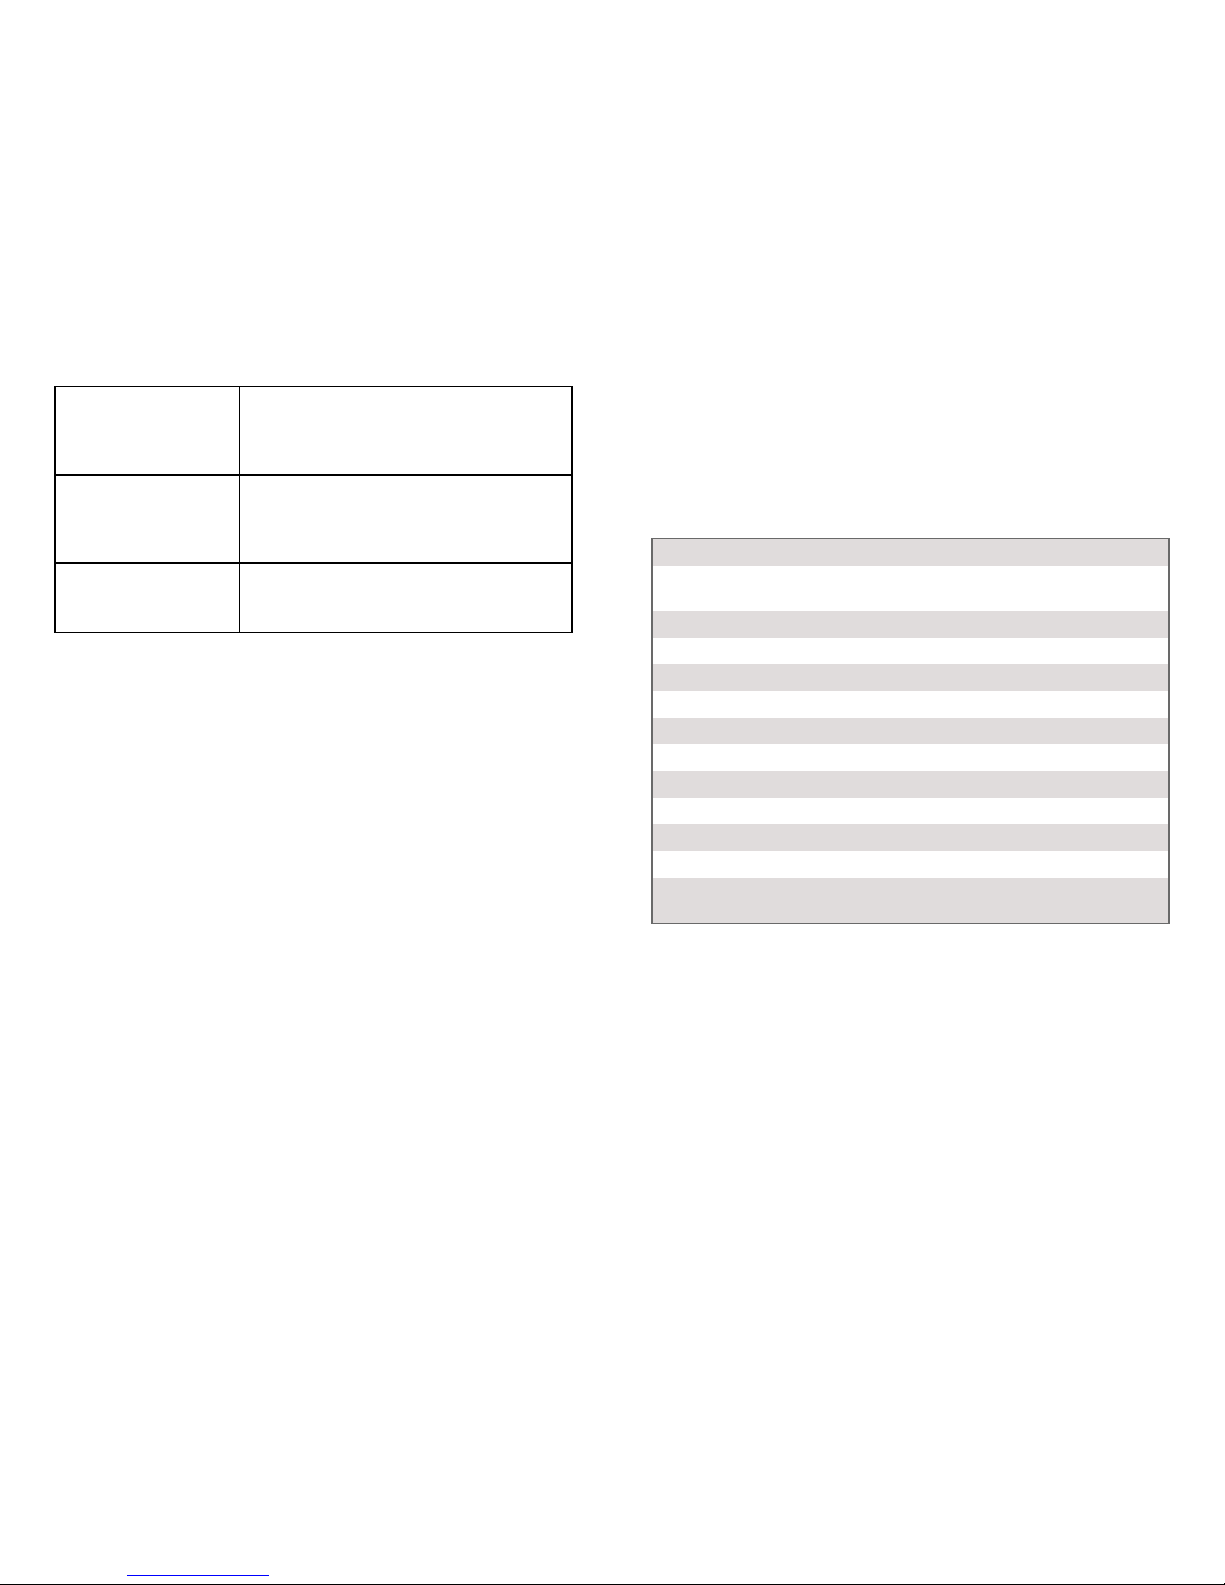
Accessories/Replacements
Item Order Code
Gas Pressure Sensor Rep lacement Parts
PS-ACC
#1 1-h ole Rubber Sto pp er
PS-STOP1
#5 2-h ole Rubber Sto pp er
PS-STOP5
Luer- Lock Connector
PS-LUER
Plastic 2- Way Valve
PS-2Way
Plastic Syrin ge
PS-SYR
Plastic T ubing
PS-TUBING
Plastic T ubing Clamps ( Pack of 100)
PTC
Stop per Stem
PS-STEM
Vernier Micro USBCab le
CB-USB-MICRO
USB-C to Micro USBCab le
CB-USB-C-MICRO
Go Direct 300 mAh Replacement B attery
GDX-BAT-300
Page 4

4
RF exposure warning: The equipment complies with RF exposure limi ts set forth for an uncontrolled environment. The antenna(s) used
for this transmitter must not be c o-located or operating in conjunction with any other antenna or transmitter.
Le présent appareil est conforme aux CNR d’ Industrie Canada appl icables aux appareils radio exempts de lic ence. L’exploitation est
autorisée aux deux c onditions suiv antes :
(1)l ’appareil ne doit pas produire de brouillage, et
(2)l ’appareil doit acc epter tout i nterférence radioélectrique, même si cela résulte à un brouillage susceptible d’en compromettre le
fonctionnement.
Cet appareil numériquerespecte les limites de bruits radioélectriques applicabl es aux appareils numériques de Classe B prescrites dans
la norme sur le matériel interférant-brouilleur: “Appareils Numériques,” NMB-003 édictée par industrie Canada. L’utilis ation es t s oumise
aux deux conditi ons s uivantes:
(1)c et appareil ne peut causer d’i nterférences, et
(2)c et appareil doit accepter toutes interférences, y c omprises celles susc eptibles de provoquer un disfonctionnement du disposi tif.
Afin de réduire les interférences radio potentielles pour les autres util isateurs, le type d’antenne et son gai n doiv ent être c hoisie de tel le
façon que l’équiv alent de puissanc e is otrope émis (e.i.r.p)n’ est pas plus grand que celui permis pour une communication établie.
Avertissement d ’exposition RF : L’équipement est conforme aux limites d’exposi tion aux RF établi es pourun environnement non
supervisé. L’antenne (s) util isée pour ce transmetteurne doit pas être jumelés ou fonctionner en c onjonction avec toute autre antenne ou
transmetteur.
Note: This product is a sensi tive measurement device. For best results , us e the cables that were provided. Keep the device away from
electromagnetic noi se sources, s uch as mic rowaves, monitors, electric motors, and appli ances.
Vernier Software & T echnology
13979 SW Millikan Way • Beaverton, OR 97005-2886
Toll Fr ee (888) 837-6437 • (503) 277-2299 • Fax (503) 277-2440
info@vernier.com • www.vernier.com
Rev. 09/1 4/1 8
Go D irect, Graphi cal An alys is, Lab Quest , and o ther marks sho wn are o ur trademarks or regi stered trademarks i n
the U nit ed States . All oth er marks no t o wned by u s t hat app ear herein are the p roperty of th eir resp ective
owners, w ho may or may n ot b e affili ated w ith , connected to, o r spo nso red by us.
The Blu etoot h®word mark and l ogos are regis tered t rademarks ow ned b y th e Bluet ooth SIG, Inc. and any u se of
such marks by Vernier So ftware & Techn olo gy i s u nder l icense. Ot her trad emarks and trade names are thos e of
their respectiv e own ers.
 Loading...