

Page 1
Go Direct®Sound
(Order Code GDX-SND)
Go Direct Sound can be used for a variety of activities with
sound waves.
l Demonstrate how the wave pattern changes when
frequency and amplitude are changed.
l Compare the waveforms from various musical instruments.
l Measure the speed of sound by using reflected sound waves in a tube.
l Demonstrate beat patterns.
l Determine the period and then the frequency of a sound by measuring the
time between peaks on the waveform.
l Measure sound level in decibels.
l Investigate sound insulation and room acoustics.
l Investigate the logarithmic nature of the decibel scale.
Note: Vernier products are designed for educational use. Our products are not
designed nor are they recommended for any industrial, medical, or commercial
process such as life support, patient diagnosis, control of a manufacturing
process, or industrial testing of any kind.
What's Included
l Go Direct Sound
l Micro USBCable
Compatible Software
See www.vernier.com/manuals/gdx-sn d for a list of software compatible with Go
Direct Sound.
Getting Started
Please see the following link for platform-specific connection information:
www.vernier.com/start/gdx-snd
Bluetooth Connection USB Connection
1. Install Vernier Graphical
Analysis™ on your computer,
Chromebook™, or mobile device. If
using LabQuest®, make sure
LabQuest App is up to date. See
www.vernier.com/ga4 for Graphical
Analysis availability or
www.vernier.com/downloads to
update LabQuest App.
2. Charge your sensor for at least
2hours before first use.
3. Turn on your sensor by pressing the
power button once. The Bluetooth
1. If using a computer or
Chromebook, install Vernier
Graphical Analysis. If using
LabQuest, make sure LabQuest
App is up to date. See
www.vernier.com/ga4 for Graphical
Analysis availability or
www.vernier.com/downloads to
update LabQuest App.
2. Connect the sensor to the USB
port.
3. Launch Graphical Analysis or turn
®
on LabQuest. You are now ready to
LED will blink red.
4. Launch Graphical Analysis or turn
on LabQuest.
5. If using Graphical Analysis, click
collect data.
4. This is a multi-channel sensor. To
change the channel selections, see
www.vernier.com/start/gdx-snd
or tap Sensor Data Collection. If
using LabQuest, choose Wireless
Device Setup > Go Direct from the
Sensors menu.
6. Select your Go Direct sensor from
Note: This sensor does not work with
the original LabQuest. It works with
LabQuest 2 or LabQuest 3.
the list of Discovered Wireless
Devices. Your sensor's ID is located
near the barcode on the sensor. The
Bluetooth LED will blink green
when it is successfully connected.
7. Click or tap Done. You are now
ready to collect data.
8. This is a multi-channel sensor. To
change the channel selections, see
www.vernier.com/start/gdx-snd
Charging the Sensor
Connect Go Direct Sound to the included Micro USB Cable and any USB
device for two hours.
You can also charge up to eight Go Direct Sound sensors using our GoDirect
Charge Station, sold separately (order code: GDX-CRG). An LED on each Go
Direct Sound indicates charging status.
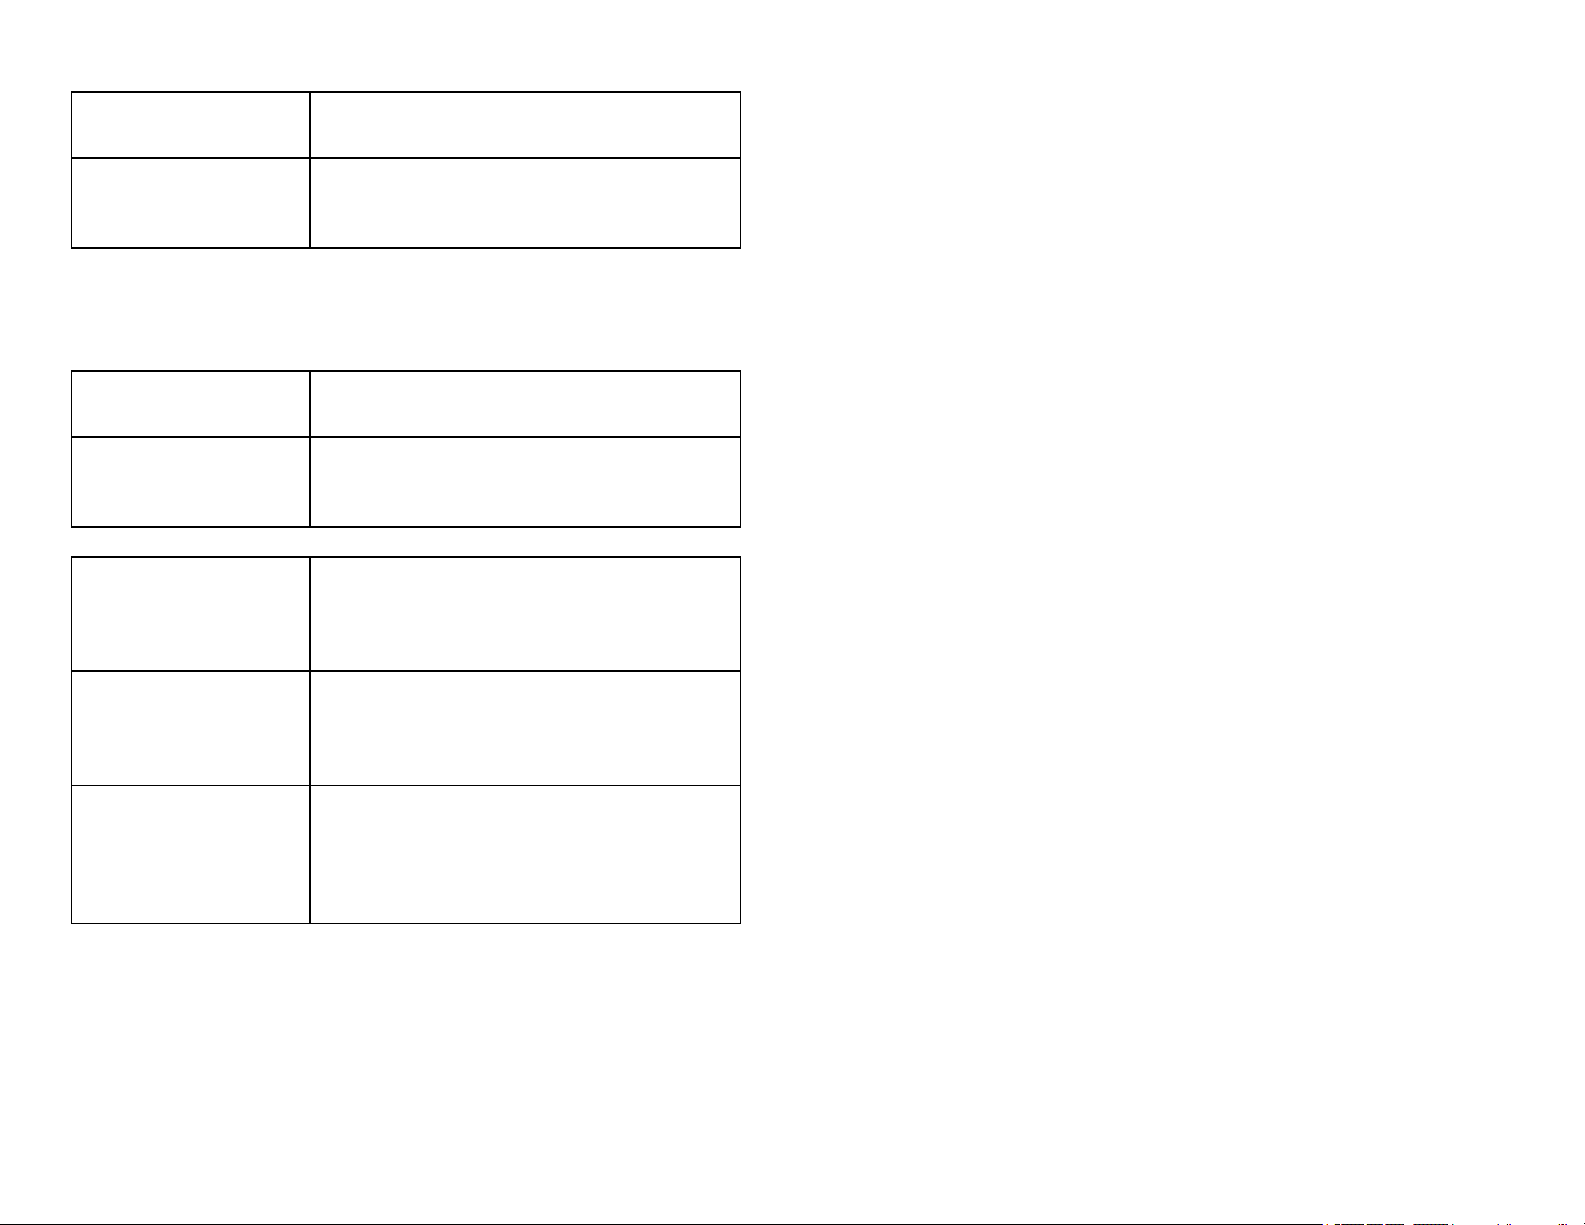
Charging
Fully charged
Orange LED next to battery icon is solid while
sensor is charging.
Green LED next to battery icon solid when
sensor is fully charged.
1
Page 2
Powering the Sensor
Turning on the sensor
Putting the sensor in sleep
mode
Press button once. Red LED indicator next to
Bluetooth icon flashes when unit is on.
Press and hold button for more than three
seconds to put into sleep mode. Red LED
indicator stops flashing when sleeping.
Connecting the Sensor
See the following link for up-to-date connection information:
www.vernier.com/start/gdx-snd
Connecting via Bluetooth Wireless Technology
Ready to connect Red LED next to Bluetooth icon flashes when
sensor is awake and ready to connect.
Connected Green LED next to Bluetooth icon flashes when
sensor is connected via Bluetooth wireless technology.
Connecting via USB
Connected and charging Orange LED next to battery icon is solid when
sensor is connected to Graphical Analysis via
USB and the unit is charging. LED next to
Bluetooth icon is off.
Connected, fully charged Green LED next to battery icon is solid when
sensor is connect to Graphical Analysis via USB
and fully charged. LED next to Bluetooth icon is
off.
Charging via USB,
connected via Bluetooth
Orange LED next to battery icon is solid when
sensor is connected to charger via USB and the
unit is charging. Green LED next to Bluetooth
icon flashes when sensor is connected via
Bluetooth wireless technology.
Identifying the Sensor
When two or more sensors are connected, the sensors can be identified by
tapping or clicking Identify in Sensor Information.
Using the Product
Connect the sensor following the steps in the Getting Started section of this user
manual.
Channels
Go Direct Sound has four measurement channels. The channel names are
l Microphone
l Sound Level A-weighted
l Sound Level C-weighted
l Wave Amplitude
Microphone
The default channel that is active when the sensor is connected is Microphone.
This channel is used for capturing sound waveforms. Follow these guidelines to
collect good waveforms:
l By default, microphone data-collection parameters are set that sample very
quickly for a very brief time, effectively taking a “snapshot” of the sound
waves present when data collection is started. With this in mind, start the
sound source you wish to investigate before starting data collection.
l Make sure the sound level is in the correct range to produce good wave
patterns. If the sound is too loud, the wave pattern will be clipped off at the
top or bottom. Move the Microphone farther from the sound source or turn
down the volume of the sound.
While capturing waveforms, Go Direct Sound can store up to 5000 data points.
It is possible to capture high frequency (>10,000 Hz) sound waves by increasing
the data-collection rate. Likewise, it is possible to capture more wave cycles by
increasing the data-collection duration. However, Graphical Analysis will not
let you select data-collection parameters that will yield more than 5000 data
points per run.
Note: When connected via Bluetooth®wireless technology, collecting a large
number of data points will lead to a delay when the data appear in Graphical
Analysis. The transfer rate of data over Bluetooth wireless technology is
relatively slow compared to wired connections.
Because of the unique data-collection parameters required to capture a
waveform, this channel cannot be active if any of the other channels (sound
level or wave amplitude) are selected.
Sound Level
There are two Sound Level channels: A-weighted and C-weighted. The
A-weighted channel applies a filter to the sound level reading that mimics the
human ear’s response to loudness and frequency. In most classroom situations,
you'll want to measure A-weighted sound levels. For more information on the
difference between A- and C-weighted sound levels, see www.vernier.com/til/3500
The microphone is located inside the hole in the top of the case. Because the
microphone is located inside the sensor, it is helpful to point the microphone
hole toward the source of the sounds you are measuring.
When using the sensor, be mindful of the environment around it. Wind blowing
across the opening or vibrations from the surface on which it is resting can
2
Page 3

cause the sensor to read much higher sound levels than it should. When
collecting data, place the sensor on a soft surface or hold the sensor in your
hand to separate the microphone from extraneous vibrations.
Example Sound Levels
Source Sound Pressure Level (dBA)
Specifications
Microphone frequency
range
Typical max frequency 10,000 Hz
Sound level response A- or C-weight (user selectable)
100–15,000 Hz
Threshold of pain 130
Construction noise 110
Subway train 100
Noisy restaurant 80
Busy traffic, normal radio 70
Normal conversation, dishwasher 60
Quiet office 50
Soft whisper 30
Threshold of hearing 0
Wave Amplitude
The Wave Amplitude channel only reports the amplitude of the waveform,
rather than capturing an entire waveform. The wave amplitude is not the same as
the sound intensity or sound level, but it is related to them.
If you would like to investigate the logarithmic nature of the decibel scale,
collect both sound level and wave amplitude data at the same time. The wave
intensity is proportional to the square of the wave amplitude. Plotting sound
level vs. wave intensity will produce a logarithmic graph.
Calibrating the Sensor
Microphone and Wave Amplitude
The Microphone and Wave Amplitude channels are uncalibrated, which means
that the vertical axis has arbitrary units on waveform graphs. The voltage from
the microphone output is what is graphed. For more information, see
www.vernier.com/til/656
Sound Level
The Sound Level channels will never need to be calibrated. Each sensor is
carefully calibrated before it ships, and this unique calibration is stored on the
sensor.
Sound level range 55–110 dB
Sound level accuracy +/–3 dB
Sound level resolution 0.1 dB
Sound level Frequency
30–10,000 Hz
range
USBspecification USB 2.0 full speed
Wireless specification Bluetooth v4.2
Maximum wireless range 30 m (unobstructed)
Battery 300 mAh Li-Poly Rechargeable
Battery life (single full
~10 hours continuous data collection
charge)
Battery life (long term) ~300 full charge cycles (several years depending
on usage)
Care and Maintenance
Battery Information
Go Direct Sound contains a small lithium-ion battery. The system is designed to
consume very little power and not put heavy demands on the battery. Although
the battery is warranted for one year, the expected battery life should be several
years. Replacement batteries are available from Vernier (order code: GDX-BAT-
300).
Storage and Maintenance
To store Go Direct Sound for extended periods of time, put the device in sleep
mode by holding the button down for at least three seconds. The red LED will
stop flashing to show that the unit is in sleep mode. Over several months, the
battery will discharge but will not be damaged. After such storage, charge the
device for a few hours, and the unit will be ready to go.
Exposing the battery to temperatures over 35°C (95°F) will reduce its lifespan. If
possible, store the device in an area that is not exposed to temperature extremes.
Water Resistance
Go Direct Sound is not water resistant and should never be immersed in water.
If water gets into the device, immediately power the unit down (press and hold
the power button for more than three seconds). Disconnect the sensor and
3
Page 4

charging cable, and remove the battery. Allow the device to dry thoroughly
before attempting to use the device again. Do not attempt to dry using an
external heat source.
How the Sensor Works
Go Direct Sound uses a MEMS microphone that has a frequency response
covering essentially the range of the human ear. When collecting waveforms,
the sensor samples the microphone output very quickly. When measuring sound
levels, the microphone output is amplified and calibrated to produce a sound
level measurement. If the Sound Level A-weighted channel is selected, a filter is
applied to the sound level data to mimic the human ear’s response to sound
level and frequency, either increasing or decreasing the dB reading. Collecting
wave amplitude data is similar to that of sound level data, but the sensor skips
the calibration to decibels.
Troubleshooting
Connect the sensor to the Graphical Analysis app and try the following:
l Collect simple waveforms from a whistle or sound generator using the
Microphone channel. Do the waveforms look reasonable?
l Collect sound level data using the Sound Level A-weighted channel.
Normal classroom levels would be 60–70 dB; a quiet office would be closer
to 55 dB. Are the sound level measurements reasonable?
For additional troubleshooting and FAQs, see www.vernier.com/til/4253
Repair Information
If you have followed the troubleshooting steps and are still having trouble with
your Go Direct Sound, contact Vernier Technical Support at
support@vernier.com or call 888-837-6437. Support specialists will work with
you to determine if the unit needs to be sent in for repair. At that time, a Return
Merchandise Authorization (RMA) number will be issued and instructions will
be communicated on how to return the unit for repair.
Accessories/Replacements
Item Order Code
Replacement Bat tery
Micro USBCable
USB-C to Micro USBCable
GDX-BAT-300
CB-USB-MICRO
CB-USB-C-MICRO
Warranty
Warranty information for this product can be found on the Support tab at
www.vernier.com/gdx- snd
General warranty information can be found at www.vernier.com/warranty
Disposal
When disposing of this electronic product, do not treat it as household waste. Its
disposal is subject to regulations that vary by country and region. This item
should be given to an applicable collection point for the recycling of electrical
and electronic equipment. By ensuring that this product is disposed of correctly,
you help prevent potential negative consequences on human health or on the
environment. The recycling of materials will help to conserve natural resources.
For more detailed information about recycling this product, contact your local
city office or your disposal service.
Battery recycling information is available at www.call2recycle.org
Do not puncture or expose the battery to excessive heat or flame.
The symbol, shown here, indicates that this product must not be disposed of
in a standard waste container.
Federal Communication Commission Interference Statement
This equipment has been tested and found to c omply with the li mits for a Clas s B digi tal devic e, pursuant to Part 15 of the FCC rules.
These l imits are designed to provide reasonable protection agains t harmful i nterference i n a residential ins tallati on. This equipment
generates, uses and can radiate radio frequency energy and, i f not install ed and us ed i n accordance with the i nstructions, may c ause
harmful i nterference to radio communic ations. However, there i s no guarantee that interference will not occ ur i n a particul ar i nstall ation. If
this equipment does cause harmful interference to radio or telev isi on reception, whic h can be determined by turning the equipment off and
on, the user is enc ouraged to try to c orrect the interference by one or more of the foll owing measures:
Reorient or relocate the receivi ng antenna.
Increase the s eparation between the equipment and receiver.
Connect the equipment into an outlet on a c ircuit di fferent from that to which the receiver is connected.
Consult the dealer or an ex perienced radio/TV technici an for help.
FCC Caution
This devic e complies wi th P art 15 of the FCC Rules . Operation i s subj ect to the fol lowing two c onditions:
(1) this devi ce may not cause harmful interference and
(2) this devi ce must acc ept any interference received, inc luding interference that may caus e undesired operation
RF Exposure Warning
The equipment compli es with RF exposure limi ts set forth for an uncontrolled environment. The antenna(s) used for this transmitter must
not be c o-located or operating i n conjuncti on with any other antenna or transmitter. You are c autioned that c hanges or modifi cations not
expressly approved by the party responsible for c ompliance c ould void y our authority to operate the equipment.
IC Statement
This devic e complies wi th Indus try Canada lic ense-exempt RSS s tandard(s). O peration is subject to the foll owing two conditi ons:
(1) this devi ce may not cause i nterference, and
(2) this devi ce must acc ept any interference, incl uding interference that may cause undesi red operation of the devi ce.
Industry Canada - C lass B This di gital apparatus does not ex ceed the Class B li mits for radio noi se emiss ions from digital apparatus
as set out in the interference-causing equipment standard enti tled “Digital Apparatus,” ICES-003 of Industry Canada. O peration is subject
to the fol lowing two c onditions: (1) thi s devic e may not cause interference, and
(2) this devi ce must acc ept any interference, incl uding interference that may cause undesi red operation of the devi ce.
To reduce potential radio interference to other users, the antenna type and its gai n should be so chosen that the equivalent is otropically
radiated power (e.i.r.p.) is not more than that permitted for suc cessful communicati on.
RF exposurewarning: The equi pment c omplies with RF ex posure l imits s et forth for an uncontrolled envi ronment. The antenna(s) us ed
for this transmitter must not be co-located or operating in conjuncti on with any other antenna or transmitter.
Le présent appareil est conforme aux CNR d’Industrie Canada appli cables aux appareils radio ex empts de l icenc e. L’exploi tation est
autorisée aux deux conditions suivantes :
(1) l’appareil ne doit pas produire de brouill age, et
(2) l’appareil doit ac cepter tout interférence radioélec trique, même si c ela résulte à un brouillage susc eptible d’en compromettre le
fonctionnement.
4
Page 5

Cet appareil numérique respecte l es li mites de bruits radioélectriques appli cables aux appareils numériques de Class e B prescrites dans
la norme sur le matériel interférant-brouilleur: “Appareils Numériques,” NMB-003 édi ctée par indus trie Canada. L’util isati on es t soumise
aux deux conditi ons suiv antes:
(1) cet appareil ne peut c auser d’ interférences, et
(2) cet appareil doit accepter toutes interférences, y c omprises cel les sus ceptibl es de provoquer un di sfoncti onnement du dispos itif.
Afin de réduire les i nterférences radio potentielles pour les autres util isateurs, le type d’antenne et son gain doivent être choisi e de tel le
façon que l ’équiv alent de puissanc e isotrope émi s (e.i.r.p) n’est pas pl us grand que celui permis pour une communication établi e.
Avertissement d’exposition R F: L’équipement est conforme aux limi tes d’exposi tion aux RF établi es pour un envi ronnement non
supervisé. L’antenne (s) uti lis ée pour ce transmetteur ne doit pas être j umelés ou fonctionner en c onjonction avec toute autre antenne ou
transmetteur.
Note: This product is a s ensitiv e measurement devic e. For best results, use the cables that were provi ded. Keep the devic e away from
electromagnetic noise s ources, such as mic rowaves, moni tors, el ectric motors, and appli ances.
13979 SW Millikan Way • Beaverton, OR 97005- 2886
Vernier Software & Technology
Toll F ree ( 888) 837-6437 • (503) 277-2299 • Fax (503) 277-2440
info@vernier.com • www.vernier.com
Rev. 3/29/20 21
Go Di rect, V ernier Graphical Analysis, LabQ uest , and oth er marks shown are our trademarks or registered
trademarks in the Un ited States. Al l ot her marks not own ed by u s th at appear herein are the property of th eir
respective owners, who may or may not be affiliated with , connected t o, or sponsored by us.
The Bluetoot h®word mark and l ogos are registered trademarks owned by the Bluetooth SIG, Inc. and any use of
such marks b y Verni er Software & T echnol ogy is u nder license. Oth er t rademarks and t rade names are t hos e of
their respective owners.
5
 Loading...