

Page 1
Electrostatics
g
r
gray
N
Kit
(Order Code ESK-CRG)
The Electrostatics Kit is an accessory
for the Vernier Charge Sensor. This kit allows students to perform a range of
experiments in electrostatics. Experiments include
Using Faraday’s Ice Pail
Production of charge by friction
Transfer of charge by contact
Charging by Induction
Quantitative and qualitative measurement of charge
What is Included with the Electrostatics Kit?
Faraday Pail (aluminum can)
Ca
e (metal wire cage) Grounding Wrist Strap
(2) Grounding Wires Square of wool (fabric)
(2) Charge Separato
Proof Plane PVC rod (
Cotton cloth
s Square of vinyl (plastic pad)
Ground Plane (flat metal sheet)
)
ylon rod (white)
The Cage is the cylindrical metal mesh, and it sits on a plastic plate. During
experiments you will want to use a Grounding Wire to ground the Cage to the
Ground Plane.
The Faraday Pail sits inside the Cage but on the plastic plate. The charge on an
object can be measured when the object is placed inside the Pail, assuming that the
Charge Sensor is connected to the pail. You can also measure charge by transferring
it to the Pail through contact.
Another set of key components are the Charge Separators and Proof Plane. These
three objects have acrylic handles. The Proof Plane has a metal conducting disk that
is used to test the charge on an object. The two Charge Separators are different
materials. The gray material is PVC and the white one is nylon. When rubbed
together, the gray PVC develops a negative charge while the white Nylon develops a
positive charge. A small cotton cloth is included with this kit. The cloth is used to
remove excess charge on the Charge Separators. Dampen the cloth with water and
touch all the surfaces of the Charge Separators to the cloth.
Charger Separators and Proof Plane
A Closer Look at the Components
The key part to this kit is the Faraday Pail, Cage, and Ground Plane. The Faraday
Pail is used in the measurement of electrostatic charge on objects. Charged objects
placed inside the Pail induce equal magnitude but opposite charge on the inside of
the can. This in turn produces a charge on the outside of the can which has the same
sign as the object in the can. A Charge Sensor attached to the Pail allows you to
determine the magnitude and sign of the charge on the object.
The Ground Plane is the sheet of metal that the equipment sits on. The Ground Plane
is used to ground objects such as the Faraday Pail, the Cage or the experimenter.
Faraday Pail, Cage, and Ground Plane
A set of traditional Charge Separators is also included. One set consists of a white
nylon rod and a vinyl pad. When the nylon and vinyl are rubbed together, the nylon
rod becomes positive and the vinyl becomes negative. The other set is a gray PVC
rod and wool cloth. When the PVC and wool are rubbed together, the PVC develops
a negative charge while the wool develops a positive charge.
NOTE: Vernier products are designed for educational use. Our products are not
designed nor recommended for any industrial, medical, or commercial process such
as life support, patient diagnosis, control of a manufacturing process, or industrial
testing of any kind.
Traditional Charger Separators
2
Page 2
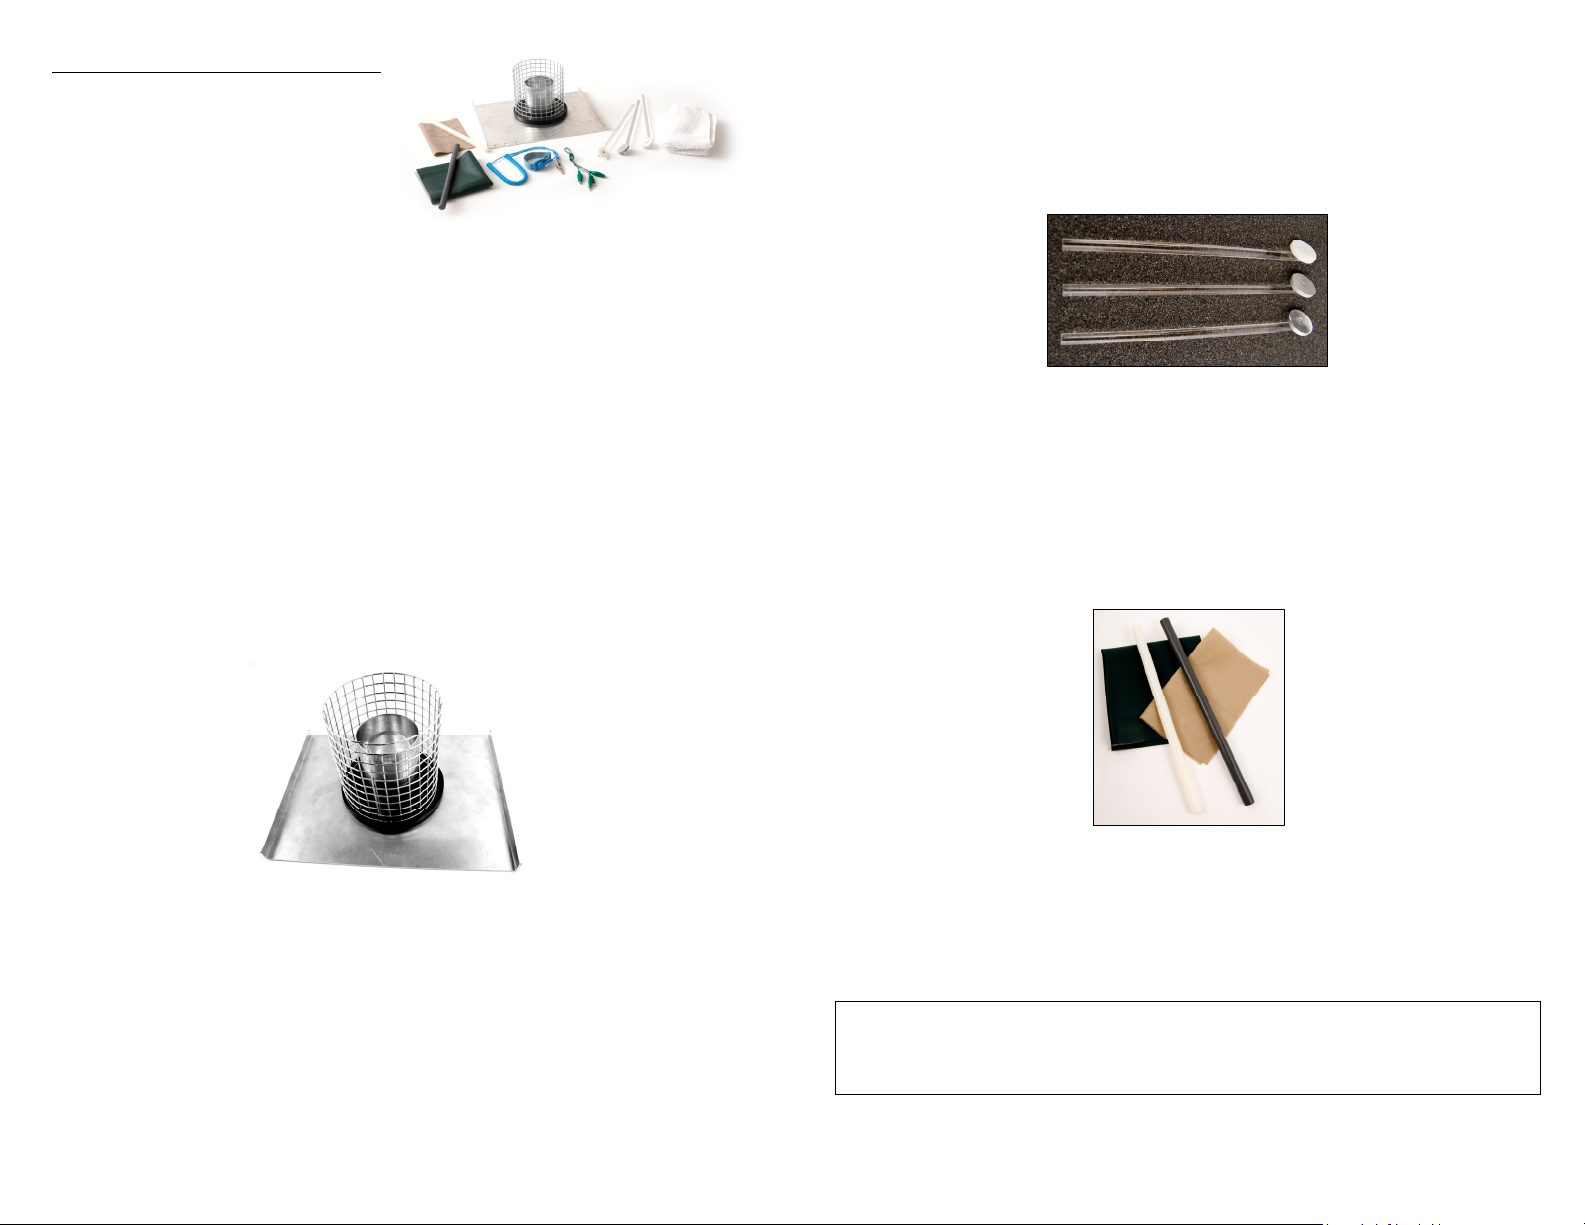
Performing Experiments with the Faraday Pail and the Vernier
Charge Sensor
The key part to this kit is the Faraday Pail and Cage. When the Charge Sensor is
attached to the Pail, the Pail can be used to qualitatively and quantitatively measure
charge on objects. Follow these instructions to set up the equipment.
1. Place the plastic disk that holds the Faraday Pail and cage on the Ground Plane.
2. Place the Faraday Pail and the Cage on the disc.
3. Connect the black lead from the Charge Sensor to the Ground Plane.
4. Connect the red lead from the Charge
Sensor to the Faraday Pail.
5. Connect the Charge Sensor to an interface,
such as a LabQuest
®
LabPro
6. Connect a Grounding Wire between the
Cage and the Ground Plane.
7. Ground the system and zero the sensor by
pressing and holding the Reset button on
the sensor.
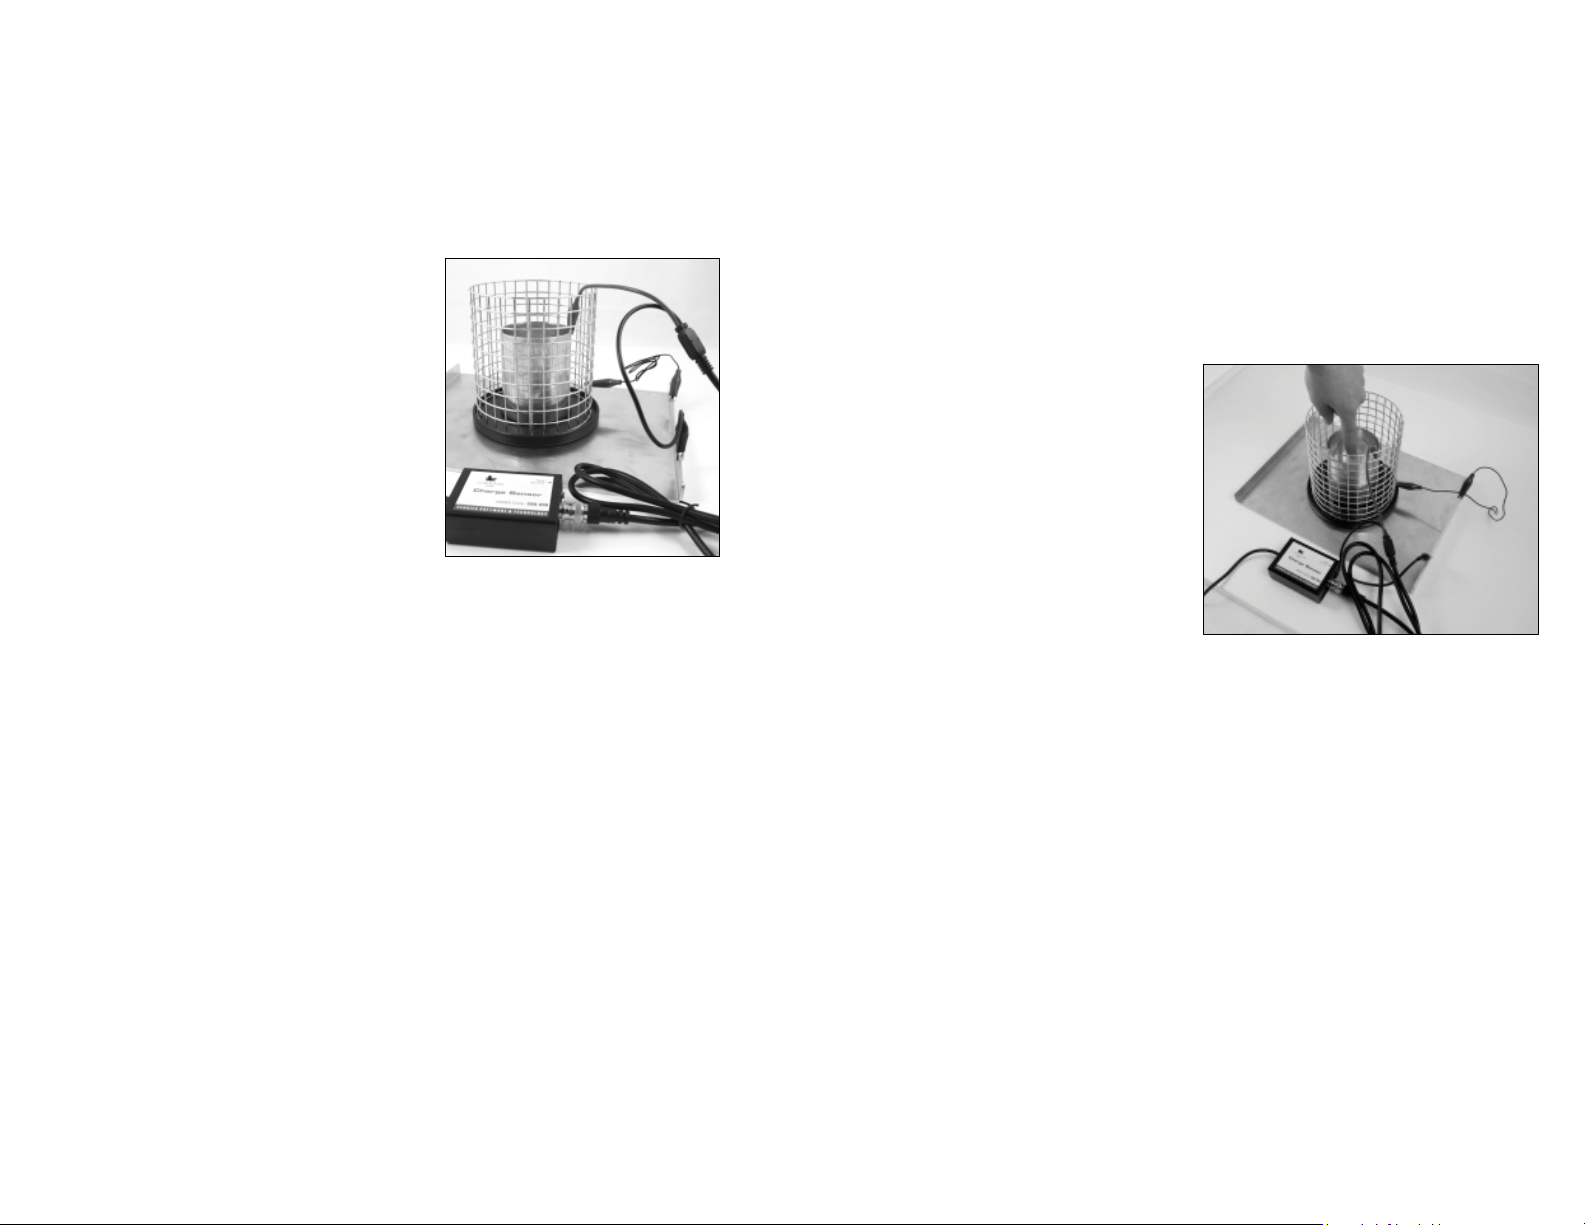
8. Now insert an object into the center of the
Faraday Pail. While the object is in the
Pail, the Charge Sensor will display the
charge.
Quantitative measurement of electrostatic charge can be challenging. Many factors
enter into the buildup of electrostatic charge and your ability to measure the charge.
The Charge Sensor is a very sensitive device and it can detect charge on objects
where you may not expect to see it, e.g., your body. Your success is also a function
of atmospheric humidity. Electrostatic studies are difficult in humid environments
because objects discharge quickly through multiple paths.
The Charge Sensor contains a range switch. You need to select a range that is
appropriate for the experiment and environmental conditions. For example if you are
measuring a small electrostatic charge, the smallest range setting on the sensor may
be appropriate; however, if the sensor is reading its maximum value, you may want
to switch to a higher range.
Note: As you collect data for different situations, you will need to zero the
Charge Sensor since it is extremely easy to pick up stray charges. If the sensor
reading appears to drift, simply press the Reset button on the sensor between
data-collection runs. A good practice is to zero the Charge Sensor before each trial.
.
®
2, LabQuest, or
Sample Experiments
There are a variety of experiments that can be performed with this kit and a
Charge Sensor. Below you will find three detailed examples. You might want to try
them out to learn more about the equipment. Those examples are followed with brief
descriptions of other experiments.
Learning to use Faraday Pail and the Vernier Charge Sensor –
How much electrical charge can your body carry?
The following experiment is a great introduction to this kit and the Vernier Charge
Sensor. The activity demonstrates the sensitivity of the equipment. In the activity the
user explores the charge that the body can carry and how to discharge the sensor and
the body.
1. Attach the Charge Sensor black lead to the Ground Plane.
2. Attach the Charge Sensor red lead to the Faraday Pail.
3. Connect a Grounding Wire between the Cage and the Ground Plane.
4. Ground the system and discharge the sensor by pressing and holding the Reset
button on the sensor.
5. Do not attach the grounding strap to your arm, because the purpose of this
experiment is to show how your body can become charged.
6. Scuff your shoes on the floor. Insert a
finger into the Faraday Pail without
touching the Pail. What does it read?
[The answers will vary but should be
different from zero.]
7. Remove your finger. What does it
read? [Close to zero.]
8. Explain your findings. [Scuffing the
shoes built up a charge on the body.
The Faraday Pail and Charge Sensor
detected the charge. When the finger
is in the Pail, the sensor detects a
charge. When the finger is removed, it detects no charge. The magnitude and sign
of the charge will depend upon the composition of the flooring and shoes.]
9. Touch the Ground Plane with your finger.
10. Insert a finger into the Faraday Pail without touching the Pail. What does it read?
[Should be close to zero]
11. Remove your finger. What does it read? [Should be close to zero]
12. Explain your observations. [Touching the Ground Plane removes the charge from
the body. The charge on the body should be zero. The Charge Sensor reading
should be close to zero regardless of whether the finger is in the Pail or not.]
13. If possible, scuff your shoes on a different type of flooring. Insert a finger into
Pail. What does it read? [Answers will vary but should not be zero.]
14. Remove your finger. What does it read? [Close to zero]
15. Explain your findings. [Again a charge should be detected on the body. The
magnitude and sign of the charge will depend upon the composition of the
flooring and shoes.]
16. Insert your finger into the Pail. Touch the Pail and remove your finger. What does
the sensor read? Explain findings. [Touching the Pail leaves a charge.]
17. Ground the Pail and zero the sensor by pressing and holding the Reset button on
the sensor.
3
4
Page 3

18. Scuff your shoes on the floor. Insert a finger into the Pail without touching. What
does it read? [Should be a non-zero number.] Remove your finger. Now move
your finger toward the wire Cage. What does the sensor read? [It should remain
unchanged from before.] What does that say about the Cage? [The Cage shields
the Faraday Pail from external charges.]
Observe the separation of charge using common materials
Rub dissimilar materials together to generate a charge on each. Use the Faraday Pail
and Charge Sensor to measure the sign of the charge on each. The materials
investigated are wool fabric, vinyl pad, nylon rod (white) and PVC rod (gray).
1. Attach the Charge Sensor black lead to the Ground Plane.
2. Attach the Charge Sensor red lead to the Faraday Pail.
3. Connect a Grounding Wire between the Cage and the Ground Plane.
4. Attach the grounding strap to your wrist.
5. Ground the system and discharge the
sensor by pressing and holding the Reset
button on the sensor.
6. Fold the vinyl in half, in quarters, and
then in eighths. The peak that forms from
these folds will be an object for which
you will measure charge. Rub the white nylon rod back and forth along the peak
of this vinyl. Insert the rod into the Pail without touching the Pail. What is the
sign of the charge? [Positive]
7. Insert the vinyl peak into the Pail without touching the Pail. What is the sign of
the charge? [Negative]
8. Fold the wool in half, in quarters, and then in eighths. Rub the gray PVC rod back
and forth along the peak of the wool. Insert the rod into the Pail without touching
the Pail. What is the sign of the charge? [Negative]
9. Insert the wool peak into the Pail without touching the Pail. What is the sign of
the charge? [Positive]
Explore charging by induction using the Charge Separators
1. Attach the Charge Sensor black lead to the Ground Plane.
2. Attach the Charge Sensor red lead to the Faraday Pail.
3. Connect a Grounding Wire between the Cage and the Ground Plane.
4. Attach the grounding strap to your wrist.
5. Ground the system and discharge the sensor by pressing and holding the Reset
button on the sensor.
6. Rub the Charge Separators together.
7. Place the white Charge Separator in the Pail being careful to not touch the side of
the Pail. What is the sign and magnitude of the reading? [Should be positive.
Magnitude will vary.]
8. While the white Charge Separator is in the
Pail, ground the Pail by touching it with
your finger. What does the sensor read?
[Should be close to zero.]
9. Remove your finger. What does the sensor
read? [Should be close to zero.]
10. Remove the Charge Separator. What is the
sign and magnitude of the charge as
shown by the sensor? [Should be negative
and have a magnitude similar to that seen
in #7.]
11. Move the Charge Separator back into the
Cage; what is the sign of the charge? What
is the magnitude of the charge? [Should be
close to zero.]
12. Explain your results. [The charge on the Charge Separator is positive. When it is
inside the Pail, the sensor shows a positive charge. When the Pail is grounded,
negative charge from the grounding plane is attracted to the Pail leaving the Pail
negative. These positive and negative charges cancel and the sensor reads zero.
When the ground is removed, a negative charge is left on the Pail, but it is being
canceled by the positive charge on the Charge Separator; therefore the sensor still
reads zero. When the Charge Separator is removed, the negative charge on the
can is no longer cancelled by the positive charge on the Charge Separator, and
the sensor reads negative. When the Charge Separator is placed back into the
Pail, the charges now cancel each other and the sensor again reads zero.]
13. Repeat with the gray Charge Separator and explain your results. [The charge on
the Charge Separator is negative. When it is inside the Pail, the sensor shows a
negative charge. When Pail is grounded, negative charge on the Pail is repelled to
the grounding plane leaving the Pail positive. These positive and negative
charges cancel and the sensor reads zero. When the ground is removed, a positive
charge is left on the Pail, but it is being canceled by the negative charge on the
Charge Separator; therefore the sensor still reads zero. When the Charge
Separator is removed, the positive charge on the Pail is no longer cancelled by
the negative charge on the Charge Separator and the sensor reads positive. When
the Charge Separator is placed back into the Pail, the charges now cancel each
other and the sensor again reads zero.]
5
6
Page 4

Other experiments
Here are some other ideas for experiments.
What does the wrist strap do?
Use the Faraday Pail and Charge Sensor to understand the function of the grounding
wrist strap. Scuff your shoes on the floor and use the Faraday Pail to measure the
charge on your body. Next attach the grounding strap to the Ground Plane and put
the strap on your wrist. Scuff your feet on the floor and measure the charge. It should
be close to zero with the wrist strap attached.
Explore charge separation using the Charge Separators
Use the Charge Sensor, Faraday Pail and Charge Separators in this kit to measure the
sign and magnitude of charge. Since the Charge Separators are small, you can rub
them together and then place either or both of them in the Faraday Pail. When
inserted individually, you can observe that equal amounts of charge with different
sign appear on the different materials. When they are simultaneously inserted into
the Pail, the charge is close to zero indicating the cancellation of equal but opposite
charges.
For more information on charge separation, search for “triboelectric effect” online.
Explore charge separation using invisible tape
Use the Charge Sensor and Faraday Pail to observe the separation of charge when
two strips of invisible tape are pulled apart. On two 3 inch pieces of tape, make a tab
by folding over the top of each. Stick the combination to the table top. Pull the
combination off the table and then pull the top strip off the bottom strip. Individually
place each strip into the Faraday Pail to measure the charge. Simultaneously place
them in the Pail to measure the charge.
Explore charging by contact using the Charge Separators
Use the Charge Sensor, Faraday Pail and Charge Separators in this kit to measure the
charge transferred from one object to another. Rub the Charge Separators together.
Place the white Charge Separator in the Pail without touching the Pail. Note the
charge. Now touch the white Charge Separator to the metal can and remove the
Charge Separator from the can. Again note the charge. Ground the system and
discharge the sensor by pressing and holding the Reset button on the sensor. Repeat
these steps with the gray Charge Separator.
References
Many of the experiments described here are based on suggestions from Robert
Morse, Ph.D. We recommended reading the following work by Dr. Morse.
Electrostatics with Computer-Interfaced Charge Sensors, The Physics Teacher,
November 2006, Volume 44, Issue 8, pp. 498-502
Robert A. Morse, Teaching About Electrostatics, AAPT, College Park, MD, 1992
Another excellent resource especially for the invisible tape activity is
Chabay, Ruth, and Sherwood, Bruce, Matter and Interactions II:Electric and
Magnetic Interactions, John Wiley & Sons, Inc., New York, 2007
Other Products for Use with this Kit
Vernier Charge Sensor (CRG-BTA)
The Charge Sensor is used as an electronic
electroscope that can make quantitative
measurements. Numerical measurements improve
many electrostatics experiments such as charging by
induction, charging by friction, and charging by
contact. The sensor can also be used to measure
charge polarity.
High Voltage Electrostatics Kit (HVEK-CRG)
The High Voltage Electrostatics Kits is an accessory
for the Vernier Charge Sensor (order code
CRG-BTA). Use it with a Faraday Pail, which is part
of this kit, and the Charge Sensor to investigate the
charge on a sphere. The current output of the High
Voltage Source is extremely low, making it safe for
electrostatic studies.
Experiments include
Investigate the distribution of charge on a sphere
Transfer of charge on contact between two
spheres
Charging by Induction
The kit includes
Electrostatic High Voltage Source (output 750, 1500, 3000, 6000 VDC)
Ground Wire
Voltage Terminal
Proof Plane
Conducting Spheres (2)
Warranty
Vernier warrants this product to be free from defects in materials and workmanship
for a period of five years from the date of shipment to the customer. This warranty
does not cover damage to the product caused by abuse or improper use.
Vernier Software & Technology
13979 S.W. Millikan Way Beaverton, OR 97005-2886
Toll Free (888) 837-6437 (503) 277-2299 FAX (503) 277-2440
info@vernier.com www.vernier.com
Revised 9/19/2012
Logger Pro, Vernier LabQuest 2, Vernier LabQuest, Vernier LabQuest Mini, Vernier LabPro, and other marks shown are
our trademarks or registered trademarks in the United States. All other marks not owned by us that appear herein are the
property of their respective owners, who may or may not be affiliated with, connected to, or sponsored by us.
7
8
 Loading...