

Page 1
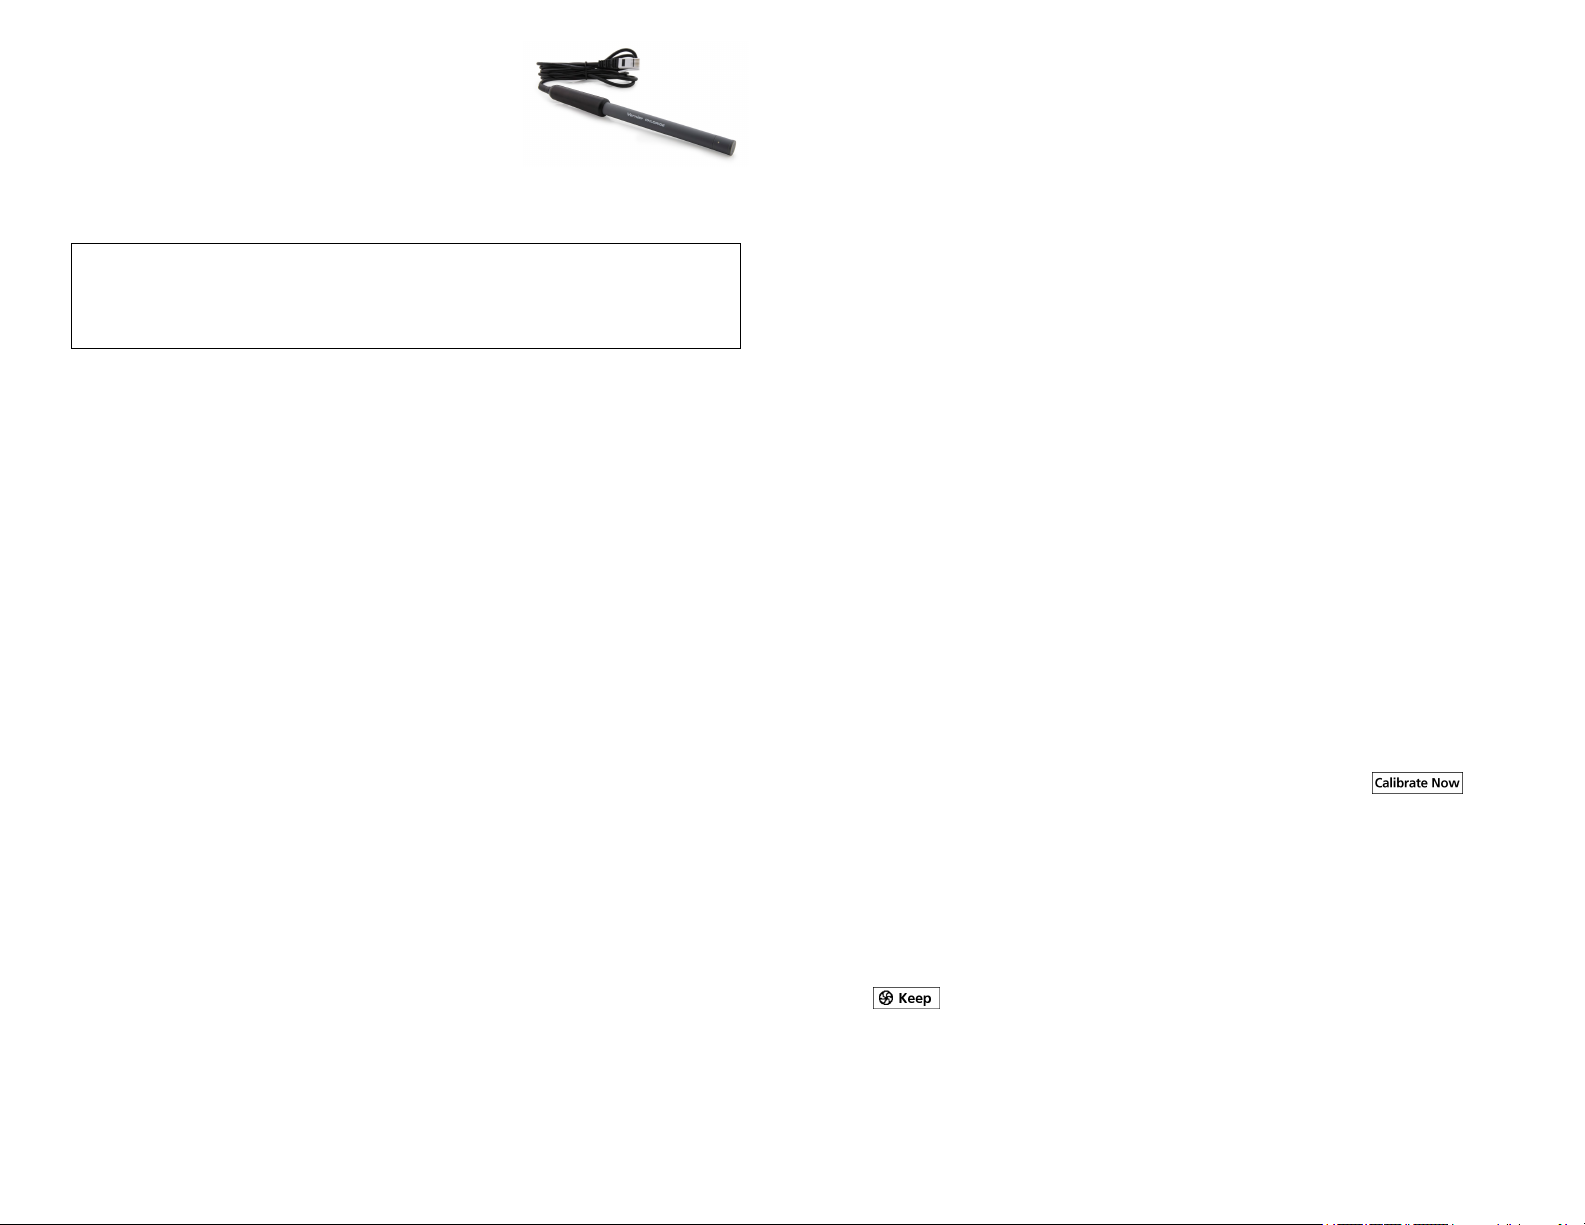
Chloride Ion-Selective
Electrode
(Order Code CL-BTA)
The Vernier Chloride Ion-Selective Electrode is used
to measure the concentration of chloride (Cl−) ions in aqueous samples.
Note: Vernier products are designed for educational use. Our products are not
designed nor are they recommended for any industrial, medical, or commercial
process such as life support, patient diagnosis, control of a manufacturing
process, or industrial testing of any kind.
What's Included
l Chloride Ion-Selective Electrode, packed in a storage bottle
l 30 mL bottle of High Standard solution with SDS (1000 mg/L Cl
l 30 mL bottle of Low Standard solution with SDS(10 mg/L Cl
l Short-Term ISESoaking Bottle
Compatible Software and Interfaces
See www.vernier.com/manuals/cl-bt a for a list of software compatible with the
Chloride Ion-Selective Electrode.
Getting Started
1. Prepare the electrode by soaking it in the High Standard solution for
30 minutes. Refer to the next section for more information.
2. Connect the sensor to the interface (LabQuest Mini, LabQuest 3, etc.)
3. Start the appropriate data-collection software (Graphical Analysis, LabQuest
App, Logger Pro) if not already running. The software will identify the
sensor and load a default data-collection setup.
4. Perform a two-point calibration using the High and Low Standard solutions.
Refer to the next section for more information.
If you are collecting data using a Chromebook™, mobile device such as iPad
or Android™ tablet, or a Vernier wireless sensor or interface, please see the
following link for up-to-date connection information:
www.vernier.com/start/cl- bta
Preparing the Chloride ISE for Use
Note: Follow this two-part process before taking measurements with your ISE.
Part I: Soak the Electrode
Soak the electrode in the High Standard solution (included with the ISE) for
approximately 30minutes. The ISE should not rest on the bottom of the
container, and the small white reference contacts near the tip of the electrode
should be immersed. Make sure no air bubbles are trapped below the ISE.
Important: Do not leave the ISE soaking for more than 24hours. Important: If
-
)
-
)
®
you plan to use the electrode outside the range of the standards provided, you
will need to prepare your own standards and use those for soaking.
Note: If the ISE needs to be transported to the field during the soaking process,
use the Short-Term ISE Soaking Bottle. Remove the cap from the bottle and fill
it 3/4 full with High Standard. Slide the bottle’s cap onto the ISE, insert it into
the bottle, and tighten.
For long-term storage, greater than 24 hours, make sure the sensor is stored in its
storage bottle with the sponge slightly damp.
Part II: Calibrate the ISE
Calibrating the Chloride ISE in Graphical Analysis 4
1. Connect the sensor according to the Getting Started section.
2. Click or tap the live readouts meter and choose Calibrate.
3. High Standard Calibration Point: The Chloride ISE should still be soaking
in the High Standard. The ISE should not rest on the bottom of the
container, and the 2 small white reference contacts near the tip of the
electrode should be immersed. Make sure no air bubbles are trapped below
the ISE.
4. Enter the concentration value of the High Standard (e.g., 100 for 100 mg/L)
in the edit box and click or tap Keep.
5. Low Standard Calibration Point: Remove the ISE from the High Standard,
rinse well with distilled water, and gently blot the ISE dry with a paper
towel. Place the ISE into the Low Standard. Make sure the ISE is not resting
on the bottom of the container, the white reference contacts near the tip of
the electrode are immersed, and no air bubbles are trapped below the ISE.
6. Enter the concentration value for the Low Standard (e.g., 1 for 1 mg/L) and
click or tap Keep .
7. Click or tap Apply to complete the calibration process.
Calibrating the Chloride ISE in Logg er Pro 3
1. Connect the sensor according to the Getting Started section.
2.
Choose Calibrate from the Experiment menu and then click .
3. High Standard Calibration Point: The Chloride ISE should still be soaking
in the High Standard. The ISE should not rest on the bottom of the
container, and the 2 small white reference contacts near the tip of the
electrode should be immersed. Make sure no air bubbles are trapped below
the ISE.
4. Enter the concentration value of the High Standard (e.g., 100 for 100 mg/L)
in the edit box.
5. After the voltage reading for Reading 1 stabilizes (~2 minutes), click
.
6. Low Standard Calibration Point: Remove the ISE from the High Standard,
rinse well with distilled water, and gently blot the ISE dry with a paper
towel. Place the ISE into the Low Standard. Make sure the ISE is not resting
on the bottom of the container, the white reference contacts near the tip of
the electrode are immersed, and no air bubbles are trapped below the ISE.
1
Page 2
7. Enter the concentration value for the Low Standard (e.g., 1 for 1 mg/L).
8.
After the voltage reading stabilizes, click .
9. To save the calibration to the sensor, follow the steps below:
a. Click the Calibration Storage tab at the top of the dialog box.
b.
Click . Click .
c.
Click to continue. Click to complete the process.
Calibrating the Chloride ISE with LabQuest App
1. Connect the Chloride ISE to LabQuest. Choose Calibrate from the Sensors
menu and select Calibrate Now.
2. High Standard Calibration Point: The Chloride ISE should still be soaking
in the High Standard. The ISE should not rest on the bottom of the
container, and the small white reference contacts near the tip of the electrode
should be immersed. Make sure no air bubbles are trapped below the ISE.
3. Enter the concentration of the High Standard (e.g., 100 for 100 mg/L) for
Reading 1.
4. After the voltage reading stabilizes (~2 minutes), tap Keep.
5. Low Standard Calibration Point: Remove the ISE from the High Standard,
rinse well with distilled water, and gently blot the ISE dry with a paper
towel. Place the ISE into the Low Standard. Make sure the ISE is not resting
on the bottom of the container, the white reference contacts near the tip of
the electrode are immersed, and no air bubbles are trapped below the ISE.
6. Enter the concentration of the Low Standard (e.g., 1 for 1 mg/L) for Reading
2.
7. After the voltage reading stabilizes, tap Keep.
8. To save the calibration to the sensor, follow the steps below:
a. Tap Storage.
b. Tap Save Calibration to Sensor. Tap OK.
c. Tap OK to complete the process.
Using the Product
Chloride ions are found in freshwater samples as a result of water flowing over
salt-containing minerals. These salts might include either sodium chloride
(NaCl) or potassium chloride (KCl). The EPA maximum contamination level for
chloride concentration in drinking water is 250mg/L. The chloride ion
concentration in seawater is approximately 19,400mg/L—well below the upper
limit of the Chloride ISE of 35,500mg/L.
When the response of the Chloride ISE begins to slow, the membrane may need
polishing. Cut a small piece (about 1 inch square) from a polishing strip. Wet
the end of the electrode and the dull side of the polishing strip thoroughly with
distilled water. Using only moderate pressure, polish the end of the electrode by
gently rubbing it in a circular motion. This will remove the inactive layer of the
membrane which impedes measurement. Rinse thoroughly with distilled water
and recalibrate in the usual manner.
Sampling Freshwater Samples for Chloride Concentration
For best results, calibrate the Chloride ISE using the 10 mg/L and 1000 mg/L
standards.
How Can I Have My ISE Read mV Output Instead of mg/L?
If you would like to have your ISE read mV output instead of mg/L, the
amplification equation is:
V = 0.00727*mV + 1.223
Therefore, the reverse amplification equation, solving for mV, would be:
mV = 137.55*V – 0.1682
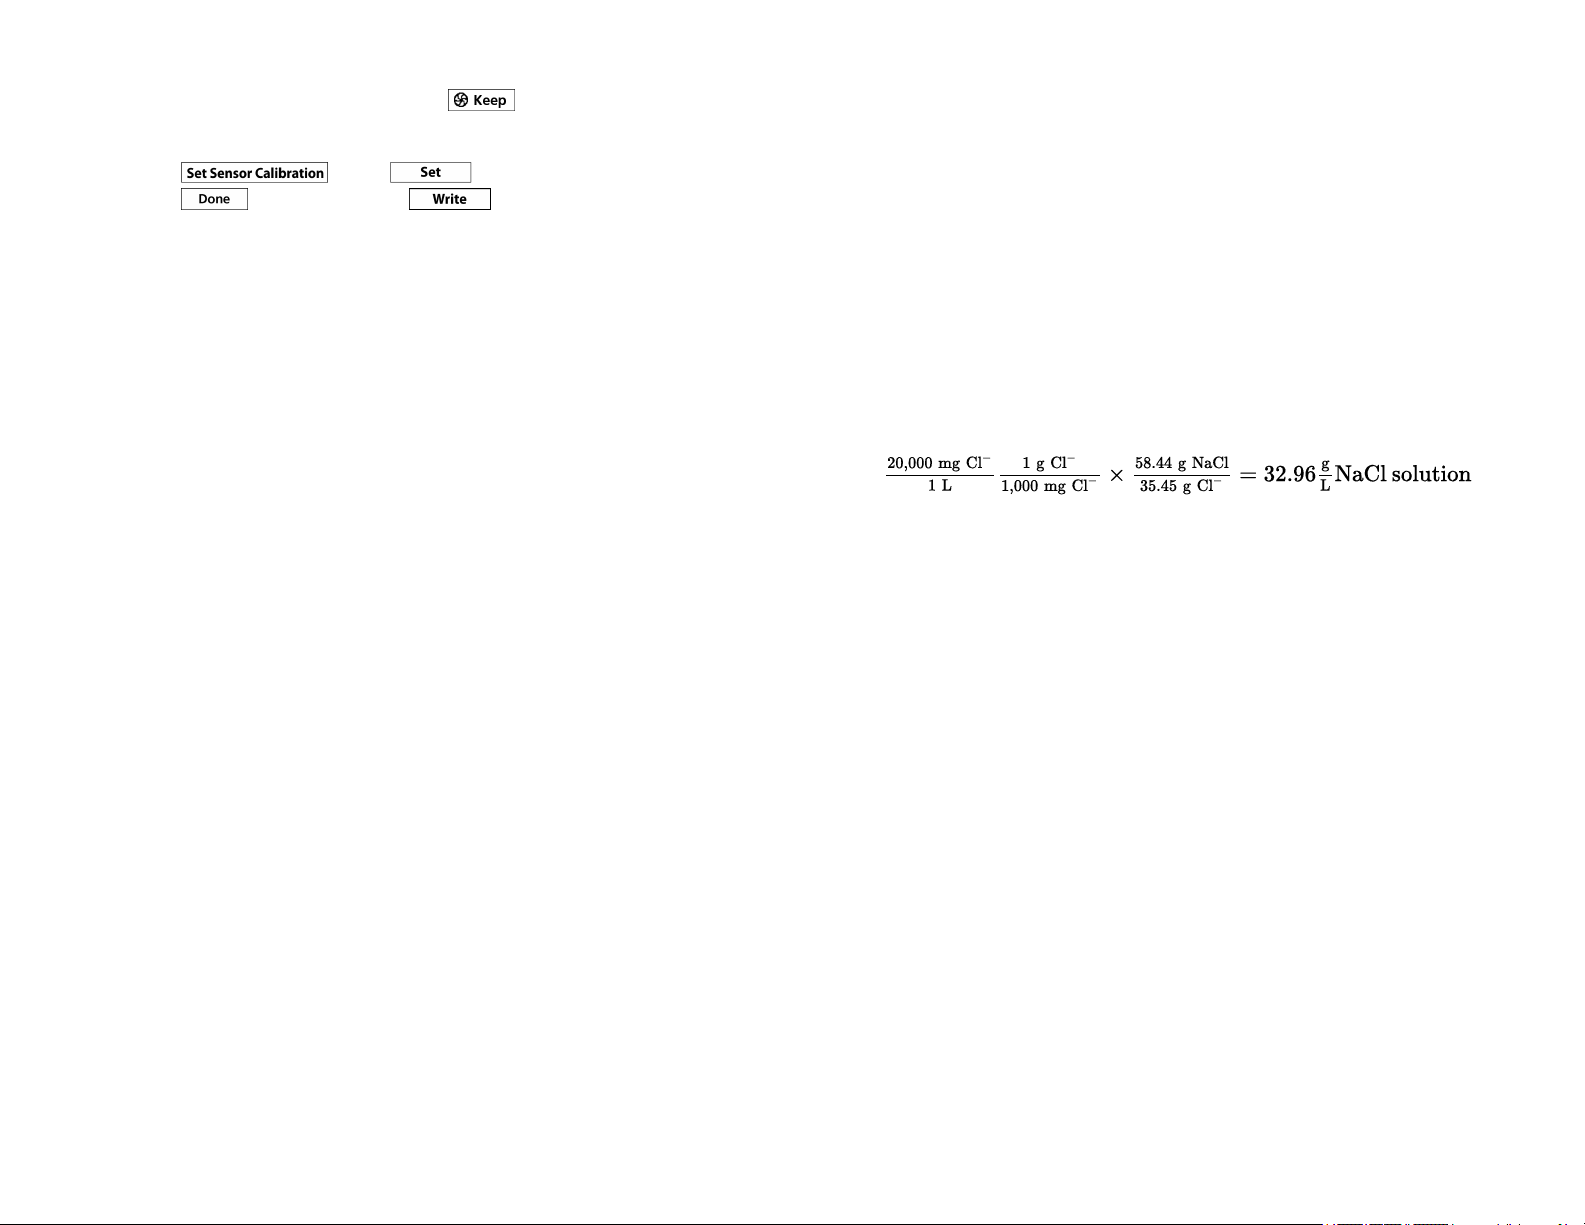
Measuring Chloride Concentration of Saltwater or Brackish Water
When measuring chloride concentration in seawater or brackish water, calibrate
the Chloride ISE using the 1000 mg/L standard included with your Chloride ISE
for one calibration point (or 1.806 parts per thousand, or ppt). For the second
calibration point, prepare a standard that is 20,000 mg/L Cl–by adding 32.96 g
of solid NaCl to enough distilled water to prepare 1 L of solution:
If you are calibrating in ppt, call this solution 36.13 ppt.
Determinin g Salin ity o f Saltwater or Brackish Water
Salinity is the total of all salts dissolved in water, expressed either as mg/L
(equal to parts per million, ppm) or in parts per thousand (ppt). Seawater
contains a fairly constant quantity of chloride ions. From your measurement of
chloride ion concentration (in the previous section), salinity can be calculated
using the following formula:
Salinity (mg/L or ppm) = 1.8066 × [Cl–concentration, mg/L]
Using this formula, the salinity of saltwater is calculated to be:
Salinity (mg/L or ppm) = 1.8066 × (19400 mg/L) = 35,000 mg/L
The level of salinity of seawater in parts per thousand, or ppt, would be:
Salinity (ppt) = 35,000 / 1,000 = 35 ppt
Collecting Data
1. Make sure the sensor is properly calibrated. If the meter has a reading of
1.0mg/L and the sensor is not in a 1.0 mg/L solution, you need to calibrate.
After calibration, rinse off the tip of the ISE and blot it dry with a paper
towel.
2. Insert the tip of the ISE into the aqueous sample to be tested. Important:
Make sure the ISE is not resting on the bottom of the container, the white
reference contacts near the tip of the electrode are immersed, and no air
bubbles are trapped below the ISE. Note: Do not completely submerge the
sensor. The handle is not waterproof.
3. Hold the ISE still until the reading stabilizes and record the displayed
reading. Note: With some aqueous samples, especially those at high
2
Page 3

concentrations, it could take several minutes for the reading of the Chloride
ISE to stabilize. If you know the approximate concentrations of your
samples, it is best to analyze them from lowest concentration to highest.
Using the Chloride ISE with Other Vernier Sensors
Some combinations of sensors interfere with each other when placed in the same
solution. The degree of interference depends on many factors. For more
information, see www.vernier.com/til/638
Using Ionic Strength Adjuster Solutions to Improve Accuracy
For optimal results at low concentrations of chloride ions, a standard method for
taking measurements with the Chloride Ion-Selective Electrode (ISE) is to add
ionic strength adjuster (ISA) solutions to each of your standard solutions and
samples.
Adding an ISA ensures that the total ion activity in each solution being
measured is nearly equal, regardless of the specific ion concentration. This is
especially important when measuring very low concentrations of specific ions.
The ISA contains no ions common to the Chloride ISE itself. Note: The
additions of ISA to samples or standards described below do not need to have a
high level of accuracy—combining the ISA solution and sample solution
counting drops using a disposable Beral pipet works fine.
Use an ISA with the Chloride ISE by adding 5.0 M NaNO3ISA solution
(42.50g NaNO3/ 100mL solution) to the Cl–standard or to the solution being
measured, in a ratio of 1 part of ISA (by volume) to 50parts of the total solution
(e.g., 1mL of ISA to 50mL of total solution, or 2drops of ISA to 5mL of total
solution).
Videos
View videos related to this product at www.vernier.com/cl-bta
Specifications
Range (concentration) 1 to 35,000 mg/L (or ppm)
Reproducibility (precision) ±10% of full scale (calibrated 10 to 1000
mg/L)
Interfering ions CN–, Br–, I–, OH–, S2–, NH
pH range 2–12 (no pH compensation)
Temperature range 0–80°C (no temperature compensation)
Electrode slope –56 ±3 mV/decade at 25°C
Calibration voltages, typical 2.0 V (1000 mg/L), 2.8 V (10 mg/L)
Electrode resistance 1 to 5 MΩ
Minimum sample size Must be submerged 2.8 cm (1.1 in)
3
Electrode length 155 mm
Body diameter 12 mm
Cable length 100 cm
Care and Maintenance
Storing the Ion-Selective Electrode
Proper care and storage are important for optimal longevity of your Chloride
ISE.
l Long-term storage of the ISE (longer than 24 hours): Moisten the sponge in
the bottom of the long-term storage bottle with distilled water. When you
finish using the ISE, rinse it off with distilled water and blot it dry with a
paper towel. Loosen the lid of the long-term storage bottle and insert the
ISE. Note: The tip of the ISE should NOT touch the sponge. Also, make sure
the white reference mark is inside the bottle. Tighten the lid. This will keep
the electrode in a humid environment, which prevents the reference
junctions from completely drying out.
l Short-term wet storage (less than 24 hours): Fill the Short-Term ISE Soaking
Bottle 3/4 full with High Standard. Loosen the cap, insert the electrode into
the bottle, and tighten.
Maintaining and Replacing th e ISE Stan dard Calibration Solutions
Having accurate standard solutions is essential for performing good calibrations.
The two standard solutions that were included with your ISE can last a long
time if you take care not to contaminate them. At some point, you will need to
replenish your supply of standard solutions. Vernier sells replacement standards
in 500 mL volumes. Order codes are:
l CL-LST: Chloride Low Standard , 10 mg/L
l CL-HST: Chloride High Standard, 1000 mg/L
To prepare your own standard solutions, use the information in the following
table. Note: Use glassware designed for accurate volume measurements, such as
volumetric flasks or graduated cylinders. All glassware must be very clean.
Standard Solu-
tion
Chloride (Cl–)
ISE High Standard
Chloride (Cl–)
ISE Low Standard
Concentration
(mg/L or ppm)
1000 mg/L as
Preparation Method using High-Quality
Distilled Water
1.648 g NaCl/ 1 L solution
Cl
10 mg/L as Cl Dilute the High Standard by a factor of
100 (from 1000 mg/L to 10 mg/L).*
*Perform two serial dilutions as described below.
3
Page 4

a. Combine 100 mL of the High Standard with 900 mL of distilled water. Mix
well.
b. Combine 100 mL of the solution made in the previous step with 900 mL of
distilled water. Mix well.
Do not wrap the cable tightly around the sensor for storage. Repeatedly doing
so can irreparably damage the wires and is not covered under warranty.
How the Sensor Works
The Vernier Chloride Ion-Selective Electrode (ISE) is a membrane-based
electrode that measures a specific ion (Cl–) in an aqueous solution. When the
membrane of the electrode is in contact with a solution containing the specific
ion, a voltage, dependent on the level of that ion in solution, develops at the
membrane. The ISE is a combination style electrode. The voltage develops in
relation to an internal Ag/AgCl reference electrode. The ISE measures for the
specific ion concentration directly. Samples need to be aqueous to avoid
contaminating or dissolving the membrane. The Vernier Chloride Ion-Selective
Electrode has a solid polymer membrane. The membrane is a porous plastic disk,
permeable to the ion exchanger, but impermeable to water. It allows the sensing
cell to contact the sample solution and separates the internal filling solution
from the sample.
The voltage developed between the sensing and reference electrodes is a
measure of the concentration of the reactive ion being measured. As the
concentration of the ion reacting at the sensing electrode varies, so does the
voltage measured between the two electrodes.
As described in the Nernst Equation, ISE response is a linear equation:
E = Eo+ m(ln a)
where E is the measured voltage, Eois the standard potential for the
combination of the two half cells, m is the slope, ln is the natural logarithm, and
a is the activity of the measured ion species.
Assuming the ionic strength is fairly constant, the Nernst equation may be
rewritten to describe the electrode response to the concentration, C, of the
measured ion species:
E = Eo+ m(ln C)
Troubleshooting
For troubleshooting and FAQs, see www.vernier.com/til/1433
number will be issued and instructions will be communicated on how to return
the unit for repair.
Accessories/Replacements
Add itional Vernier Ion-Selective Electrod es
Vernier sells Ion-Selective Electrodes that measure the concentration of
ammonium (NH
+
), calcium (Ca2+), nitrate (NO
4
–
), and potassium (K+) ions in
3
aqueous solutions. Order codes are:
Item Order Code
Ammonium Ion-Selective Electrode
Calcium Ion-Selective Electrode
Nitrate Ion-Selective Electrode
Potassium Ion-Selective Electrode
Electrod e Storage Bottles, pkg of 5
Standard High Chlo ride ISE Solution
Standard L ow Chloride ISE Solution
NH4-BTA
CA-BTA
NO3-BTA
K-BTA
BTL-ES
CL-HST
CL-LST
Warranty
Warranty information for this product can be found on the Support tab at
www.vernier.com/cl-bt a
General warranty information can be found at www.vernier.com/warranty
Disposal
When disposing of this electronic product, do not treat it as household waste. Its
disposal is subject to regulations that vary by country and region. This item
should be given to an applicable collection point for the recycling of electrical
and electronic equipment. By ensuring that this product is disposed of correctly,
you help prevent potential negative consequences on human health or on the
environment. The recycling of materials will help to conserve natural resources.
For more detailed information about recycling this product, contact your local
city office or your disposal service.
Battery recycling information is available at www.call2recycle.org
The symbol, shown here, indicates that this product must not be disposed of
in a standard waste container.
Repair Information
If you have watched the related product video(s), followed the troubleshooting
steps, and are still having trouble with your Chloride Ion-Selective Electrode,
contact Vernier Technical Support at support@vernier.com or call 888-837-
6437. Support specialists will work with you to determine if the unit needs to
be sent in for repair. At that time, a Return Merchandise Authorization (RMA)
4
Page 5

13979 SW Millikan Way • Beaverton, OR 97005-2886
Vernier Software & Technology
Toll Free (888) 837-6437 • (503) 277-2299 • F ax (503) 277-2440
info@vernier.com • www.vernier.com
Rev. 12/04/2 0
Logger Pro , Graphical Analy sis , Vernier LabQuest , Vernier LabQuest Mini, and other marks sh own are our
trademarks o r regist ered trademarks in t he United States.
iPad is a trademark o f Appl e Inc., registered in t he U.S. and other countries .
All other marks not owned by us that appear herein are the property of th eir respecti ve owners, who may or may
not be affiliated w ith , connected to, or spon sored by us.
5
 Loading...