

Page 1
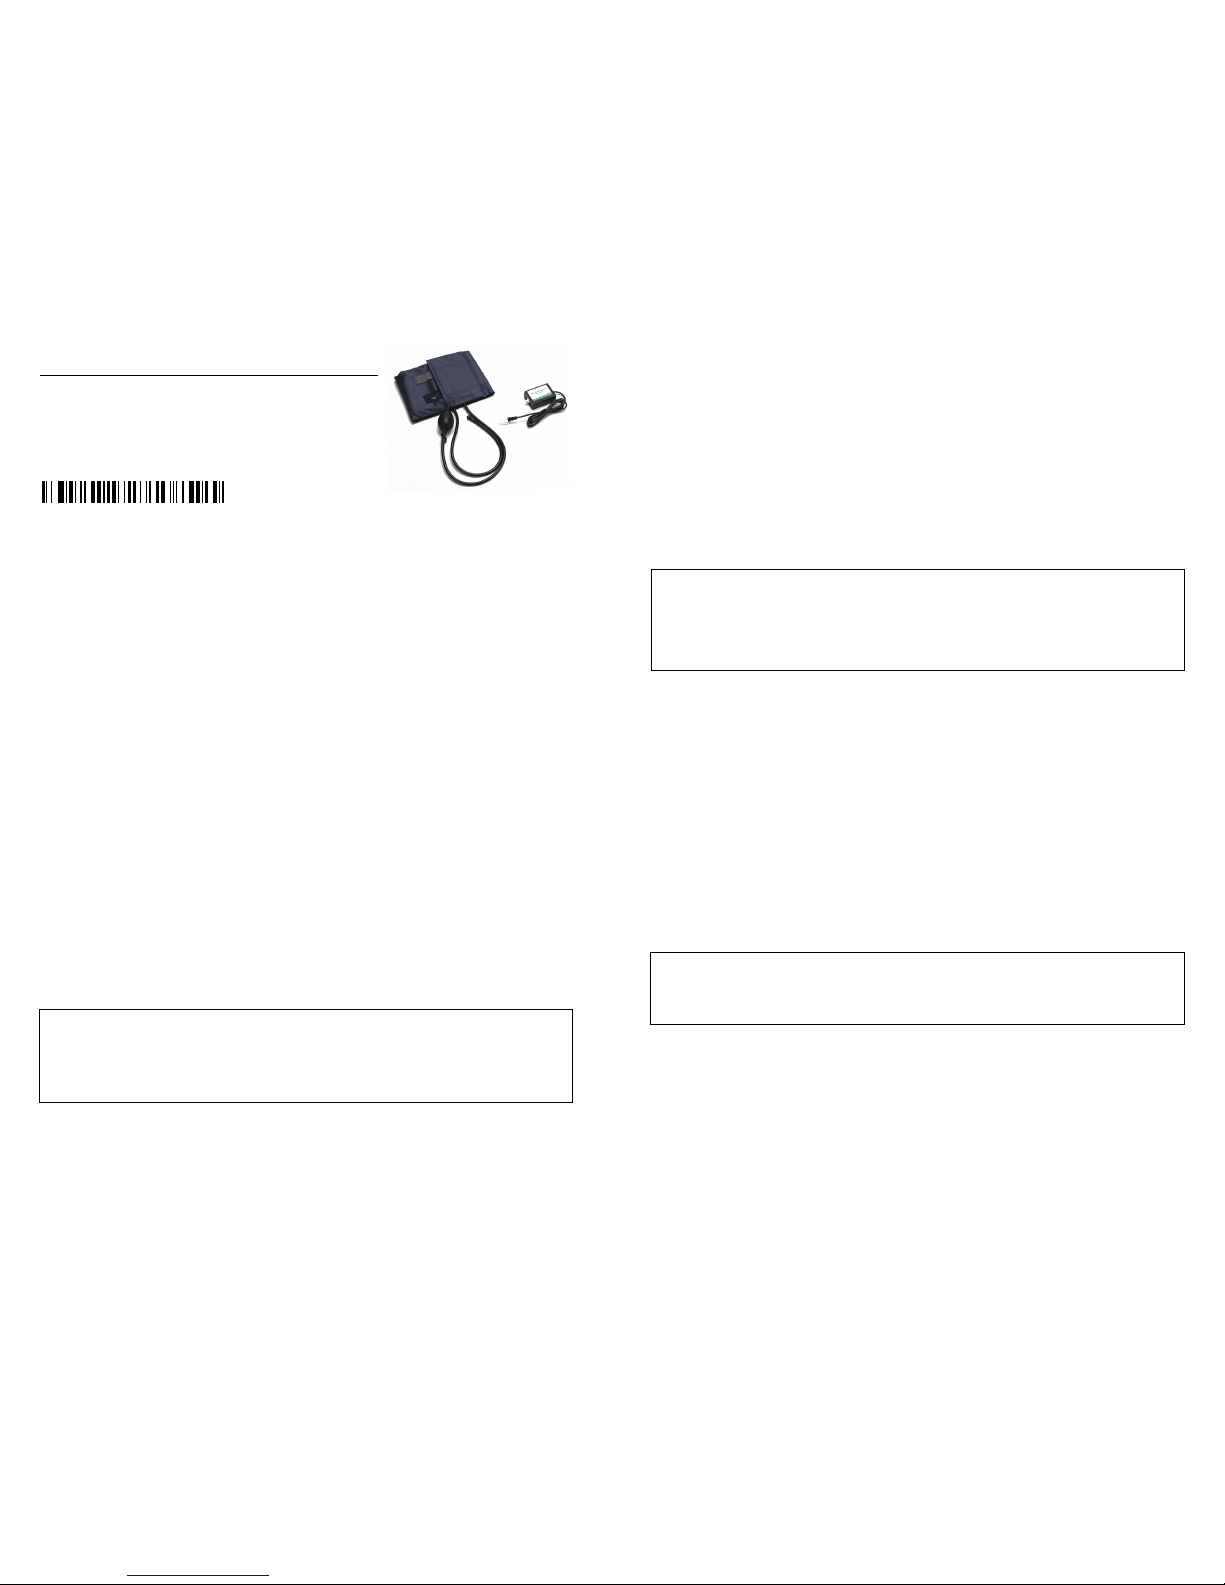
Blood Pressure
Sensor
(Order Code BPS-BTA)
The Vernier Blood Pressure Sensor is used to measure systemic arterial blood pressure
in humans (non-invasively). When used with Logger Pro
®
3.4 or newer,
Logger Lite
®
1.3.1 or newer, or LabQuest® App 1.2 or newer, it can measure mean
arterial blood pressure and calculate both the systolic and diastolic blood pressure
using the oscillometric method.
The following is a partial list of activities and experiments that can be performed
using this sensor.
Measure blood pressure before and after exercise.
Measure blood pressure while sitting or standing.
Compare blood pressure after voluntary isometric contractions (weight lifting)
and a rhythmic activity such as running or biking.
Investigate how digestion affects blood pressure.
Study the effect of caffeine on blood pressure.
Compare blood pressure between smokers and non-smokers.
What is Included with the Blood Pressure Sensor?
Blood Pressure Sensor
Standard adult size adjustable cuff (27 cm to 39 cm)
Bulb pump (with release valve)
How the Blood Pressure Sensor Works
The active sensor in this unit is a Honeywell SSC Series pressure transducer. The
sensor produces an output voltage that varies with the pressure measured in the cuff.
It includes special circuitry to minimize errors caused by changes in temperature. We
also provide a filtering circuit that conditions the signal from the pressure transducer.
The output voltage from the Blood Pressure Sensor is linear with respect to pressure.
This sensor is equipped with circuitry that supports auto-ID. When used with
LabQuest® 2, LabQuest®, LabQuest® Mini, LabPro®, Go!® Link, SensorDAQTM,
TI-Nspire™ Lab Cradle, or EasyLink, the data-collection software identifies the
sensor and uses pre-defined parameters to configure an experiment appropriate to the
recognized sensor.
2
Collecting Data with the Blood Pressure Sensor
This sensor can be used with the following interfaces to collect data.
Vernier LabQuest 2 or original LabQuest as a standalone device or with a
computer
Vernier LabQuest Mini with a computer
Vernier LabPro with a computer
Vernier Go!Link
Vernier EasyLink
®
(with TI-Nspire handhelds only)
Vernier SensorDAQ
TI-Nspire™ Lab Cradle
Here is the general procedure to follow when using the Blood Pressure Sensor:
1. Connect the Blood Pressure Sensor to the interface.
2. Start the data-collection software.
3. The software will identify the Blood Pressure Sensor and load a default datacollection setup. You are now ready to collect data.
Data-Collection Software
This sensor can be used with an interface and the following data-collection software.
Logger Pro This computer program is used with LabQuest 2, LabQuest,
LabQuest Mini, LabPro, or Go!Link.
Logger Lite This computer program is used with LabQuest 2, LabQuest,
LabQuest Mini, LabPro, or Go!Link.
LabQuest App This program is used when LabQuest 2 or LabQuest is used as a
standalone device.
DataQuest™ Software for TI-Nspire™ This calculator application is for the
TI-Nspire handheld or computer software.
LabVIEW National Instruments LabVIEW™ software is a graphical
programming language sold by National Instruments. It is used with SensorDAQ
and can be used with a number of other Vernier interfaces. See
www.vernier.com/labview for more information.
NOTE: Vernier products are designed for educational use. Our products are not
designed nor are they recommended for any industrial, medical, or commercial
process such as life support, patient diagnosis, control of a manufacturing process, or
industrial testing of any kind.
Page 2

3
Using the Blood Pressure Sensor with a Computer
When performing blood pressure measurements, it is best to work
with a partner. Currently, Logger Lite only supports blood pressure
measurements in mm Hg. Follow these general procedures to use
the Blood Pressure Sensor with a computer:
1. Connect the Blood Pressure Sensor to Channel 1 on the LabPro,
LabQuest 2, LabQuest, LabQuest Mini, or, to a Go! Link
connected to a computer. Attach the rubber hose from the cuff
to the connector on the sensor.
2. Wrap the cuff firmly around your partner’s arm, approximately
2 cm above the elbow. The two rubber hoses from the cuff
should be positioned over the bicep muscle (brachial artery) and
not under the arm. Important: The person having his or her
blood pressure measured must remain still during data collection—no movement
of the arm or hand during measurements.
3. Start Logger Pro (version 3.4 or newer) or Logger Lite
(version 1.3 or newer) on
the computer.
4. Logger Pro or Logger Lite will identify the Blood Pressure Sensor and load the
proper calibration. You are now ready to collect data.
5. Click
to begin collecting data.
6. Quickly and repeatedly squeeze the bulb to inflate the cuff on your partner’s arm.
Continue inflating the cuff to a pressure between 150 and 170 mm Hg. A meter in
the data-collection software will display the live pressure readings from the
sensor. When the maximum pressure is reached, set the bulb pump down onto the
table. The built-in pressure release valve will slowly deflate the cuff.
7. After the pressure drops to 50 mm Hg, you may press down on the pressure
release valve to release any air left in the cuff. If the pressure does not reach 50
mm Hg by the time data collection ends, adjust the exhaust rate of the pressure
release valve according to the directions listed under “Adjusting the Pressure
Release Valve.”
Using the Blood Pressure Sensor with LabQuest 2 or LabQuest
(standalone)
When performing blood pressure measurements, it is best to
work with a partner. Follow these general procedures to use the
Blood Pressure Sensor with LabQuest 2 or LabQuest as a
standalone device.
1. Connect the Blood Pressure Sensor to LabQuest 2 or
LabQuest. Attach the rubber hose from the cuff to the
connector on the sensor.
2. Wrap the cuff firmly around your partner’s arm,
approximately 2 cm above the elbow. The two rubber hoses
from the cuff should be positioned over the bicep muscle
(brachial artery) and not under the arm. Important: The
person having his or her blood pressure measured must
4
remain still during data collection—no movement of the arm or hand during
measurements.
3. LabQuest App will identify the Blood Pressure Sensor and load the proper
calibration. You are now ready to collect data.
4. Start data collection.
5. Quickly and repeatedly squeeze the bulb to inflate the cuff on your partner’s arm.
Continue inflating the cuff to a pressure between 150 and 170 mm Hg. The datacollection software will display the live pressure readings from the sensor. When
the maximum pressure is reached, set the bulb pump down onto the table. The
built-in pressure release valve will slowly deflate the cuff.
6. After the pressure drops to 50 mm Hg, you may press down on the pressure
release valve to release any air left in the cuff. If the pressure does not reach 50
mm Hg by the time data collection ends, adjust the exhaust rate of the pressure
release valve according to the directions listed under “Adjusting the Pressure
Release Valve.”
Helpful Tips
Blood pressure readings will differ from person to person and even between
measurements on the same individual. Do not expect to receive the same
measurements each trial since there are many factors that cause a person’s blood
pressure to increase or decrease. Use the following tips to take accurate
measurements.
The subject’s arm and hand must remain still during measurements.
Proper placement of the pressure cuff will increase the accuracy of your blood
pressure measurements. The rubber hoses from the cuff should exit over the
brachial artery and 2 cm above the crease in the elbow.
Accurate blood pressure readings depend on the use of a cuff of appropriate size
for the arm. For younger students, a smaller cuff is available (18 cm to 27 cm).
Our small blood pressure cuff can be ordered separately: order code CUFF-SM.
A large cuff is also available for students with arm circumferences greater than
39 cm: order code CUFF-LG.
Do not to touch or move the exhaust valve during measurements.
Remove any clothing that may cover or constrict the portion of the arm being
measured.
For most individuals it is not necessary to inflate the pressure cuff higher than
170 mm Hg. Over inflation of the cuff may cause pain and/or injury.
If the pressure release valve is exhausting slower or faster than
2.0–4.0 mmHg /s, then adjust the exhaust rate of the pressure valve.
Page 3

5
Blood Pressure Sensor Specifications
Calibration
slope: 64.64 (mm Hg/V)
intercep
t
:
–
32.32 (mm Hg)
Pressure ran
g
e: 0 mm Hg to 258 mm Hg
Maximum pressure without permanent damage: 1550 mm Hg
Typical accuracy: ±
1 mm Hg
Temperature compensated:
–
20°C to 85°C
Sensing elemen
t
: SSCMRRN005PGAA5
Combined linearity and hysteresis: typical ±0.25%
Response time: 1
m
illisecond
Adjusting the Pressure Release Valve
The pressure release valve is set to release at a rate of 3.0 mm Hg/second on an arm
of 32 cm in circumference. For arms much larger or much smaller it may be
necessary to adjust the valve so that the exhaust rate stays in the range of 2.0–
4.0 mm Hg/s. With the bulb in hand and the hose leading away from you, place a
screwdriver into the metal slot on the top of the release valve. To increase the rate of
exhaust, turn the screwdriver clockwise. To decrease the rate of exhaust, turn the
screwdriver counter-clockwise. The larger a subject’s arm the slower the release
valve will exhaust.
Calculating Blood Pressure (Oscillometric Method)
The oscillometric method is a non-invasive means of measuring blood pressure. It is
based on the principle that blood pumped through the arteries by the heart causes the
arterial walls to flex. When a cuff (placed around the upper arm to occlude the
brachial artery) is inflated and then slowly deflated at a constant rate, an arterial
pressure pulse forms. These pressure pulses pass from the arteries, through the arm,
and into the pressure cuff itself.
When the artery is fully compressed, blood flow stops along with the pulsations. As
the pressure in the cuff is slowly decreased, the arterial blood pressure increases to
the point that blood is forced through the artery in short pulses. As the pressure in
the cuff continues to decrease, more blood flows through the occluded artery and the
pulses become increasingly significant until maximum amplitude is reached. Further
decrease of the cuff pressure minimizes the occlusion of the artery and the pulses
continue to decrease until the occlusion is removed.
6
Cuff pressure measured by sensor
These pressure pulses, when separated from the decaying mean pressure of the cuff,
form an oscillating waveform (see figure below). The peak-to-peak amplitudes of
this waveform create a bell shaped “envelope”. Within the envelope, the amplitudes
of the waveform increase through the systolic blood pressure and continue increasing
until the mean arterial pressure (MAP) is reached. Physiologically, the cuff pressure
corresponding to the maximum amplitude approximates the mean arterial pressure.
Generally, the systolic blood pressure is calculated by determining the point along
the envelope prior to the MAP using a known percentage of the maximum
amplitude. Diastolic blood pressure is calculated using the same method and the
portion of the envelope following the MAP.
Oscillatory waveform used to create “Envelope”
Using the BPS at High Altitudes (above 6,000 ft)
To record proper measurements at altitudes above 6,000 ft (0.8 atm or 609 mm/Hg)
the pressure release valve will need to be readjusted. The pressure release valve is set
to release at a rate of 3.0 mmHg/s at sea level, where atmospheric pressure is 1 atm
or 760 mm/Hg. At higher altitudes, the pressure release valve will exhaust at a
slower rate. To use the Blood Pressure Sensor at altitudes above 6,000 ft, open the
pressure exhaust valve by turning it a half turn clockwise. See the instructions above.
Verify that the exhaust rate is now in the range of 2.0–4.0 mmHg/s after making the
adjustment.
Page 4

7
Warranty
Vernier warrants this product to be free from defects in materials and workmanship
for a period of five years from the date of shipment to the customer. This warranty
does not cover damage to the product caused by abuse or improper use.
8
Vernier Software & Technology
13979 S.W. Millikan Way Beaverton, OR 97005-2886
Toll Free (888) 837-6437 (503) 277-2299 FAX (503) 277-2440
info@vernier.com www.vernier.com
Rev. 4/9/2014
Logger Pro, Logger Lite, Vernier LabQuest 2, Vernier LabQuest, Vernier LabQuest Mini, Vernier LabPro, Go! Link,
Vernier EasyLink and other marks shown are our trademarks or registered trademarks in the United States.
TI-Nspire, CBL 2 and CBL, TI-GRAPH LINK, and TI Connect are trademarks of Texas Instruments.
All other marks not owned by us that appear herein are the property of their respective owners, who may or may not be
affiliated with, connected to, or sponsored by us.
Printed on recycled paper.
 Loading...