

Vermason TB-7588, 222642, 222643, 222633, 222634 Installation, Operation And Maintenance Manual
...Page 1
TECHNICAL BULLETIN TB-7588
Digital Surface Resistance Meter Kit
Installation, Operation and Maintenance
The Surface Resistance Meter Kit (or its Meter) is referenced
and designed to be used to make measurements in
accordance with the test procedures in:
• Working surfaces, storage racks, trolleys and seating IEC 61340-2-3
• Flooring - IEC 61340-4-1
• Garments - ANSI/ESD STM2.1 Garments
• Person/footwear / flooring system - IEC 61340-4-5
“A compliance verification plan shall be established to ensure
the Organization’s fulfilment of the technical requirements
of the plan. Process monitoring (measurements) shall be
conducted in accordance with a compliance verification
plan that identifies the technical requirements to be verified,
the measurement limits and the frequency at which those
verifications shall occur. The compliance verification plan
must document the test methods and equipment used for
Figure 1. Vermason Digital Surface Resistance Meter
Kit
Description
The Vermason 222642 Digital Surface Resistance Meter
Kit is an instrument designed to measure resistance
point-to-point (Rp-p) or surface to ground (Rg) in accordance
with EN 61340-5-1 Electrostatics and its test method IEC
61340-2-3.
Its test functions include:
• Resistance measurement accuracy of ±10%
(±20% for resistance values 1 x 10¹¹ ohms and greater)
• Resistance range of <1 x 10
• Under load voltages of 10 and 100 volts ±5%
• Electrification period of approximately 15 seconds
3
ohms to >1 x 10
12
ohms
process monitoring and measurements. If the organization
uses test methods that differ from the standards referenced
in this standard, the organization must be able to show that
the results achieved correlate with the referenced standards.
Compliance verification records shall be established and
maintained to provide evidence of conformity to the technical
requirements.
The test equipment selected shall be capable of making the
measurements defined in the compliance verification plan.”
(IEC 61340-5-1 Edition 1 2007-08 clause 5.2.3 Compliance
verification plan)
Reference Literature
In addition to those noted above:
EN 61340-5-1 Electrostatics and PD CLC/TR 61340-5-2 User
Guide Electrostatics
Made in the
United States of America
The Digital Surface Resistance Meter also measures ambient
temperature and relative humidity.
NOTE: Volume Resistance can be measured using one 2 kg
Electrode and a flat conductive metal plate (not included).
The Digital Surface Resistance Meter Kit and its accessories
are available in the following item numbers:
Item Description
222642 Digital Surface Resistance Meter Kit
222643 Digital Surface Resistance Meter
222002 Concentric Ring Probe
222003 Concentric Ring Probe Kit
222633 Shielded Test Leads
222634 2 kg Electrodes, 1 Pair
DESCO EUROPE - 2A DUNHAMS LANE, LETCHWORTH, HERTFORDSHIRE, SG6 1BE, UK
Phone: +44 (0) 1462 672005 • E-mail: [email protected], Website: DescoEurope.com
TB-7588 Page 1 of 7
November 2017
These documents can be obtained from from British
Standards at www.bsigroup.com.
© 2017 DESCO INDUSTRIES, INC.
Employee Owned
Page 2
Packaging
222642 Digital Surface Resistance Meter Kit
1 Digital Surface Resistance Meter
2 Shielded Test Leads, 1.5 m Length
2 2 kg Electrodes
2 AA Alkaline Batteries
1 Gator Clip
1 BNC / Banana Jack Adapter
1 Plastic Carrying Case
1 Certificate of Calibration
Features and Components
A
B
C
D
E F
G
Figure 2. Vermason 222642 Digital Surface Resistance
Meter Kit
222643 Digital Surface Resistance Meter
1 Digital Surface Resistance Meter
2 AA Alkaline Batteries
1 Certificate of Calibration
FRONT VIEW
H
REAR VIEW
Figure 3. Vermason 222643 Digital Surface Resistance
Meter
DESCO EUROPE - 2A DUNHAMS LANE, LETCHWORTH, HERTFORDSHIRE, SG6 1BE, UK
Phone: +44 (0) 1462 672005 • E-mail: [email protected], Website: DescoEurope.com
TB-7588 Page 2 of 7
Figure 4. Digital Surface Resistance Meter features and
components
© 2017 DESCO INDUSTRIES, INC.
Employee Owned
Page 3
A. Test Jacks: The shielded test leads connect here. The
black test lead’s 3.5mm plug connects into the stereo jack,
and the white test lead’s banana plug connects into the
banana jack.
B. Liquid Crystal Display: Temperature, Relative Humidity
and Resistance Mantissa values appear on this display.
When the test button is depressed and the meter is set to
FULL test mode, the following information will display in
sequence:
• Temperature in degrees Fahrenheit (±10%)
• Temperature in degrees Celsius (±10%)
• Relative Humidity as a percentage (±10 integers)
• Surface Resistance Mantissa (with exponent displayed
via LED, measurement in ohms)
Surface resistance ohm values are expressed with a
mantissa and exponent (power) of the number. For example,
if the #8 exponent LED illuminates and the meter displays
“7.14”, the measurement is 7.14 x 10⁸ ohms or 714,000,000
ohms.
F. Quick Check Button: When set to FULL, the meter will
cycle through the approximate 15 second electrification
period that displays the temperature and relative humidity
before the surface resistance mantissa is displayed. When
set to QUICK, the meter will skip the 15 second period
and immediately display the measured surface resistance
mantissa.
G. Test Button: Push and hold this red button to make a
measurement with the meter. Testing in accordance with
IEC 61340-2-3 requires 15 seconds of electrification. These
15 seconds are included when the meter is set to FULL test
mode. The surface resistance mantissa will display on the
meter after temperature and relative humidity measurements
are displayed.
The surface resistance exponent number illuminates
immediately, and the meter first displays the temperature
and relative humidity during a 15 second electrification
period. The mantissa is then displayed at the end of the test
sequence. For example, if the #8 exponent LED illuminates
and the meter displays “7.14”, the measurement is 7.14 x 10
ohms or 714,000,000 ohms.
If the measured surface resistance is over 1012 ohms, “1___”
will appear on the liquid crystal display.
H. Battery Compartment: Open this compartment to install
the two AA alkaline batteries needed to power the meter.
C. Exponent Light Emitting Diodes (LED): These LEDs
Replace the batteries once the Function LEDs begin flash.
indicate the surface resistance exponent value. They are
colour coded for quick checks.
Exponent Colour
<3, 3 Red
4, 5 Green
6, 7, 8 Blue
9, 10 Green
11, 12, >12 Yellow
Operation
Per IEC User Guide Testing of Installed ESD Control
Items
“Once the ESD ground reference has been verified it is
important to ensure that each of the ESD control items used
is connected to the ground reference. First ensure that each
ESD control item is connected to the ground reference. Next,
using the test method or standard and limits for each ESD
control item given in Tables 2 and 3 of IEC 61340-5-1,verify
that the resistance to ground (or to the common connection
Quick Checks
The surface resistance exponent number illuminates
immediately (i.e. 8 = 1 x 10⁸ ohms to less than 1 x 10⁹ ohms
or 100,000,000 to less than 1,000,000,000 ohms).
D. Function LEDs: These LEDs indicate the measurement
type displayed. The surface resistance mantissa is displayed
when either the “10V” or “100V” LED is illuminated.
The Function LEDs will flash when the battery voltage drops
point) meets the required limit”. (CLC/TR 61340-5-2 User
guide Grounding/bonding systems clause 4.4.5 Verification of
proper installation of ESD control items)
General Guidelines
• Use both 2 kg electrodes for Rp-p measurements.
• Use one 2 kg electrode and connect the black sensing
• Ensure that the item being measured is electrically
to approximately 2 volts. Replace the batteries when this
occurs.
E. Test Voltage Button: When set to AUTO, the meter will
• Ensure that the test leads are separated and uncrossed
automatically switch to the appropriate test voltage for the
measured resistance range. The Function LEDs will indicate
• When using 2 kg electrodes:
the applied test voltage. Material that is 9 x 10⁵ ohms or
less should be measured at 10 volts. Material that is 1 x
106 ohms or greater should be tested at 100 volts. (Ref: IEC
61340-2-3) When the switch is set to 10V HOLD, the test
voltage will be fixed at 10 volts regardless of the measured
resistance value.
8
test lead to ground for Rg measurements.
isolated (placed on an insulative surface). The meter will
measure the lowest resistance path.
as a best practice.
• Place them no closer than 5 cm from the edge of
the surface being measured
• Place them no closer than 8 cm to any groundable
point
• Place them about 25 cm apart from each other for
Rp-p measurements of a worksurface
• Place them about 1 m apart from each other for
Rp-p measurement of a floor
DESCO EUROPE - 2A DUNHAMS LANE, LETCHWORTH, HERTFORDSHIRE, SG6 1BE, UK
Phone: +44 (0) 1462 672005 • E-mail: [email protected], Website: DescoEurope.com
TB-7588 Page 3 of 7
© 2017 DESCO INDUSTRIES, INC.
Employee Owned
Page 4
• Preferable electrode placements include:
• Most commonly used area of a surface
• Most worn area
Measure Resistance Point-to-Point (Rp-p) on the Surface
• Do not clean the surface.
• Remove from the surface only those items that might
• Center of surface
• Furthest area from a grounded point
• If the surface to be measured has sections (i.e. floor
• ESD sensitive devices shall also be removed.
• Use two 2 kg electrodes and place them on the most
tiles, garment panels), place the 2 kg electrodes on
different sections for Rp-p measurements.
• Clean the material’s surface for Test Lab measurements,
but do not clean the surface for materials that are
• Push and hold the Test Button until the surface
already installed. Only clean and re-test the installed
material if failure occurs.
• If the most used area is not obvious, use two points near
• Push and hold the Test Button until the surface
resistance mantissa is displayed.
• Perform additional measurements by placing the
Measure Resistance to Ground (Rg)
Test Procedure in accordance with IEC 61340-2-3 and
EN 61340-5-1 Tabe 3 Note 2 “The test methods in the
compliance verification column refer to the basic test
procedure only. It is not expected that the test method will
be followed in its entirety.”
• Do not clean the surface.
• Remove from the surface only those items that might
If the measurement is outside acceptable limits, clean the
surface with an ESD cleaner containing no insulative silicone
such as Reztore™ Antistatic Surface & Mat Cleaner, and
re-test to determine if the cause of failure is an insulative dirt
layer or the ESD worksurface material.
interfere with the test.
• ESD sensitive devices shall also be removed.
• Attach the black sensing test lead to protective earth
ground.
• Use one 2 kg electrode on the other test lead and place
the electrode on the furthest convenient point on the
surface.
• Push and hold the Test Button until the surface
resistance mantissa is displayed.
• Perform additional measurements by placing the
electrode on the most commonly used or worn area. Set
the meter to QUICK test mode to skip the 15 second
period if preferred.
interfere with the test.
commonly used area of the surface. Ensure that the
electrodes are about 25 cm apart from each other and
5 cm away from any edge and 8 cm away from any
grounded point.
resistance mantissa is displayed.
the center of the surface.
electrode on the most commonly used or worn area. Set
the meter to QUICK test mode to skip the 15 second
period if preferred.
25 cm
If the measurement is outside acceptable limits, clean the
surface with an ESD cleaner containing no insulative silicone
such as Reztore™ Antistatic Surface & Mat Cleaner, and
re-test to determine if the cause of failure is an insulative dirt
layer or the ESD worksurface material.
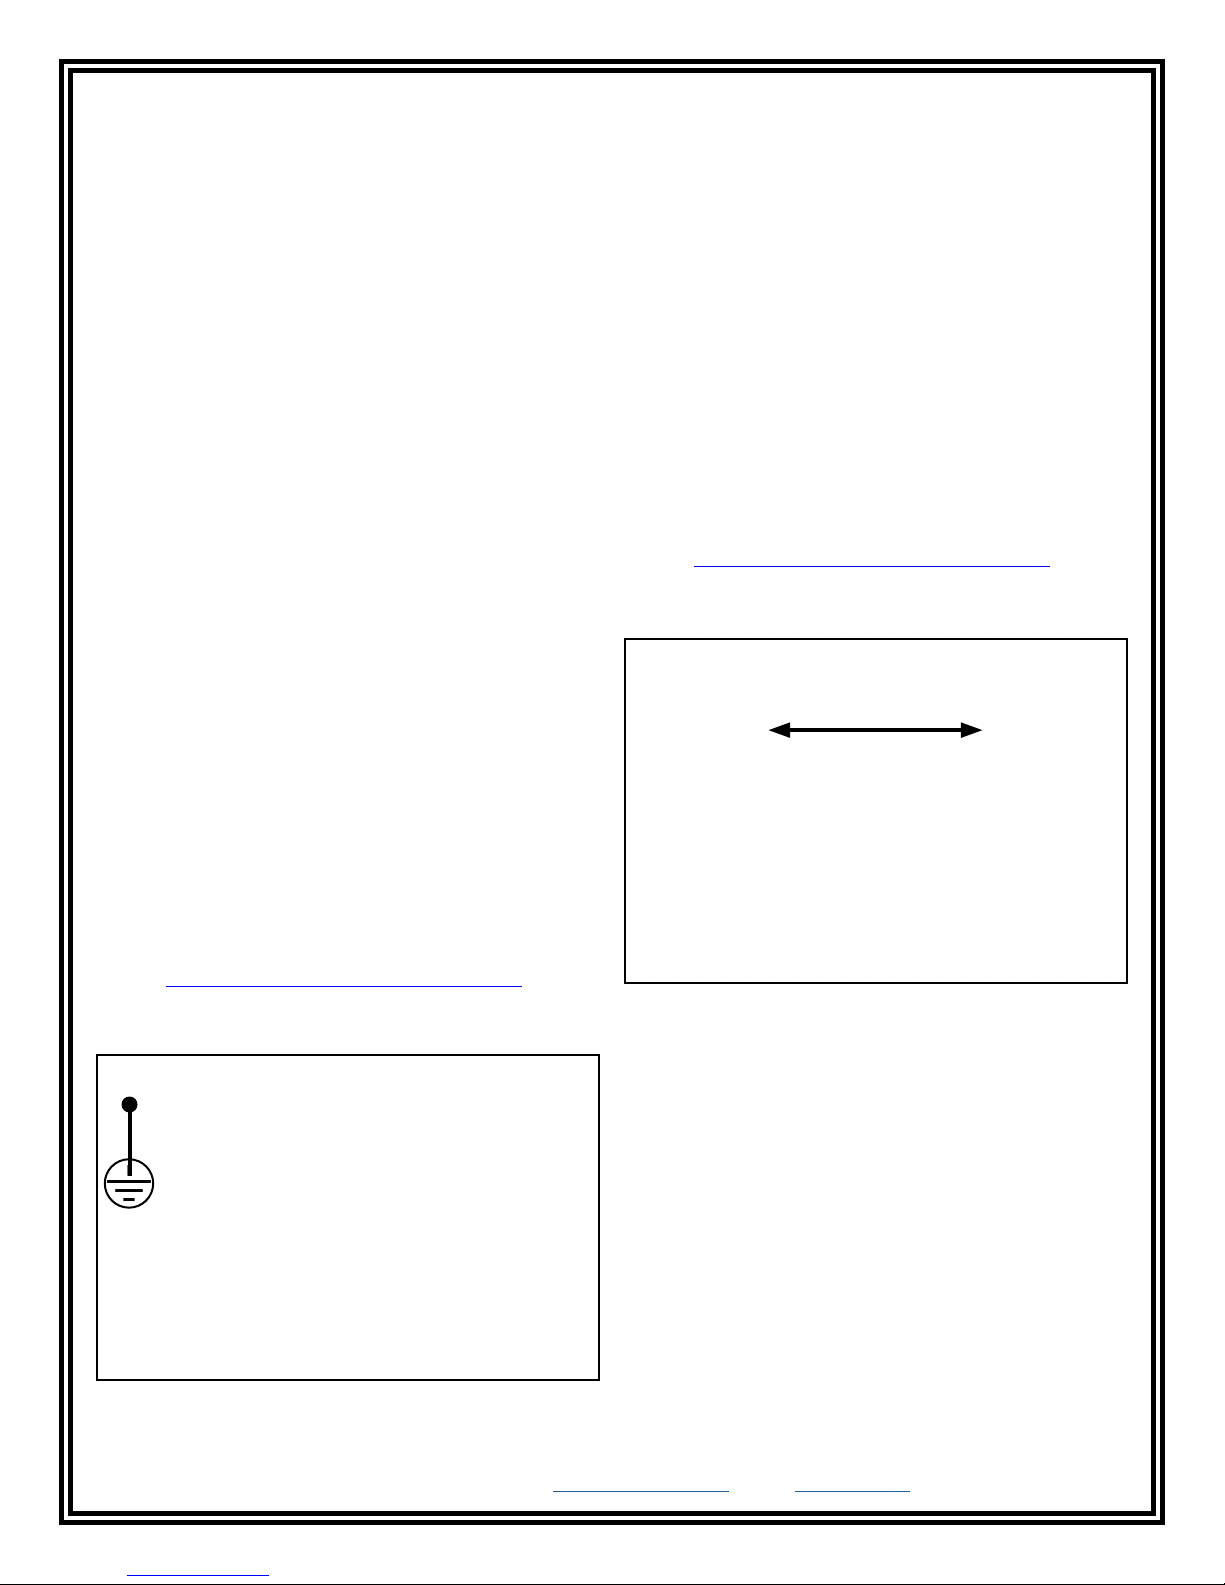
Figure 6. Rp-p test setup - set the electrodes about 25
cm apart for working surfaces and about 1 m apart for
ooring
Reporting and Using Test Results
Different standards have different requirements; however,
follow the requirements as specified in the user’s ESD
control plan. Examples are:
Working surfaces, report:
• Rg maximum and minimum values measured for
• Rp-p maximum and minimum values measured for
Figure 5. Rg test setup
DESCO EUROPE - 2A DUNHAMS LANE, LETCHWORTH, HERTFORDSHIRE, SG6 1BE, UK
Phone: +44 (0) 1462 672005 • E-mail: [email protected], Website: DescoEurope.com
resistance-to-ground in ohms
point-to-point resistance in ohms
TB-7588 Page 4 of 7
© 2017 DESCO INDUSTRIES, INC.
Employee Owned
Page 5

Flooring, report:
• Rg all values in ohms for resistance-to-ground
• Rp-p all values in ohms for point-to-point resistance
• Test voltage
• Test date
• Temperature
• Relative humidity
• Test equipment used and latest calibration date
Summarize the test data by reporting the minimum,
maximum, median and mean values that were obtained.
Include a diagram showing the approximate electrode
positions and ground connections used.
Surface Resistivity
Theoretically, Resistivity is 10 times greater than Resistance.
7
For example, a material that measures 10
ohms in surface
resistance should measure 108 ohms/square in surface
resistivity.
“When it is appropriate to convert a resistance obtained
by this test method to an equivalent resistivity in ohms per
square, multiply the resistance measurements obtained by
this method by 10. The conversion factor of 10 is derived
from the geometry of the electrode assembly.” (Ref: ANSI/
ESD STM11.11 section 12.0 Conversion to Resistivity)
Frequency of Compliance Verification Testing
“The frequency for checking the function of ESD control
elements is dependent on a number of factors such as how
often the item is used, the item’s durability and the impact
Product Qualification Test Lab Test Procedure Guideline
For test lab use of ESD Working Surfaces, Floor Materials,
Footwear, Garments or Seating, the best practice advise:
• Cleaning the test specimens and electrodes shall be
on the ESD control program if the control item were to fail.
As an example, wrist straps are often used as the primary
ground for personnel. A wrist cord, whilst being worn, is
subjected to thousands of stretchlbend cycles each day and
the conductive wire(s) in the wrist cord will eventually break.
• Environmental chamber control relative humidity to 12
The typical verification frequency, used by industry, for wrist
cords is once per shift due to the wrist cord’s importance to
the success of the program and the likelihood of failure.
• Specimen support surface to be greater than 1 x 10¹²
Some organizations may want to increase the time between
verifications of an ESD control item after it has been in use
• Specimen Pre-Conditioning at 23 ±1°C; 3 specimens at
for a period of time. This is typically done by monitoring the
failures of the ESD control item. Once the organization has
evidence that there is an acceptable period of time where no
failures were found, the time between verifications can be
increased. The new verification interval is then monitored.
• Reporting Test Results: report:
If an unacceptable level of failures is identified, then the
verification frequency should revert back to the previous
level.” (PD CLC/TR 61340-5-2 User guide clause 4.3.3
Verification frequency)
The frequency of periodic testing is normally specified in
corporate operating procedures. However, a common guide
would be to conduct the measurements of EPA ESD control
items at least quarterly, and to test personnel grounding
devices (while worn) at least each shift.
cleaned twice with a minimum 70% isopropanol-water
solution using a clean, low-linting cloth each time. Allow
the material to completely dry.
±3% relative humidity and 50 ±5% relative humidity and
temperature to 23 ±1°C.
ohms such as PMMA, PTFE or polycarbonate.
12 ±3% relative humidity for up to 72 hours minimum,
and 3 specimens at 50 ±5% relative humidity for up to
72 hours minimum.
• Minimum, median and maximum readings for both
resistance-to-groundable point and point-to-point
resistance in ohms at low relative humidity
• Minimum, median and maximum readings for both
resistance-to-groundable point and point-to-point
resistance in ohms at moderate relative humidity
• Temperature
• Relative humidity
• Actual duration of conditioning
• Test equipment used and latest calibration date
Possible frequency is listed in EN 61340-5-1 Annex
DESCO EUROPE - 2A DUNHAMS LANE, LETCHWORTH, HERTFORDSHIRE, SG6 1BE, UK
Phone: +44 (0) 1462 672005 • E-mail: [email protected], Website: DescoEurope.com
TB-7588 Page 5 of 7
© 2017 DESCO INDUSTRIES, INC.
Employee Owned
Page 6
Vermason 222002 Concentric Ring Probe Cleaning the Digital Surface Resistance Meter
The area surrounding the cable jacks at the top end of the
meter should be wiped with a clean, isopropanol-alcohol
moistened cloth to remove skin oils that will accumulate
and affect the meter’s accuracy at high resistances. The
frequency of cleaning will depend on usage. Vermason
recommends cleaning this area once a month. Cable jackets
should also be cleaned in this fashion.
Cleaning the 2 kg Electrodes
Clean the electrodes with a minimum 70% isopropanol-water
solution. Make sure the 2 kg electrodes’ conductive pads are
dry prior to use.
See specific product test standards for test lab specimen
cleaning instructions. Per ANSI/ESD S4.1 Worksurfaces
“The test specimens and electrodes shall be cleaned twice
with a minimum 70% isopropanol-water solution using a
clean, low-linting cloth each time.” (Note: The item should
then be conditioned for 72 hours minimum)
Figure 7. Vermason 222002 Concentric Ring Probe
The Vermason
222002
Concentric Ring Probe is an
instrument to be used in conjunction with a resistance meter,
such as the Vermason 222643 Digital Surface Resistance
Meter, to measure surface resistance per EN 61340-5-1
Table 4 Packaging of solid planar materials.
The Concentric Ring Probe can measure the volume
resistance of planar materials using a flat conductive metal
plate (not included).
The Concentric Ring Probe may be used for the resistance
measurements of ESD packaging including static shielding
and other bags.
See TB-7549 for more information.
Maintenance
The Digital Surface Resistance Meter requires little
maintenance. There are no user serviceable parts. If your
meter requires service beyond cleaning the electrodes or
replacing the batteries, please contact the factory.
This product utilizes a high frequency switching circuit to step
up the 3 volts from the batteries to the 100 volt test level.
Some users are able to discern a slight hum or buzzing when
the meter is powered. This is perfectly normal and is not
considered a flaw or defect.
Battery Replacement
The Function LEDs located above the push buttons will flash
when the battery voltage drops to approximately 2 volts.
This indicates that the meter’s batteries should be replaced.
Open the compartment located on the back of the meter
to replace the batteries. The meter uses two AA alkaline
batteries. Ensure that the batteries’ polarities are oriented in
the correct fashion to avoid any possible circuit damage.
The Digital Surface Resistance Meter is calibrated to NIST
traceable standards. Most users require calibration annually
which is our recommendation. Please e-mail Service@
Vermason.co.uk for details. In-house calibration can be
performed by using 1% resistors in each of the meter ranges.
Simply attach the resistors to the test leads using clips and
record the meter’s display. Keep the test leads uncrossed
and separated from one another. Should adjustment be
necessary, Vermason recommends to return the unit to the
factory. Special equipment is required to adjust the meter.
Required Equipment
• Digital Multimeter: accurate to 1.25% @ 10VDC and
• Fixed Decade Box with values from 103 - 1012:
• Thermometer: accurate to ±1°F
• Relative Humidity Meter: accurate to 2%
• Test Leads
• 99% Isopropyl Alcohol and Cleaning Wipes
Setup
• Test Area - needs to be free of any high voltage
• Worksurface - needs to be covered with a grounded
• Technician - needs to be connected to equipment
• Decade Box - needs to be connected to equipment
Calibration
100VDC
accurate to ±2%, except at 1011 and 1012 (±5%)
transformers or power supplies and away from any type
of fluorescent lighting or high power lighting.
conductive mat at 1.0 x 10³ or less.
ground with a 0 ohm resistor in the ground cord.
ground.
DESCO EUROPE - 2A DUNHAMS LANE, LETCHWORTH, HERTFORDSHIRE, SG6 1BE, UK
Phone: +44 (0) 1462 672005 • E-mail: [email protected], Website: DescoEurope.com
TB-7588 Page 6 of 7
© 2017 DESCO INDUSTRIES, INC.
Employee Owned
Page 7

Normalization of the Meter
The temperature inside the testing area needs to be 24°C
±1.7°C at 40% to 60% relative humidity. The meter needs
to stay at a temperature of 24°C ±1.7°C for approximately 2
hours for proper readings. The meter cannot be normalized
inside objects, enclosed boxes, containers or cases. The
temperature inside an enclosed case will differ from the
outside temperature. These cases will act as insulators to
the meter. The meter must remain stationary in the testing
area for about 2 hours without any significant changes to the
temperature.
NOTE: Accuracy is measured after normalizing the meter for
a minimum of 2 hours.
F. 1.0 x 10
+10% LED = 7 Blue Mantissa 1.10
0% LED = 7 Blue Mantissa 1.00
-10% LED = 6 Blue Mantissa 9.00
G. 1.0 x 10
+10% LED = 6 Blue Mantissa 1.10
0% LED = 6 Blue Mantissa 1.00
-10% LED = 5 Green Mantissa 9.00
H. 1.0 x 10
+10% LED = 5 Green Mantissa 1.10
0% LED = 5 Green Mantissa 1.00
-10% LED = 4 Green Mantissa 9.00
I. 1.0 x 10
Calibration Test Procedure
• Use only the test leads that were supplied with the
meter.
• Clean around the banana jack and stereo jack located at
the top of the meter with 99% isopropyl alcohol. Oil from
human fingers can affect the accuracy of the meter.
• Set the Test Voltage Button to 10V HOLD. Press and
+10% LED = 4 Green Mantissa 1.10
0% LED = 4 Green Mantissa 1.00
-10% LED = 3 Red Mantissa 9.00
J. 1.0 x 10
+10% LED = 3 Red Mantissa 1.10
0% LED = 3 Red Mantissa 1.00
-10% LED = <3 Red Mantissa <0.90
hold the Test Button. The measured voltage between
the two test leads should be 10V ±5%.
• Set the Test Voltage Button to AUTO. Press and hold
Specifications
Resistance Ranges 1 x 10³ - 1 x 10¹² ohms @ 10 Volts
the Test Button. The measured voltage between the two
test leads should be 100V ±5%.
• Ensure that the Test Voltage Button is set to AUTO
when performing the following measurements. Always
measure from 1.0 x 10¹² ohms and work your way down
to 1.0 x 10³. Never start your measurements from 1.0 x
103.
Temperature: 24°C ±1.7°C (75°F ±3°F)
Relative Humidity: ±10 integers
1 x 10⁶ - 1 x 10¹² ohms @ 100 Volts
Accuracy Resistance measurements within
±10% (±20% for resistance values
1 x 10¹¹ and greater). Under load
voltages of 10 Volts ± 5% and 100
Volts ± 5% (Ref: EN 61340-2-3).
Power Supply 2 AA alkaline batteries
Battery Life Approx. 1,500 measurements
7
6
5
4
3
A. 1.0 x 10
12
+20% LED = 12 Yellow Mantissa 1.20
0% LED = 12 Yellow Mantissa 1.00
-20% LED = 11 Yellow Mantissa 8.00
B. 1.0 x 10¹¹
+20% LED = 11 Yellow Mantissa 1.20
0% LED = 11 Yellow Mantissa 1.00
-20% LED = 10 Green Mantissa 8.00
C. 1.0 x 10
10
+10% LED = 10 Green Mantissa 1.10
0% LED = 10 Green Mantissa 1.00
-10% LED = 9 Green Mantissa 9.00
D. 1.0 x 10
9
+10% LED = 9 Green Mantissa 1.10
0% LED = 9 Green Mantissa 1.00
-10% LED = 8 Blue Mantissa 9.00
E. 1.0 x 10
8
+10% LED = 8 Blue Mantissa 1.10
0% LED = 8 Blue Mantissa 1.00
-10% LED = 7 Blue Mantissa 9.00
DESCO EUROPE - 2A DUNHAMS LANE, LETCHWORTH, HERTFORDSHIRE, SG6 1BE, UK
Phone: +44 (0) 1462 672005 • E-mail: [email protected], Website: DescoEurope.com
Operating Temperature 0 to 40°C (32°F to 104°F)
Meter Dimensions 21 cm x 10 cm x 4 cm
Meter Weight 0.3 kg
Kit Dimensions 34 cm x 27 cm x 10 cm
Kit Weight 5.9 kg
External Electrode 2 kg [5 lbs (±2 oz)], 6 cm in
diameter (Ref: EN 61340-2-3)
Limited Warranty, Warranty Exclusions, Limit
of Liability and RMA Request Instructions
See the Desco Europe Warranty -
DescoEurope.com/Limited-Warranty.aspx
TB-7588 Page 7 of 7
© 2017 DESCO INDUSTRIES, INC.
Employee Owned
 Loading...