

Page 1
SPECIFICATIONS
Model number Capacity Division
T 302 300g 0.01g
T -602 600g 0.01g
T -1002 1000g 0.01g
T -2001 2000g 0.1g
T -3001 3000g 0.1g
T -5201 5200g 0.1g
Platter 136x140mm
Net/gross weight 3.5lb/4.5lb
Package
Standard carton: 33.5×23×14(cm
3
)
6 Units in one box: 48.5×39.5×46(cm
3
)
Operating Temperature
0-40℃(32-104℉)
Power source
6XAAor AC/DC
Adapter 12V/500mA
ERROR CODE
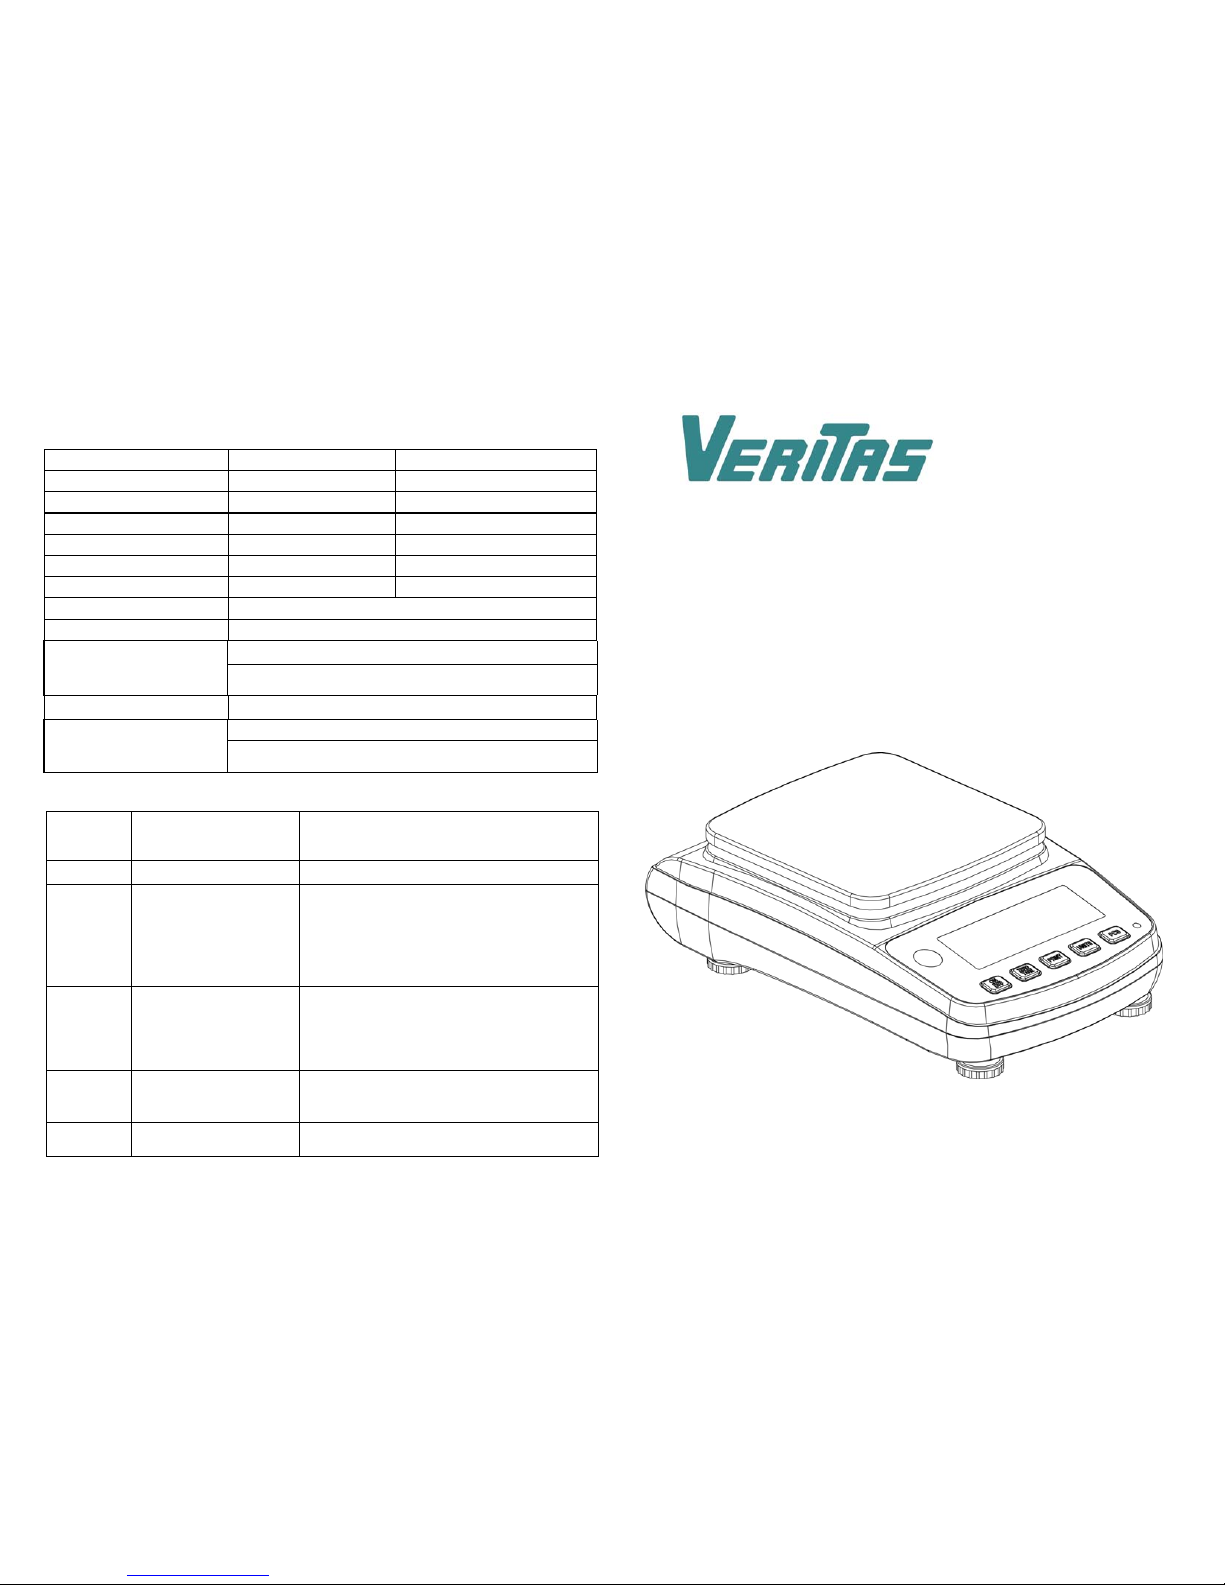
COMPACT SCALE
/BALANCE
INSTRUCTION MANUAL
Error
Code
Reason Trouble Shooting
Err-O Overload Use within capacity.
Err-Z 1).Exceeded the zero
tracking range when
powering on.
2).Forgot to install pan
when performing
linearity calibration.
1). Pan should be empty on power up.
Remove any weight from pan.
2). Install pan and then recalibrate scale
(linearity calibration).
Err-S Inner code unstable
when powering on.
1) Make sure the scale is stable when
powering on.
2) Low battery , ch a ng e or cha rg e ba tter y.
3) Allow for longer warm up period.
Err-L Calibrating without a
weight or the weight
is not the correct value.
Place a calibration weight of the value
shown on the display and then press
calibration button.
Err-P Counting setting error. Place the correct size parts sample when
setting up counting mode.
Page 2

SAFETY PRECAUTIONS
All safety messages are identified by the following the words "WARNING" and
"CAUTION". These words mean the following:
△WARNING
Important information to alert you to a situation that
might cause serious injury and damage to your
property if instructions are not followed.
△CAUTION
Important information that tells how to prevent damage
to equipment.
When using the scale/balance, the following safety precautions should always be
followed.
△ WARNING
Use only the AC adaptor with the scale/balance. Other adaptor may cause
damage. (AC adaptor is optional)
△ CAUTION
Avoid installing the scale/balance in direct sunlight, this may cause
discoloration or malfunctions.
Keep scale at room temperature, away from heat sources.
Avoid shock impact and loading over capacity. Do not keep heavy object
permanently on the platform.
If scale is not used for an extended period, keep it clean and stored in
plastic package.
Matter charged by static electricity will influence the weighing.
1
CALIBRATION
When to calibrate
1. Press [ON/OFF] to turn the power on for 15 minutes for warm up.
2. With scale turned off, press [ON/OFF] to turn the power on.
3. Display will show flashing digits and then “--------”,
4. Press [ZERO], the display will show “CAL”.
5. Press [ZERO] again , the display will show “X0000 g” where X is the
flashing digit,
6. Press [UNIT] key to move the flashing digit to the right.
7. Press [PCS] key to increase the flashing digit. (X is the calibration
weight which can be set according to your requirement – we
recommend a minimum of 50% balance capacity).
8. Press the [ZERO] key, the display will show a series of digits known as
the A/D value, these numbers will continuously move, once the display
shows the stable indicator (please see page 16 for help locat ing the
stable indicator), press the [UNIT] key, the display will then show --------,
then “X00.00” or “X000.0” depending on the model and capacity.
9. Place the calibration weight on the center of the platform.
10. Press [ZERO] key to return to weighing mode.
11. Now the Calibration is completed.
12. Press [ON/OFF] to turn off the power.
13. Press [ON/OFF] to turn on the power again.
14. Place the weight on the platform to make sure weighing is correct, if not,
repeat above steps.
6
Page 3

FUNCTION SETTINGS
1. Press [ON/OFF] to turn on the scale, the display will show flash digits and then --------,
press [PRINT], the display will shows the serial port b xxx BAU value. Press [UNIT] to
select among 1200, 2400, 4800 and 9600, our default setting is 9600.
Press [ZERO] to enter Parity mode, the display will show P XXX PAR, press [UNIT] to
select odd, even, none (odd stands for 7 data bits with odd parity, even stands for 7 data
bits with even parity, none stands for 8 data bit without parity)our default setting is none.
Press [ZERO] to enter Print mode, the display will show n xxx Mod, press [UNIT] to
select CON,OFF,KEY,STB (OFF stands for serial data output disabled, KEY stands for
demand mode by pressing [PRINT], STB stands for automatic print when scale is stable,
CON stands for continuous print), our default setting is STB.
Press [ON/OFF] again to return to weighing mode.
2. Press [ON/OFF] to turn on the scale, the display will show flash digits and then
----------, press [UNIT] to enter unit selecting function, the display will show ON X ( X
stands for the units :g, oz, lb, dwt…tola..), press [ZERO] select units, press [UNIT] to
select ON (activate the selected unit) or OFF ( inactivate the selected unit), press
[ON/OFF] again to return to weighing mode.
3. Switch the power to “ON” and then press [ON/OFF] to turn on the scale, the display
shows F-E-9 to 0 and than“- - - - - - -”,press [PCS] key to select zero range when turn
on the scale, press [UNIT] key to select percent (PZR 0, 2, 3, 4
, 5, 10, 20, 100%FS);
Press [ZERO] key to set zero range, press [UNIT] key to select percent (KZR
3,4,5,10,20);
Press [ZERO] key to set tare range, press [UNIT] key select percent (KTR 50 %FS or
KTR 100%FS);
Press [ZERO] key to enter overload protection setting, press [UNIT] key to select
overload protection value (OVR 0, 2,3,4, 5, 10,20,100%FS);
Press [ZERO] key to set beep function, press [UNIT] key to choose turn on or turn off
the beep, “bZ ON” means activate the beep, “bZ OFF” means inactivate the beep;
Press [ZERO] key to unite the function of TARE and ZERO, press [UNIT] to switch
between them. “ZT ON” means unite function activate, “ZT OFF” means unite function
inactivate.
Press [ZERO] key to enter auto off function setting,display shows A xxx,press [UNIT]
key to select auto off time(3,5,10,off).
Press [ZERO] to select backlight, the display will show L xxx, press [UNIT] to select X
value (X stands for AU,OFF,ON), OFF stands for inactivate backlight function, ON stands
for the backlight is always make function, AU stands for auto backlight .
4. Press [ZERO] to return to weighing mode.
5
PARTS DESCRIPTION
RIGHT SIDE
AC adaptor
Socket
TOP
Display
ON/OFF key
Turns the scale
power on/off.
ZERO key
Sets display to zero
PRINT key
UNIT key PCS key
Changes weighing units
AC adaptorSocket
USB
Weight
Weight cover
DISPLAY
Low battery indicator weighing unit TARE indicator
Negative value indicator
STABLE indicator
when the reading is stable.
ZERO indicator
2
Page 4

PREPARATION
1.Installing batteries/Connecting the AC adaptor
Batter compartment cover Batteries Battery compartment
2. Setting up the scale/balance
△! CAUTION
Avoid installing the scale/balance in direct sunlight, it may cause discoloration or malfunctions.
Place your scale/balance on a firm weighing table so that the scale/balance is level. (The
scale/balance will not perform accurately when it is not level.)
Place the scale/balance on the firm surface that is flat and level for an accurate weighing.
Counting procedures
1. Press [ON/OFF] to turn on the scale.
Wait for "0" to appear on the display.
2. Start the Count Procedure
If necessary, press [ZERO] key to set the display to “0”.
3. Place a given number of samples of an item on the pan (the sample size should be
either 10、20、50 or 100 pieces). The weight of these samples will show on the
display. Press the [PCS] key to put the scale in PCS mode, the display will show
X X pcs, press [UNIT] to select XX value (10 20 50 100).
4. Press the [PCS] key, the display will show “XX pcs”, then the scale will recall
the sample size you selected and show the starting sample size on the display
(you can now remove the samples if you want to return the scale to 0)
5. Press the [UNIT] key to return to the weighing mode
3
WEIGHING
Before weighing
Whenever possible, please allow the balance to warm up for 10 minutes after first
turning to power on, so that the balance will function properly and accurately.
Calibration may be required befor e weighing.
Read "CALIBRATION" first and if necessary, calibrate your scale/balance for
accurate weighing.
Weighing procedures
1. Press [ON/OFF] to turn on the balance.
When power is turned on, all display segments appear on LCD for a few seconds
and finally "0" will appear on the display.
2. Select the weighing unit with [UNIT].
Press [UNIT] to select a weighing unit, eg. "g"、" ct “……
Once the unit has been selected, the selected unit will be displayed to the weight
value.
3. Start weighing
If you do not use a container for weighing
Verify the reading is "0". If not, press [ZERO] to display "0".
Place objects on the weighing platform to weigh.
When the reading becomes stable, the stable indicator is displayed.
If you use a container for weighing
Place an empty container on the platform.
Wait for the stability indicator to be displayed and press [ZERO].
Place the objects to be weighed in the container.
When the reading becomes stable, the stable indicator is displayed.
FEATURES
Auto calibration ● Auto shut off (selectable)
Auto zero tracking ● Auto backlight (selectable)
Low battery indication ●g/ct….. conversion(selectable)
Lager LCD Display ● with counting function(selectable)
USB ●Net weight/stability indication
1/120000&1/200000 division available
Hogentogler & Co., Inc. / (800) 638-8582
9515 Gerwig Ln, Ste 109, Columbia, MD 21046
www.hogentogler.com
4
 Loading...