


CONTENTS
Feature (SK-P500 AI SERIES)
Warning & Caution
Warning
Caution
Configuration
Accessories
Wall mount (How to install 1)
Wail mount (How to install 2)
Ceiling mount (How to install 1)
Ceiling mount (How to install 2)
Function (SK-P500 AI SERIES)
Dimension (Wall mount)
Dimension (Ceiling mount)
Specification (SK-P500 AI SERIES)
Troubleshooting
Warranty card

FEATURE (SK-P500 AI)
Level 1
Level 2
Level 3
LED
ON
8Lux
5Lux
3Lux
LED OFF
18Lux
15Lux
13Lux
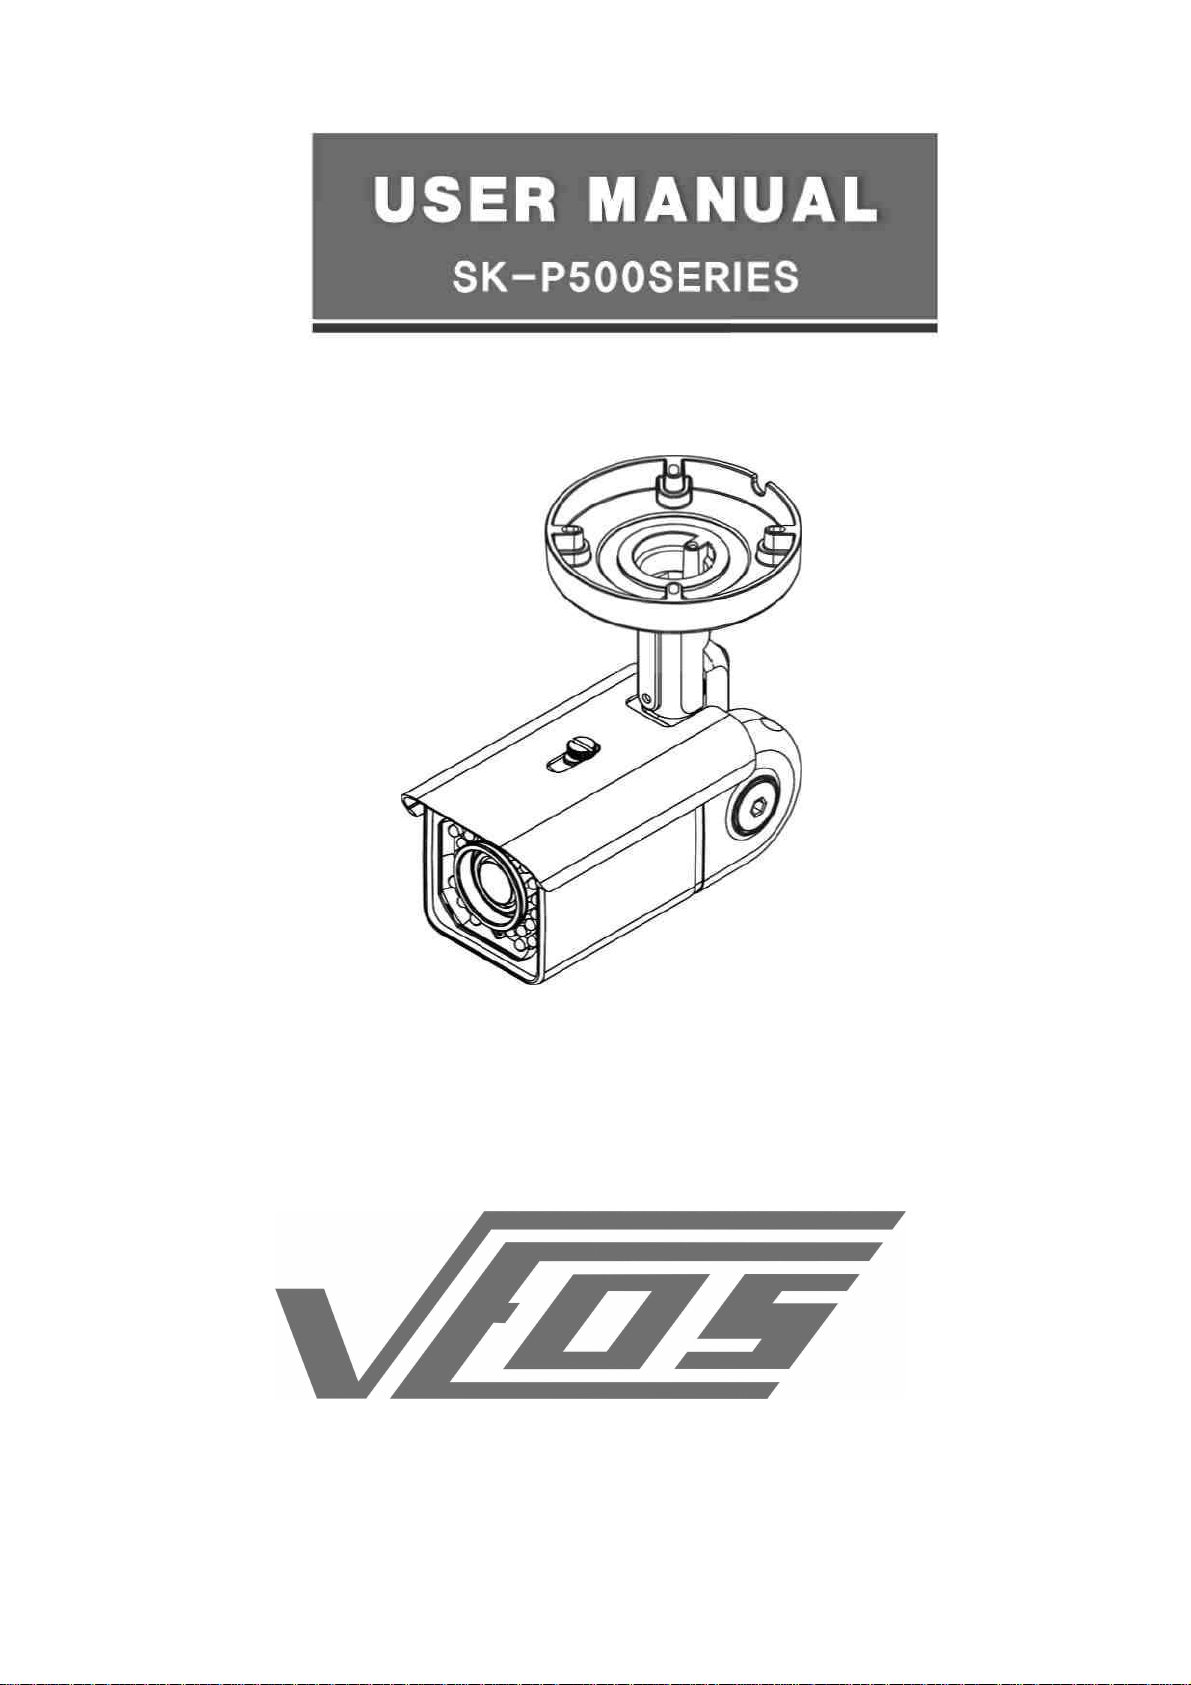
1. Long visible r a n g e a t night.
(50m Max. indoors, 40m Max. ou t d oors)
2. You can select the level of LED ON/OFF and filter change according to Lux as
follow.
In case of se lecting "Level2"
- LED turn on: under 5 lux auto matic ally
- Fi lte r ch anged into B/W mode at 5 lux, 2 seconds after becoming 5 lux.
- Filte r changed i nto color mo d e a t 15 lux 5 seconds after becoming 15lux,
3. This camera adopts split glass technology to prevent IR light re fle ction.
4. This camera has vari-fo cal IR lens to prevent defocusing under IR lighting.
5. IR cut filter is removed at night to receive 100% light.
6. This product can match for any circumstances very well.
7. This product is suitable for 24 hours sur veillan ce with optical mult i-coating
f i l t e r according to IR LED and CCD.
8. This product is weather proof to resist rain, snow and other weather facto r s .
(IP65)
9. This product is made of corrosion-free surface to re sist rust and corrosion for a
long time.
10. Sun visor of this product can help the camera get the pictu re clearly.
11. D&N mode, Mirror, Pha s e s h i f t , BLC, ALC/ELC, FLK, Color bar chart, AGC
functions are cont r o l l a b le from outsid e by OSD menu.
12. Power & video cables are concealable (Cable through brac k e t ) .
13. This camera adopts 3-axis bracket to install on the ceiling and wall.
14. You can connect 24V AC or 1 2 V DC rega rdle ss polarity. Line-Lock fu nction is
avai lable when you use 24V AC power supply.
15. This camera supports the advanced high re solut ion (550 TV Line- Color) by HQ1

DSP of SONY.
ON
OFF
1st
H
eater
23oC 28oC
2nd Heater
5oC 10oC
ON
OFF
Fan 45oC 40oC
16. You can adjust the level of IR LED according to the circumstances,
17. A heater enables the camera to keep the proper operation at low te mperature.
-Heater ON/OFF tem perature.
*ON/OFF point of heater is subject to environment.
18. A fan enables the camera to keep the proper operation at high temperature.
(option) -Fan ON/OFF tem pera ture .
*ON/OFF point of fan is su bject to e nviron ment.
WARNING & CAUTION
Please follow below instructions for safe use.
- Follow the instructions -
Information
Read this user guide c ar e f u lly before any installa t i o n for safe o p e r a t i o n of
product.
Indicating the possibility of serious injury or death.
Indicating the possibility of injury or material loss.
* This camera should be used only for the security surveillance.
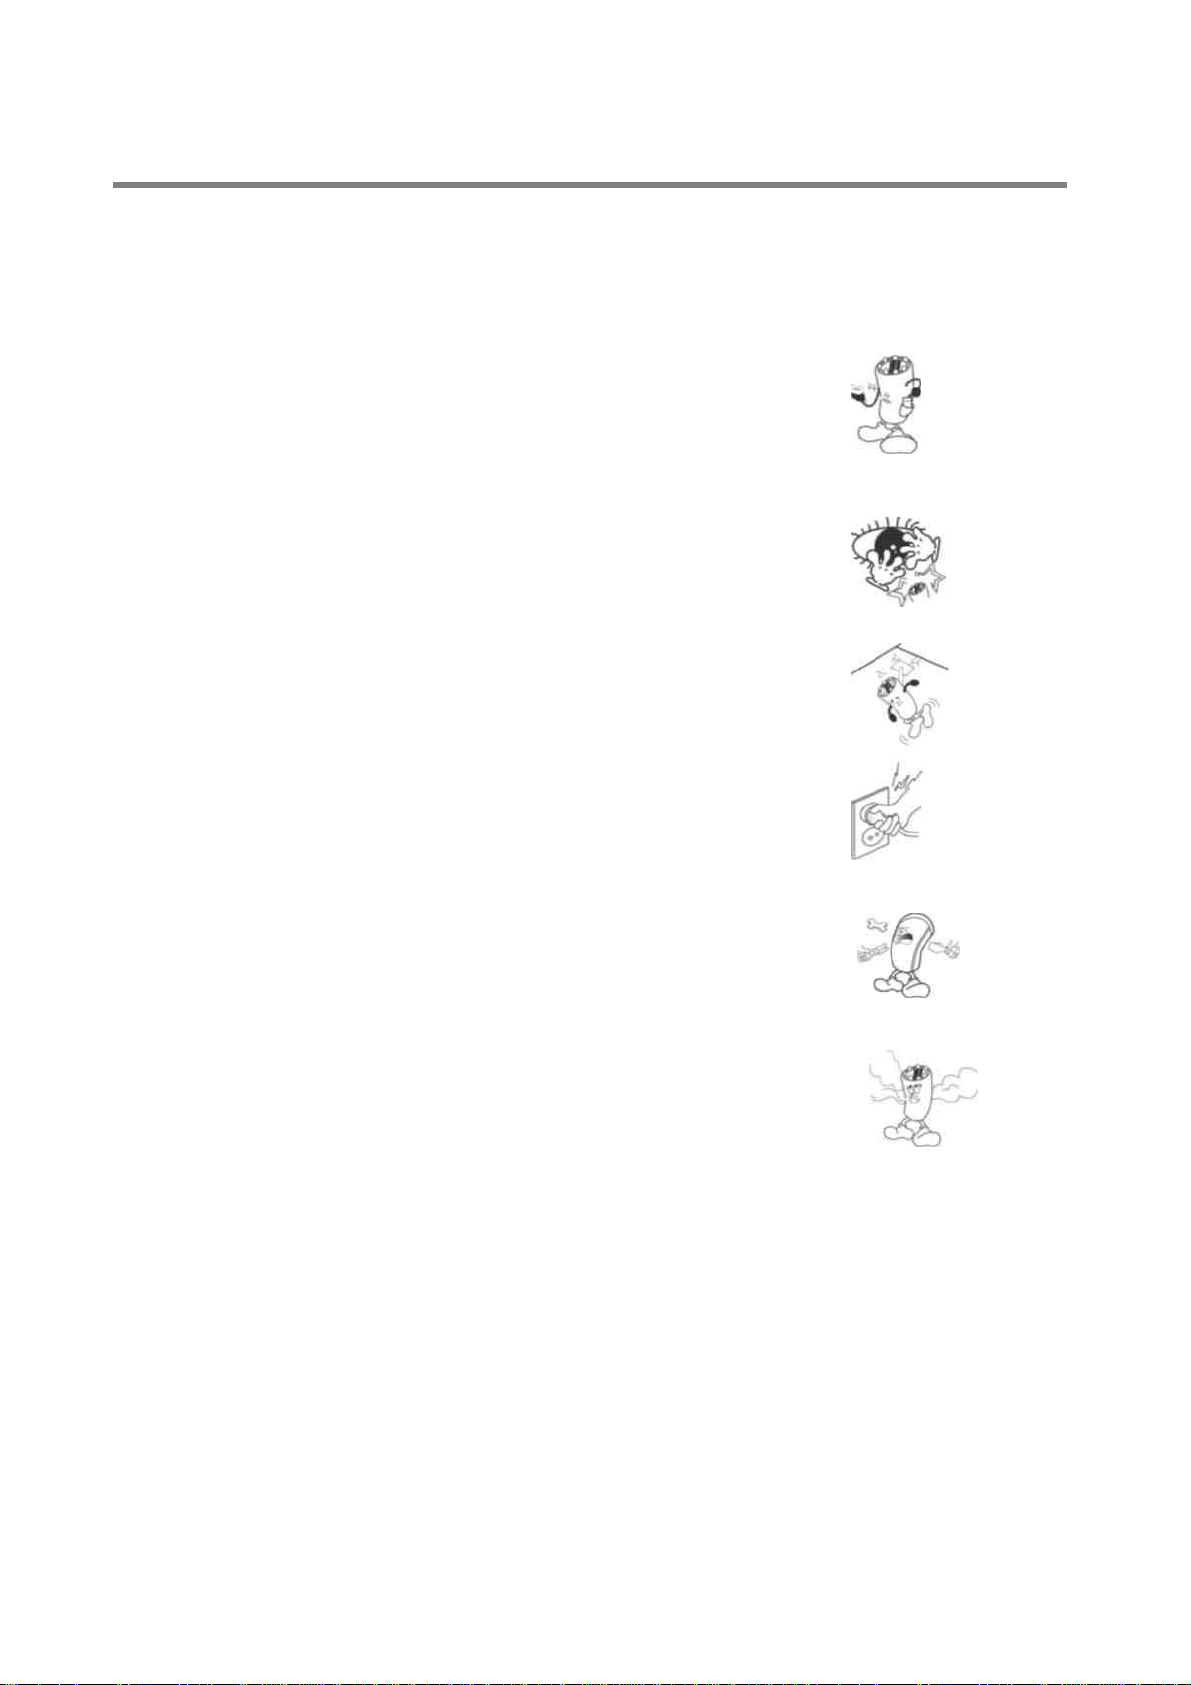
WARNING
- Please stu dy the in s truc tion manual before
your applicatio ns and keep it for your f uture
reference.
- Do not flas h LED light direc t l y on the eyes
when LED’s are on.
- Do not install the camera on a unstable
surface. It will cause falling or o ther hazards.
- Do not use improper power, it could cause fire
or ele c tric shock.
- Do not d isassem ble or re-model the camera, it
could cause fire, elec t r ic shock or other
hazards.
- Stop us ing the camera when you find a
malfun ction lik e smoke o r unusual heat, it
could cause fire or el e ctric shock.

CAUTION
- Do not adhere dangerous artic les to the camera
- Do not leave the unit along an unsta ble stand
or table.
- DC power cable or Video cable should be always loose. Do not
keep the cables tig ht or twis t ed.
- Use the camera unit within given temperature and ele c t ric i t y
limit.
- Use 24V AC or 12V DC, 1.5A regulated
power su pply.
(Supply 24V AC to dual voltage version only)
- Make sure that installat ion should be done by qu a lified
service person only.
- Do not disassemble the unit by yourse lf. When there is problem
with the unit please contact afte r - s a l e s ervi ce center or the shop
where you bought.
-Stop ope rating and separate connector from the unit if below
cases happen.

1) When power connector or video connector is broken.
2) When body is broken and dropped.
3) When it is not op e rating though it is set corr e ctly by the
manua l.
If you meet any strange cases please call the shop where
you purchased.
If the product is to be put out of operation
definitively, take it to a local recycling plant
for a disposal which is not harmful to the
environment.

CONFIGURATION

ACCESSORIES
WALL MOUNT (How to install 1)

1. Make a hole of 030mm in diameter for passing cable.
2. Using the mount hole plate, drill four holes on the wall.
3. Insert the anchors.
4. Fix the screws.

WALL MOUNT (How to install 2)
1. Adjust horizontal angle.
1) Loosen a bolt to adjust horizontal angle of the camera.
2) Use the WRENCH to tighten a bolt after adjusting the camera.

CEILING MOUNT (How to install 1)
1. Make a hole of 030mm in diameter for passing cable.
2. Using the mount hole plate, drill four holes on the ceiling.
3. Insert 1he anchors.
4. Fix the screws.

CEILING MOUNT (How to install 2)
1. Adjust horizontal angle.
1) Loosen a bolt to adjust horizontal angle of the camera.
2) Use the WRENCH to tighten a bolt after adjusting the camera.
* Twist a bolt counterclockwise once or twice.
* Adjust horizontal angle.
* Use the WRENCH to tighten a bolt after adjusting the
camera.

CEILING MOUNT (How to install 2)
2. Adjust vertical angle
1) Loosen a bolt to adjust vertical angle of the camera,
2) Use the WRENCH to tighten a bolt after adjusting the camera.
*Twist a bolt counterclockwise once or twice.
*Adjust vertical angle.
* Use the WRENCH to tighten a bolt after adjusting the camera.

FUNCTION (SK-P500 AI)

FUNCTION(SK-P500 AI)
• Camera function setting
Factory Setting
1. 12V DC Input
2. 24V AC Input
OSD Menu Description
1. Day & Night: Day & Night mode
2. Mirror
3. Phase
4. BLC
5. ALC/ELC
6. FLK
7. Chart: Color bar Chart mode
8. AGC
9. Turbo AGC
RESET Push "LEFT & RIGHT" buttons for 3 sec to set the factory
* Display for factory set will last for 5 sec
* How to set OSD menu
- ENTER: Move to next menu
- LEFT: Move to left
- RIGHT: Move to right
* OSD color
- NTSC: yellowish green
- PAL: sky blue
Fixed at Day mode (LED OFF)
Fixed at Night mode (LED ON)
Level (Filter change & LED ON/OFF) selecting mode.
Level 1: 8/18 Lux (D-N / N-D)
Level 2: 5/15 Lux (D-N / N-D)
Level 3: 3/13 Lux (D-N / N-D)
Normal Image (Default)
Reverse Image
Not controllable at 12V DC Input (Internal Sync.)
Phase controllable at 24 V AC Input (Line-Lock)
Internal Sync mode at 24 V AC Input
Normal Image (Default)
BLC ON (Level selectable)
ALC MODE (Default)
ELC MODE
FLICKERLESS OFF (Default)
FLICKERLESS ON
-> NTSC: 1/100 sec, PAL: 1/120 sec
Normal Image (Default)
Color bar chart mode selection:
-> Horizontal: Horizontal Color bar chart
-> Vertical: Vertical Color bar chart
AGC control mode (Default: middle)
-> Low: 19 (dB) max
-> Middle: 22 (dB) man
-> High: 25 (dB) max
Normal Image
Turbo AGC MODE (Default 2)
At low luminance condition (B/W mode only)
brighten the scene max 2 times
RESET Menu
default
• Camera function setting

DIMENSION (Wall mount)

DIMENSION (Ceiling mount)

SPECIFICATION (SK-P500 AI SERIES)
MODEL NO
Type Day & Night Color Camera (With IR Illuminator)
Image Sensor 1/3" COLOR SONY SUPER HAD CCD 1/3" COLOR SONY EX-view HAD CCD
Effective Pixel
Cell size
Horizontal Resolution Color : 550 TV-LINE, B/W : 600 TV-LINE
TV Type NTSC, PAL
Sync. Type Internal / External (Line-Lock)
Scanning System 2:1 Interlace
Scan. Freq. (HOR.)
Scan. Freq.(VERT.)
Video Output 1,0Vp-p(Sync, Negative) Termination 75 Ohms
SK-P500 AI SK-P500 XAI
768 (H) x 494(V) PIXEL (NTSC)
752(H) x 582(V) PIXEL (PAL)
6.35(H) x 7.4(V) (NTSC)
6.5(H) x 6.25(V) (PAL)
INT : 15.734 KHz(NTSC), 15.625 KHz(PAL)
L/L: 15.750KHz(NTSC), 15.625 KHZ(PAL)
INT : 59.94Hz (NTSC), 50Hz(PAL)
L/L: 60Hz(NTSC), 50Hz(PAL)
Gamma Characteristic 0,45 Typ.
Min. Illumination
S/N Ratio 45dB over (AGC OFF)
Mirror On / Off
Flicker less(FLK) On / Off
IRIS Auto Iris
Day & Night function Automatic (Selectable)
Reverse polarity protection
External Control Yes
Shutter Speed
(Electronic)
Test illuminant area Average teal illumination by front view
Power Supply 12V DC/ 21V AC DUAL VOLTAGE
Consumption Current Max. 950mA
Operation Temp -20oC ~ 50oC (with Fan: -20oC ~ 60oC)
Preservation Temp -30oC ~ 60oC
LED 30 PCS
0.05 Lux(F/1.2) : LED OFF 0.01 Lux(F/1.2): LED OFF
0 Lux(40M ~ 50M Range) : LED ON
None polarity
1/60 - 1/100,000 second(NTSC) [at ELC Mode]
1/50 -1/100,000 second(PAL) [at ELC Mode]
LENS Vari focal Auto Iris Lens
Dimension 79(W)X 77(H) X 172(D) mm
Weight Approx. 1.5kg
* The specification is subject to change without any prior notice to improve the quality.

WARRANTY CARD
* This product will be under warranty for one year after the date of purchase
* The history of after-sa le se rvic e

Memo

Memo

VEOS LTD
ROSITZA STR. 13, SOFIA, BULGARIA
TEL + 359 2 987 26 65
FAX +0359 2 987 26 84
E-MAIL: veos-bg@datacom.bg
URL: www.veos.bg
 Loading...