

Veon SRO3219LED Instruction Manual
32” HD LED/LCD TELEVISION
MODEL: SRO3219LED
Customer Service Line
For assistance during normal w ork ing h our s(9 am- 5pm,Mon-Fri,New Zealand local time)
NZ call: 0800 883 301
IMPORTANT INFORMATION
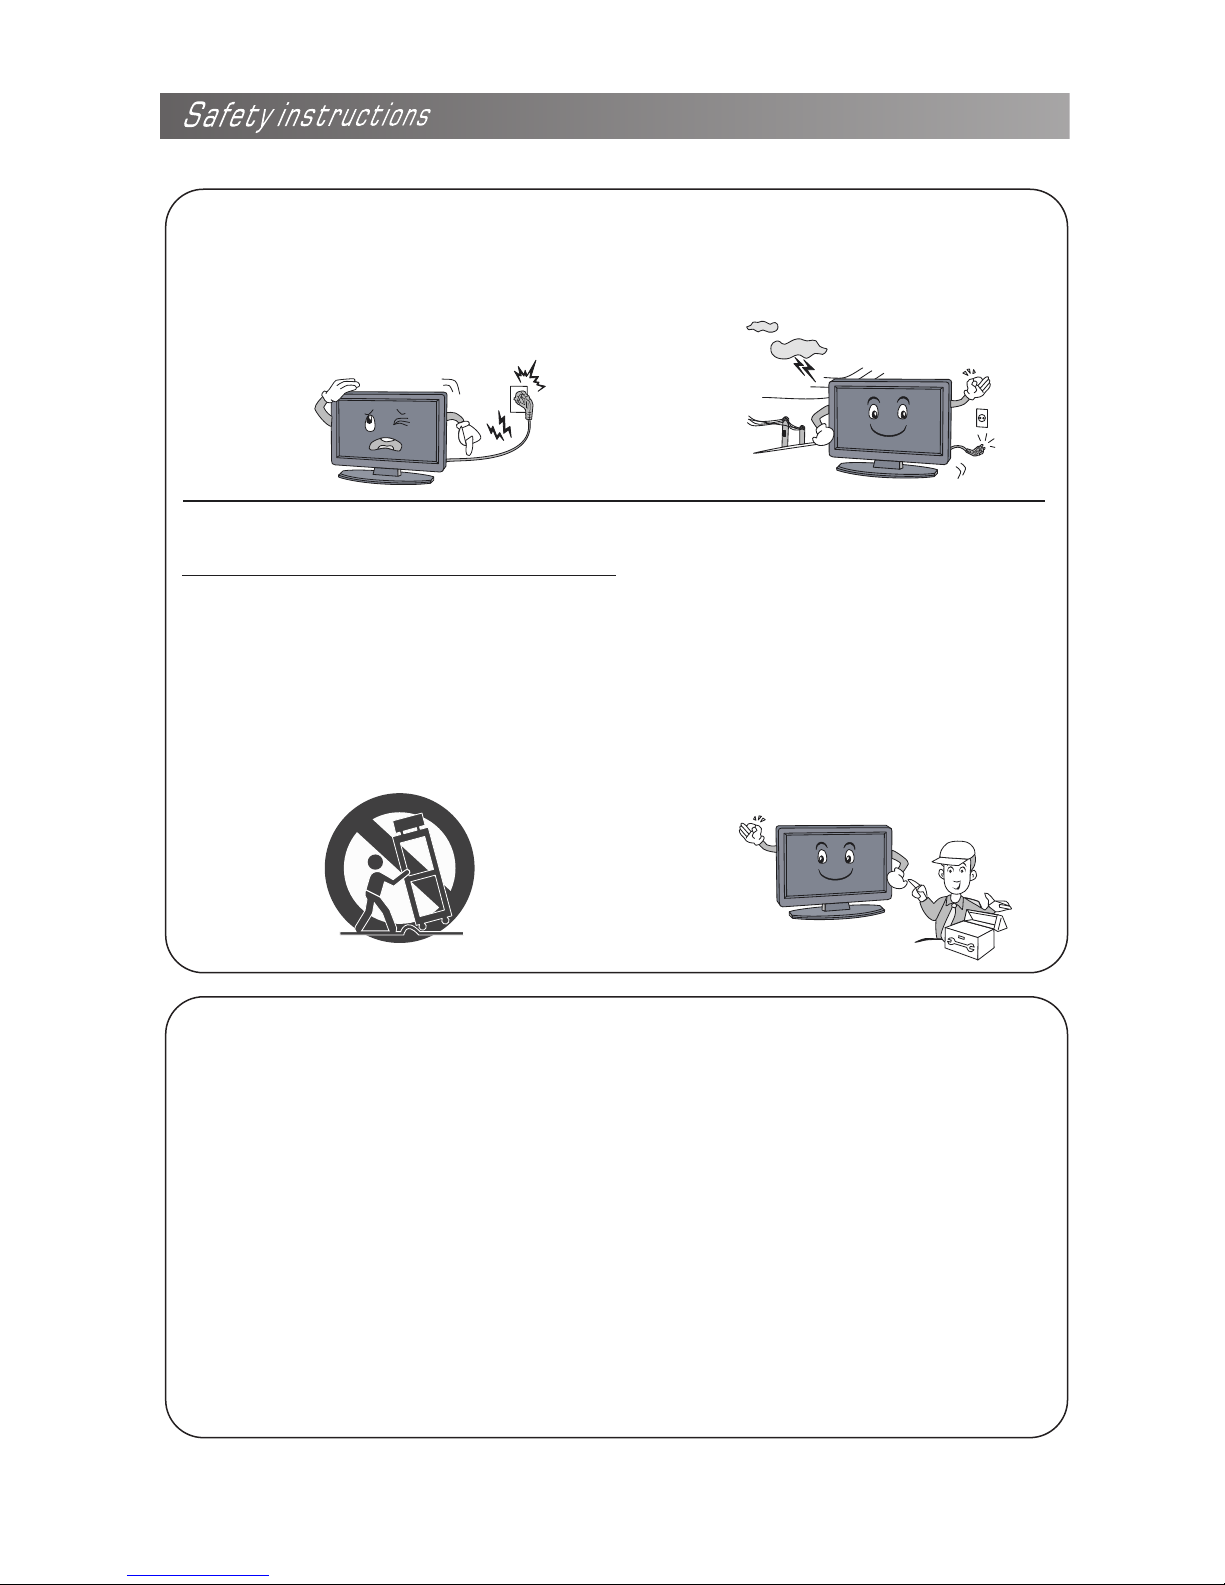
If a television is not positioned in a sufficiently stable location, it can be potentially hazardous due to
falling. Many injuries, particularly to children, can be avoided by taking simple precautions such as:
Using cabinets or stands re com men ded b y the m anu facturer of the televion.
Only using furniture t hat c an sa fel y sup por t the television.
Ensuring the television o n tal l fur nit ure (fo r example, cupboards or bookcases)
without anchoring both th e fur nit ure a nd th e tel evision to a suitable support.
Not standing the televisi ons o n clo th or o the r materials placed between the television
and supporting furniture.
Educating children about the dangers of climbing on furniture to reach the television
or its controls.
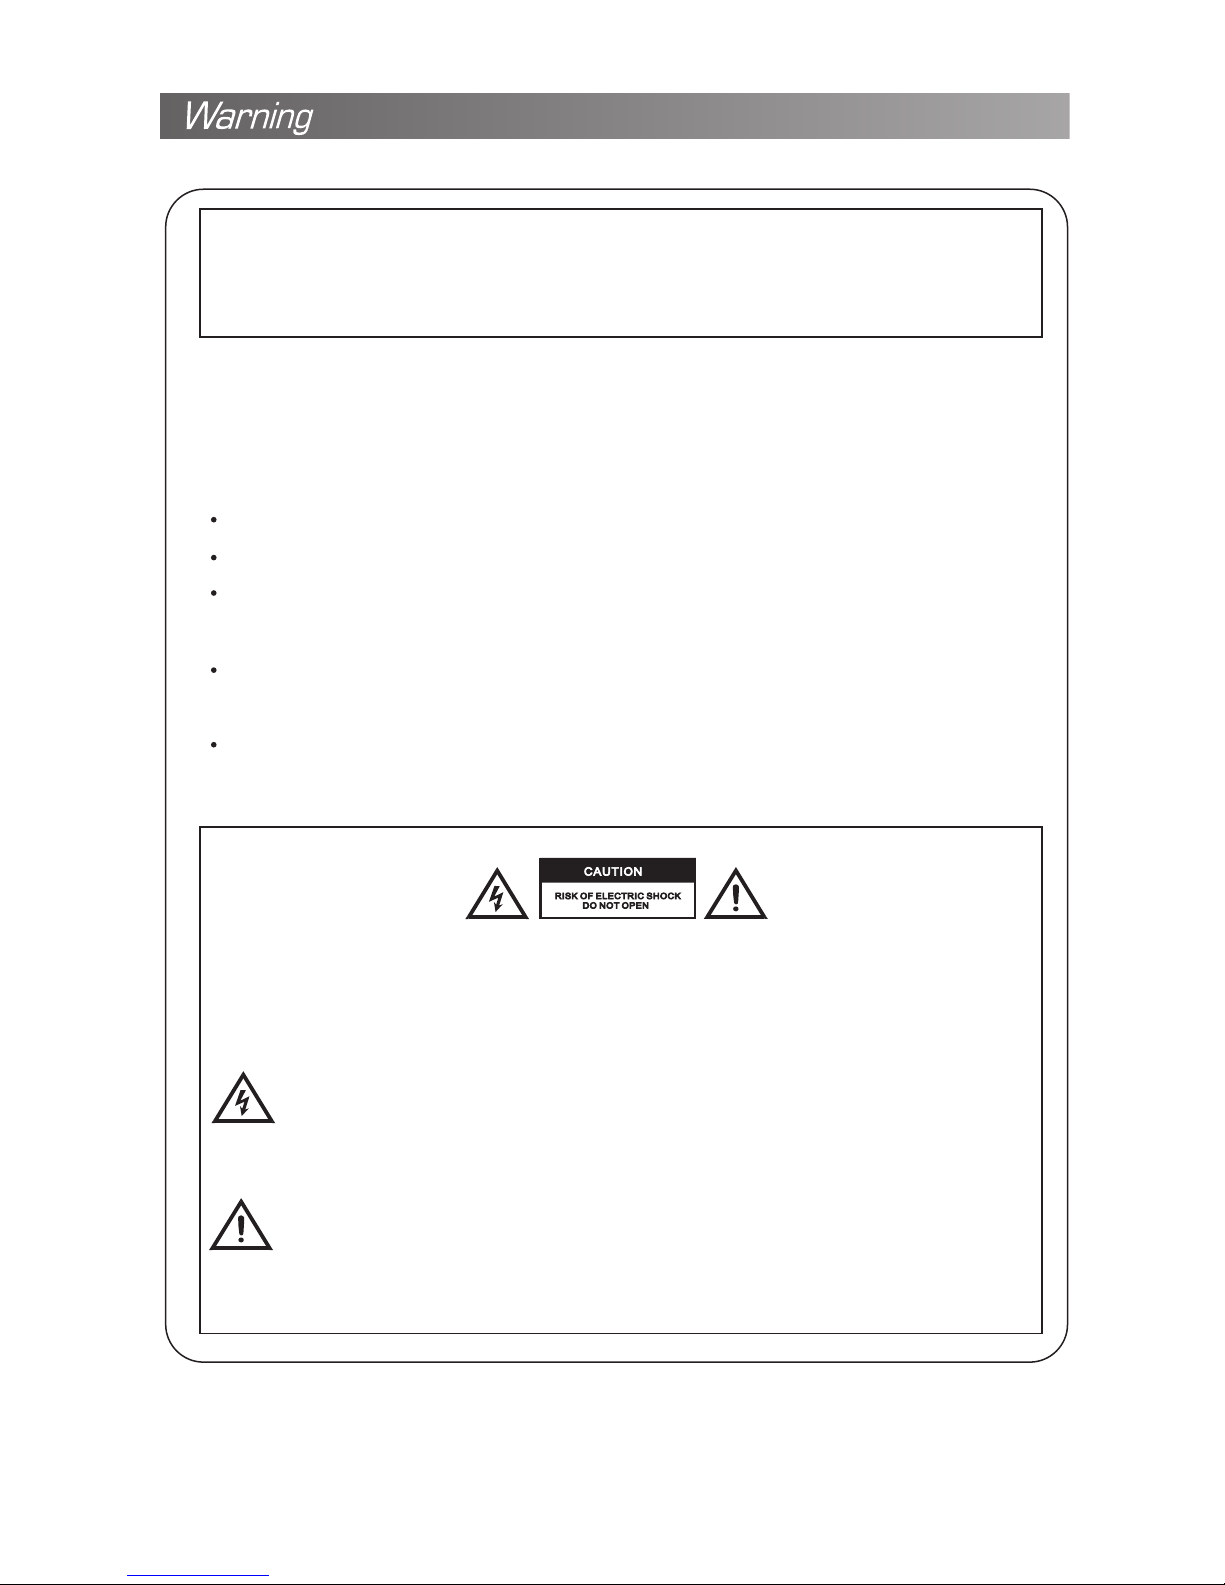
WARNIN G:
TO REDUC E THE RISK OF ELECTRIC S HOC K DO NO T REMOVE COVER( OR
BACK).NO USER SERVICEABLE PART S INS IDE . REF ER TO QUALIFIED
SERV ICE PERSONNEL.
The li gntning flash with arrowhead symbol, within an equ ila ter al tr ian gle ,is
intended to alert the user to t he pr ese nce o f uni nsu lated “dangerous voltage”
within the products enclosur e tha t may b e of su fficie nt ma gni tud e to co nst itute
a risk of electric shock to per son s.
The ex clamation point within an equilateral triangl e is in ten ded t o ale rt th e user
to the presence of importan t ope rat ing a nd ma int enance(servicing) instructions
in the literature accompa nyi ng th e app lia nce .
1
REGULATORY INFORMATION
This equipment generates and user can radiate radio frequency energy and, if not installed and
used in accordance with the instructions, may cause harmful interference to radio communication.
However, there is no guarantee that interference will not occur in a particular installation. If this
equipment does cause harmful interference to radio or television reception,which can be
determined by turning the equipment off and on,the user is encouraged to try to correct the
interference by one or more of the following measures:
-Relocate the receiving ante nna .
-Increase the separation bet wee n the e qui pme nt an d receiver.
-Connect the equipment into an o utl et on a c irc uit d iffer ent f rom t hat t o whi ch the receiver
is connected.
-Consult the dealer or experienced radio/TV technician for help.
Any changes or modifications not expressly approved by the party responsible for compliance
could void the user’s authority to operate the equipment.
CAUTION
Do not attempt to modify this prod uct i n any w ay wi tho ut written authorization from supplier.
Unauthorized modification coul d voi d the u ser ’s aut hor ity to operate this product.
It is not recommended to keep a cert ain s til l ima ge di spl ayed on the screen for a long time
as well as displaying extremely bri ght i mag es on s cre en.
Figures and illustrations in t his U ser M anu al ar e pro vided only and may differ f rom actual
product appearance. Product des ign a nd sp eci fica tions may be changed without notice.
WARNING
To reduce the risk of fire or electric sh ock , do no t exp ose t his a pparatus to rain or moisture.
Don’t use the apparatus in tropi cal c lim ate s.
The ventilation should not be im ped ed by c ove rin g the v entilation openings with items, such
as newspapers, table-cloth s, cu rta ins , etc .
The apparatus shall not be exposed to d rip pin g or sp las hin g and that no objects filled with
liquids, such as vases, shall be p lac ed on t he ap par atu s.
Attention should be drawn to the e nvi ron men tal a spe cts of battery disposal. Don’t throw used
batteries in dustbin. Please c ont act y our r eta ile r in order to protect the environment.
Keep minimum distances(5cm ) aro und t he ap par atu s for suffici ent v ent ila tion;
(Minimum distance around the a ppa rat us fo r sufficien t ven til ati on. )
No naked flame sources, such as lig hte d can dle s, sh oul d be pl aced on the apparatus;
To prevent the spread of fire, keep can dle s or ot her o pen fl ame s away from this product at all
times.
2
The device may malfunction whe n und er el ect ros tat ic discharge. It can be manually resumed
by power off and power on again.
CAUTION
Connecting the Power Cord.
Most appliances recommend they be p lac ed up on a de dic ate d cir cuit; that is, a single outlet
circuit which powers only that appliance and has no additional outlets or branch circuits. Do not
overload wall outlets. Overloaded wall outlets, loose or damaged well outlets, extension cords, frayed
power cords, or damaged or cracked wire insulation are dangerous. Any of these conditions could
result in electric shock or fire. Periodically examine the cord of your appliance, and have the cord
replaced with an exact replacement part by an authorized servicer. Protect the power cord from
physical or mechanical abuse, such as being twisted, kinked, pinched, closed in a door, or walked
upon. Pay particular attention to plugs, wall outlets, and the point where the cord exits the appliance.
The mains plug is used as the disconnect device, and the disconnect device shall remain readily
operable.
3

IMPORTANT SAFETY INSTRUCTIONS
1.Read these instructions.
2.Keep these instructions.
3.Heed all warnings.
4.Follow all instructions.
7.Do not block any of the ventilat ion
openings. Install in accorda nce
with the manufacturer ’s in structions.
5.Do not use this apparatus near w ate r. 8.Do not install near any heat sou rce
such as radiators, heat regist ers ,
stoves, or other apparatus(i ncl udi ng
amplifiers)that produce hea t.
6.Clean only with a dry cloth.
9.
Do not defeat the safety purpose o f
the polarized or grounding typ e plu g.
A polarized plug has two blades with
one wider than other. A grounding
type plug has two blades and a third
grounding prong. The wide blade or
the third prong is provided for yo ur
safety. When the provided plug does
not fit into your outlet, consult a n
electrician for replacemen t of th e
obsolete outlet.
4
ON DISPOSAL
10. Protect the power cord from be ing
walked on or prinched particul arl y
at plugs, convenience recept acl es,
and the point where they exit from
the apparatus.
13. Unplug power cord and antenna
during lightning storms or whe n
unused for long periods of time.
11. Onl y use t he attachments/accessories
specified by the manufacturer.
14.
- The flu ore scent lamp used in this product a small amount of me rcu ry.
- Do not dispose of this product wit h gen era l hou seh old w aste.
- Disposal of this product must be c arr ied o ut in a cco rda nce to regulation of your local authority.
12. Use only with a cart, stand, tri pod ,
bracket, or table specified by th e
manufacturer, or sold with the
apparatus. When a cart is used,
use caution when moving the cart/
apparatus combination to avoid injury
from tip over.
NOTE
- If the TV feels cold to the touch, there may be a small “flicke r” wh en it i s tur ned o n. This i s
normal, there is nothing wrong w ith TV.
- Some minute dot defects may be vis ibl e on th e scr een , app earing as tiny red, green, or blue
spots. However these have no adv ers e effect on the monito r ’s performance.
- Avoid t ouc hing the screen or holding your finger(s) against it f or lo ng pe rio ds of t ime. Doing
so may produce some temporary di sto rti on effect on the sc ree n.
5
Refer all servicing to qualified service
personnel. Servicing is required when
the apparatus has been damaged in
any way, such as power supply cord
or plug is damaged, liquid has been
spilled or objects have fallen into the
apparatus, the apparatus has been
exposed to rain or moisture, does not
operate normally, or has been
dropped.
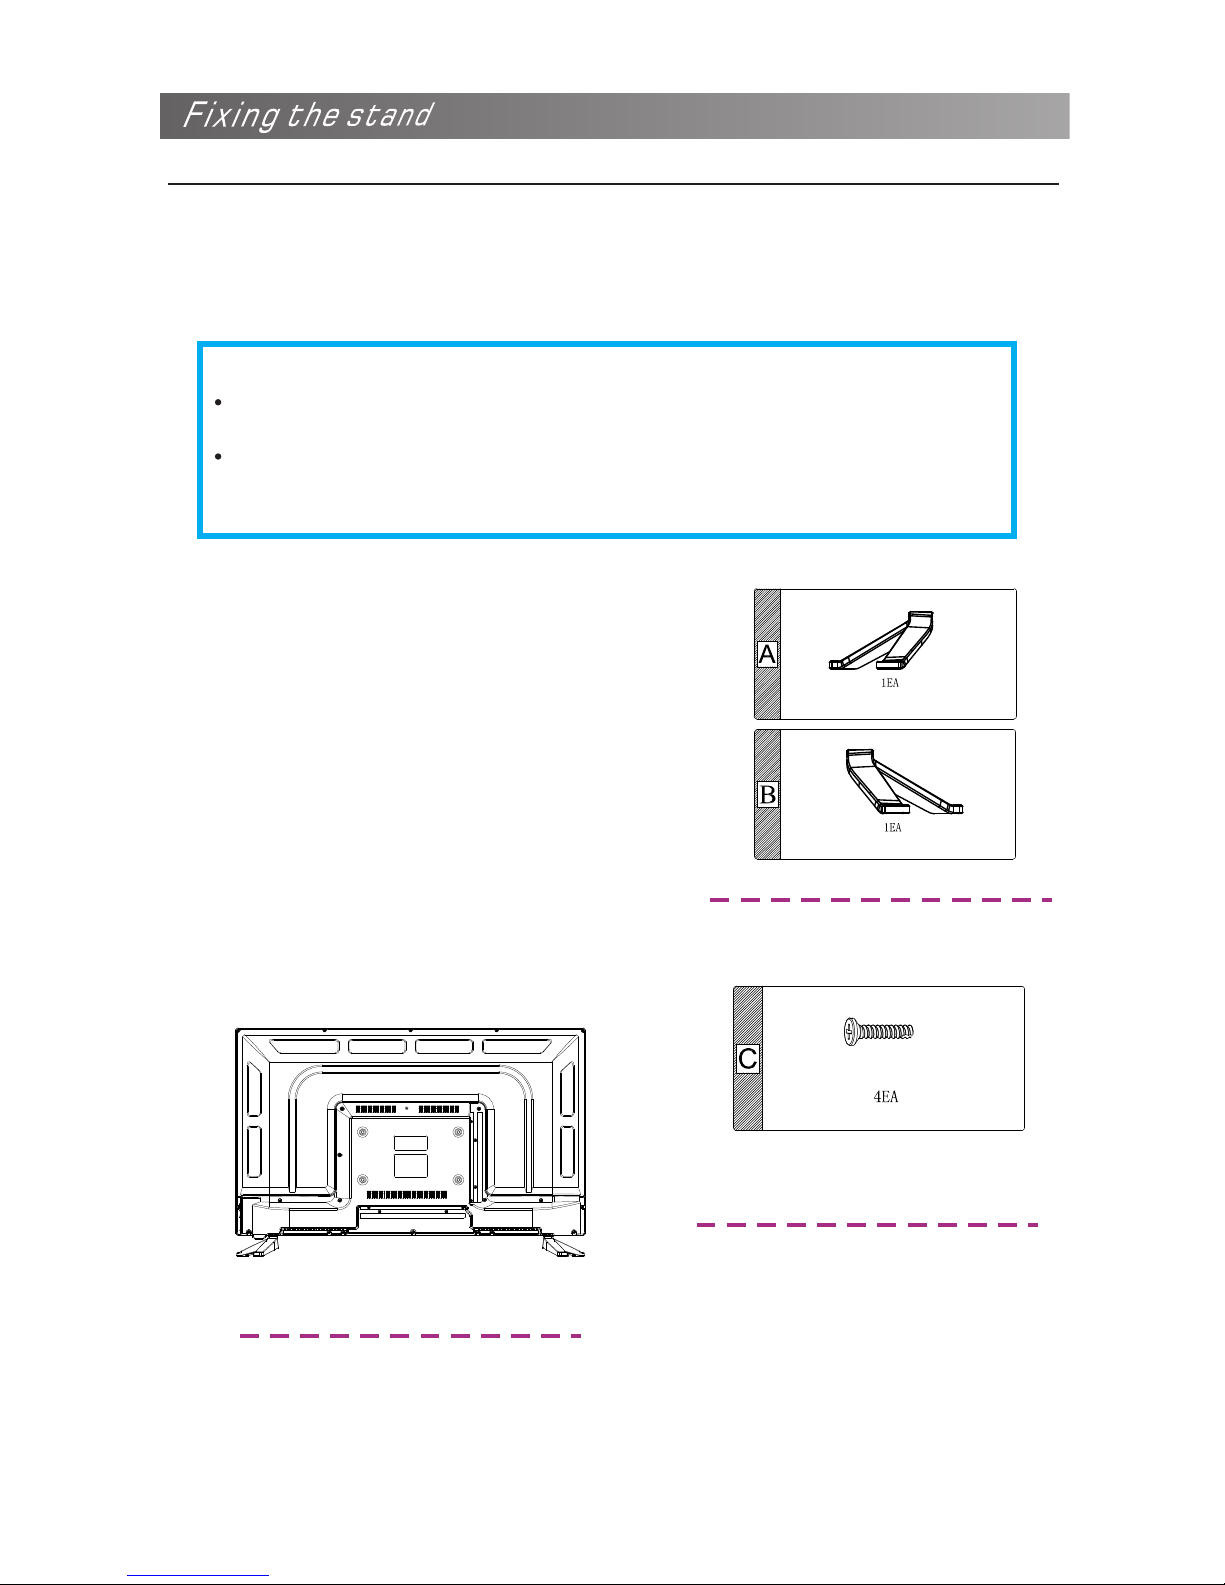
Your TV is packaged with the stand and the cabinet separated. Before using the TV, install the
stand as described below, or if you want to mount it to wall, see page 6 for mounting advice; the
wall mount itself is not supplied.
IMPORTANT!
Make sure the TV set is unplugged from the power supply befor e ins tal lin g or
removing the stand.
The TV p ane l may be awkward to install on your own. We recommend you ask
someone to help with installation a nd/ or re mov al of t he stand.
Attaching the stand
Step 1:
Place a soft cushioned materia l on to p of
a flat surface to prevent damaging the
screen panel. Then place the TV monitor
flat on top, with the screen side facing
down, as illustrated in Fig. 3, right.
Step 2:
Fixing,four screws on the stand,
as illustrated in Fig. 4, right.
Step 3:
The stand on the TV, as illustrated in Fig. 5,
below.
Fig. 3
Fig. 4
Fig. 5
6
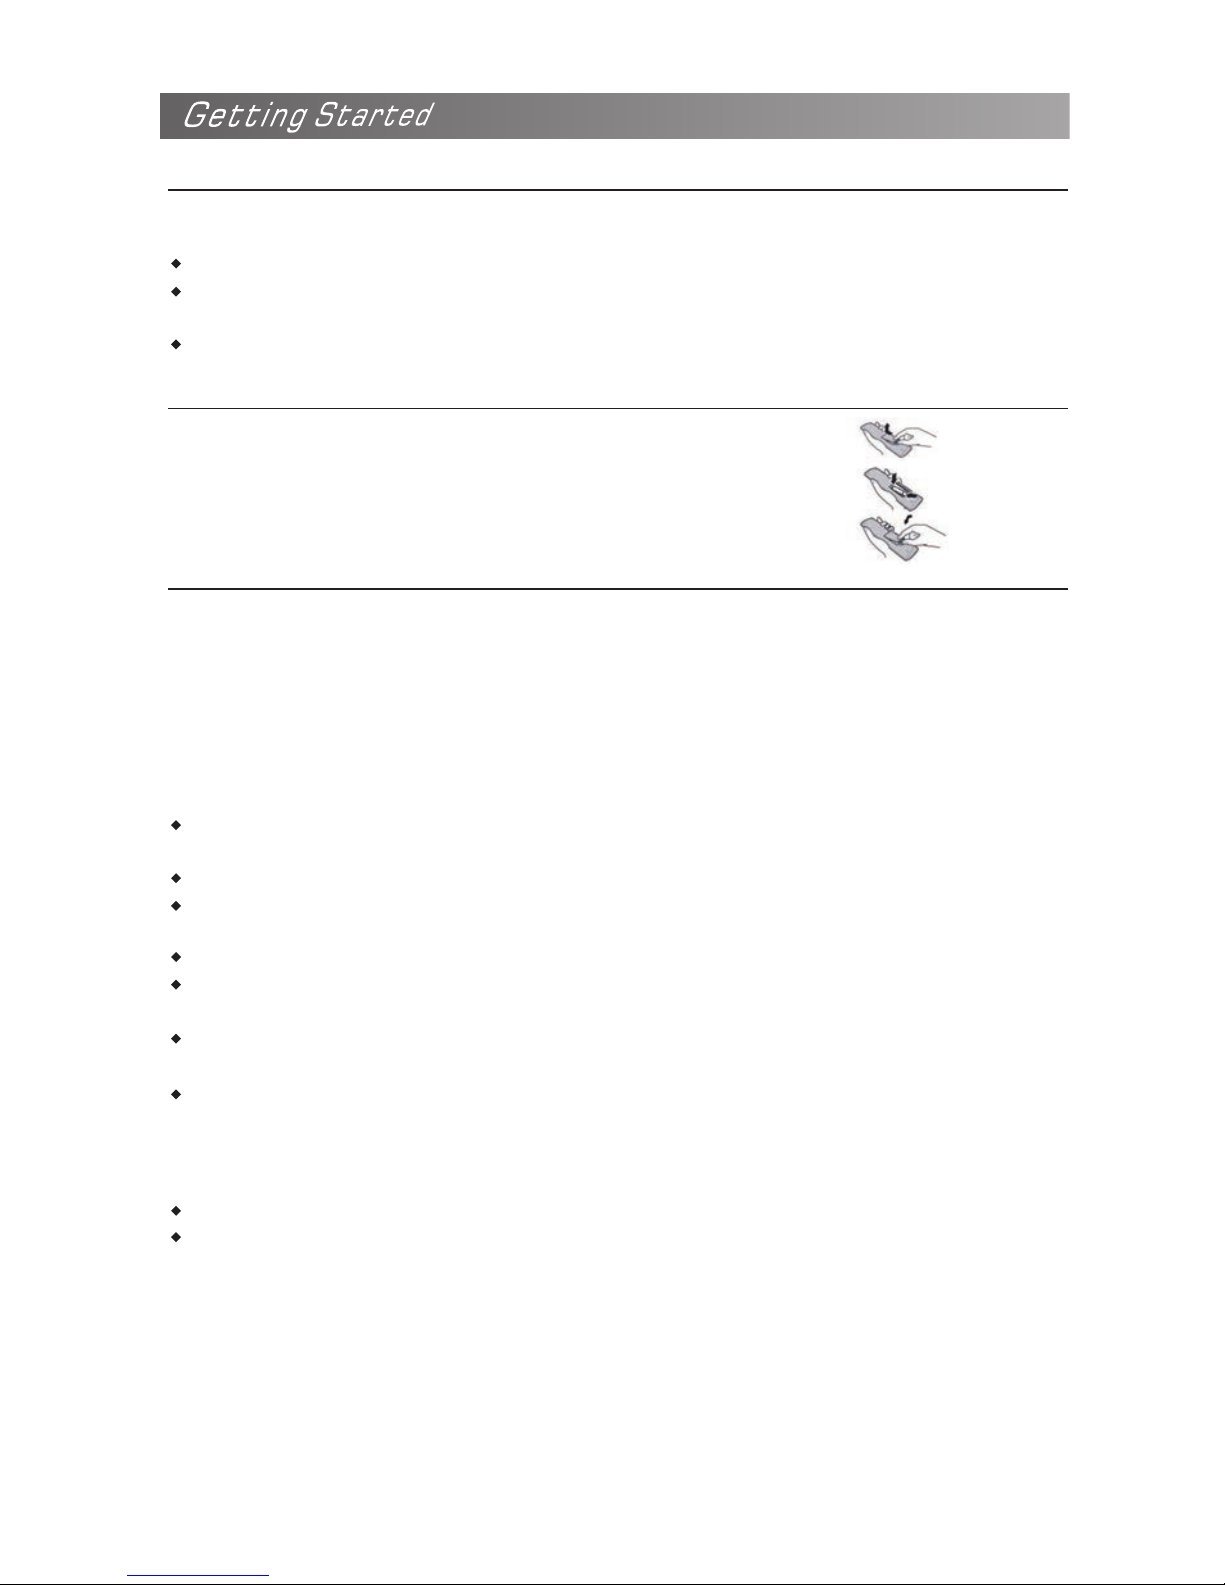
When using the remote control, a im it a t rem ote s ens or on t he television. If there is an object between
the remote control and the remot e sen sor o n the u nit , the u nit may not operate.
Using the remote control
Point the remote control at the RE MOT E SEN SOR l oca ted on the television.
When using this television in a ve ry br igh tly l it ar ea, t he infrared REMOTE CONTROL SEN SOR m ay
not work properly.
The recommended effective distance for using the remo te co ntr ol is a bou t 7 met res.
1. Open the cover at the back of the rem ote c ont rol .
2. Install two AAA size batteries. M ake s ure t o mat ch
the “+” and “-” ends of the batte rie s wit h the d iag ram
inside the compartment.
3. Replace the cover.
Installing Batteries in t he Re mot e Con tro l
You will need to i nst all t he ba tte rie s into the remote control to make it operate follo win g the i nst ruc tio n
below.
When the batteries become weak , the o per ati ng di sta nce of the remote control will be greatly reduce d
and you will need to replace the batter ies .
Notes on Using Batteries:
The use of the wrong type of batteri es ma y cau se ch emi cal l eakage and/or explosion. Please note the
following:
Always ensure that the batterie s are i nse rte d wit h the + and - terminals in the correct direction as
shown in the battery compartme nt.
Diff erent types of batteries have different characteristic. Do not mix di fferent types.
Do not mix old and new batteries. Mi xin g old a nd ne w bat ter ies will shorten battery life and/or cause
chemical leakage.
Replace batteries as soon as the y do no t wor k.
Chemicals which leak from batt eri es ma y cau se sk in ir ritation. If any chemical matter seeps ou t of
the batteries, wipe it up immedi ate ly wi th a dr y clo th.
The ba tteries may have a shorter life expectancy due t o sto rag e con dit ion s. Remove the batteries
whenever you anticipate that t he re mot e con tro l will not be used for an extended period.
The ba tteries(battery pack or batteries instal led ) sha ll no t be ex pos ed to excessive heat such as
sunshine, fire or the like.
Batteries replacement
It may result in an explosion if bat ter ies a re re pla ced i ncorrectly.
Only replace batteries with th e sam e or eq uiv ale nt ty pe.
CAUTION
7
Cable Installation
Please read the relevant content in “Notice for Maintenance and Safety” carefully before the installation and
use.
1. Take ou t the TV fr ome t he pa cka ge an d put i t in a drafty and flat place.
NOTE
When you plug or unplug the TV, computer or other equipments, you must make sure that the AC power
has been already shut down; when unplugging the power cable or signal cable, please hold the plug(the
insulated part)., do not draw the body of the cable.
2. The R F out put terminal can be connected with the RF input po rt of t he TV.
3. The o utp ut AV termi nal o f DVD c an be c onn ected with the AV inp ut po rt of the TV thr oug h AV cable.
4. Connect one end of the VGA cable with the V GA por t on co mpu ter, c onnect the other end of the VGA
cable with the VGA port on the TV, and tigh ten t he bo lts c loc kwi se on the each end of VGA cable.
NOTE
While connecting the 15-pin VG A, pl eas e do no t ins ert t he plug overexertedly, for fear the pin
might be broken.
5. Connect one end of the HDMI cable with HDMI output port, connect the other end of the HDMI cable
with the HDMI port on the TV.
NOTE
While connecting the HDMI, ple ase i nse rt ca ref ull y, do n ot in ser t ove rex ertedly, fo r fea r the p in
might be broken.
6. Check and make sure that all AV cables are connected with the co rre spo ndi ng po rts c orrectly.
7. Connect the AV power cable with 100-240VAC power supply.
NOTE
The range of power input for the TV is 100-240VAC 50/60HZ, do not connect the TV power input
port with the AV power out of the above range.
Please hold the insulated part of the p lug w hen y ou ar e unp lug ging the power cable, do not touch
directly the metallic part of th e cab le.
QUICK STAR T GUIDE
Connect
1. Connect the mains and antenna .
2. Press the button on remote c ont rol t o tur n on TV from sta ndb y mod e.
Initial Setup
When the TV i s initially powered on, a sequence of on-scree n pro mpt s wil l ass ist i n configuring
basic settings.
1. Select the desired OSD(On Scr een D isp lay ) lan gua ge.
Press the / / / butt on, t hen p res s the O K but ton.
2. Select the appropriate coun try.
Press the / / / butt on to s ele ct th e cou ntr y, th en pr ess t he OK b utt on to Start
Channel Tuning.
8
 Loading...