

Veo PHOTO TRAVELER User Manual
V EO PHOTO TRAVELER
FOR PALM™ HANDHELDS
User’s Guide
Veo Photo Traveler for Palm handhelds - 1 -

Table of Contents
Introducing the Veo Photo Traveler for Palm handheld 3
Photo Traveler Kit Contents 3
Minimum System Requirements 4
Specifications 5
Platform Support 5
Installing the Photo Traveler Drivers and Software 6-7
Setting up the Photo Traveler 8
How to insert the Photo Traveler 8
How to pivot the lens of the Photo Traveler 8
Getting Started 9
Capture an Image with your Photo Traveler 10
Viewing Images in different Modes 11
Preview Mode 11-12
Thumbnail Mode 12-13
Slideshow Mode 13
Setting the Preferences 14
Basic Preferences 14
Advanced Preferences 15
Beaming Files and Photos 16
Notes 17
The Veo Creative Studio Application 18
Photo Sync – Transferring files between Palm Handheld and 19
your PC
Viewing Pictures in the Gallery 20
Recording an Audio Clip 21
Importing Pictures from Another Source 21
Importing Files to a Folder in the Creative Studio 21
E-card Creator – Creating an E-card 22-23
Movie Maker – Making or Editing a Movie 24-26
Homepage Designer – Designing a Homepage 27-31
Applying Text, Images, Videos, and Animated Characters 32-34
Troubleshooting 35
Additional Help and Resources 35
Statement of Limited Warranty 36-37
Veo Photo Traveler for Palm handhelds - 2 -
Introducing the Veo Photo Traveler for Palm handhelds
Congratulations on the purchase of your Veo Photo Traveler. The Photo Traveler
turns your Palm handheld into an exciting digital imaging device.
The Photo Traveler will allow you to immediately capture images from your Palm
handheld. You may share them with family and friends by email or beam them to
compatible Palm handhelds. This user’s guide will show you how to get the most
out of your Photo Traveler.
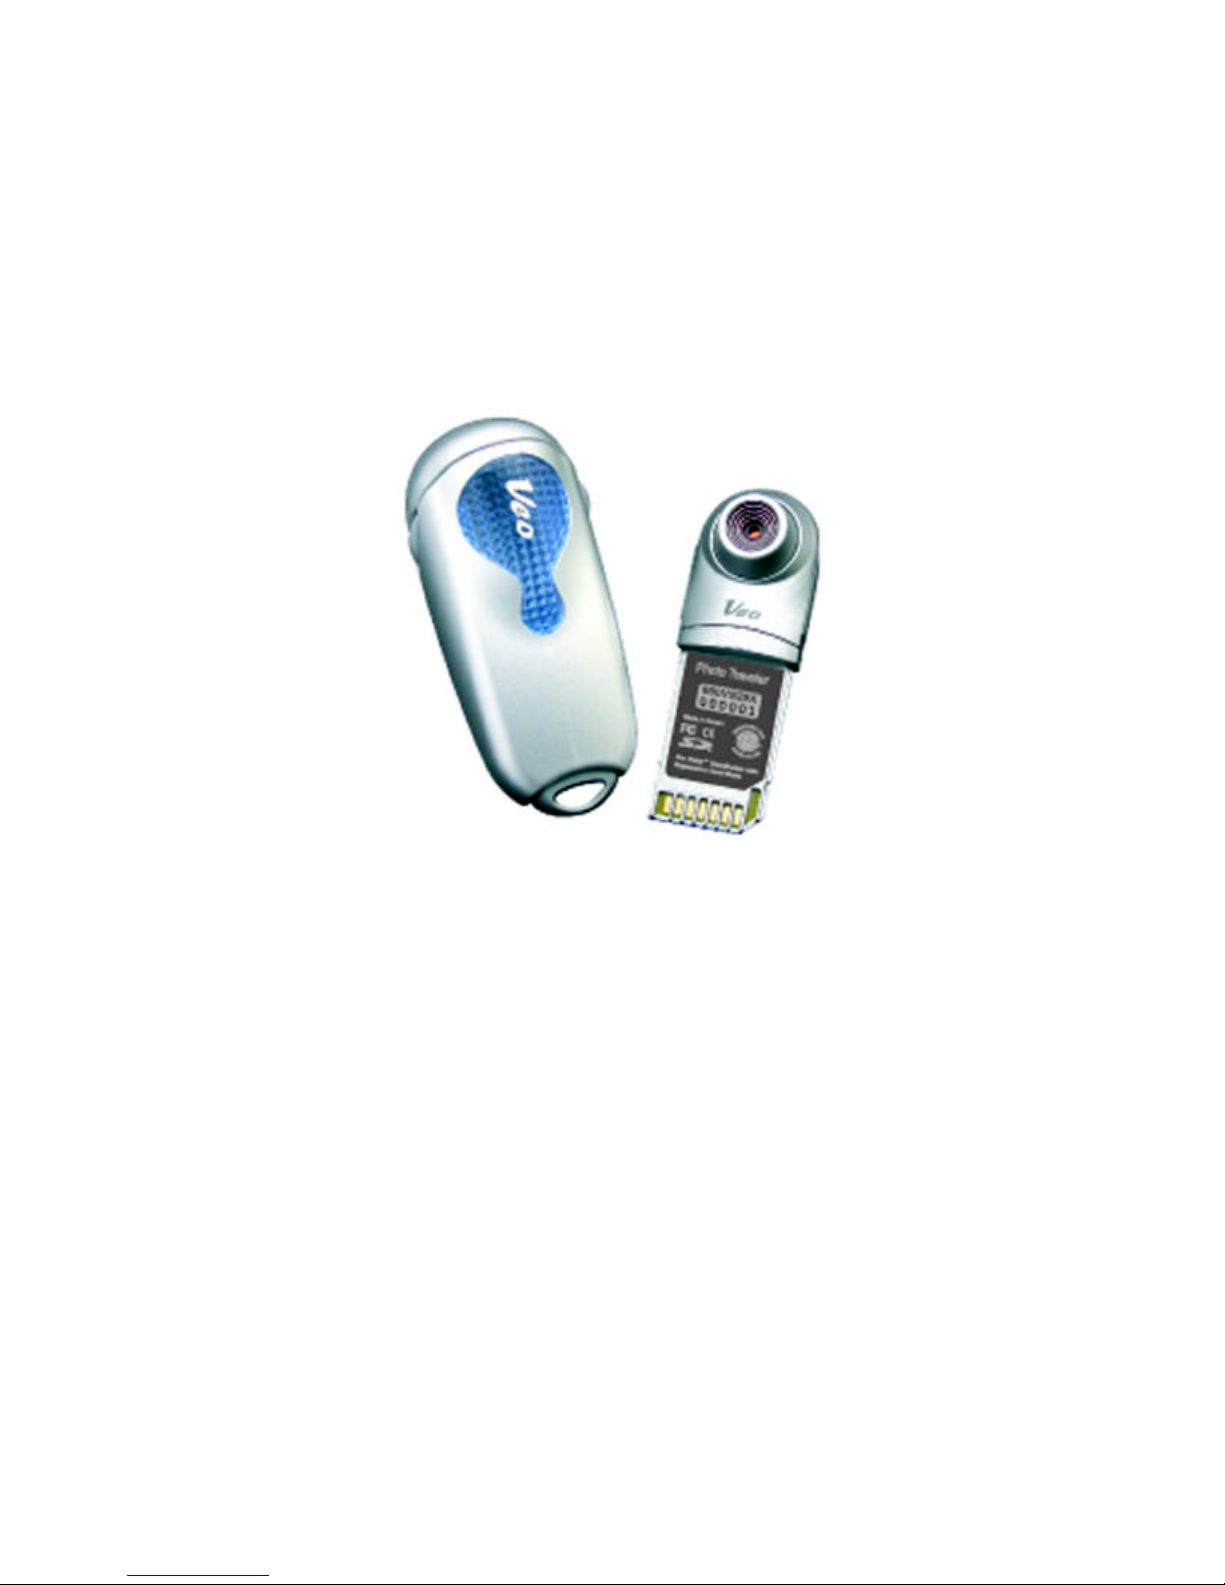
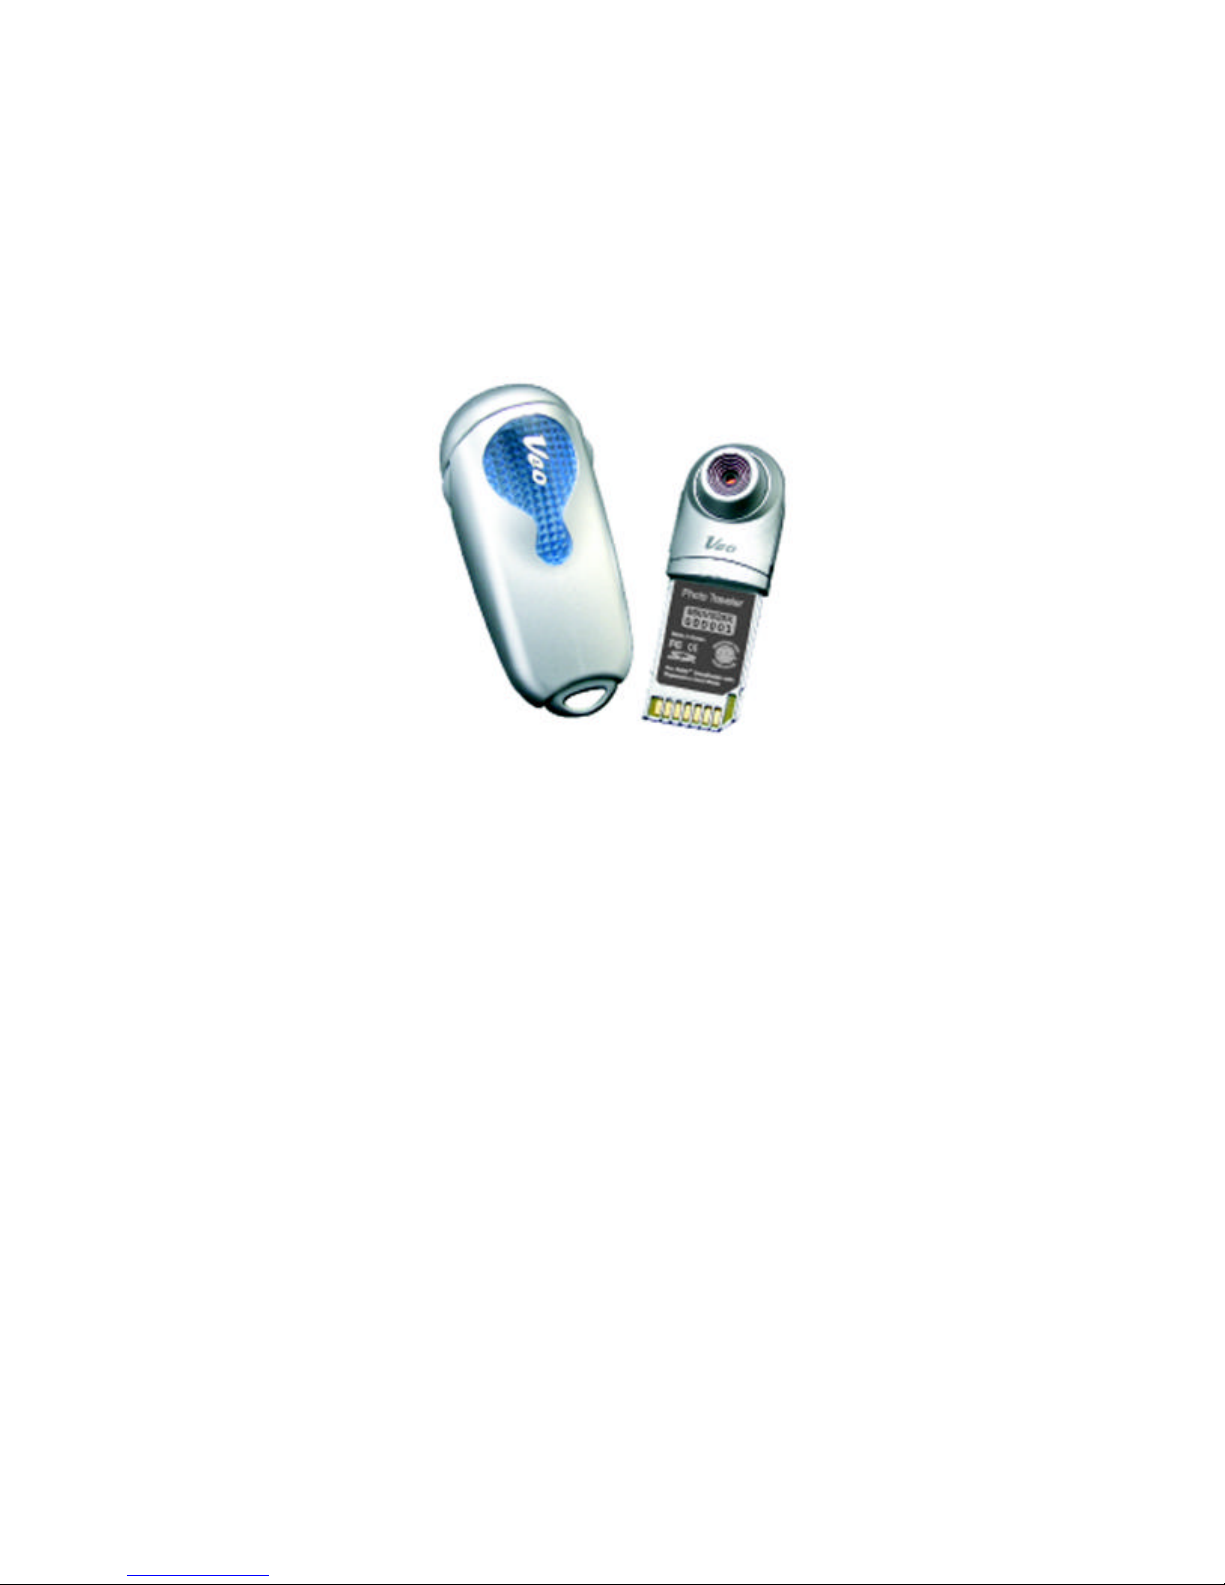
Photo Traveler Kit Contents
Your Photo Traveler Kit contains everything you need to take photos with your
Palm handheld wherever you go.
The Photo Traveler Kit includes the following items:
- Photo Traveler Camera
- Photo Traveler Camera Case
- Photo Traveler CD-ROM containing the camera driver and software
Veo Photo Traveler for Palm handhelds - 3 -

Minimum System Requirements
To install the camera drivers and bundled software, your desktop or notebook
computer must meet the following requirements. Also your Palm handheld must
meet the following requirements to use the full functionality of your camera.
PC Requirements
- Windows 98/Me/2000/XP with Pentium 166 MHz (or higher)
- 160 MB available hard disk space
- 64 MB RAM or higher
- 800 x 600 display with 16-bit color
- CD-ROM drive
Palm Requirements
- OS supported: OS 4.0 and 5.0
- Compatible Palm handhelds: Palm m125, m130, m500, m505, m515,
and i705 with expansion slot; Tungsten T and Tungsten W
NOTE: We are using the Palm m515 for illustrative purposes only. The Photo
Traveler will work on Palm handhelds with expansion slot.
Veo Photo Traveler for Palm handhelds - 4 -

Specifications
• True VGA (640 x 480) resolution
• The lens will pivot 180o front-to-back. Pivoting lens allows the user to aim
the camera while viewing the display at the most comfortable angle
• Quick and easy to use
• Light-weight and portable
• Adjustable focus lens allows close ups and sharp scenery screen shots
• Adjustable Shot Timer
• Transferred images are standard JPEG pictures
• Automatic Exposure, White Balance, and Color Control
• PalmOS plug-and-play capability
• Full featured software for managing images and transferring to the PC
Platform Support
• Full 24-bit color capture and 16-bit color preview on color Palm handhelds
• Capture snapshots
• View your snapshots in full screen or as thumbnails
• Slideshow of all images in full screen
• Delete thumbnails
• Edit images with Veo Creative Studio’s Editing features
Connectiv ity
• Transfer snapshots from your Palm handheld to your computer using Hot
Sync
• Beam images from one Palm OS handheld to another Palm OS handheld.
Requires camera application to be loaded on both Palm handhelds in
order to view images
Veo Photo Traveler for Palm handhelds - 5 -
Installing the Photo Traveler Drivers and Software
Before you can use the full function of your Photo Traveler Camera, the drivers
and software must be installed first.
Note: Palm Desktop software must be installed in order to install the Photo
Traveler software.
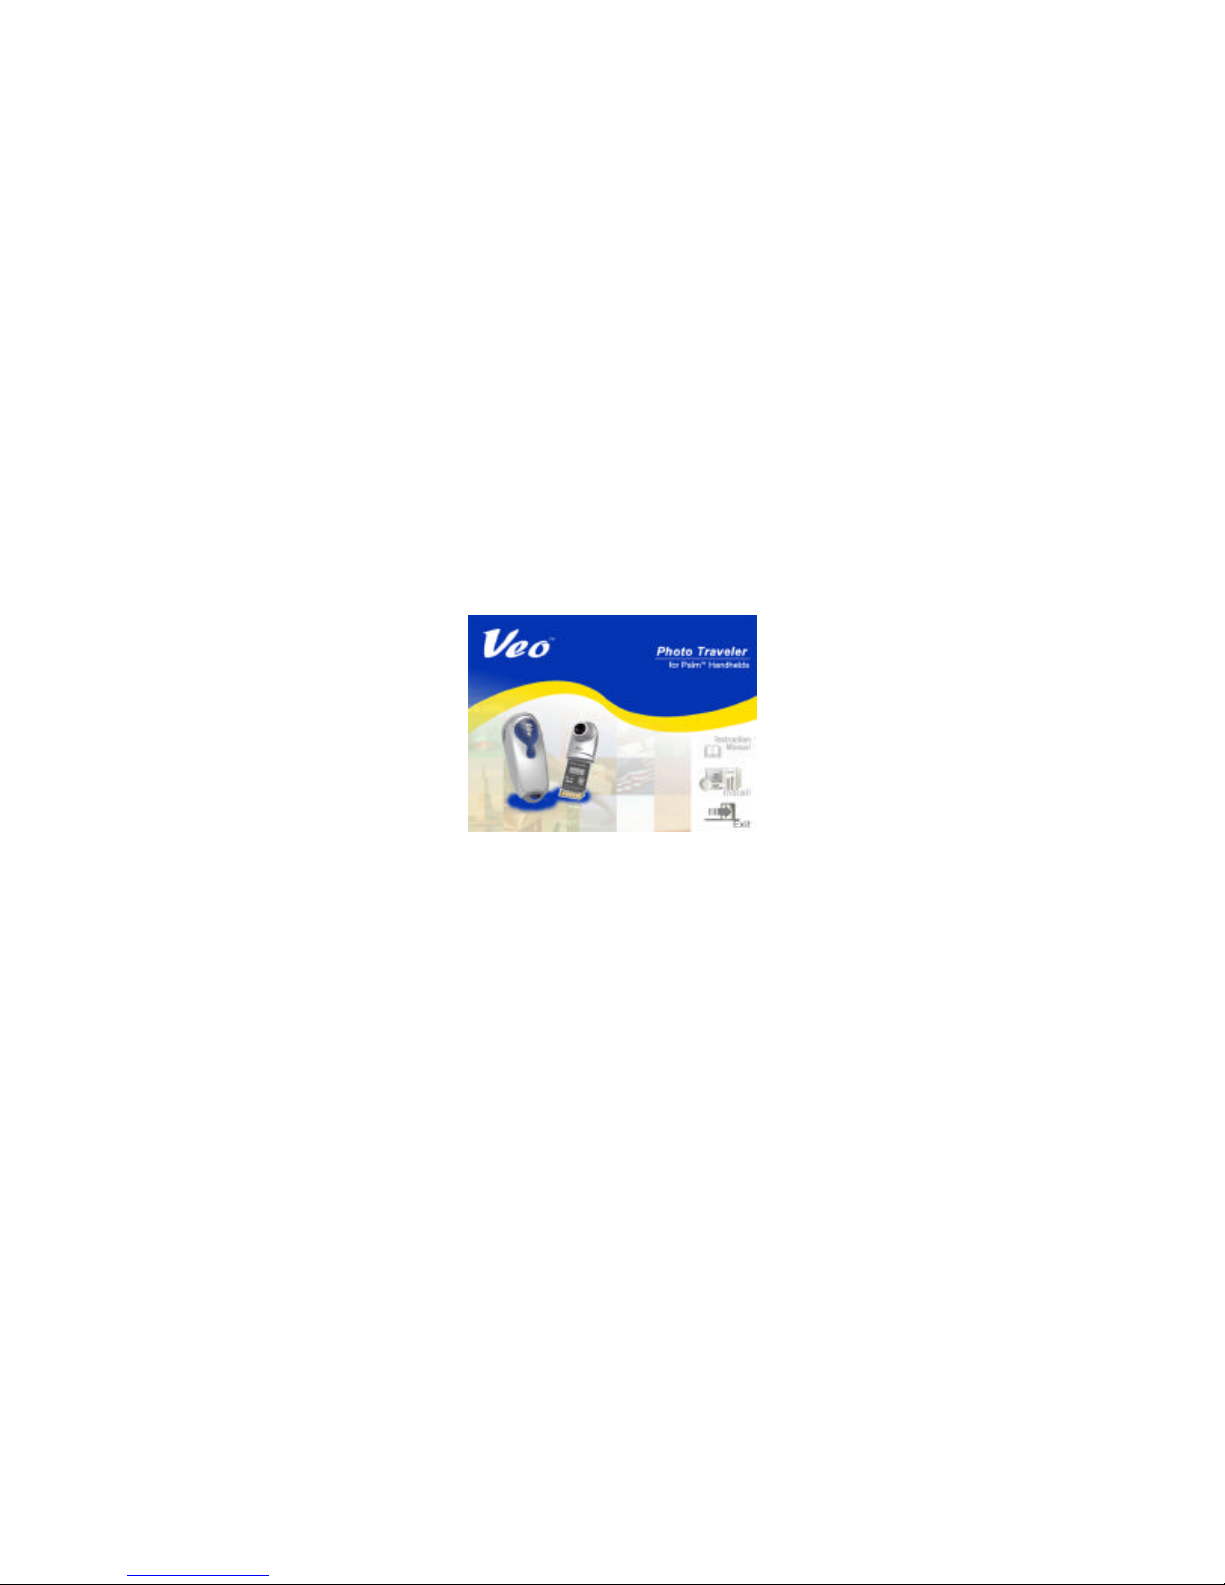
1) Insert the CD-ROM into your CD-ROM drive. Autorun will display the Photo
Traveler Installation screen.*
2) Click Install to start the Photo Traveler Installation.
3) Follow the prompts to finish the installation.**
4) Plug your Palm handheld into the cradle and plug the cradle’s cable to your
computer (USB port or serial port as appropriate) if you haven’t already done so.
5) Wait for your computer to detect the USB port. If it does not detect, press the
Hot Sync button on your cradle to detect new hardware.
Veo Photo Traveler for Palm handhelds - 6 -

6) After all the drivers and software are finished installing, plug the camera into
the Palm handheld’s expansion slot until it is snug. The camera will click into the
slot when fully engaged. ***
7) To remove the camera, lightly push down on the camera since the socket is a
push -push type.
NOTE: On Windows 98 and Windows 2000, Windows Media Player will be
installed after the bundle software is installed. Make sure if you are running
Windows 98 or Windows 2000, you wait for the Windows Media Player
installation to finish.
*NOTE: If Autorun does not start, choose Run from the Windows Start Menu.
Assuming your CD-ROM drive is the D drive, type “d:\Autorun” in the Run dialog
box. If Autorun still does not run, consult your computer manual or manufacturer
to locate the CD-ROM drive.
**NOTE: The bundle software Veo Creative Studio must have DirectX installed,
pre-installed in Windows XP. Click on the Veo Creative Studio icon on your
desktop and it will prompt you to install DirectX. You must restart your computer
to complete the installation.
***NOTE: Make sure the card is facing the right direction. The right direction is
shown in picture located near the slots of the Palm handhelds.
Veo Photo Traveler for Palm handhelds - 7 -
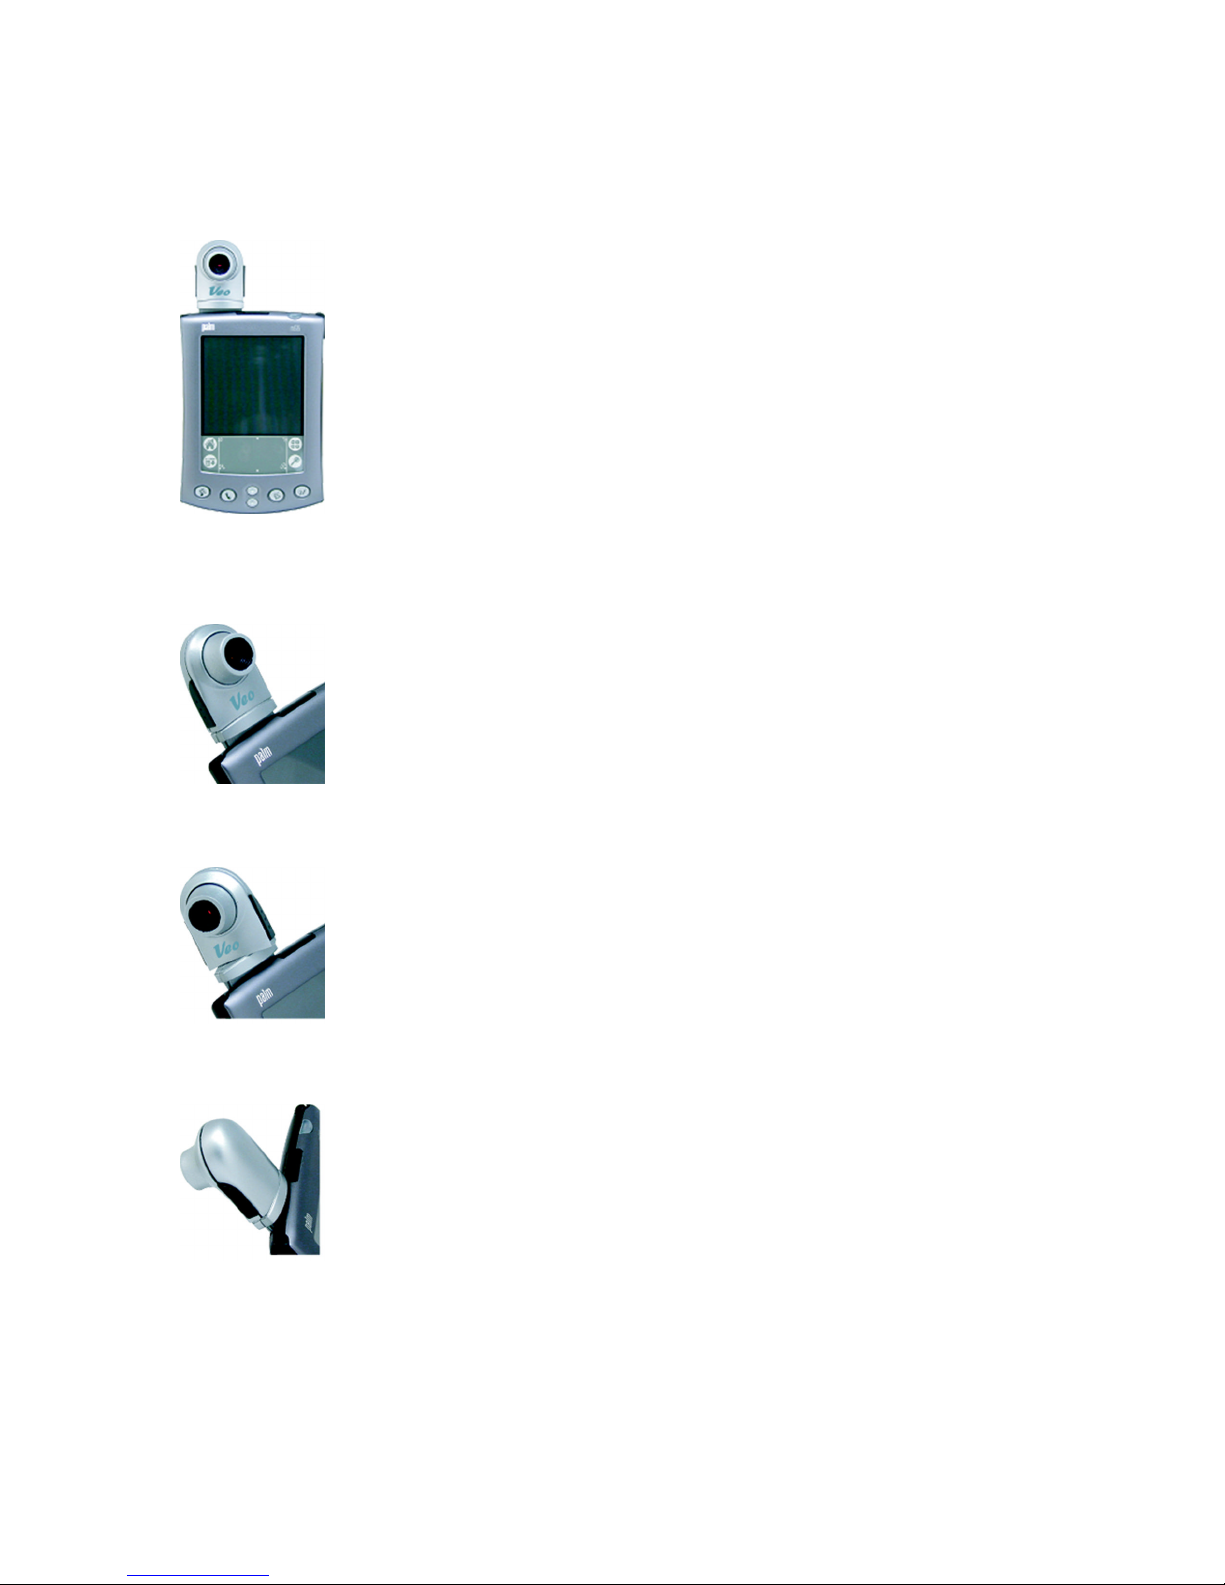
Setting Up the Photo Traveler
Insert the camera into the Palm handheld’s
NOTE: SDIO driver on the Palm handheld must be
v2.0 or higher. The SDIO driver is located on the
CD. If your Palm pops up this error message “The
for this operation” when plugging
in the camera, you need to update the SDIO driver
by installing it into your Palm. To install the SDIO
driver, do a Hot Sync operation after installing the
order to point the camera towards an object
away from you, gently turn the head away from
.
To face the lens towards you, just turn the head
a
range of motion. A stop is
provided to prevent overtravel. Forcing rotation
Expansion Card Slot as shown on the left.
battery is too low
Photo Traveler software.
How to insert the camera
In
How to pivot the lens of the camera
the stop. Do not try to force it beyond the 180
in the opposite direction.
NOTE: Do not turn the head of the camer
beyond it’s 180
beyond the stop will damage the camera.
Veo Photo Traveler for Palm handhelds - 8 -
o
o

Getting Started
It’s time to have fun with the Photo Traveler Camera.
Plugging in your Photo Traveler to your palm should automatically launch the
Veo application.
If it does not automatically launch the Veo application:
1. Use the stylus to tap the “Home” icon on your Palm handheld.
2. Tap on Veo
At this point, the Photo Traveler application should appear in the thumbnail
screen. Tap on the camera icon will bring you to the live preview screen. Now
you are ready to learn the basics of using the camera.
Later in this User’s Guide, you will learn how to capture images, view images in
thumbnail or slideshow mode, delete images, Hot Sync images between the
computer and the Palm handheld, and edit images with Veo Creative Studio
software.
All pictures will automatically be saved into the Palm handheld’s memory after
you have captured them.
Veo Photo Traveler for Palm handhelds - 9 -
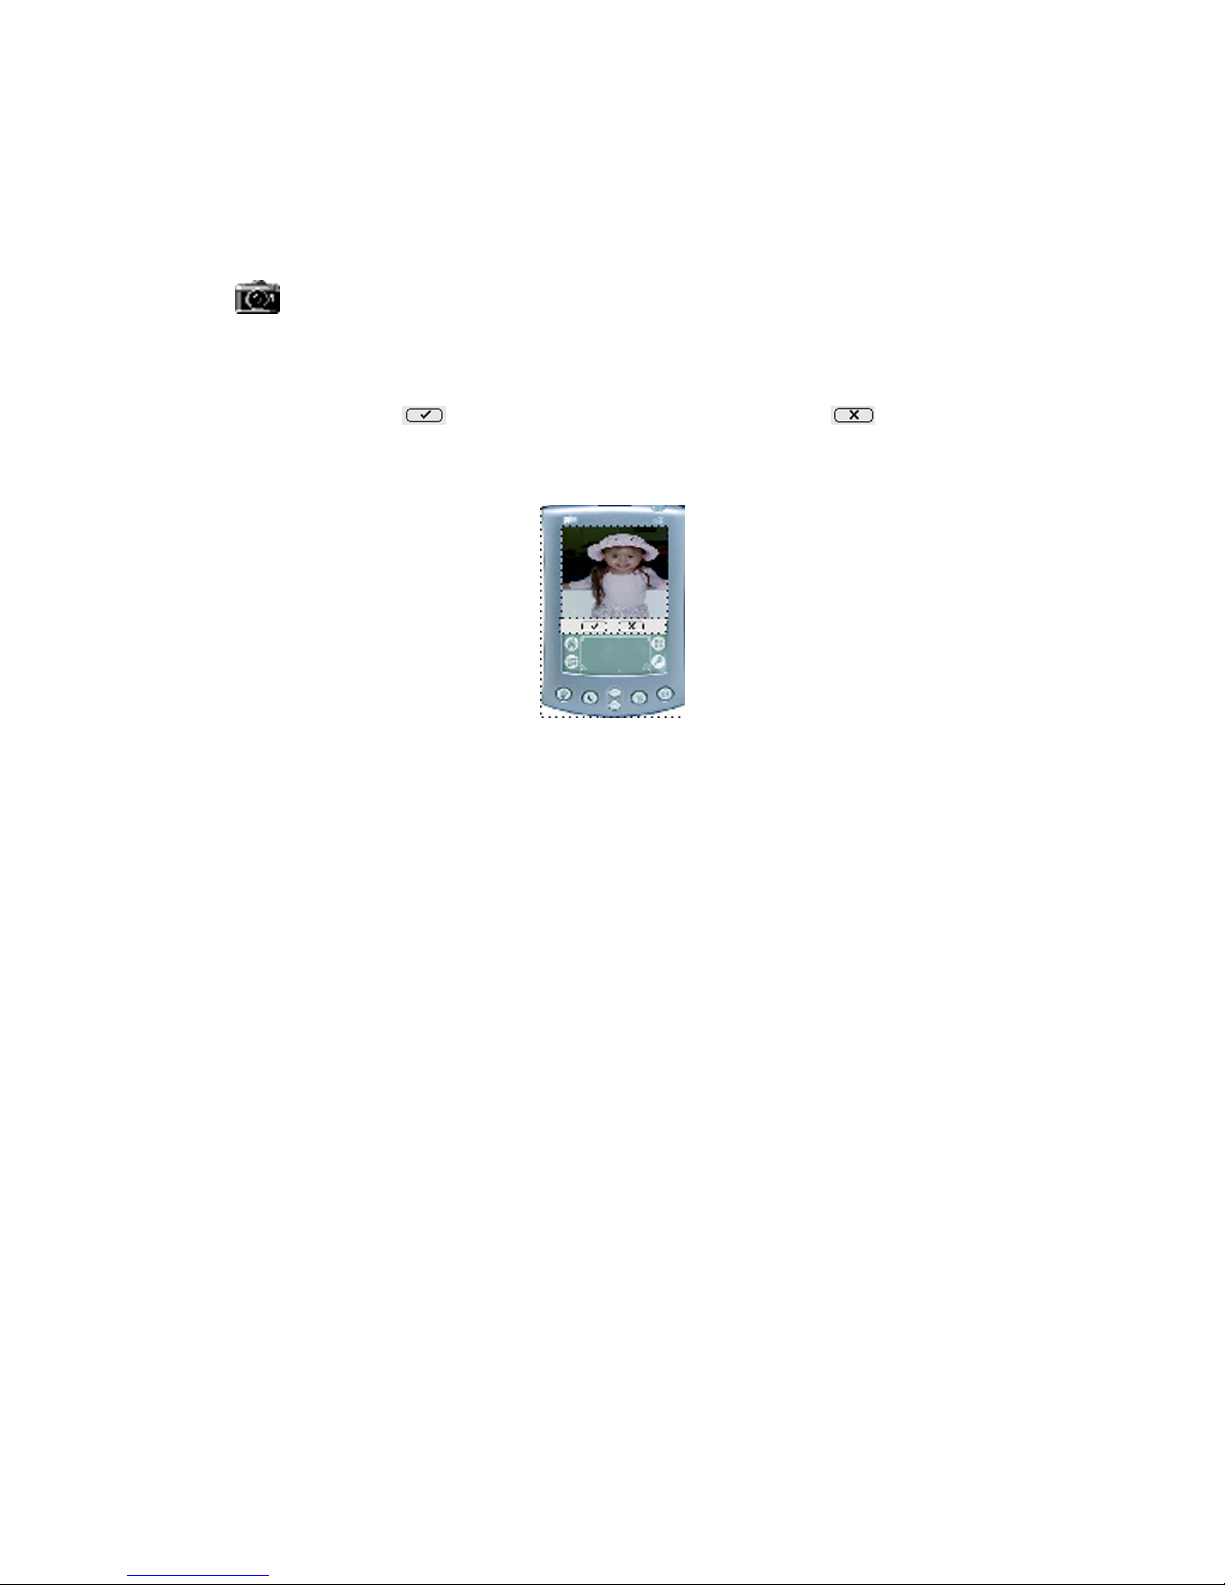
Capture an Image with your Photo Traveler
To capture an image, point the camera at an object, then tap on the “Snapshot”
icon . The Datebook and NotePad buttons can be used to take and accept
snapshot.
Tap on the Accept icon to save the image or Reject to not save the
image. Processing time will take 4-8 seconds.
NOTE:To change the resolution of captured images, tap on the Preferences icon
in Thumbnail Mode. Refer to Page 14 to 15 on How to set the Preferences.
NOTE: For non-color Palm handhelds, you can adjust the Contrast Adjustment to
brightened the image on the handheld’s display. Consult your Palm handheld
user’s guide for contrast adjustment.
Veo Photo Traveler for Palm handhelds - 10 -
Viewing Image in Different Modes
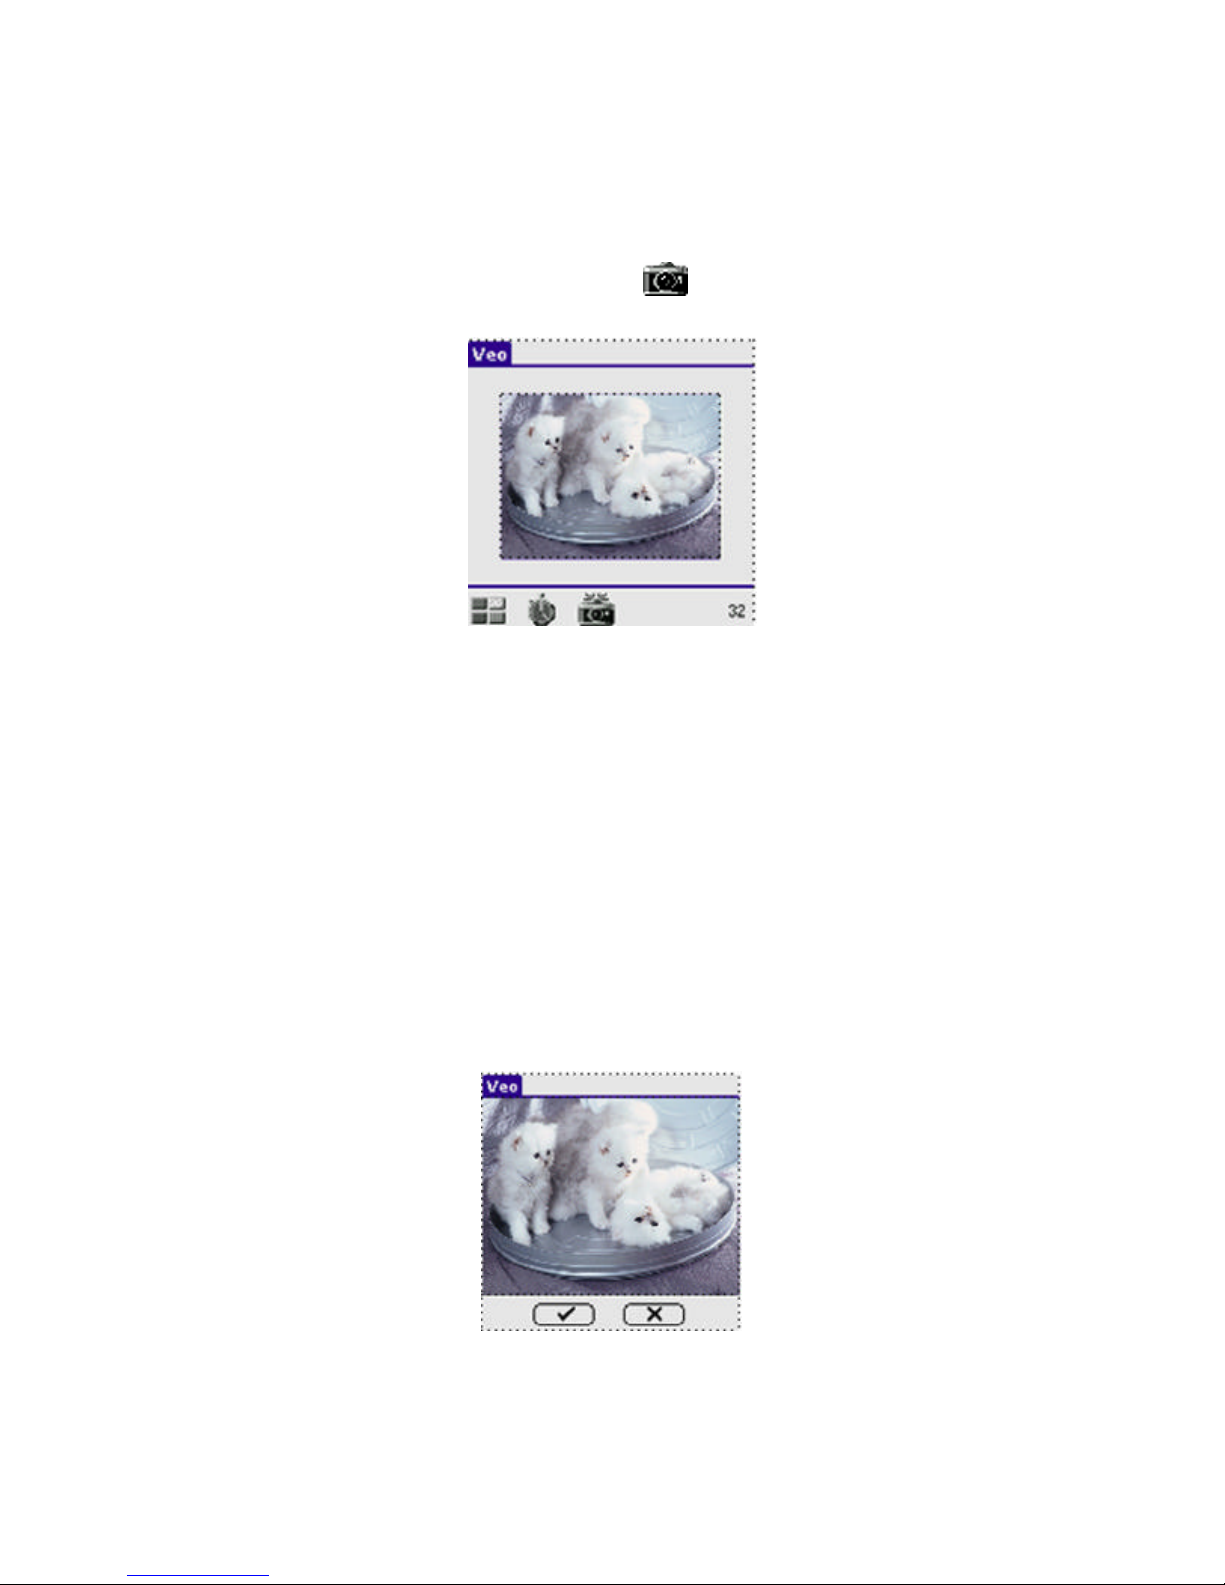
Preview Mode
After launching Veo, tap on the camera icon to enter the Preview Mode.
This mode is used to frame and take snapshots. A preview image is displayed in
the center of the screen. Depending on the position of the Palm handheld’s
Expansion Card Slot on your Palm handheld, the screen may be rotated 90
degrees to align the screen with the camera. And you should hold your Palm
handheld so that the preview screen is right-side up.
Tap the preview image to toggle between a large and small image. The small
image will yield a faster frame rate than the larger image.
Tap the camera icon or press the NotePad or Datebook hard icon on your Palm
handheld to take a snapshot. The snapshot image will then be displayed on the
screen, and will prompt you to either Accept or Reject the image.
Veo Photo Traveler for Palm handhelds - 11 -
Tap on the Accept icon to save the image. Tapping the Reject icon
will discard the image. You can also press the Datebook or NotePad button to
accept.
Note: Black-and-white (grayscale) Palm handhelds preview in B&W, but the
download images to the PC are in full 24-bit color.
Tap the clock icon to set up the Shot Timer. A dialog will pop up which
allows you to specify the delay between shots and number of shots to be taken.
After tapping OK, the camera icon will display a small clock in its lower-right
corner , to indicate the shot timer is active. Tapping the camera icon now
will activate the shot timer. Snapshots will then be taken automatically between
successive delay periods, up to the number of shots specified. Since the delay
between shots can be set to be several minutes, the preview is held static to
save battery life during the countdown.
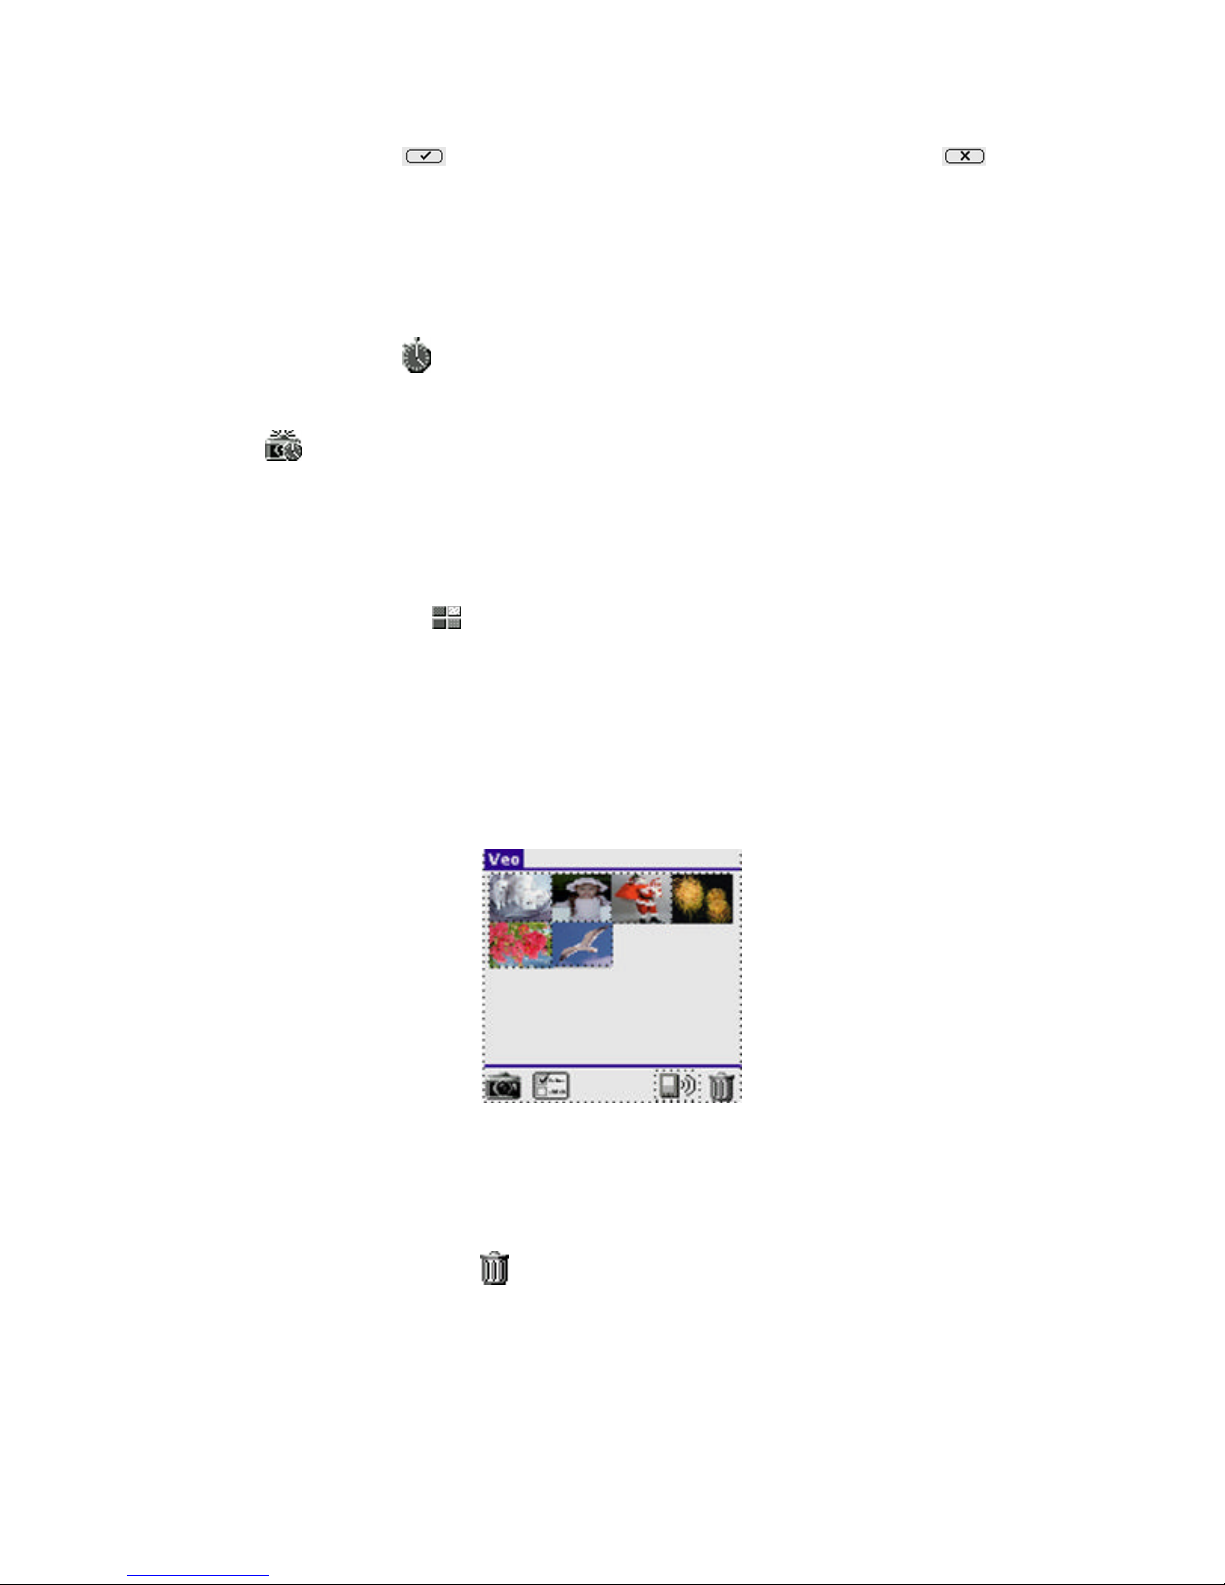
Tap the Thumbnail icon to return to Thumbnail Mode.
Thumbnail Mode
This mode is used to manage the snapshots which are currently saved on the
Palm handheld.
Tap on a thumbnail to select an image.
Tap on a selected image to enter Slideshow Mode and view a larger version of
the image.
Tap on the Trashcan icon after an image has been selected, to delete the
selected image. A dialog will appear to confirm delete.
Tap Yes to agree to deletion or Cancel to cancel the delete operation.
Veo Photo Traveler for Palm handhelds - 12 -
 Loading...