

Page 1
User Guide
User GuideUser Guide
User Guide
Mode D’Emploi
Mode D’EmploiMode D’Emploi
Mode D’Emploi
www.myventuri.com
Page 2
Page 2
13
14
15
16
2
10
1
3
4
5
6
7
9
8
10
11
VENTURI
12
2
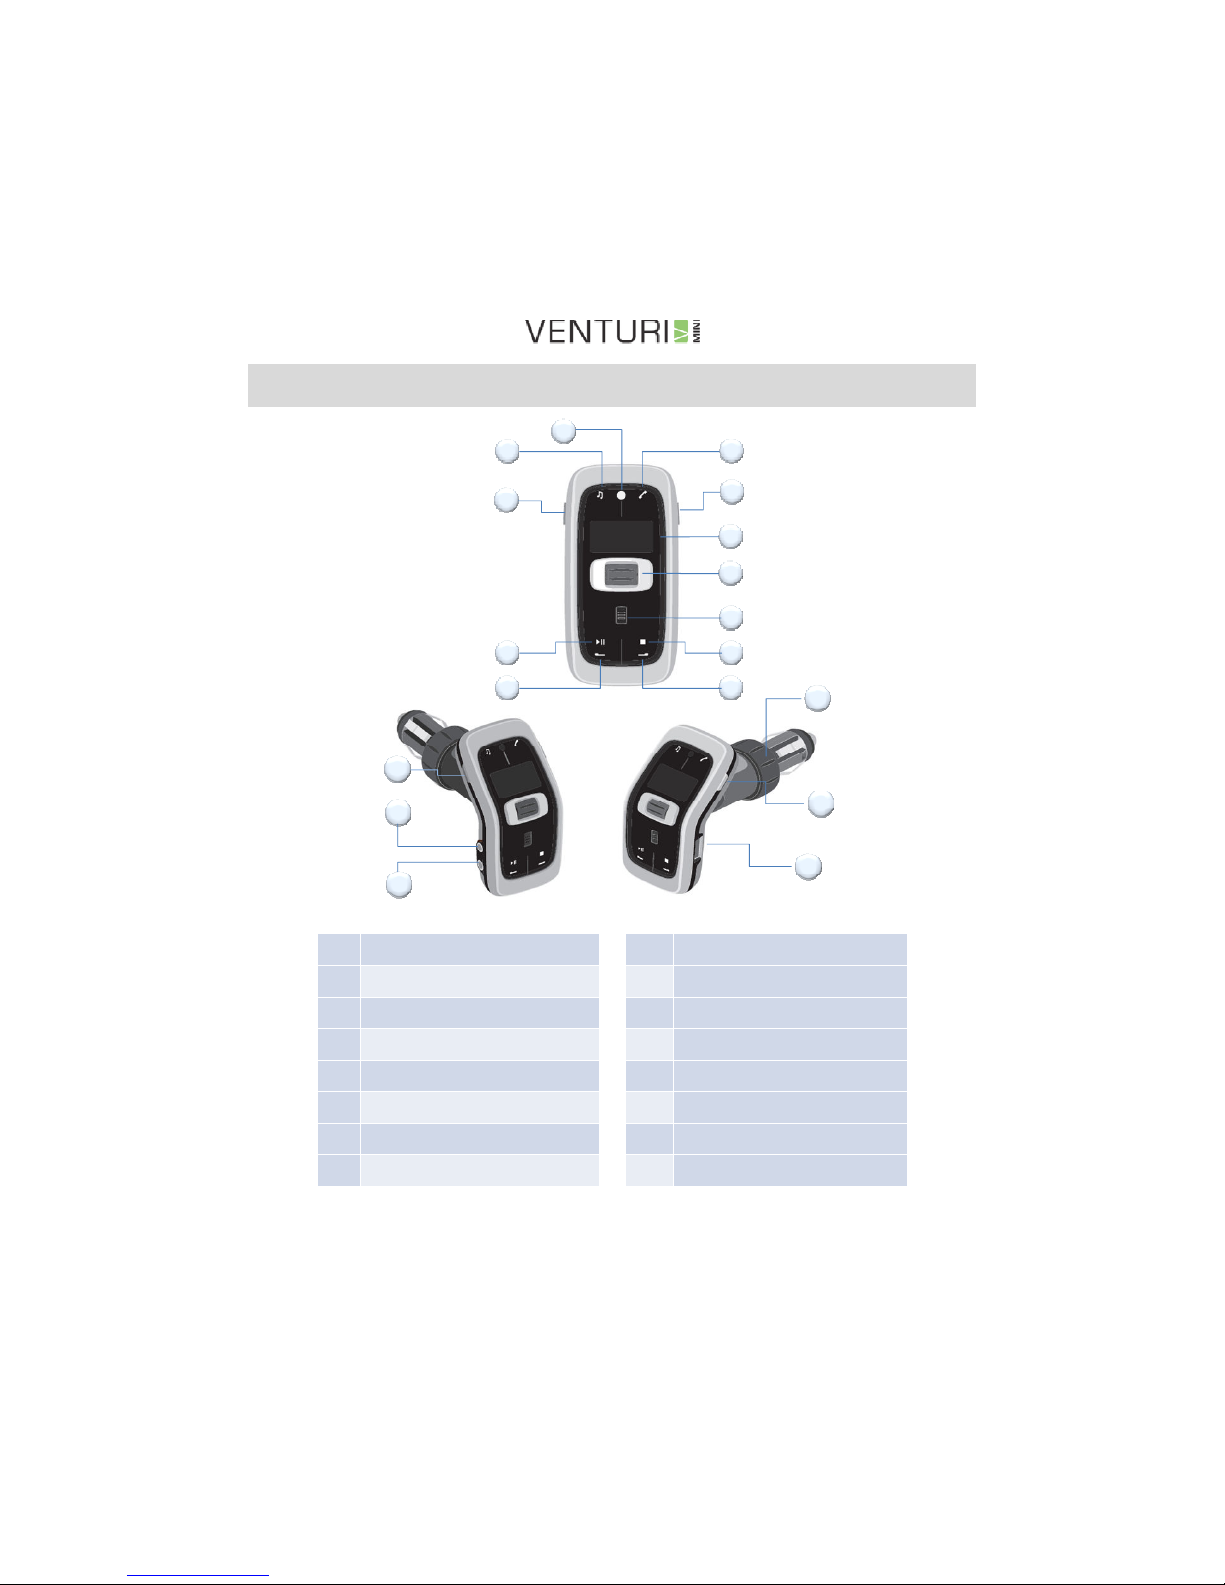
Venturi Mini Functions and Features
1
Phone Mode Key
9
Music Play & Pause Key
2
Settings Mode/OFF Key
10
FM Set Up Mode Key
3
Multi Function Display
11
Music Mode Key
4
Multi Function Scroller
12
Ambient Light Sensor
5
Hands-Free Microphone
13
Audio In
6
Music Stop Key
14
Audio Out
7
Exit Key/Menu Up Key
15
Locking Ring
8
Confirm Key
16
Charger Connector
Page 3

Page 3
Contents
The Venturi Mini 4
Venturi Mini Menu Structure 6
Out of the Box 7
Installation 9
In Vehicle Set-Up 10
Auto Phone Connection after Power-Up 13
Music Playback from a Phone or Portable Music Player 14
Making a Hands-Free Phone Call 16
Additional Venturi Mini Features 20
Page 4
Page 4
The Venturi Mini
Congratulations on your purchase of the new Venturi Mini, the
Congratulations on your purchase of the new Venturi Mini, the Congratulations on your purchase of the new Venturi Mini, the
Congratulations on your purchase of the new Venturi Mini, the
world
worldworld
world’’’’s first plug and play
s first plug and plays first plug and play
s first plug and play hhhhands
andsands
ands----free and
free and free and
free and BBBBlue
luelue
luettttooth®
ooth®ooth®
ooth® music
music music
music
streaming product.
streaming product.streaming product.
streaming product.
The Venturi Mini is a new and unique product combining Bluetooth®
music streaming with hands-free and USB style charging. The
integrated FM RDS Transmitter streams stereo audio through the invehicle sound system for music playback and hands-free. The Venturi
Mini requires ZERO INSTALL and simply pushes into the cigarette
lighter socket, making it easily transportable. The high brightness
OLED graphical display shows all the user information. A high
performance microphone enables crystal clear hands-free
conversation with the received audio coming through the in-vehicle hifi speakers. The Venturi Mini has the following features:
Music
Music Music
Music streaming
streamingstreaming
streaming whereby music can be streamed
from a mobile phone using the Bluetooth A2DP profile
(where supported by the mobile phone) or a portable
music player can be connected directly through the
audio-in stereo jack.
Hands
HandsHands
Hands----ffffree B
ree Bree B
ree Bluetooth
luetoothluetooth
luetooth Audio & Phonebook
Audio & PhonebookAudio & Phonebook
Audio & Phonebook providing
high quality audio via the built-in microphone as well as
remote control of your phonebook (where supported by
the mobile phone) with dialling activation from the
smart interface on the Venturi Mini.
Page 5
Page 5
The l
The lThe l
The latest Bluetooth 2.0 wireless technology
atest Bluetooth 2.0 wireless technology atest Bluetooth 2.0 wireless technology
atest Bluetooth 2.0 wireless technology
supporting new features such as Advanced Audio
Distribution Profile (A2DP), Audio Video Remote
Control profile (AVRCP) and Hands-Free profile
amongst others.
A new generation of digital FM transmitter
A new generation of digital FM transmitter A new generation of digital FM transmitter
A new generation of digital FM transmitter
technology
technology technology
technology using Radio Data Services (RDS, RBDS for
the USA) to show information on the in-vehicle radio
display, including phonebook contacts, device menus
and calling party identification.
Note:
Note:Note:
Note: The Venturi Mini is designed to provide many features using
The Venturi Mini is designed to provide many features using The Venturi Mini is designed to provide many features using
The Venturi Mini is designed to provide many features using FM RDS
FM RDS FM RDS
FM RDS
transmission to your
transmission to your transmission to your
transmission to your in
inin
in----vehicle
vehiclevehicle
vehicle radio. It is advisable to read the operating
radio. It is advisable to read the operating radio. It is advisable to read the operating
radio. It is advisable to read the operating
instructions for the specific
instructions for the specific instructions for the specific
instructions for the specific radio fitted in your
radio fitted in your radio fitted in your
radio fitted in your vehicle
vehiclevehicle
vehicle to get the best user
to get the best user to get the best user
to get the best user
experience.
experience.experience.
experience.
Audio
AudioAudio
Audio----In and Audio
In and AudioIn and Audio
In and Audio----Out
OutOut
Out are provided to allow external
devices with line audio or headset audio to be
connected to the Venturi Mini and stream/transfer
content to the in-vehicle audio system. The audio-out
connection can also connect hands-free and A2DP
audio to the in-vehicle audio system.
A 5V charger
A 5V chargerA 5V charger
A 5V charger is built in to the Venturi Mini using a
USB style connector to charge devices such as
mobile phones, MP3 players or similar. The charging
performance is subject to the make and model of the
device.
See www.myventuri.com
www.myventuri.comwww.myventuri.com
www.myventuri.com for more information.
Page 6
Page 6
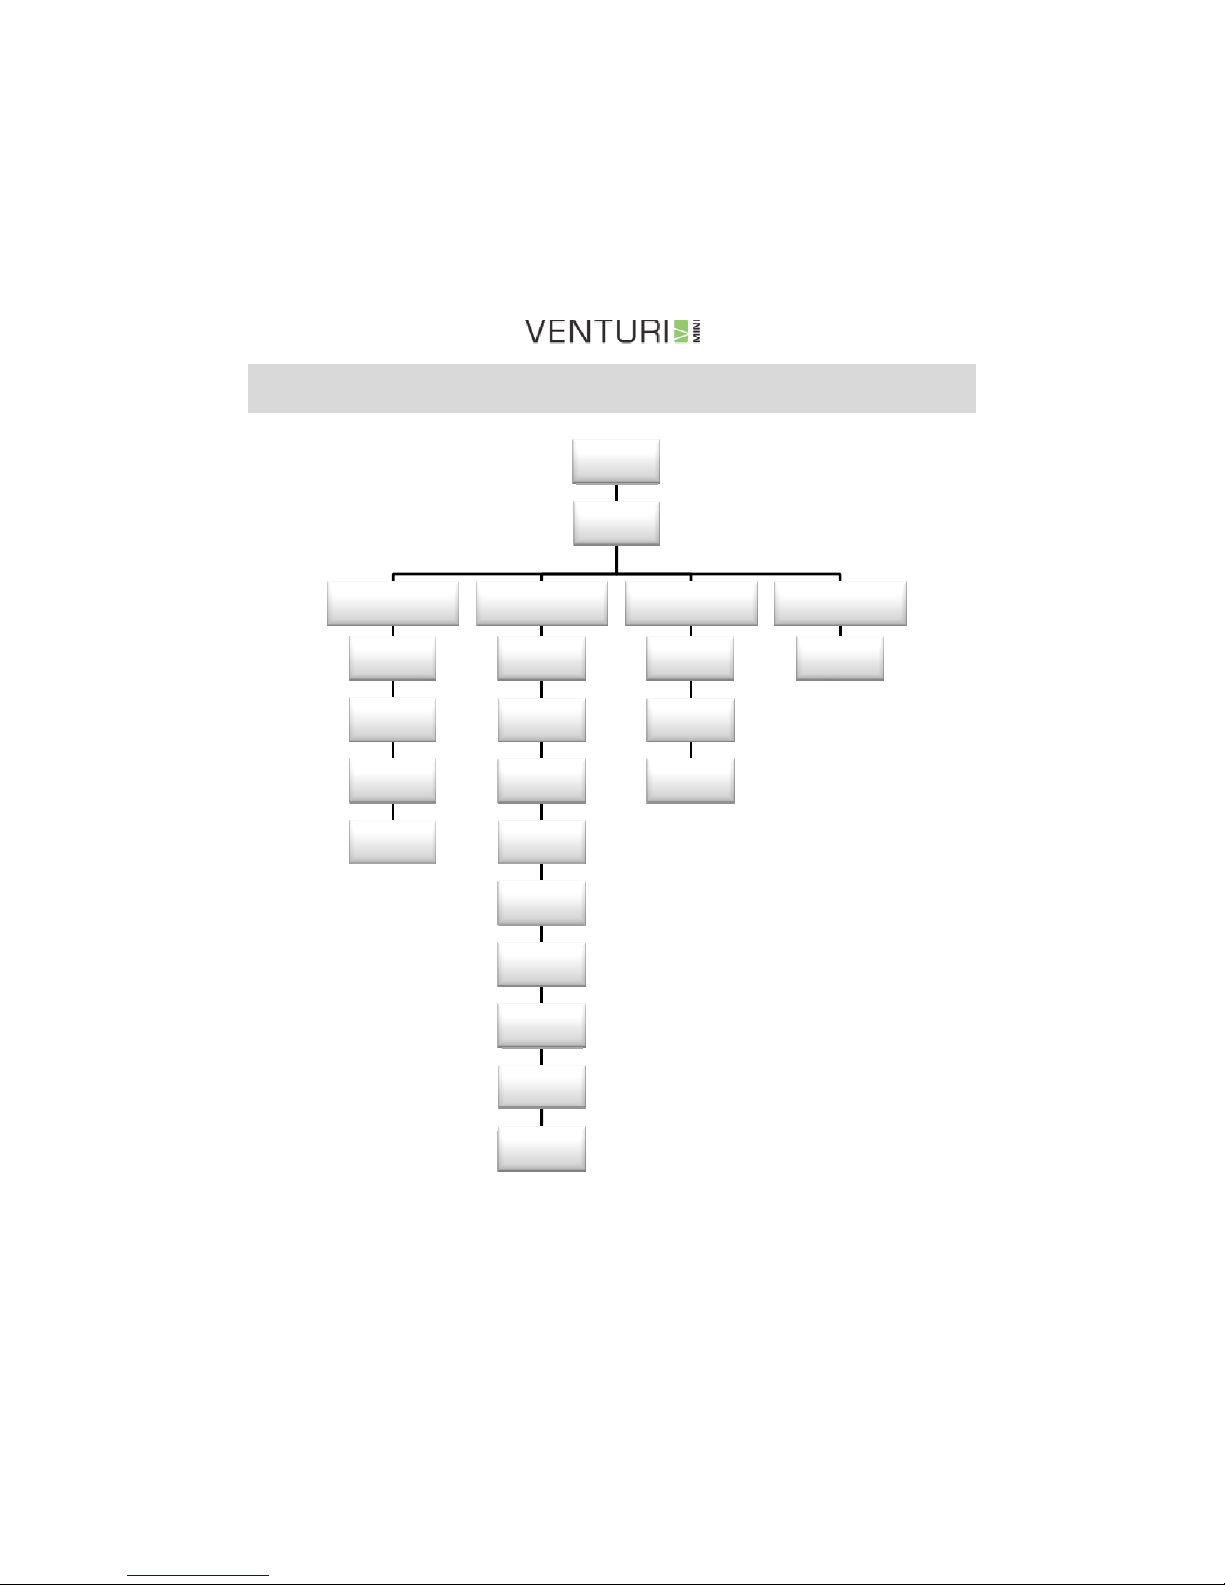
Venturi Mini Menu Structure
First Time
Power Up
Auto SetUp Mode
FM Mode
Set FM F1
Set FM F2
Set FM F3
Set FM F4
Settings Mode
Connect BT
Device
Pair BT
Device
Phone book
Download
Delete
Device
FM On-Off
Select FM
Region
Language
Selection
Privacy
Mode
Audio In
Phone Mode
Redial Last
Number
Last 15
Calls
Contacts
Music Mode
BT Music
Note: When the Venturi
Note: When the Venturi Note: When the Venturi
Note: When the Venturi
Mini is connected to the
Mini is connected to theMini is connected to the
Mini is connected to the
vehicle for the first time,
vehicle for the first time, vehicle for the first time,
vehicle for the first time,
the device will automatically
the device will automatically the device will automatically
the device will automatically
guide the user through the
guide the user through the guide the user through the
guide the user through the
Set
SetSet
Set----UUUUp process including
p process including p process including
p process including
Language Selection, FM
Language Selection, FM Language Selection, FM
Language Selection, FM
region, FM frequency and
region, FM frequency and region, FM frequency and
region, FM frequency and
Bluetooth pairing to the
Bluetooth pairing to the Bluetooth pairing to the
Bluetooth pairing to the
phone.
phone.phone.
phone.
Page 7
Page 7
Out of the Box
Safety & General Information
Safety & General InformationSafety & General Information
Safety & General Information
• Do not operate any function on the Venturi Mini that takes your
attention away from safely driving your vehicle. Always stop the
vehicle in a safe location before performing functions that might
take prolonged attention. Failure to do so may result in an
accident.
• Whilst driving keep the volume setting at a level where outside
noise can still be heard. Failure to do so may result in an accident.
• Do not disassemble, make changes or modify the Venturi Mini in
any way. Modifications or changes that are not expressly approved
by the party responsible for compliance could void the user’s
authority to operate the equipment and will void any
manufacturer’s and/or supplier’s warranty.
• Use this product only in vehicles with a 12 volt charging point (e.g.
the cigarette lighter socket). Failure to do so may result in
permanent product malfunction and/or electronic failure of the
vehicle.
Page 8

Page 8
• Do not place fingers or foreign objects in sockets or gaps. Doing
so may result in personal injury and/or permanent product failure
and will void any manufacturer’s and/or supplier’s warranty.
• Use a soft dry cloth for periodic cleaning of the Venturi Mini; do
not use detergents or liquids that may enter the device.
• If the Venturi Mini fails to operate in the manner described in this
User Guide do not attempt to modify it in any way. Contact the
supplier for technical assistance or visit the Venture Mini website:
www.myventuri.com
www.myventuri.com www.myventuri.com
www.myventuri.com
Page 9
Page 9
LOCK
LOCKLOCK
LOCK
Installation
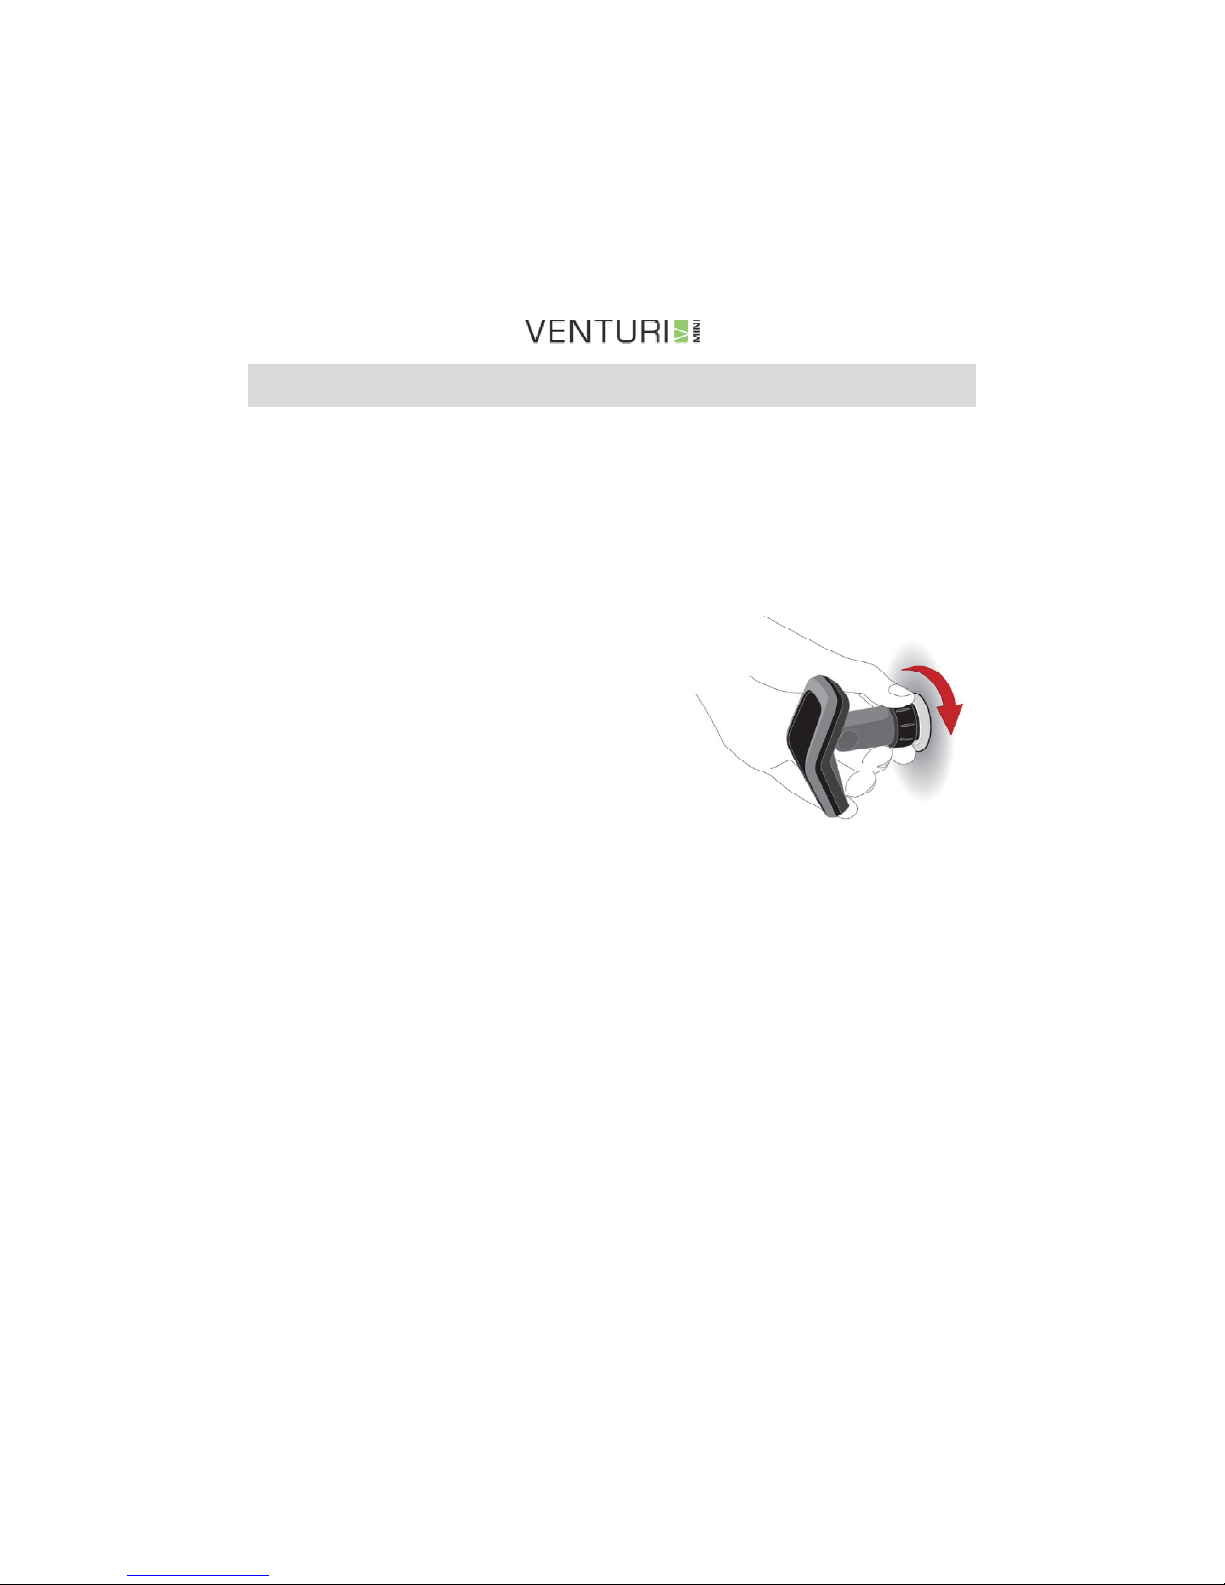
The Venturi Mini is designed to be plugged into the vehicle cigarette
lighter socket or 12V charging point. The operation of this socket
may vary from vehicle to vehicle. In some vehicles power to the
socket is switched off when the ignition key is removed whilst in
others the power remains on at all times irrespective of the vehicle
ignition status.
To install the Vent
To install the VentTo install the Vent
To install the Venturi Mini
uri Miniuri Mini
uri Mini
1. Plug the Venturi Mini into the
cigarette lighter socket so that
the ‘Phone’ and ‘Music’ icons
are at the top.
2. Rotate the ‘locking ring’ (15)
clockwise to secure the device
in the cigarette lighter socket.
To remove the Venturi Mini
To remove the Venturi MiniTo remove the Venturi Mini
To remove the Venturi Mini
1. Unscrew the locking ring (15) so that the Venturi Mini is loose
enough to be removed from the 12V socket.
2. Remove the Venturi Mini from the cigarette lighter socket
NOTE:
NOTE: NOTE:
NOTE: Do
Do Do
Do nnnnot
otot
ot pull the V
pull the Vpull the V
pull the Venturi Mini from the socket when
enturi Mini from the socket when enturi Mini from the socket when
enturi Mini from the socket when locked
lockedlocked
locked in place
in place in place
in place
with the locking ring, doing s
with the locking ring, doing swith the locking ring, doing s
with the locking ring, doing so may damage the
o may damage theo may damage the
o may damage the socket.
socket.socket.
socket.
To Turn
To TurnTo Turn
To Turn OFF the Venturi Mini
OFF the Venturi MiniOFF the Venturi Mini
OFF the Venturi Mini
1. Press and hold the Settings key (2) to turn off.
NOTE: Remove the Venturi Mini when leaving the vehicle to stand for
NOTE: Remove the Venturi Mini when leaving the vehicle to stand for NOTE: Remove the Venturi Mini when leaving the vehicle to stand for
NOTE: Remove the Venturi Mini when leaving the vehicle to stand for a long
a long a long
a long
period
periodperiod
period....
Page 10
Page 10
ENGLISH
MINI
MINIMINI
MINI
In Vehicle Set-Up
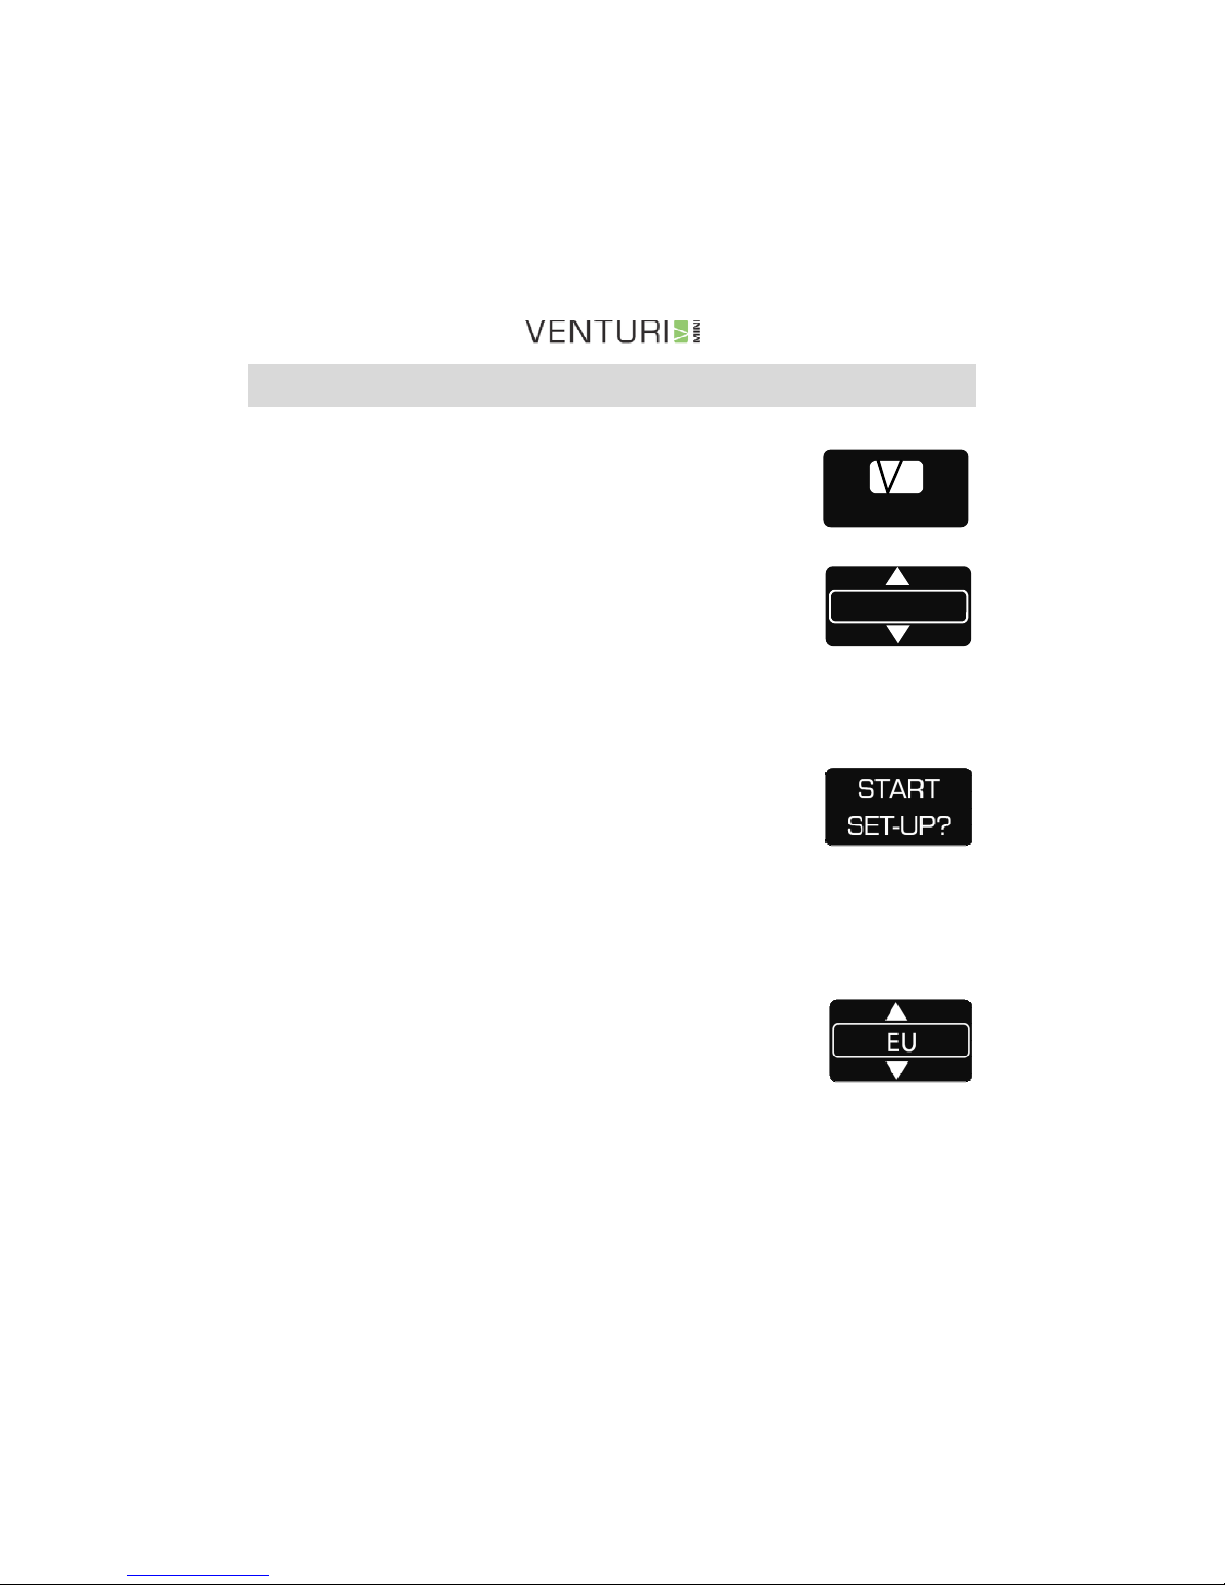
Once plugged in the 12V socket, Venturi Mini will
show the wake up message and then prompt the
user to set the operating language.
To select the operating language
To select the operating languageTo select the operating language
To select the operating language
1. Rotate the ‘Multi Function Scroller’ key (4) up
or down through the available languages until
the desired language is shown.
2. Press ‘the Confirm’ key (8) to select and store.
Venturi Mini will then prompt the user to start the automatic set up
sequence with “START SET-UP?”
1. Press the confirm key (8) to start the set up,
or
2. Press the Exit key (7) to exit the set up at any
time
Next, the Venturi Mini will prompt the user to select the geographic
region.
To select the geographic region
To select the geographic region To select the geographic region
To select the geographic region
1. Rotate the ‘Multi Function Scroller’ key (4) up
or down until the desired region is shown.
2. Press the ‘Confirm’ key (8) to select and store.
After setting the geographic region the in-vehicle radio must be
tuned to a free FM frequency.
Page 11

Page 11
TTTTo
o o
o set the radio frequency
set the radio frequencyset the radio frequency
set the radio frequency
1. Set the Radio Data Services (RDS/RBDS) and/or Traffic
Program (TP) to ON (If available)
2. Tune the in-vehicle radio to a free FM frequency away from
broadcast stations and store on one of the radio’s preset
buttons.
The Venturi Mini must now be set to the same frequency. The
Venturi Mini has 4 preset options (F1-F4), F1 will be shown
automatically.
Tuning the Venturi Mini to the same frequency as th
Tuning the Venturi Mini to the same frequency as thTuning the Venturi Mini to the same frequency as th
Tuning the Venturi Mini to the same frequency as the in
e ine in
e in----vehicle
vehicle vehicle
vehicle
radio
radioradio
radio
1. Rotate the ‘Multi-Function Scroller’ (4) to set
the FM frequency for F1 to the same as that
shown on the in-vehicle radio.
2. Press the ‘Confirm’ key (8) to store the settings for F1.
‘HELLO VENTURI’
’ ’
’ will be displayed on both the in-
vehicle radio display and on the Venturi Mini.
The same process can be used to set frequencies for F2 through F4
using the FM Mode set up key (10) to select each subsequent
preset.
Page 12
Page 12
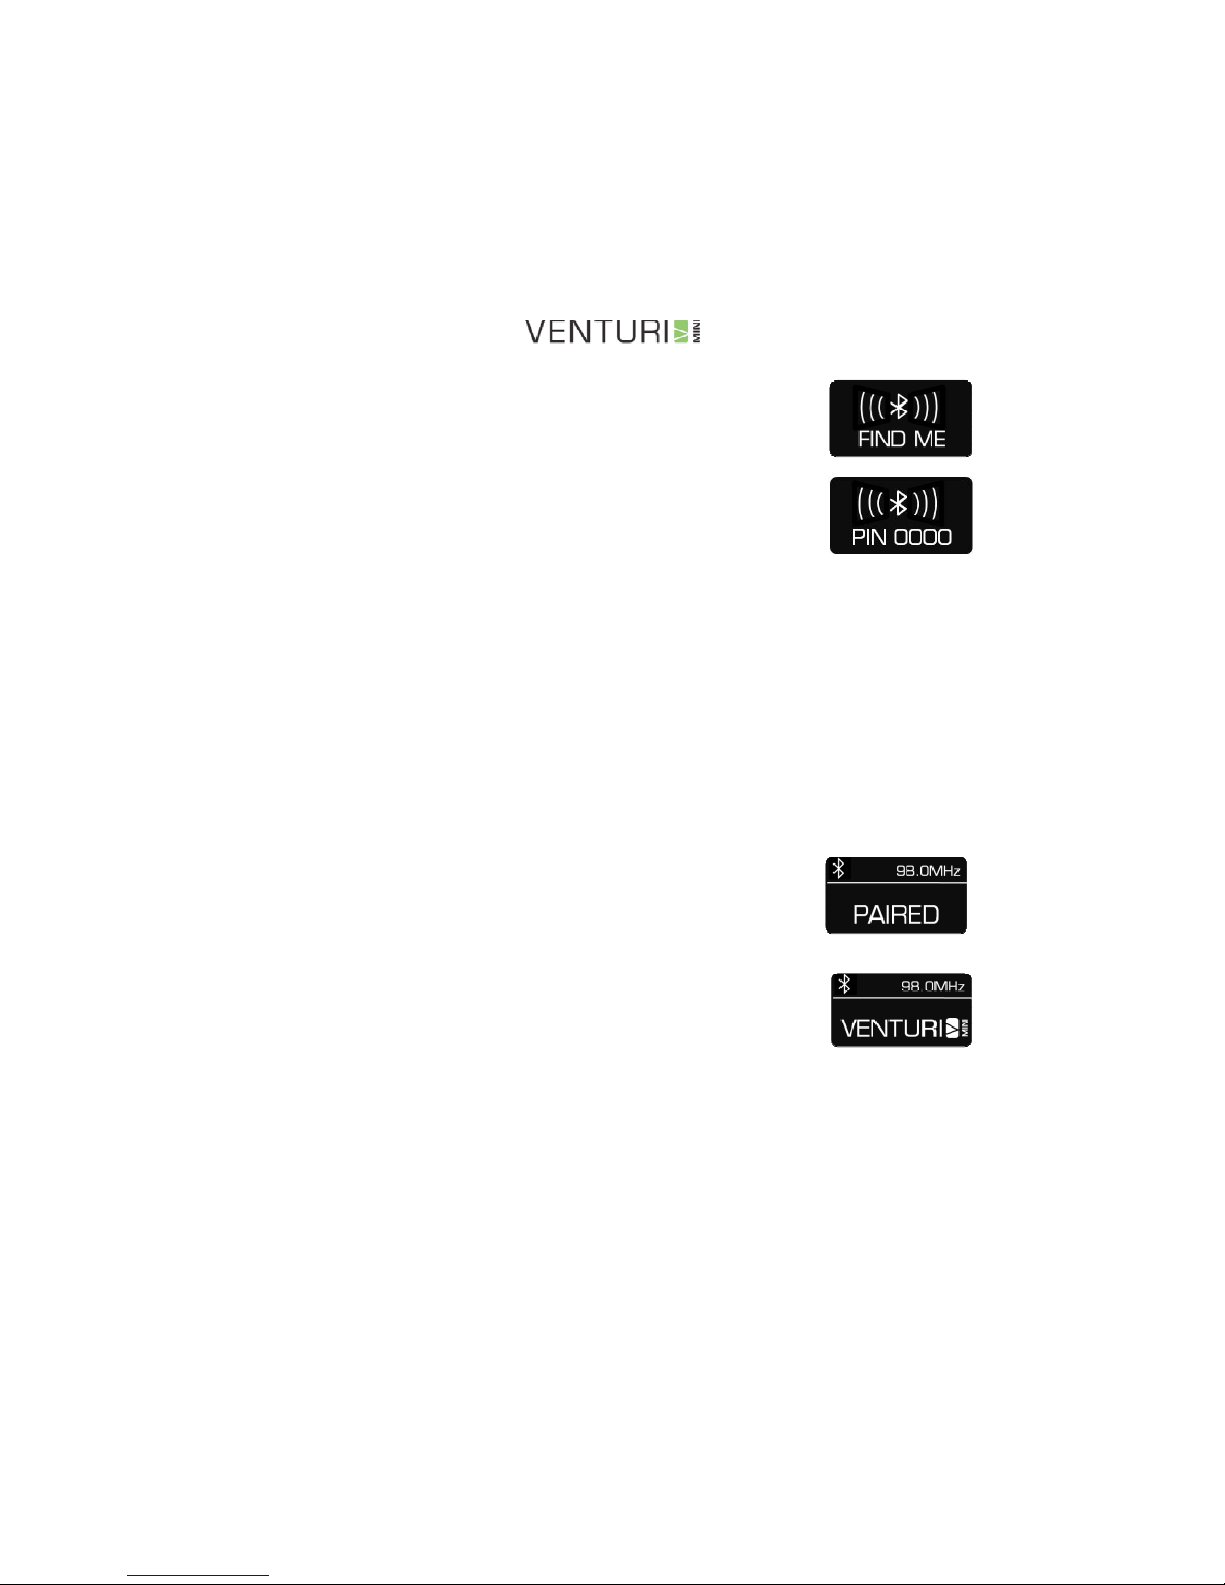
Next, the Venturi Mini will automatically switch to
Bluetooth pairing mode for 3 minutes to enable the
user to pair and connect a mobile phone. The
message ‘FIND ME’ followed by ‘PIN 0000’ will be
shown on the Venturi Mini during the pairing and
connection process.
Pairing a Bluetooth enabled phone
Pairing a Bluetooth enabled phonePairing a Bluetooth enabled phone
Pairing a Bluetooth enabled phone
1. Go to the Bluetooth menu on the mobile phone and set
Bluetooth power to ON. (See Mobile Phone user manual for
further details)
2. In the Bluetooth menu, set the mobile phone to ‘search’ for
Bluetooth devices. The mobile phone will search for all
Bluetooth devices in the vicinity and list them.
3. Select Venturi Mini from this device list.
4. The mobile phone will automatically connect to
the Venturi Mini and ask for a PIN. Enter the
PIN shown on the Venturi Mini display using
the mobile phone key pad and press ‘enter’ on
the mobile phone to connect both devices. If
the connection is successful Venturi Mini will
show the message ‘PAIRED’ on the display.
The Phone key (1) will be illuminated for hands-free calling. Also, if
the mobile phone supports A2DP music streaming the music key
(11) will be illuminated.
The Venturi Mini
The Venturi Mini The Venturi Mini
The Venturi Mini is now set up and ready for use!
is now set up and ready for use!is now set up and ready for use!
is now set up and ready for use!
Page 13

Page 13
Auto Phone Connection after Power Up
After the auto set-up has been completed the Venturi Mini will
automatically connect to the last mobile phone paired to the system
upon power up. This will be done under two conditions;
1. If the in-vehicle 12V socket power is controlled by the ignition
key on the vehicle. Each time you start the vehicle Venturi Mini
will wake up and automatically connect to the mobile phone.
2. If the in-vehicle 12V socket is continuously powered, the Venturi
Mini will revert to sleep mode after a period of inactivity after
leaving the vehicle. To re-connect the mobile phone press any
key and the last mobile phone will be automatically connected.
Page 14
Page 14
MUSIC
98.0MHz
Music Playback from a Phone or Portable
Music Player
In order to stream music from the mobile phone to the in-vehicle
audio system ensure that the mobile phone connected to the Venturi
Mini supports the A2DP music streaming profile, see
www.myventuri.com
www.myventuri.comwww.myventuri.com
www.myventuri.com for more information. Depending on the type
and mobile phone model, the Venturi Mini will be able to detect
A2DP capability during the Bluetooth connection process. The
default audio source is AUDIO-IN when not using A2DP music mode.
To stream music from a mobi
To stream music from a mobiTo stream music from a mobi
To stream music from a mobile phone supporting A2DP
le phone supporting A2DPle phone supporting A2DP
le phone supporting A2DP
1. Make sure the Venturi Mini and the in-vehicle radio are tuned in
to the same free FM frequency.
2. Press the ‘Music’ key (11) to enter Music
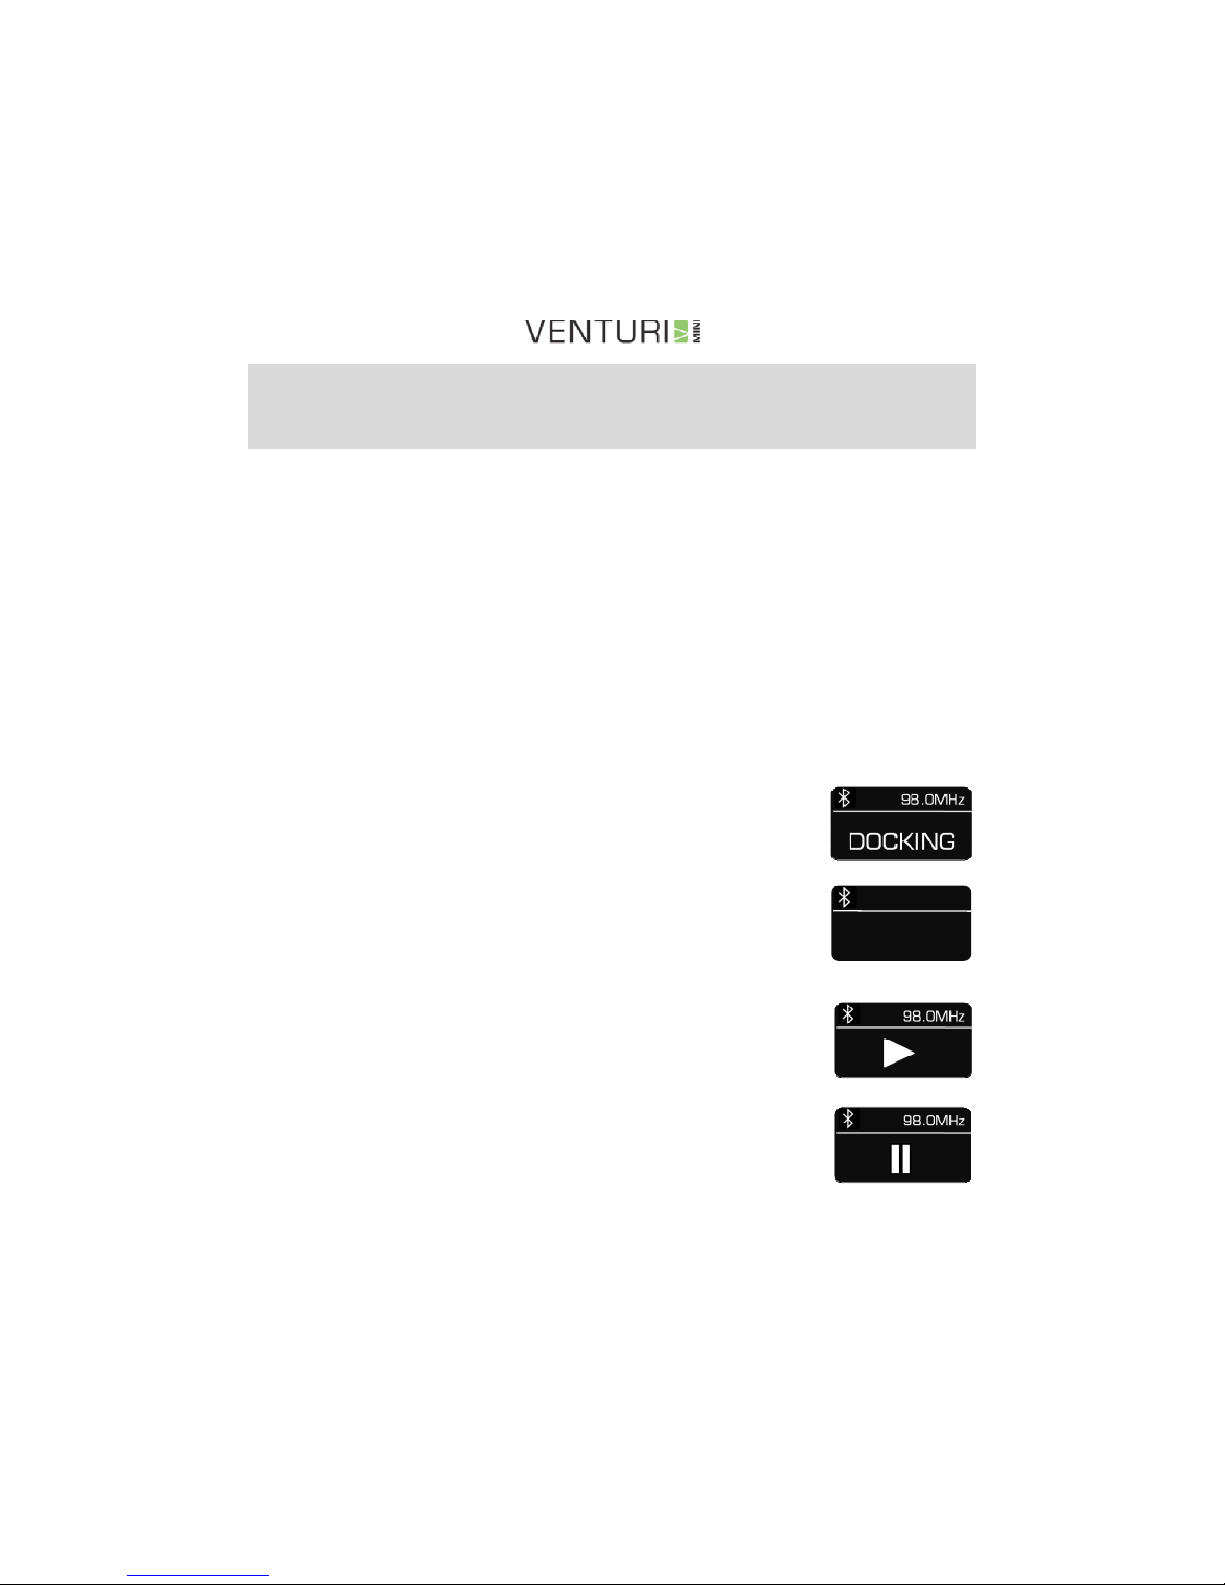
Mode. The Venturi Mini will now show the
message ‘DOCKING’ as the music connection
is made to the mobile phone. When complete
the music control icons ‘Play/Pause’ (9) and
‘Music Stop’ (6) will be illuminated.
3. Press the ‘Play/Pause’ key (9) to start music
playback from the mobile phone through the invehicle audio system. The Venturi Mini will
display the play symbol and the vehicle radio
display will show the message ‘PLAY’.
4. To pause the music, press the ‘Play/Pause’
key (9).The display will show the pause symbol.
To restart the music press the ‘Play/pause’
Page 15
Page 15
key (9) again.
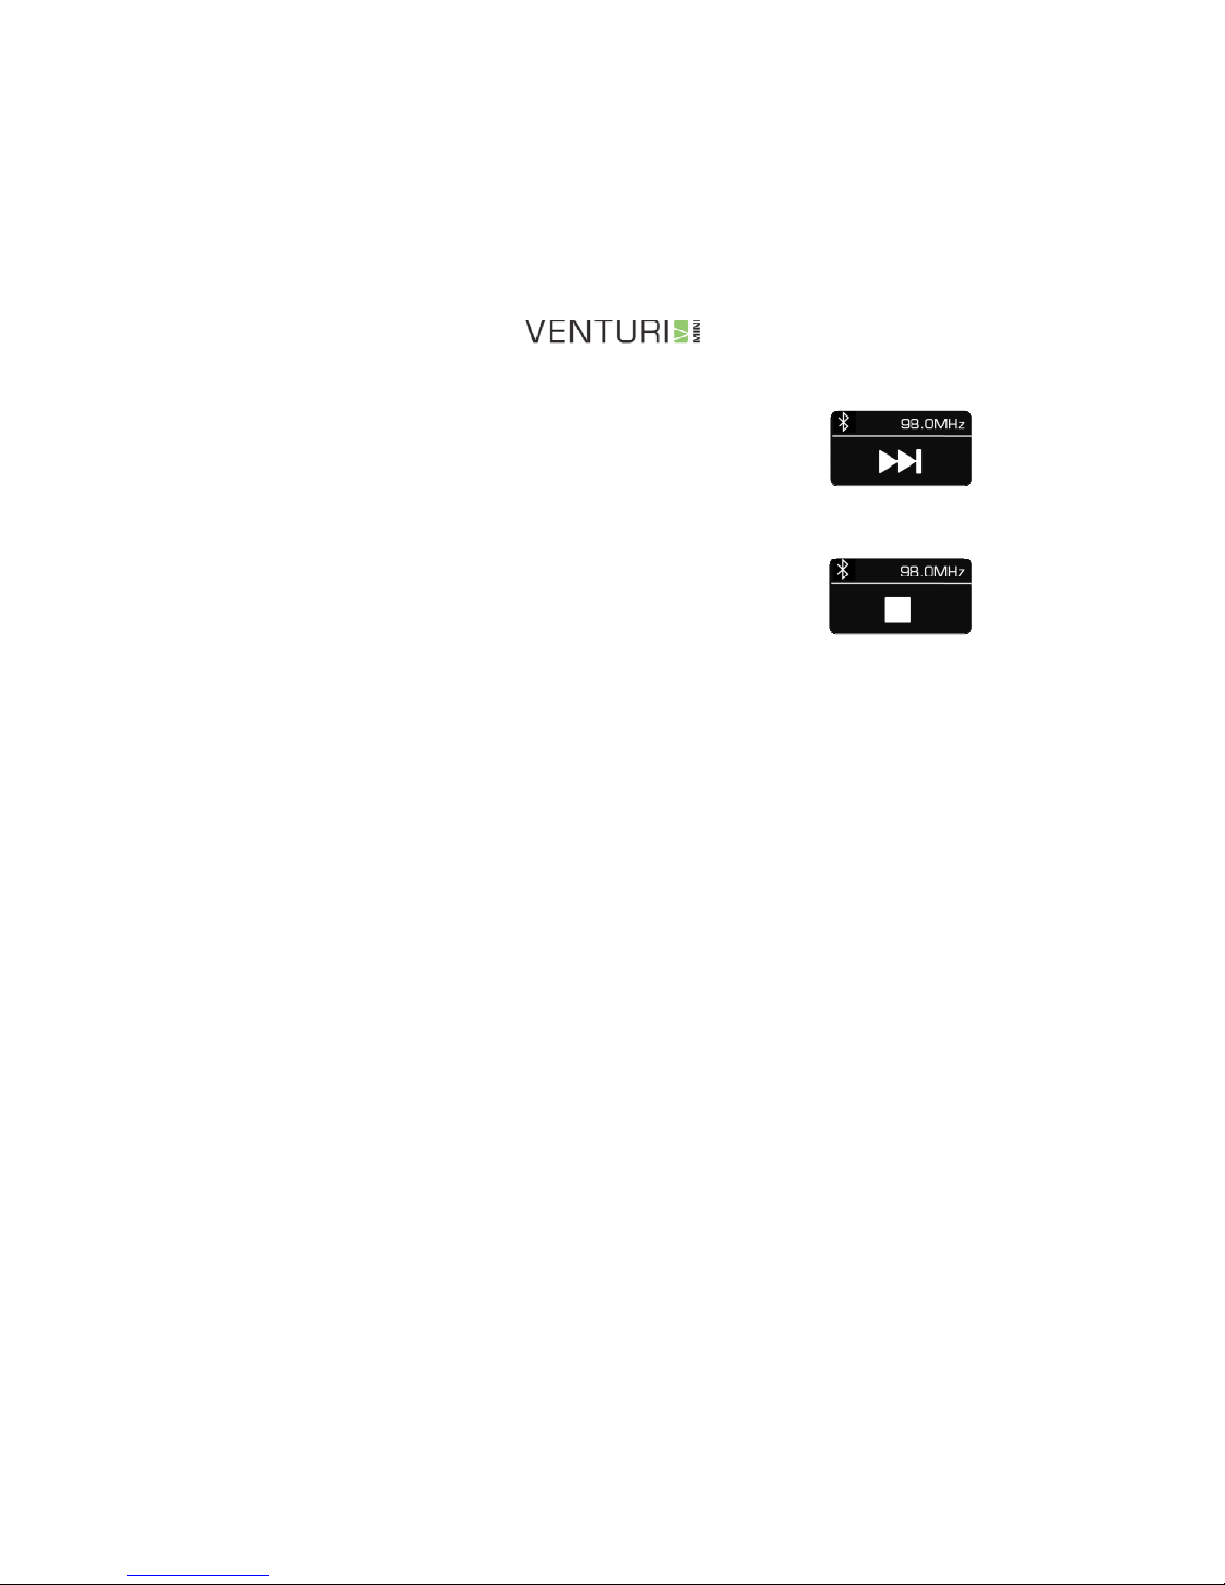
5. To skip a track, rotate the ‘Multi Function
Scroller’ (4) to move up and down the song
list. Whenever the track is changed, the
display will show the skip up/down symbol and provide an audio
tone.
6. To stop music playback, press the ‘Music
Stop’ key (6). The ‘stop’ symbol will be shown
on the Venturi display.
7. To exit Music Mode, press the ‘Exit’ key (7).
To play music from a portable music player
To play music from a portable music player To play music from a portable music player
To play music from a portable music player
NOTE:
NOTE: NOTE:
NOTE: The Venturi Mini will not be able to control the operations of a
The Venturi Mini will not be able to control the operations of a The Venturi Mini will not be able to control the operations of a
The Venturi Mini will not be able to control the operations of a cable
cablecable
cable----
connected portable music device
connected portable music deviceconnected portable music device
connected portable music device. These operatio
. These operatio. These operatio
. These operations must be controlled via
ns must be controlled via ns must be controlled via
ns must be controlled via
the portable music player itself.
the portable music player itself.the portable music player itself.
the portable music player itself.
1. Connect the portable music player to the Venturi Mini Audio In
socket (13) using a 3.5mm audio connector cable.
2. Select a track and start music playback on the portable music
player.
NOTE:
NOTE: NOTE:
NOTE: The
TheThe
The Venturi Mini defaults to the audio
Venturi Mini defaults to the audioVenturi Mini defaults to the audio
Venturi Mini defaults to the audio----in mode when
in mode when in mode when
in mode when not using the
not using the not using the
not using the
A2DP connection
A2DP connectionA2DP connection
A2DP connection
Page 16
Page 16
Making a Hands-Free Phone Call
Hands-free calls can be made by (1) dialling a number on the mobile
phone keypad, (2) using the Venturi Mini phonebook (requires
downloading the phonebook from the Mobile Phone) or by 3)
redialling the last dialled number.
Make sure the Venturi Mini and the in-vehicle vehicle radio are tuned
to the same free FM frequency.
To dial a number from the mobile phone
To dial a number from the mobile phoneTo dial a number from the mobile phone
To dial a number from the mobile phone
1. Dial the number using the mobile phone
keypad
2. Press the ‘Call’ key on the mobile phone
keypad.
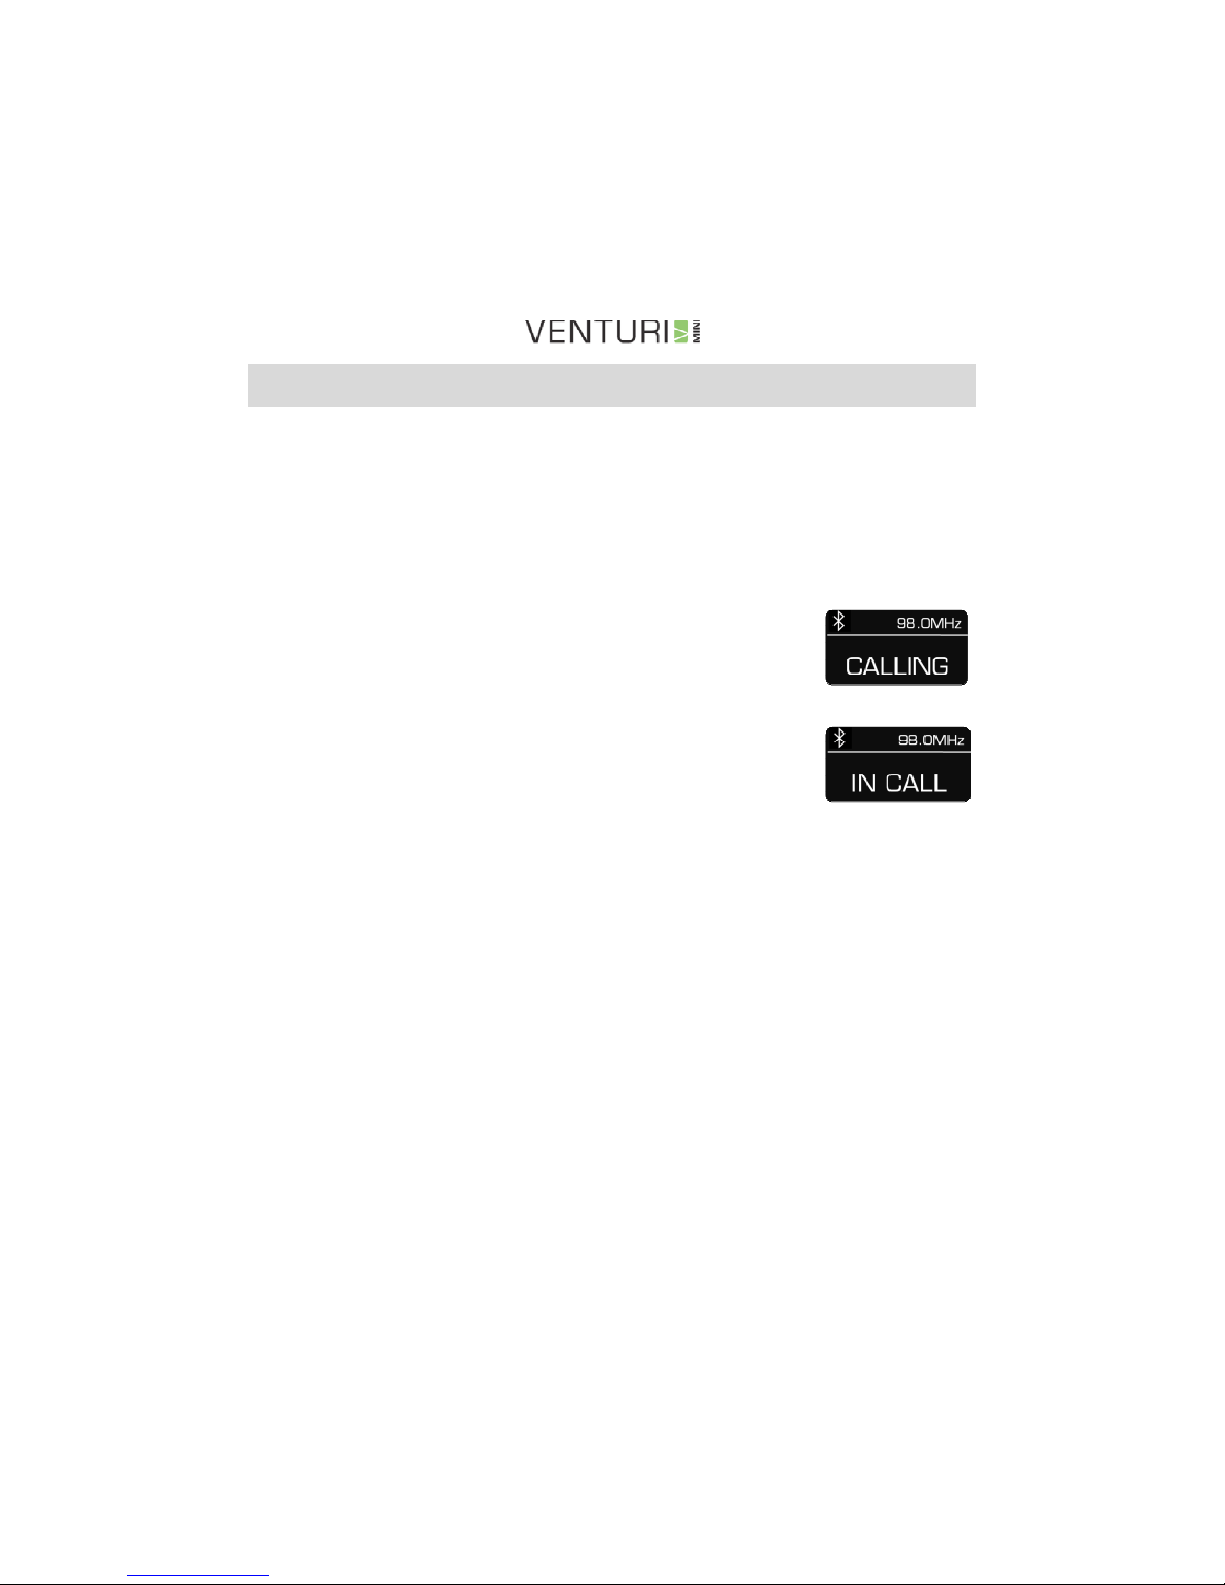
3. The Venturi Mini will display the message
‘CALLING’ and when connected ‘IN- CALL’.
4. To end the call, press ‘Exit’ key (7).
To redial the last number called
To redial the last number calledTo redial the last number called
To redial the last number called
1. Press the ‘Phone’ key (1)
2. Rotate the ‘Multi Function Scroller’ (4) to the ‘Redial’ option.
3. Press the ‘Confirm’ key (8). The last number called will be re-
dialled automatically.
4. To end the call, press the ‘Exit’ key (7).
Page 17
Page 17
NOTE:
NOTE:NOTE:
NOTE: The phonebook must be downloaded from the mobile p
The phonebook must be downloaded from the mobile pThe phonebook must be downloaded from the mobile p
The phonebook must be downloaded from the mobile phone to the
hone to the hone to the
hone to the
Venturi Mini before using the phonebook
Venturi Mini before using the phonebook Venturi Mini before using the phonebook
Venturi Mini before using the phonebook or Last 15
or Last 15 or Last 15
or Last 15 dialling method
dialling methoddialling method
dialling methodssss. This
. This . This
. This
may take several minutes to complete and will depend on the type and make
may take several minutes to complete and will depend on the type and make may take several minutes to complete and will depend on the type and make
may take several minutes to complete and will depend on the type and make
of mobile phone. See
of mobile phone. See of mobile phone. See
of mobile phone. See www.myventuri.com
www.myventuri.com www.myventuri.com
www.myventuri.com for further information
for further informationfor further information
for further information on mobile
on mobile on mobile
on mobile
phone compatibility for
phone compatibility forphone compatibility for
phone compatibility for this feature
this featurethis feature
this feature....
DDDDownload
ownloadownload
ownloading
inging
ing the phone book in to the Venturi
the phone book in to the Venturi the phone book in to the Venturi
the phone book in to the Venturi
Mini
Mini Mini
Mini
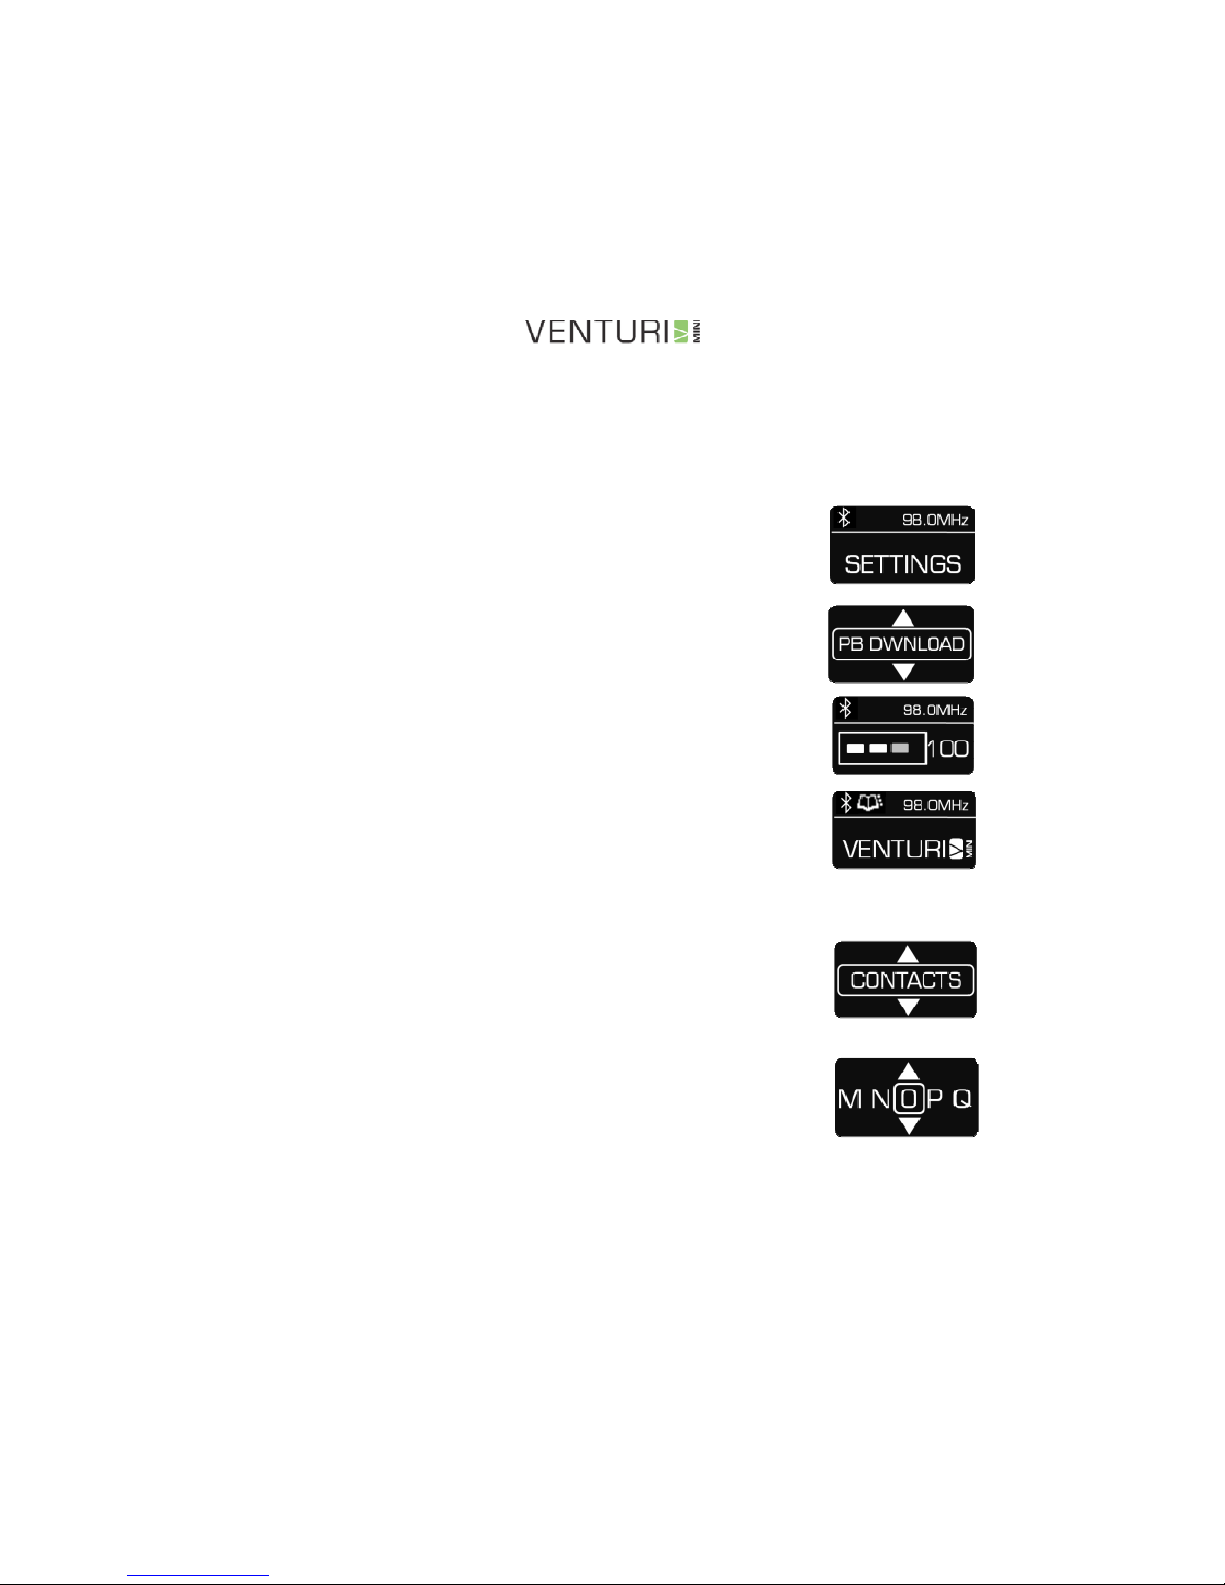
1. Press the ’Settings’ key (2)
2. Use the multi-function scroller to select ’PB
Download’
3. Press the ’Confirm’ Key (8) to select and start
the phonebook download process.
During Phone book download the Venturi Mini
display will show the activity bar and the number of
contacts loaded. When complete, the phonebook
icon will be shown in the Venturi Mini display.
To make a Hands
To make a HandsTo make a Hands
To make a Hands----Free Call Using the Phone Book
Free Call Using the Phone BookFree Call Using the Phone Book
Free Call Using the Phone Book
1. Press the ‘Phone’ key (1)
2. Use the ‘Multi-Function Scroller (4) to show the
‘Contacts’ option.
3. Press the ‘Confirm’ key (8). The Venturi Mini
will display the ‘Alphabetical search’ mode.
4. To search for a contact rotate the ‘Multi
Function Scroller’ ( 4 ) to the first letter of the
desired name
Page 18
Page 18
5. Press the ‘Confirm’ key (8).
6. Scroll again to the desired name and press the
‘Confirm’ key (8). The number stored in the
phone book will be automatically dialled.
7. To end the call, press the ‘Exit’ key (7).
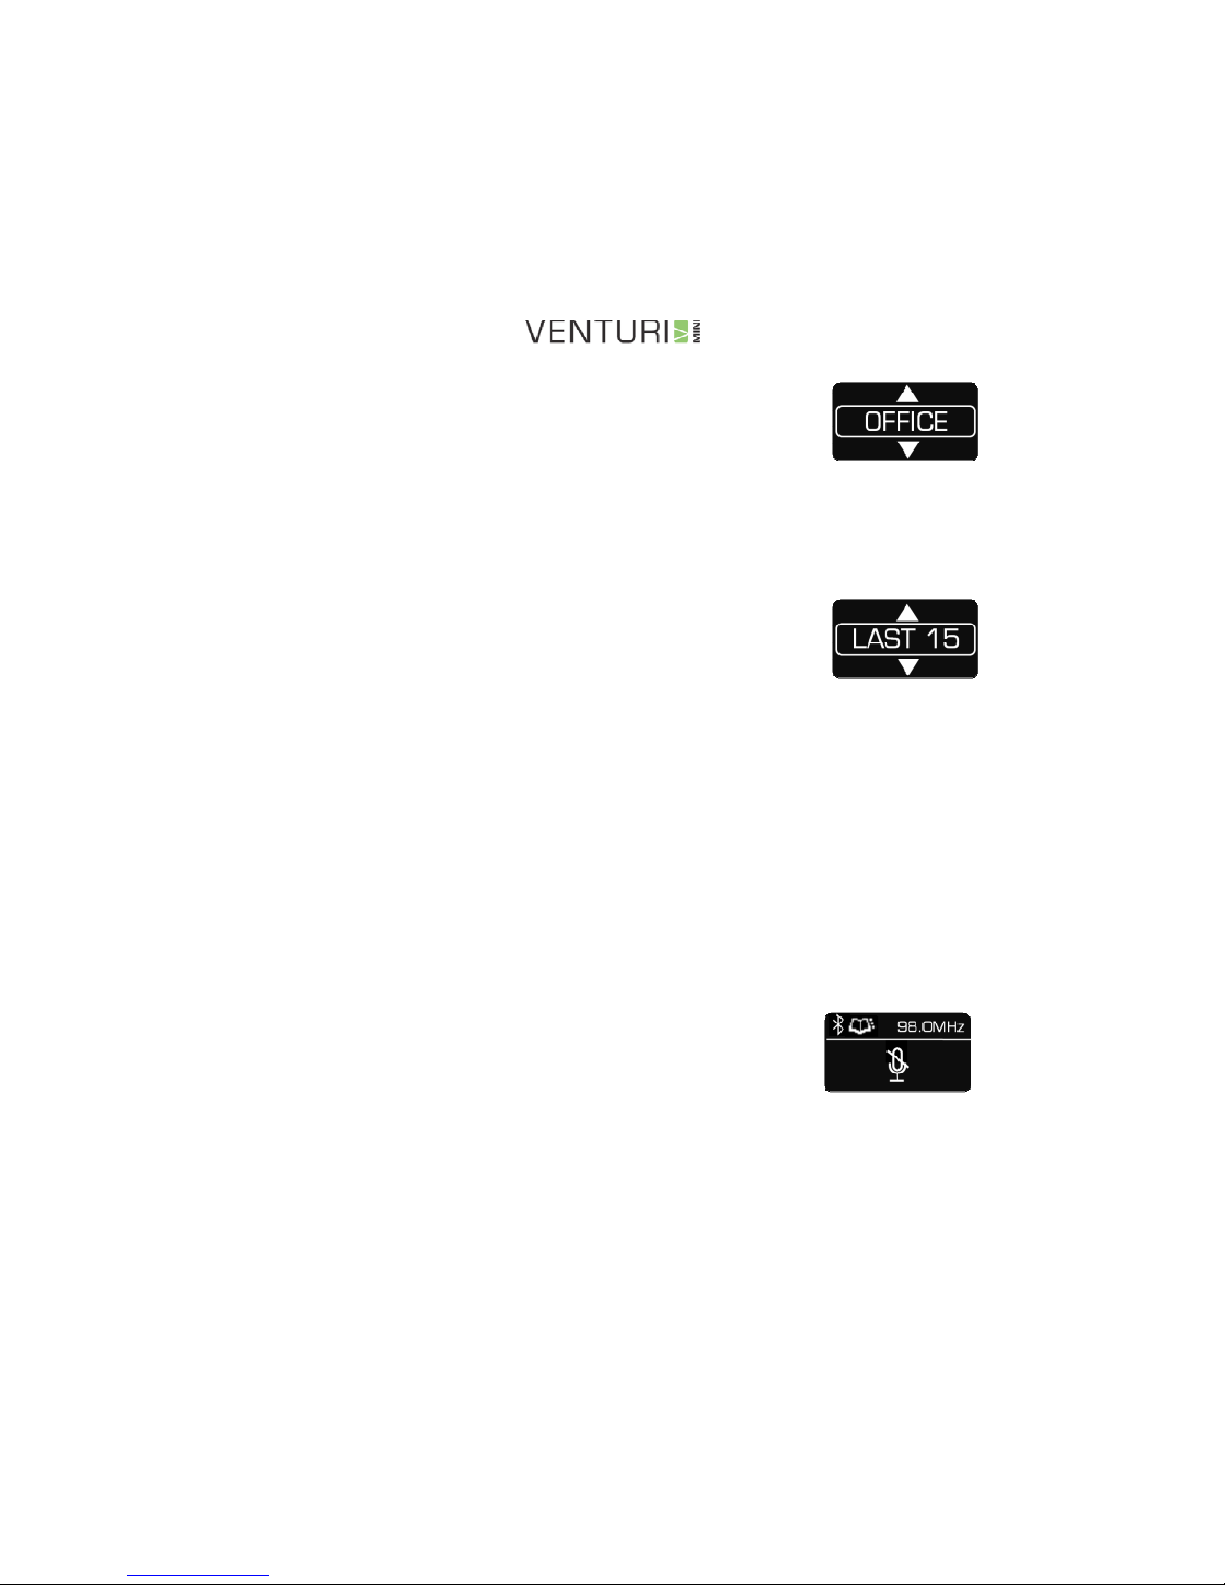
To dial a number from the last
To dial a number from the last To dial a number from the last
To dial a number from the last 15 Called
15 Called 15 Called
15 Called
Numbers
NumbersNumbers
Numbers
1. Press the ‘Phone’ key (1)
2. Rotate the ‘Multi Function Scroller’ ( 4) to ‘LAST 15’ menu
3. Press the ‘Confirm’ key (8)
4. Scroll again to the desired number from the list of ‘Called
numbers’
5. Press the ‘Confirm’ key (8). The number selected will be re-
dialled automatically.
6. To end the call, press ‘Exit’ key ( 7 )
To mute the microphone during a call
To mute the microphone during a callTo mute the microphone during a call
To mute the microphone during a call
1. Rotate the ‘Multi Function Scroller’ (4) until
the display shows the ’MUTE’ symbol.
2. To ‘UNMUTE’, simply rotate the ‘Multi-
Function Scroller (4) again
Page 19

Page 19
To switch to Privacy during a call
To switch to Privacy during a callTo switch to Privacy during a call
To switch to Privacy during a call
1. Press the ‘Settings’ key ( 2 )
2. Rotate the ‘Multi Function Scroller’ (4) to
‘PRIVACY’ mode.
3. Press the Confirm key (8 )
NOTE: Once the Venturi Mini is switched to ‘PRIVACY’ mode it will need to
NOTE: Once the Venturi Mini is switched to ‘PRIVACY’ mode it will need to NOTE: Once the Venturi Mini is switched to ‘PRIVACY’ mode it will need to
NOTE: Once the Venturi Mini is switched to ‘PRIVACY’ mode it will need to
be re
be rebe re
be re----cccconnected to the
onnected to the onnected to the
onnected to the mobile phone
mobile phone mobile phone
mobile phone for future hands
for future handsfor future hands
for future hands----free calls.
free calls.free calls.
free calls.
To re
To reTo re
To re----connect the mobile phone after privacy mode
connect the mobile phone after privacy modeconnect the mobile phone after privacy mode
connect the mobile phone after privacy mode
1. Press the ‘Settings’ key (2) to see the available device name(s).
2. Use the ‘Multi Function Scroller’ (4) to select the device name
of the phone to be connected
3. Press the ‘confirm’ key (8). The Venturi Mini will show
‘DOCKING’ during the re-connection process and ‘DOCKED’
when complete.
Page 20

Page 20
Additional Venturi Mini Features
Intelligent Power Management
Intelligent Power ManagementIntelligent Power Management
Intelligent Power Management
The Venturi Mini will switch to low power mode when left for long
periods without being connected to a mobile phone. This will
safeguard the vehicle battery. Pressing any key will wake-up the
Venturi Mini for operation.
Smart Charging
Smart ChargingSmart Charging
Smart Charging
The Venturi Mini has a built-in smart charger rated at 5Vdc, 500mA
to charge the mobile phone or similar. Specific cables to connect the
charger with mobile phones or portable music players are not
supplied. See www.myventuri.com
www.myventuri.comwww.myventuri.com
www.myventuri.com for availability.
Ambient Light Sensor
Ambient Light SensorAmbient Light Sensor
Ambient Light Sensor
The built in light sensor ensures that the Venturi Mini display and
button icons lower their brightness during night time driving and do
not distract the driver.
Disabling the FM Transmitter when using Audio Out
Disabling the FM Transmitter when using Audio OutDisabling the FM Transmitter when using Audio Out
Disabling the FM Transmitter when using Audio Out
When using the Audio Out connection it is possible to disable the FM
transmitter.
2. Press (2) to access the ‘SETTINGS’ menu
3. Use the multifunction scroller (4) to select FM
OFF
4. Press the confirm key (8) to store.
Page 21
www.myventuri.com
 Loading...