

VENTOXX RV Series, RV 25, RV 30s, RV 30 Installation And Operating Instructions Manual
OOO Ventoxx Ventoxx GmbH
VentoxxUkraine Scherisberg 6
89312 Günzburg
Installation and
Operating Instructions
for the Ventilation Systems
RV by Ventoxx
OOO Ventoxx Ventoxx GmbH
VentoxxUkraine Scherisberg 6
89312 Günzburg
Manual for installation and use of Ventoxx RV ventilation systems
with heat recovery and the associated Ventoxx Twist Control.
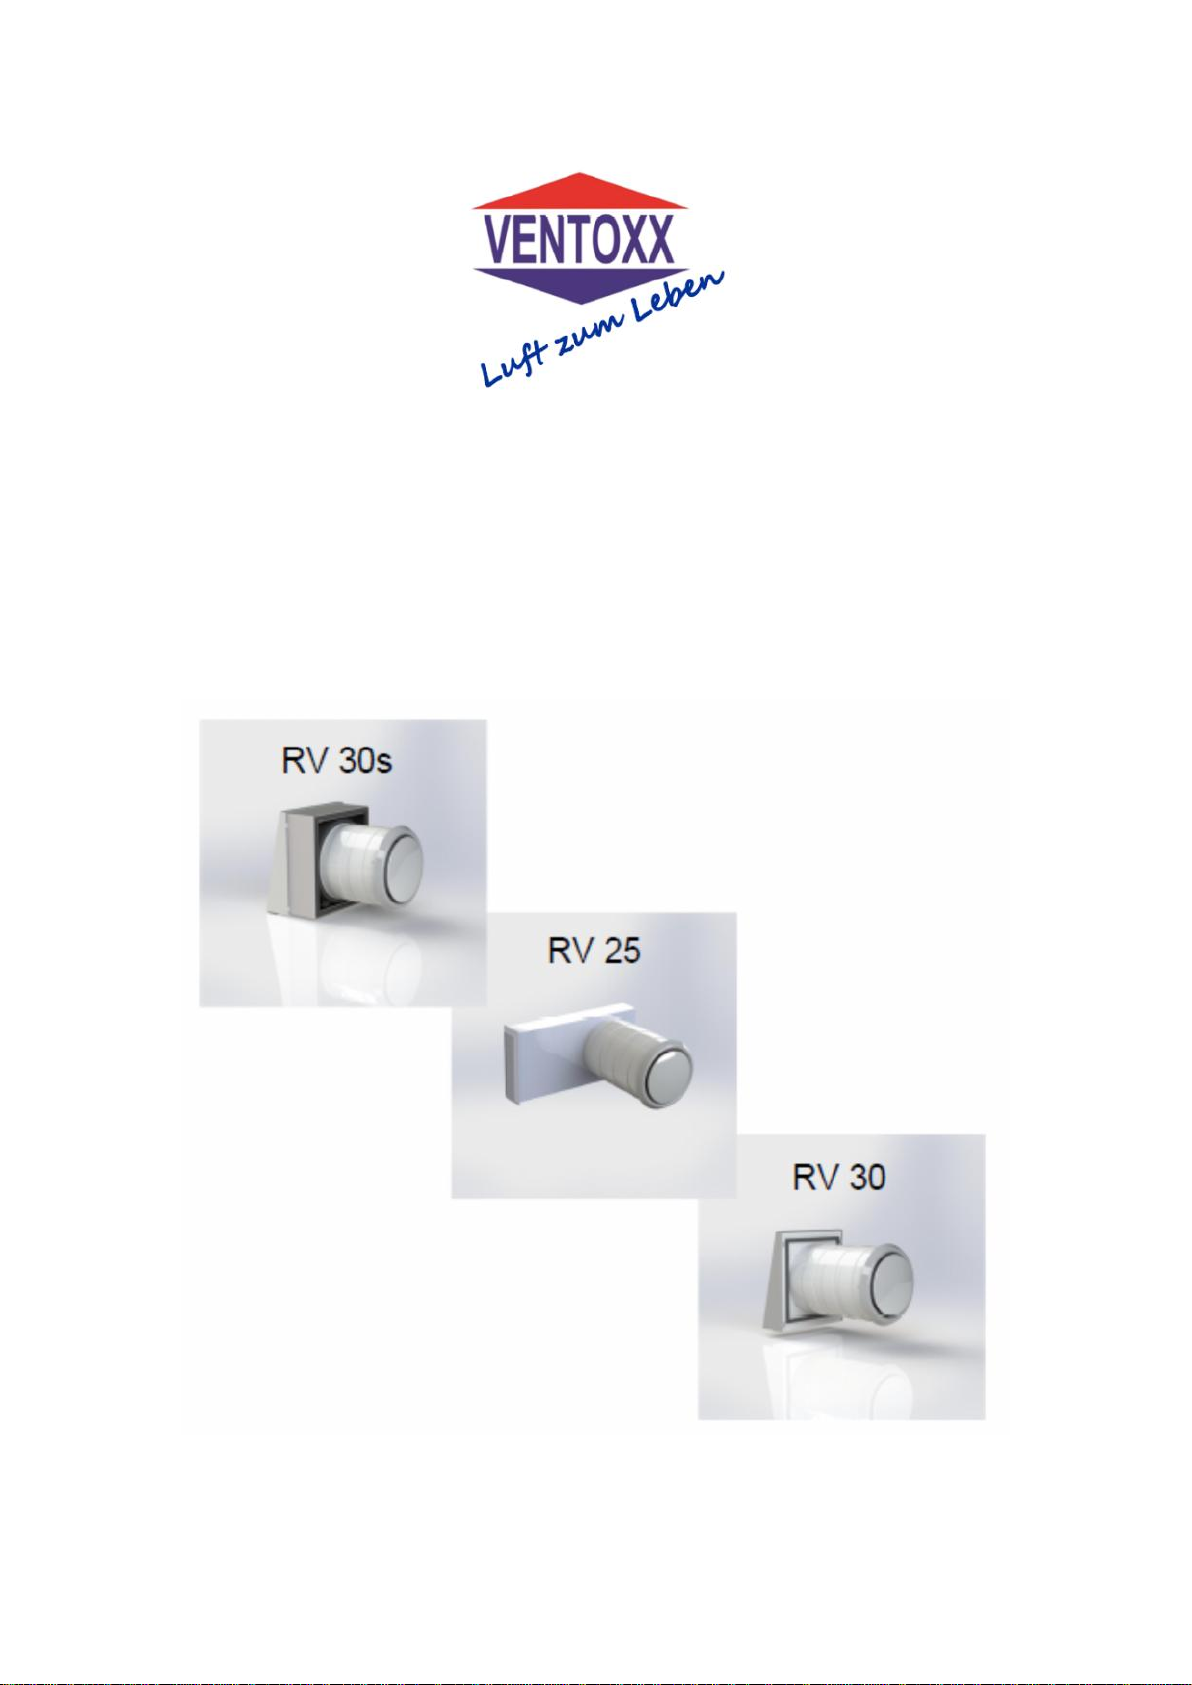
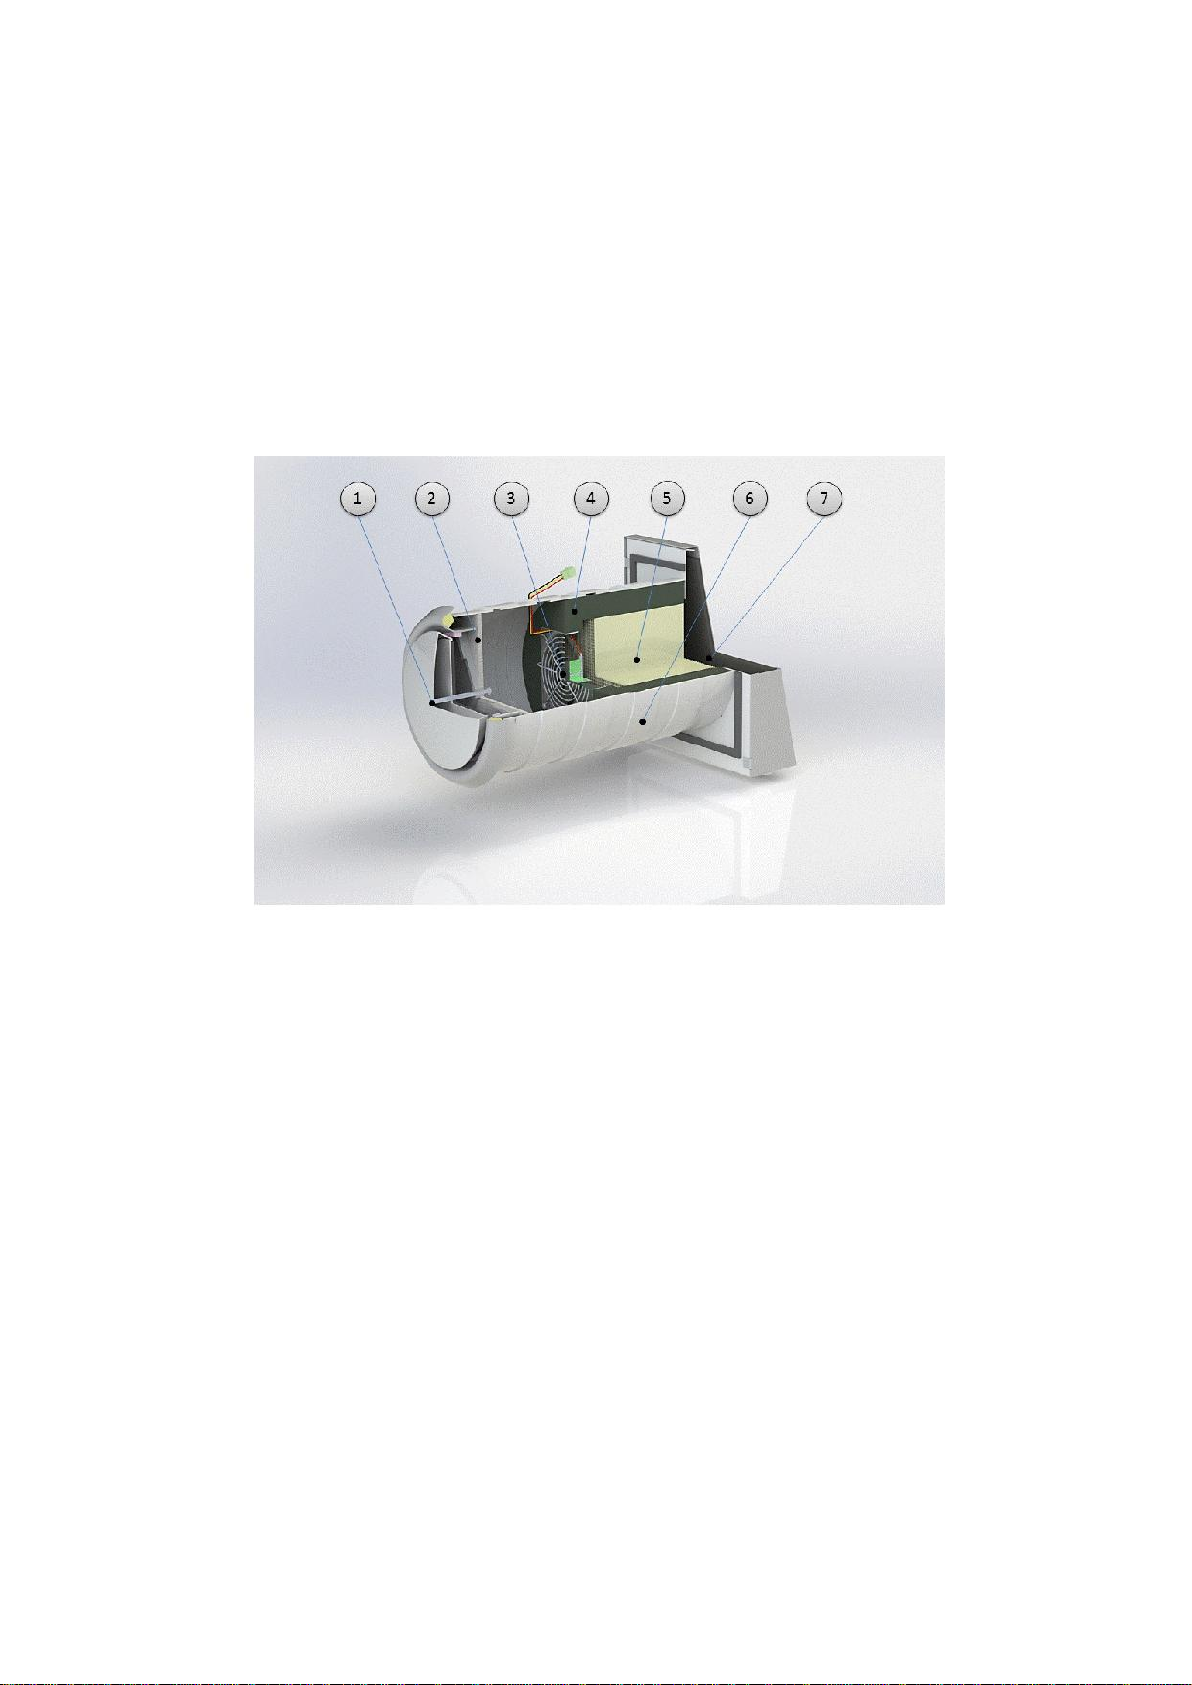
Ventoxx RV30:
Scope of Delivery:
1. Inner Cover
2. G3 Class Filter
3. Reversible Fan
4. Insulation
5. Heat Exchangers Made of Cordierite Ceramics
6. HIPS-plastic telescopic pipe with stacked rings to adjust to different wall
thickness
7. Outer Cover
OOO Ventoxx Ventoxx GmbH
VentoxxUkraine Scherisberg 6
89312 Günzburg
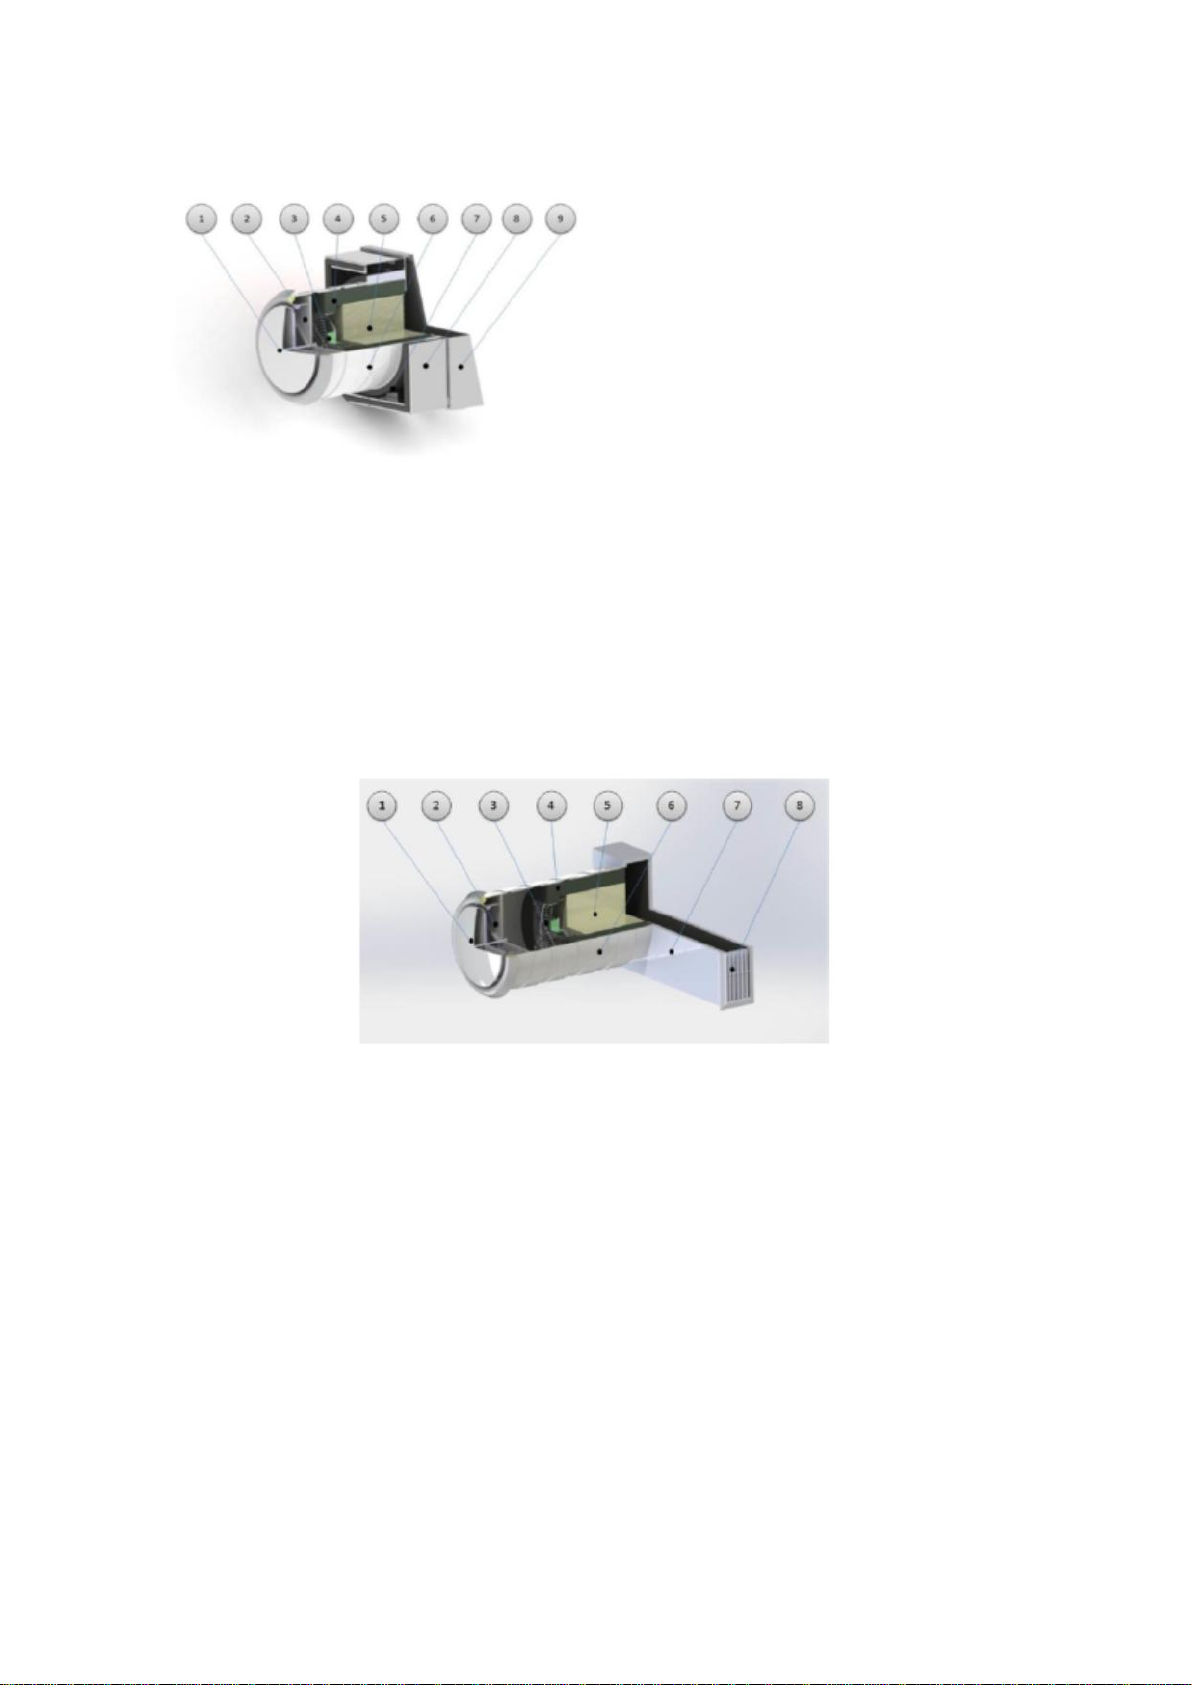
Ventoxx RV 30s:
Scope of Delivery:
1. Inner Cover
2. G3 Class Filter
3. Reversible Fan
4. Insulation
5. Heat Exchangers Made of
Cordierite Ceramics
6. HIPS-plastic telescopic pipe
with stacked rings to adjust to
different wall thickness
7. Warmer Ring
8. Compensation Box
9. Outer Cover
Ventoxx RV 25:
Scope of Delivery:
1. Inner Cover
2. G3 Class Filter
3. Reversible Fan
4. Insulation
5. Heat Exchangers Made of Cordierite Ceramics
6. HIPS-plastic telescopic pipe with stacked rings to adjust to different wall
thickness
7. Air Duct
8. Ventilation Grille for Window Opening

1
Table of Contents
1. This is the Product You Purchased:........................................................................... 3
1.1. Features and Benefits........................................................................................... 3
1.2. Technical Data....................................................................................................... 4
1.3. Quality and Warranty............................................................................................ 5
1.4. Disclaimer.............................................................................................................. 5
1.5. Safety Instructions................................................................................................ 6
2. Installation.................................................................................................................... 7
2.1. Installation Documentation .................................................................................. 7
2.2. Legal Installation Regulations.............................................................................. 7
2.3. Legal Installation Authorization........................................................................... 7
2.4. Installation in Rooms with Open Fireplaces........................................................ 7
2.5. Installation Instructions for ventilation units Ventoxx RV 30,Ventoxx RV 30s,
Ventoxx RV 25.................................................................................................................. 8
2.5.1. Tools Needed for Installation........................................................................ 8
2.5.2. Additional Accessories Needed for Installation........................................... 8
2.5.3. Placement of the Ventilation Unit.................................................................. 9
2.5.4. Allocation of the Fan.....................................................................................10
2.5.5. Installation in a New Building – Creating an Installation Opening ............10
2.5.6. Installation in an Old Building–Creating an Installation Opening..............11
2.5.7. Preparing for Installation..............................................................................12
2.5.8. Cabling...........................................................................................................12
2.5.9. Fitting of the Telescopic Pipe: Steps 1–5....................................................13
2.5.10. Installing the Piping into the Wall: Steps 6–10............................................15
2.5.11. Installation of the Outer Cover: Steps 11–13...............................................17
2.5.12. Installation of the Ventilator with Heat Exchanger Unit: Steps 14 and 15.19
2.5.13. Installation of the Inner Cover: Step 16 .......................................................20
3. Connecting Twist Control...........................................................................................20
3.1. General Information.............................................................................................20
3.1.1. Intended Use..................................................................................................20
3.1.2. Safety Instructions........................................................................................20
3.1.3. Scope of Delivery..........................................................................................20
3.2. Connection and Installation of the Control........................................................21
3.2.1. Red Fan-Blue Fan..........................................................................................21
3.2.2. Connection Scheme......................................................................................22
3.2.3. Installation of the Control: Steps 1–7..........................................................24
3.3. Commissioning and Operating ...........................................................................25
3.3.1. Commissioning.............................................................................................25

2
3.3.2. Operating.......................................................................................................25
3.3.3. Explanation for Indication ............................................................................26
3.3.4. Enabling/Disabling the Illumination for Operation Modes .........................27
3.3.5. Operation Modes of Twist Control...............................................................27
4. Maintenance and Repairs...........................................................................................29
4.1. Maintenance of the Unit.......................................................................................29
4.1.1. Filter...............................................................................................................29
4.1.2. Fan .................................................................................................................29
4.1.3. Heat Exchanger.............................................................................................29
4.1.4. Control...........................................................................................................29
4.2. Troubleshooting...................................................................................................30

3
1. This is the Product You Purchased:
… Thank you for purchasing Ventoxx GmbH product that means energy-saving ventilation of
your building! We are constantly working on improvement of our Ventoxx devices; therefore,
we welcome our customers to give their feedback on daily use experiences. Please contact us
with suggestions at: info@ventoxx.eu or visit our website at www.ventoxx.eu.
Ventilation units of RV range produced by Ventoxx Company have been developed to provide
your rooms with fresh air and remove exhaust air with minimal thermal heat losses.
The ventilation unit absorbs heat and some of the moisture from the used exhaust air and thus
enriches fresh incoming air which is supplied to the living rooms.
Whatever the season is you will get comfortable climate in your rooms, with clean and fresh
air. Ventoxxhas achieved thesehighest heat recovery rates andthushelps youto save heating
energy. In addition, the ventilation unit partially regulates the moisture balance of the air
throughout the year and helps preventing mold growth in living areas. For best results, RV
ventilation units operate in pairs.
1.1. Features and Benefits
High heat recovery and pleasant indoor climate in your bedrooms and living rooms
Low power consumption
Various possible application in new or renovated buildings
Easy installation and operating
Installation within the outer wall, and thereby no annoying superstructures inside the
room
Does not need installation of ventilation ducts, therefore is suitable for installation in
renovated buildings
Electrically safe due to low power consumption
Easy to clean, some components are partially washable
Can be controlled via Bluetooth or Smartphone (from 2017)
4
1.2. Technical Data
Nominal Volume Flow: 70% of maximum volume flow
Maximum Volume Flow
gem. VO1254/2014 EU
Characteristic Data/Operation Modes
Number of Operation Modes
17
Number of Speed Levels in Reverse
5
Ventilation Volume, m³/h
15 -55 (Level 1-5)
Ventilation volume in “Maximum
Ventilation” operation mode, m³/h
up to 110 (2 fans)
Heat Recovery Rate, %
70 – up to 83%
Noise Level, dB(A)
17 – 45
Voltage, V
230 VAC or 12 VDC
Operating Voltage, VDC
7-15
Power Consumption,q
vn
1
, W
4,4
Power Consumption at Maximum
Ventilation q
vmax
2
, W
7,4
Type of Heat Exchanger
Ceramic Heat Accumulator
(Germany)
Diameter of the Mounting Hole, mm
not less than 235
Operating Temperature, °C
-20 up to +50
Size
Minimum length of telescopic pipe – 300mm
Diameter– 226mm
Inner cover: diameter – 240 mm
Outer cover: height – 290 mm
Width – 280 mm
Type of Positioning
Horizontal placement in the outer wall
Maintenance
Filter needs to be replaced when requires.
The installed ventilation unit with heat
accumulator and filter should be checked every
3 months and cleaned if necessary.
Protection Class:
Fan
Control
IP 33
IP 20
Filter
G3
Energy Efficiency Class3A
1
2
3

5
1.3. Quality and Warranty
For production of Ventoxx ventilation systems we use materials of very high quality and
durability, which mostly come from the EU. For the complete range of our products we
provide a 24 month warranty.
The warranty period begins on the day of the invoice.
Warranty is not guaranteed if:
• the device is operated without a filter
• recommended cleaning of the filter and the heat exchanger is not performed regularly
• when the device was technically altered and/or supplemented with unauthorized by Ventoxx
components or connected differently from the installation instructions
• the device was used during site work
• the device was used for drying the rooms (e.g after plastering)
• the transformer isn’t connected properly or installed not according to the installation
instructions
If necessary, and after the warranty has expired, please contact our sales outlets. Our
specialists will check your unit and give recommendations regarding its maintenance.
1.4. Disclaimer
The contents of the present installation instructions are constantly updated and the latest
version is always available to be downloaded from the website www.ventoxx.eu.
These instructionsare in compliancewith the latest version ofthe tested Ventoxx deviceof RV
series. However, minor variations cannot be excluded so we cannot provide any guarantee
that it agrees completely.
After the completion of the installation work, these installation instructions are to be passed to
the respective user or owner. To download this document, please, go to Downloads on our
homepage www.ventoxx.eu.
The Ventoxx ventilation unit is designed for ventilation of living spaces. Improper use of the
appliance may result in damage of the device and/or cause personal injury. In this case, the
manufacturer assumes no liability.
The manufacturer is not liable for damages and losses that come from following reasons
concluded:
Non-compliance with safety rules and installation guide described in this manual or
required by law;
Lack of care for the device;
Use of materials, components and spare parts which are not authorized by the
manufacturer;
Installation onto drywall.
6
1.5. Safety Instructions
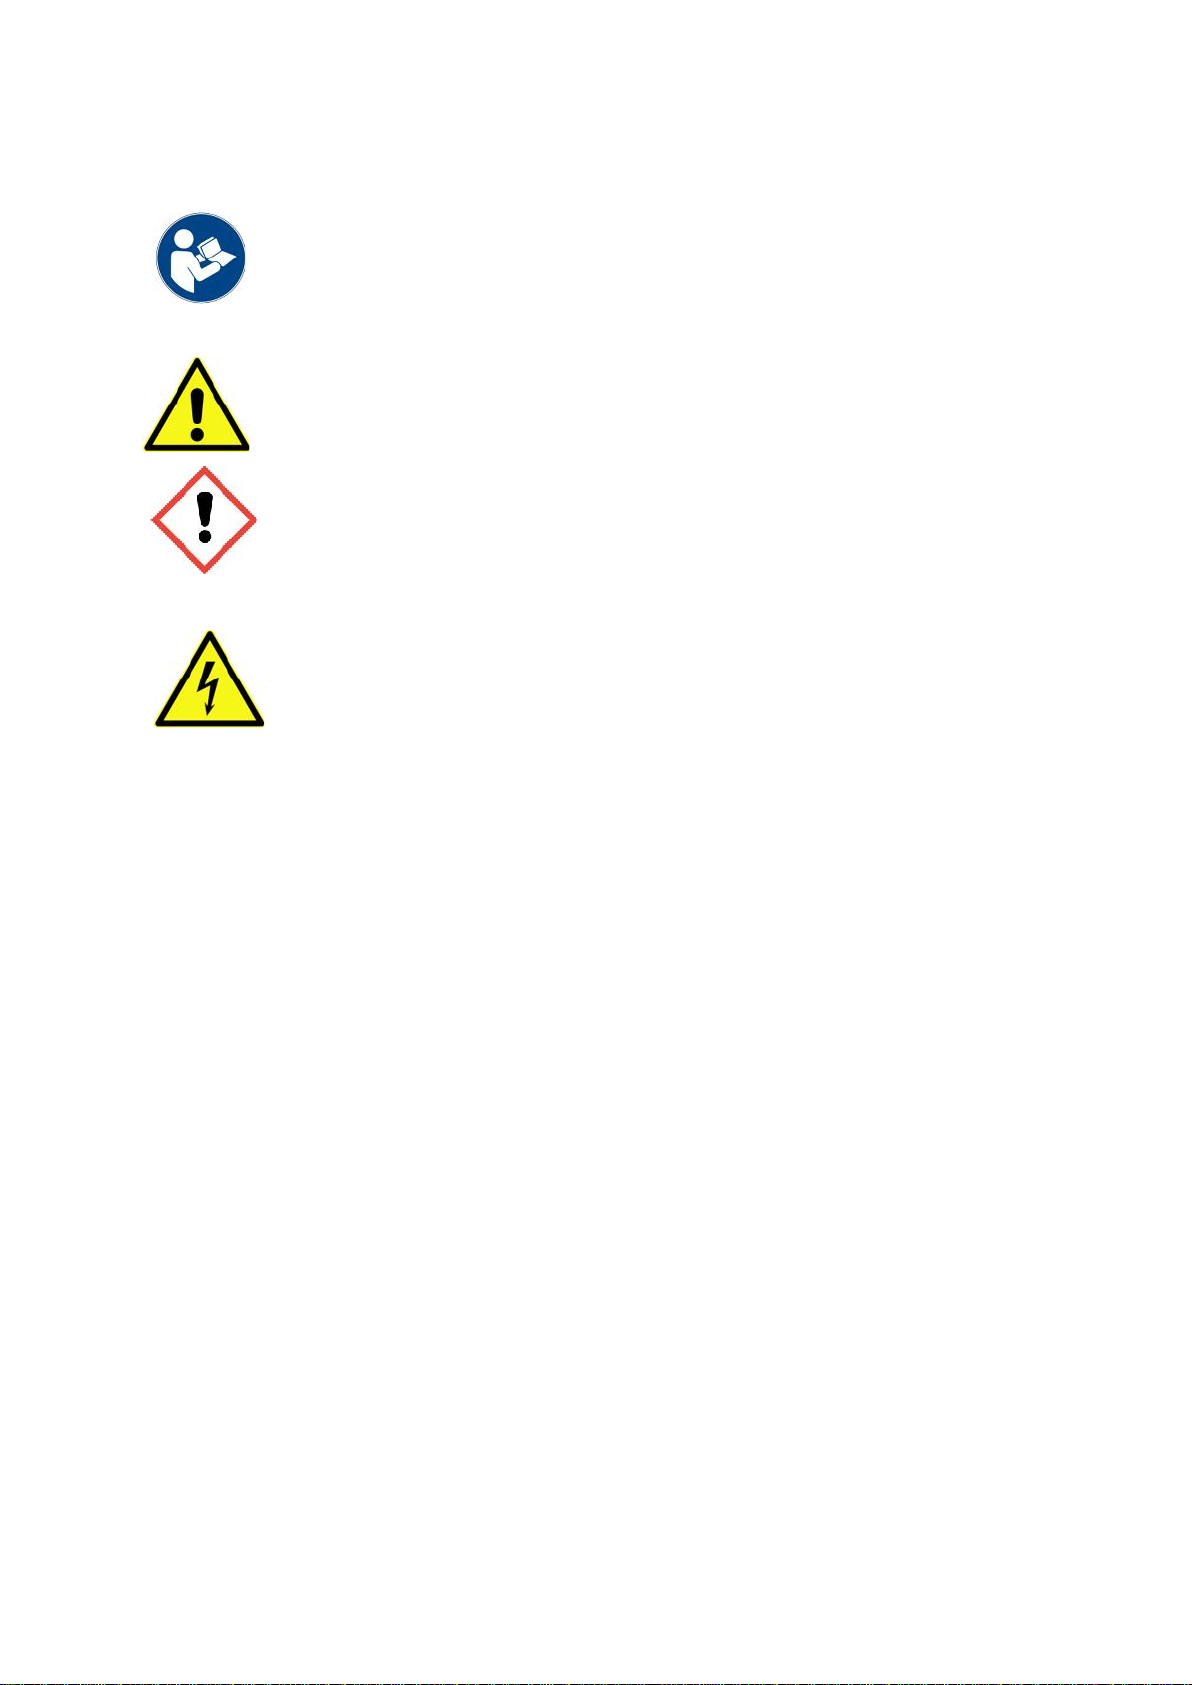
Please read the manual carefully. Here you will find important information
for installation, connection, danger prevention and proper handling of
Ventoxx devices.
This exclamation mark identifies installation and assembly situations in which
there is a high risk of personal injury or property damage, and/or calls for
increased caution to avoid personal injury or property damage.
Here notes are displayed to identify situations, which can possibly cause
problems and damage during installation and/or subsequent operation.
In these instructions you can find this sign identifying situations in which there
is a risk of electrocution. We, Ventoxx Company, encourage such operations to
be carried out by a specialized company.

7
2. Installation
2.1. Installation Documentation
2.2. Legal Installation Regulations
Please, ensure disposal of the device complies with the current building
regulations and lawful accident prevention rules in your country (get more
information with the relevant professional associations).
2.3. Legal Installation Authorization
Please,ensure strict compliance with the legal local requirements for installation
of ventilation and electrical systems in your country. Check your legal
permission for installation.
The ventilation system with heat recovery is a ‘SELV’-equipment (Safe Extra Low Voltage)
which operates only by DC power of 7-15V, however, the Twist Control is connected to 230V
AC according to legal installation authorization required in Germany.
2.4. Installation in Rooms with Open Fireplaces
In case of use of RV 30 equipment produced by Ventoxx Company in rooms
with open fireplaces or stoves, it is necessary to ensure installation complies
with the applicable rules and standards in respective country. Apart from
fireplaces with balanced flue air supply air may be needed for operation of all
other operating units with an open flame. When stoves or other built-in
components and Ventoxx devices of RV product line are used at the same time,
a prior consult from a competent regional chimneysweep is essential because
of the risk of serious personal injury andproperty damage. There is suffocation
threat!

8
2.5. Installation Instructions for ventilation units Ventoxx RV 30,Ventoxx RV 30s,
Ventoxx RV 25
2.5.1. Tools Needed for Installation
For Installation you will need the following listed tools and protective equipment.
Tools:
Level
Utility knife
Core drilling unit with 235 -240 mm drill bits for retrofitting
Phase tester (electrical fitting)
Screwdriver cross medium size (cover installation)
Wrench Size 10 (mounting outer cover)
Wire stripper (for cable mounting)
Spatula (inserting the control installation box)
Hammer and chisel or drill with drilling crown (inserting the receiving box)
Please, use the following protective equipment for installation:
Wear work gloves
Wear protective goggles
Use hearing protection
Wear head protection
Wear safety shoes
2.5.2. Additional Accessories Needed for Installation
The following additional accessories are required for installation, which are not included in the
package:
PU installation foam (please, follow the current safety regulations of your country for
using PU installation foam)
Mounting plaster
Various cables(see section 2.5.8 Cabling on page 12 for details)
 Loading...