

Page 1

TOWEL RAIL INSTALLATION INSTRUCTIONS
Important Information
Installation should be carried out by a qualified professional or other fully competent person and should be installed in
accordance with the relevant British and European Standards (BS5449:1990, BS7593:1992, EN12828:2003 &
EN12831:2003)
PLEASE ENSURE THAT YOU WEAR ALL NECESSARY PERSONAL PROTECTIVE EQUIPMENT FOR YOUR SAFETY.
Please check that all components are present and that you are ENTIRELY happy with the size, design and finish BEFORE
starting installation.
THIS TOWEL WARMER HAS BEEN PRE-FILLED AND ADJUSTED FOR ELECTRICAL STAND ALONE USE. NO FILLING IS
REQUIRED; DO NOT REMOVE ANY OF THE SEALS AS THIS MIGHT CAUSE LEAKAGES AND VOID THE WARRANTY.
Pack Contents
1 x Electric Towel Warmer
4 x Bracket Base
4 x Bracket Stem
FFIITTTTIINNGG TTHHEE TTOOWWEELL RRAAIILL OONN TTOO TTHHEE WWAALLLL
STEP 1
Select your desired mounting position and
check that the wall is sufficiently strong enough
to hold the weight of the towel warmer filled with
water. Mark your preferred bracket positions on the
wall and drill holes as necessary for the fixings that
you are using. The Wall Plugs supplied are only
suitable for solid walls.
Please note: If the wall is other than a solid
construction other means of fixings will be required.
STEP 2.
Screw the Bracket Base to the wall
using the Wall Screws and Washers provided.
STEP 3.
Loosely fit the Bracket Stems to the towel
warmer with the Bracket Fronts and Bracket
Screws.
STEP 4.
Align the Bracket Stems with the Bracket Bases
and push the towel warmer back into position.
STEP 5.
Tighten the Bracket Screws with a screwdriver.
STEP 6.
Insert the Mini Screws into the Bracket
Bases and tighten with a screwdriver
to lock bracket into position.
STEP 7.
Push the Cover Caps into position on the
Bracket Fronts.
4 x Bracket Front
4 x Bracket Cover
4 x Wall Plug
STEP 1. STEP 2.
STEP 3.
STEP 5.
4 x Wall Screw
4 x Washer
4 x Bracket Screw
4 x Mini Screws
STEP 4.
STEP 6.
STEP 7.
Page 2
CCOONNNNEECCTTIINNGG TTHHEE TTOOWWEELL RRAAIILL
Always switch off the electricity supply at the mains during installation.
The power supply to the towel rail must be protected, in accordance with applicable standards, by a 30mA differential circuit breaker, 16A rated. Before carrying out any connection tasks, cut off the power supply to the electronic regulator using the
circuit breaker or the protection fuse in the power supply circuit.
Connecting the power supply cable to the mains (220V-240V AC)
220 V~ - 240 V~ +10 % -10 % 50Hz Single phase power supply. Connect the power supply cable to the mains: -
Neutral (N) = Blue wire – Live (L)= Brown wire – Earth( ) = Green and yellow wire (if the product is Class I).
The wires must be connected in an electrical connection box which complies with applicable standards.
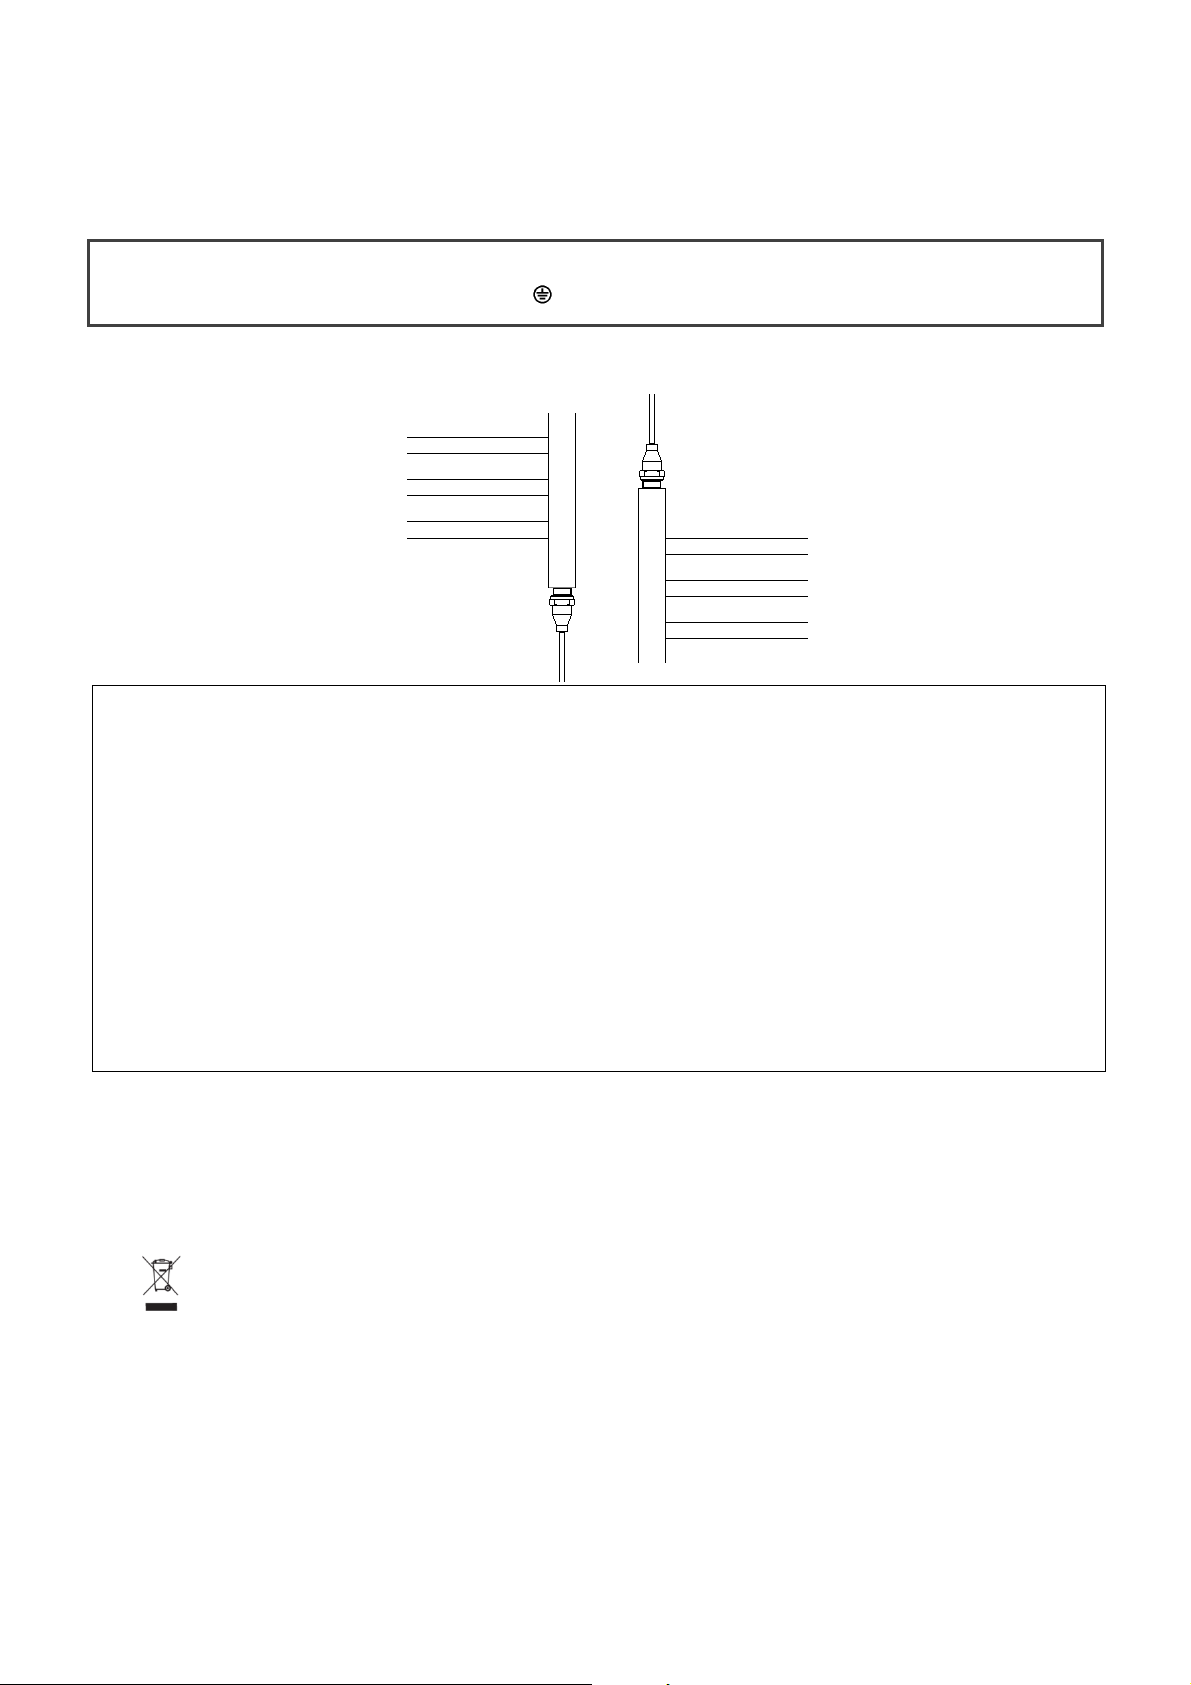
Please NOTE: (as per the illustrations below) that the heating element must always be located at the
bottom of the rail (eitherside). NEVER from the Top.
9
WWAARRNNIINNGGS
Please read all these instructions carefully before using this device. Save these instructions for future use.
• Before use, please check that the supply voltage and that of the appliance are the same (see product rating label).
• Always switch off the electricity supply at the mains during cleaning and maintenance.
• Electrical safety is guaranteed only if the element is connected to a suitably earthed electricity supply, according to the regulations
in force.
• In case of damage to the supply cord, switch off the device and do not tamper with it. Damaged supply cords can be rectified only
and exclusively by the manufacturer or by an appointed representative. Failure to comply with the above may endanger the safety
of the whole system.
• The wires must be connected in an electrical connection box which complies with applicable standards.
• The towel rail will get very HOT so is NOT suitable for use in locations where this could cause a hazard (e.g. where infirmed
persons or young children will be present unsupervised).
• Fitted inside the heater are two separate protection devices to prevent over-heating of the rail. These are a thermostat and
thermofuse.
• The element must be permanently connected to a suitable electricity supply by way of the cable provided. This should be via a
fused spur in accordance with the IEE Wiring Regulations (BS7671). If sited in a bathroom, the Fused Connection Unit must be
located out of reach of persons using the basin, shower or bath. If in doubt, consult a qualified electrician.
CCAARREE AANNDD MMAAIINNTTEENNAANNCCEE
• Regular cleaning with a soft cloth will keep the surfaces of your towel warmer looking new.
• Soapy water can be used to remove stubborn stains and then buff dry with a soft cloth.
• Do not use abrasive or chemical cleaners to clean your towel warmer as these will damage the surface finish over time.
8
S
DDIISSPPOOSSAALL
This appliance must be disposed of through the appropriate recollection centres to be recycled. In case of replacement it
can be sent back to your distributor.
This handling of the product’s end of life will allow us to preserve our environment and curb the consumption of natural resources. This symbol applied
on the product, indicates the obligation to consign it to a special recollection centre to be disposed of in accordance with European Directive WEEE
2002/96/EC guideline. The manufacturer reserves the right to modify the product without previous notice for technical or construction improvements.
447899A SUPPLIED BY APL 0911
 Loading...