

Venetex RM-LP20G Operation Manual
Remote Control Unit
RM-LP20G
Operation Manual
Thank you for purchasing RM-LP20G.
This document contains the important information.
Please be sure to read “Important Safety Instructions” section before operating the product.
Please keep the Operation Manual in a secure place for future reference.
Rev.1.0

2
Trademark Notice
Microsoft Windows and Microsoft Explorer are trademarks of Microsoft Corporation in the United States
and other countries. The manual omits the abbreviation such as TM (trademark),
R (registered trademark) and C (copyright).
Copyright
Copyright all other rights relating to the program and document accompany the Application I/F library are
own by Venetex.
Right of use
The User may not delete or back up copy the Application I/F library unless the user obtains the advance
written permission of Venetex.
Application I/F Windows XP is legally recognizes as Microsoft Windows Operating System.

3
Index
1. Important Safety Instructions.................................................................................................................... 4
2. Note on Using........................................................................................................................................... 7
3. Supplied Accessory.................................................................................................................................. 7
4. Summary .................................................................................................................................................. 7
5. Feature ..................................................................................................................................................... 7
6. Explanation of Control Panel .................................................................................................................... 8
6.1 Control Panel front view and functions................................................................................................ 8
6.2 Rear and Side Panel......................................................................................................................... 12
7. Operations.............................................................................................................................................. 14
7.1 System example ............................................................................................................................... 14
7.1.1 Preparation................................................................................................................................. 14
7.1.2 Connection ................................................................................................................................. 14
7.1.3 Set Up ........................................................................................................................................ 15
7.2 Shutter Setting .................................................................................................................................. 16
7.3 Gain Setting ...................................................................................................................................... 17
7.4 White Balance adjustment ................................................................................................................ 18
7.4.1 Set Up ........................................................................................................................................ 18
7.4.2 Automatic Adjustment................................................................................................................. 18
7.4.3 Manual Adjustment..................................................................................................................... 18
7.5 Indicator Adjustment ......................................................................................................................... 19
7.6 Rear Port Input and Output............................................................................................................... 20
7.7 DIP Switch Set.................................................................................................................................. 21
7.8 Remote Connector Specification.............................................................................................
.......... 22
8. Specification ........................................................................................................................................... 22
9. Dimension .............................................................................................................................................. 23
10. Warranty and Customer Support and after sales support..................................................................... 24
4
1. Important Safety Instructions
(Please be sure to follow the following guideline.)
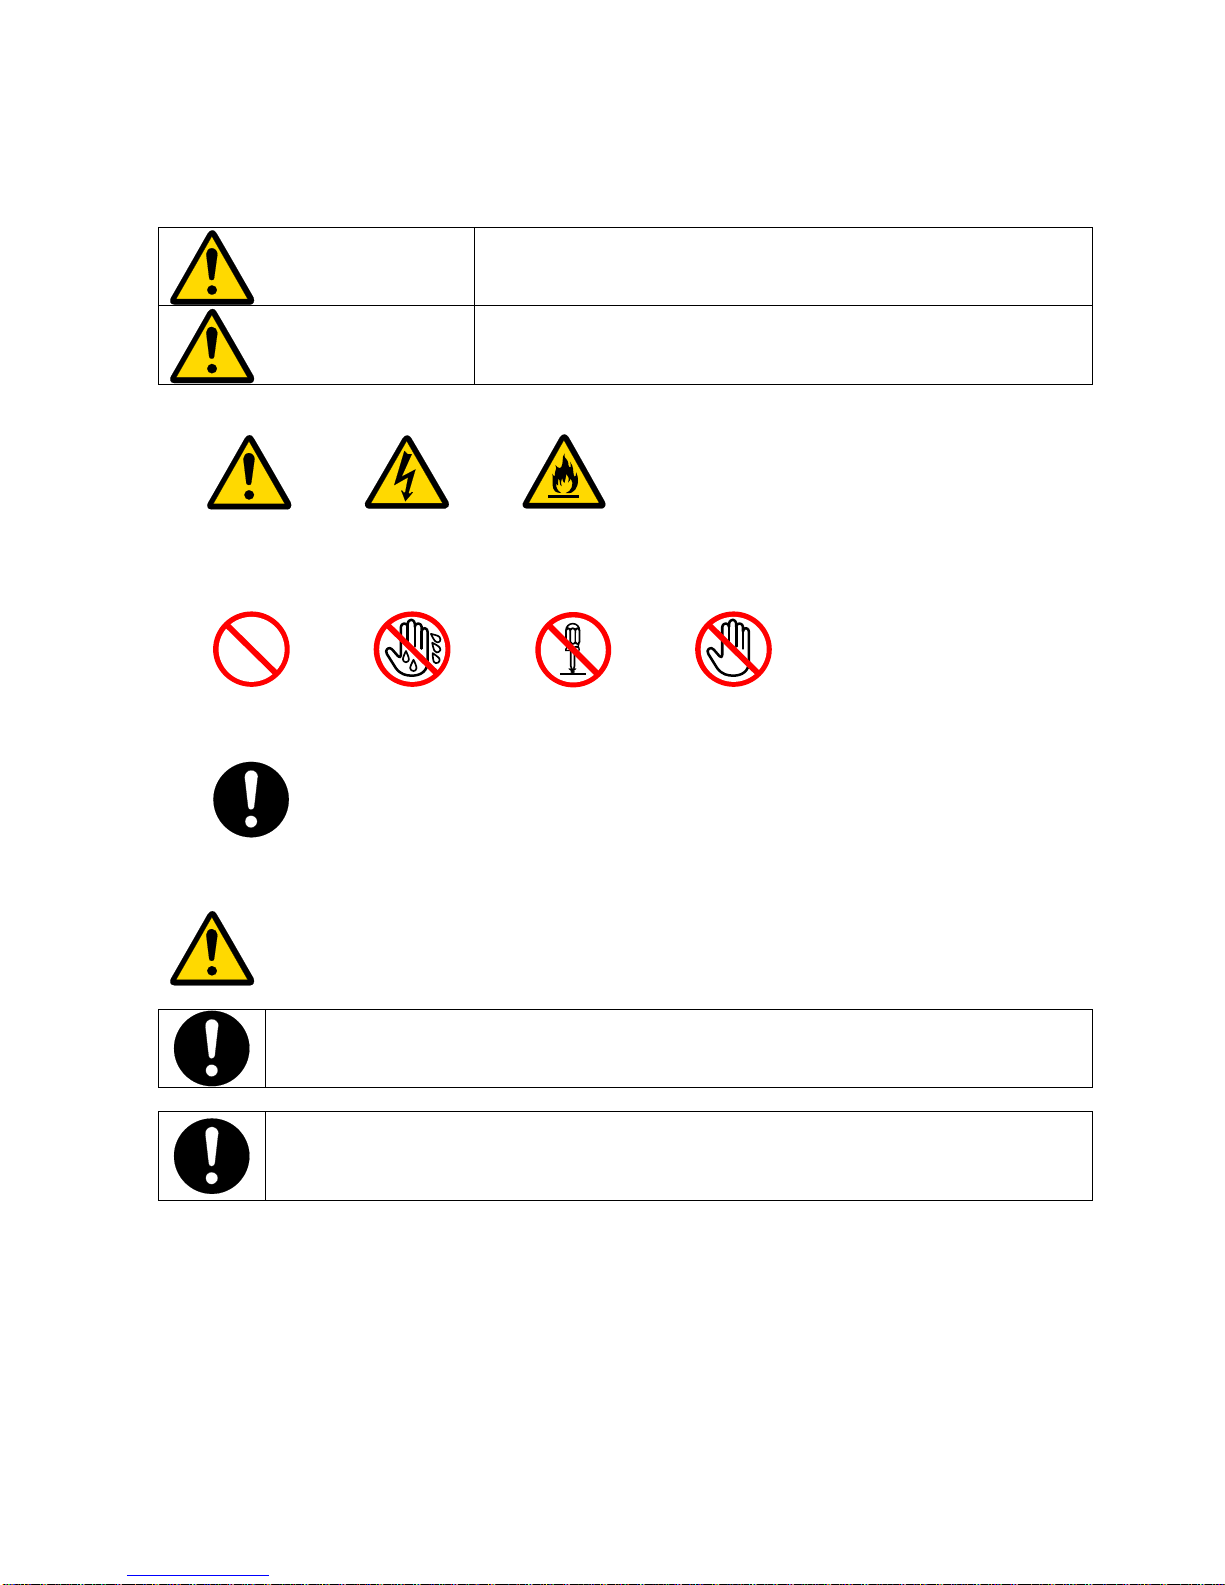
The following symbols and discretion are used to categorize the degree of harm that may cause as a result
of failing to follow instructions for operation. Please pay attention the symbols and read though following
instructions.
W
arning
The action may cause a “possible risk of serious personal injury or
death”.
Caution
The action may cause a “possible risk of personal injury or property
damage”.
■ The symbol indicates “Caution”.
General
caution
Electric
shock
Caution of
ignition
■ This symbol indicates “Do not try actions”.
Prohibited No wet
hand
Do not
remove
Do not
touch
■ This symbol indicates “Put into action”
General
indication
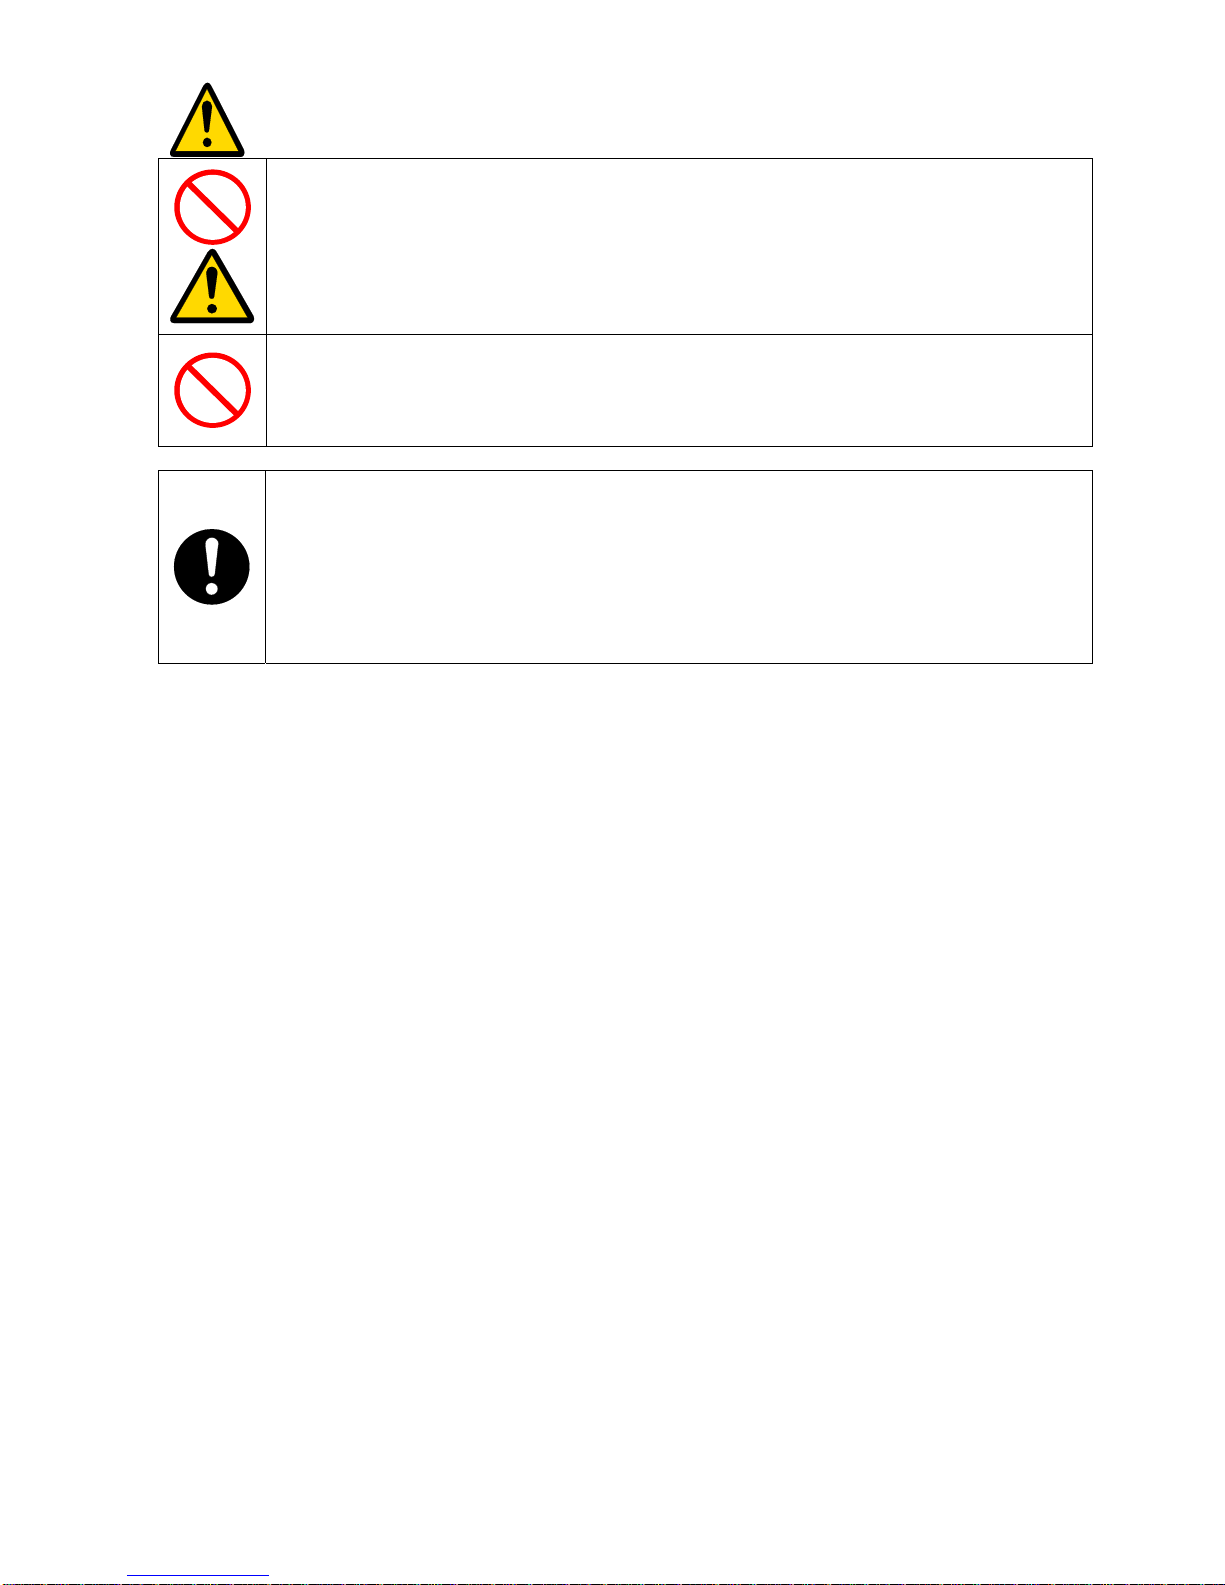
Warning
Transport the apparatus;
Do not transport the apparatus with connected the cable. Please unplug the cable when
transport the apparatus.
Misuse may damage the cord and cause fire and electric shock.
Maintenance and cleaning;
Always the cables when cleaning the apparatus.
It will prevent fire and electric shock.
5
Caution
This device is not design for the mounting inside of the wall or rack. If you want to use
this devise for special purpose, please ask for Venetex customer support.
Don’t operate this device near the strong magnetic field. It causes the image distortion.
Don’t operate this device near CRT type TV and power transformer. It may cause the
noise image distortion.
Don’t stack cameras.
It may cause overheating and noise. This may cause breakdown and accident.
Don’t give any unnecessary shock. This may damage this device.
Cleaning;
Do not use water and alcohol for cleaning.
Always unplug the AC plug and it should be cleaned with a dry cloth.
Do not install near any heat sources such as radiators, heat registers,
stoves, or other apparatus (including amplifiers) that produce heat.
Refer all servicing to qualified service personnel. Servicing is required
when the apparatus has been damaged in any way, such as objects
have fallen into the apparatus, the apparatus has been exposed to
moisture, does not operate normally, or has been dropped.

6
Other cautions;
When it is thunder storm or during extended period, it may happen that this device may not work
properly.
While you are handling the input and output terminals of this device , please removal of static electricity
in advance.
Copy right;
Taken image cannot use for commercial with having the permission. Were taken image with this camera is
use to the public.
It may infringe that are protected by copyright law, the rights of right holders, please
note.
For the taken image, please pay attention to the copyright law, It cannot be used because of the Copyright
Act.
Protecting the identity privacy protection and personal information
Please pay attention to “Personal information”.
It is mandatory to follow
"Act on the Protection of Personal Information". In accordance with the law,
please properly handling image information.
Disclaimer;
Venetex takes any responsibility for the taken image by this device, such as invasion of privacy has
occurred, it does not assume any responsibility.
Failure due to inconvenience and was generated by this unit, Venetex assumes no responsibility.
For interference;
RM-LP20G conforms to the class A approval.
May cause radio interference, when you use this device at in home environment. In this case, the user
may be required to take adequate measures.
Disposal;
Please follow the laws and regulations of each country.

7
2. Note on Using
Operating temperature is from 0℃ to +40℃.
Operating humidity must be kept between 30%RH to 80%RH.
Be sure to turn off power when you disconnect the cables.
Please not place this device in area subject to moisture or excessive dust. Please avoids dew
condensation, it may cause the damage the lens which is consist of small precision parts.
The product should be cleaned only with a dry cloth. Please unplug the cables before cleaning this
device.
Please not use
volatile chemicals like benzene or thinner. Please read the instructions carefully, when you
use a
chemically treated cloth,
3. Supplied Accessory
The supplied accessory is as follows.
・ Operation Manual
・ Warranty Card
After opining of the carton box of RM-LP20G, please confirm the above items.
If there is missing or damaged, please contact the dealer where you purchased
4. Summary
RM-LP20G is a cost effective and simple remote unit that provides low-cost studio system as peripheral of
CCU.
It works with GY-HM790 and GY-HM750.
5. Feature
RM-LP20G can set various parameters, direct connection the remote terminal of GY-HM750 or GY-HM790.
It also works as a remote controller of the camera Control Unit RM-HP790.
8
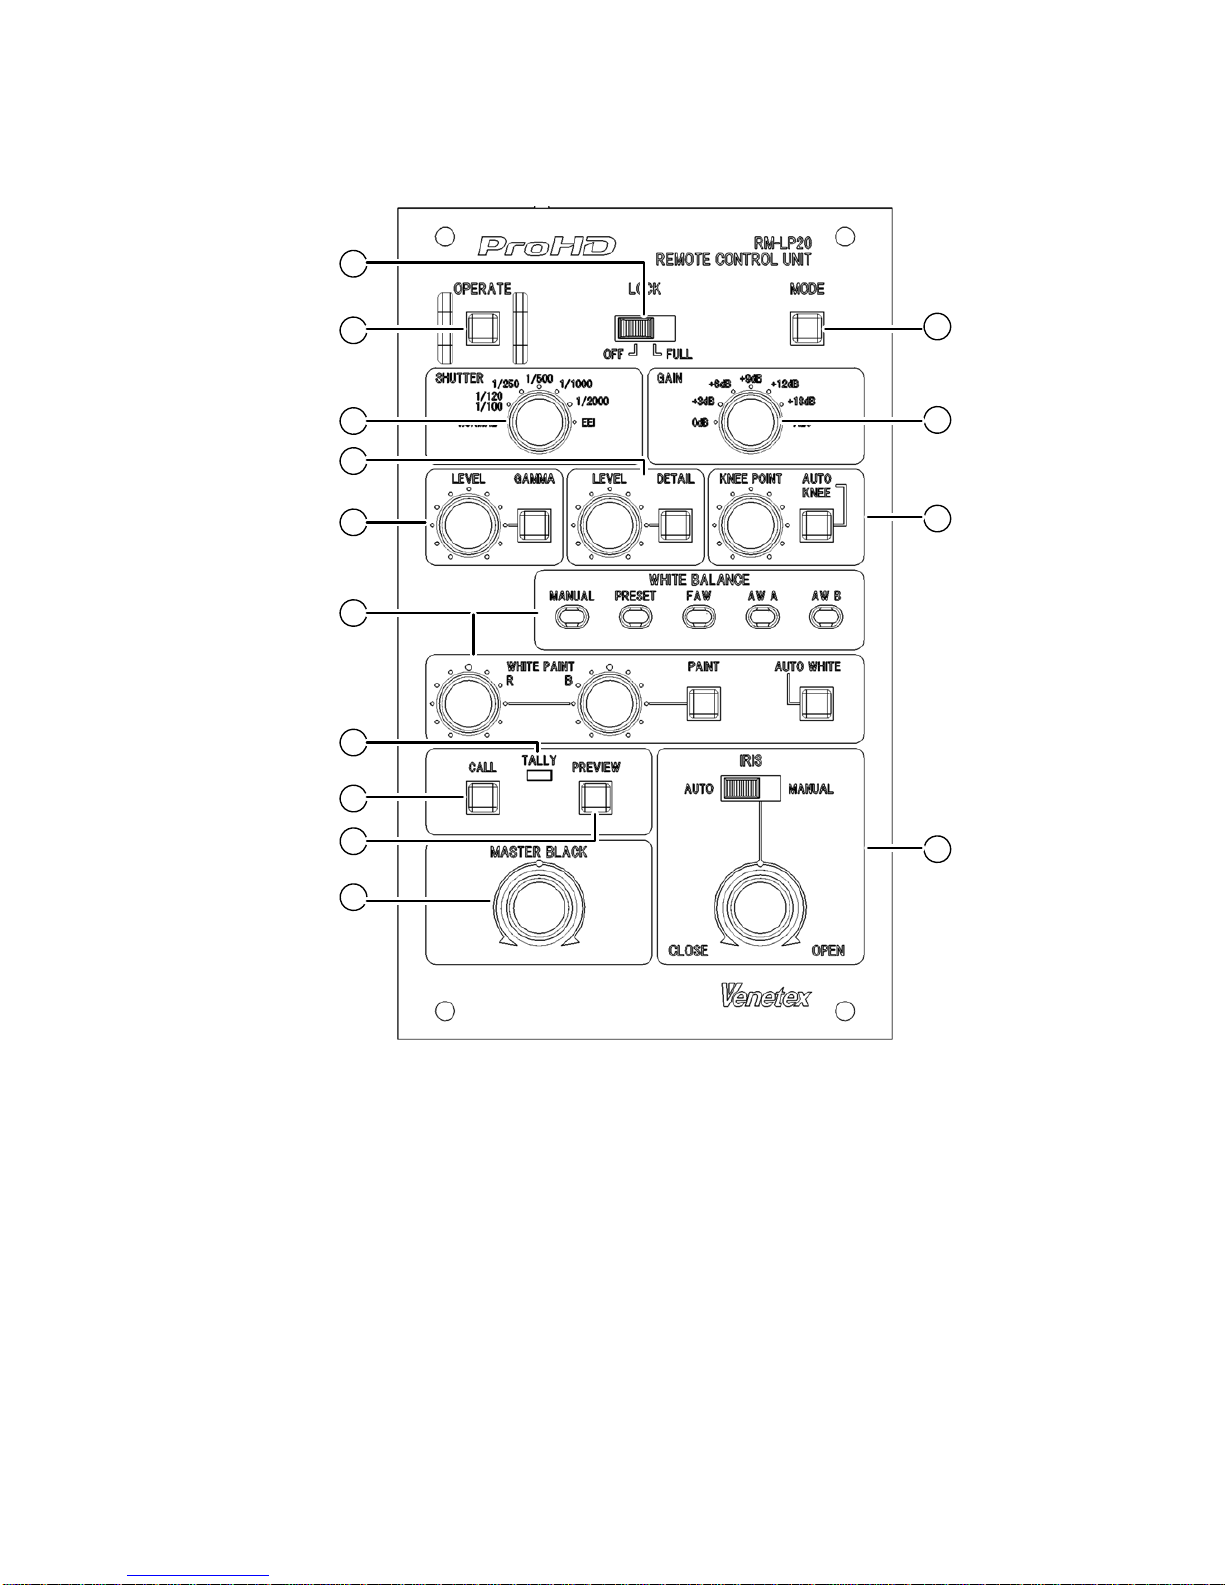
6. Explanation of Control Panel
6.1 Control Panel front view and functions
1
2
3
4
5
6
7
8
9
10
12
13
14
11
① [LOCK] : Operation Lock Switch
You can lock the functions of the state that was set in RM-LP20G.
OFF: lock is released and it is possible to operate all features.
FULL: It locks all functions of the operations except TALL, PREVIEW, CALL.
② [OPERATE] : Operation Button and Indicator
ON (Green light turn on): It is possible to control camera.
OFF (Green light turn off): It does not operation
Green color blink: Communication for Initial setting.
③ [SHUTTER] : Shutter Speed Control
Set up the shutter speed.
④ [DETAIL] / [LEVEL] : Detail Control Area
[DETAIL] : Detail Button and Indicator
This button has ON/OFF function which determines the detail (contour) enhancement Adjustment.
 Loading...