

Page 1
VEMOCO International R3.10
Page 2
VEMOCO
Installation Guide
VEMOCO device features
Vehicle diagnostics
Fuel consumption measurement
Driving style logging
Vehicle protection
Accident alert
GPS tracking
Vehicle tracking
Easy installation (without technical assistance)
Device Installation
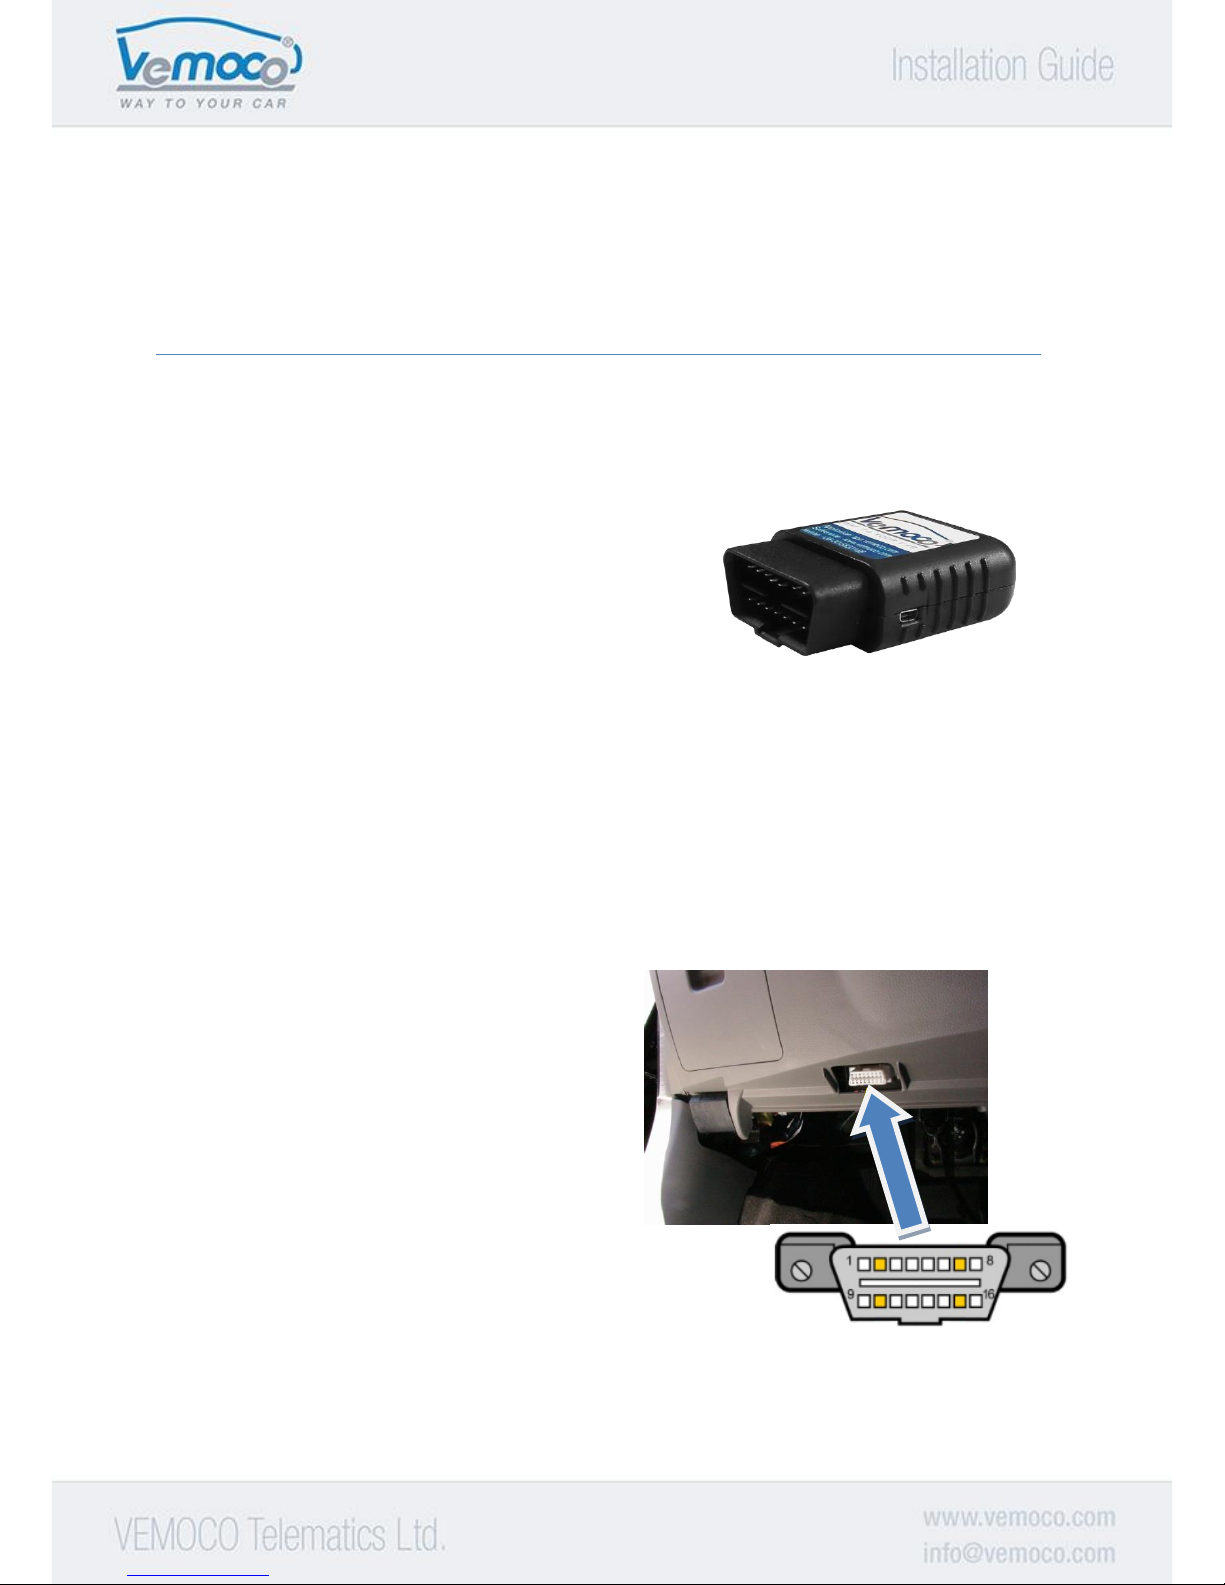
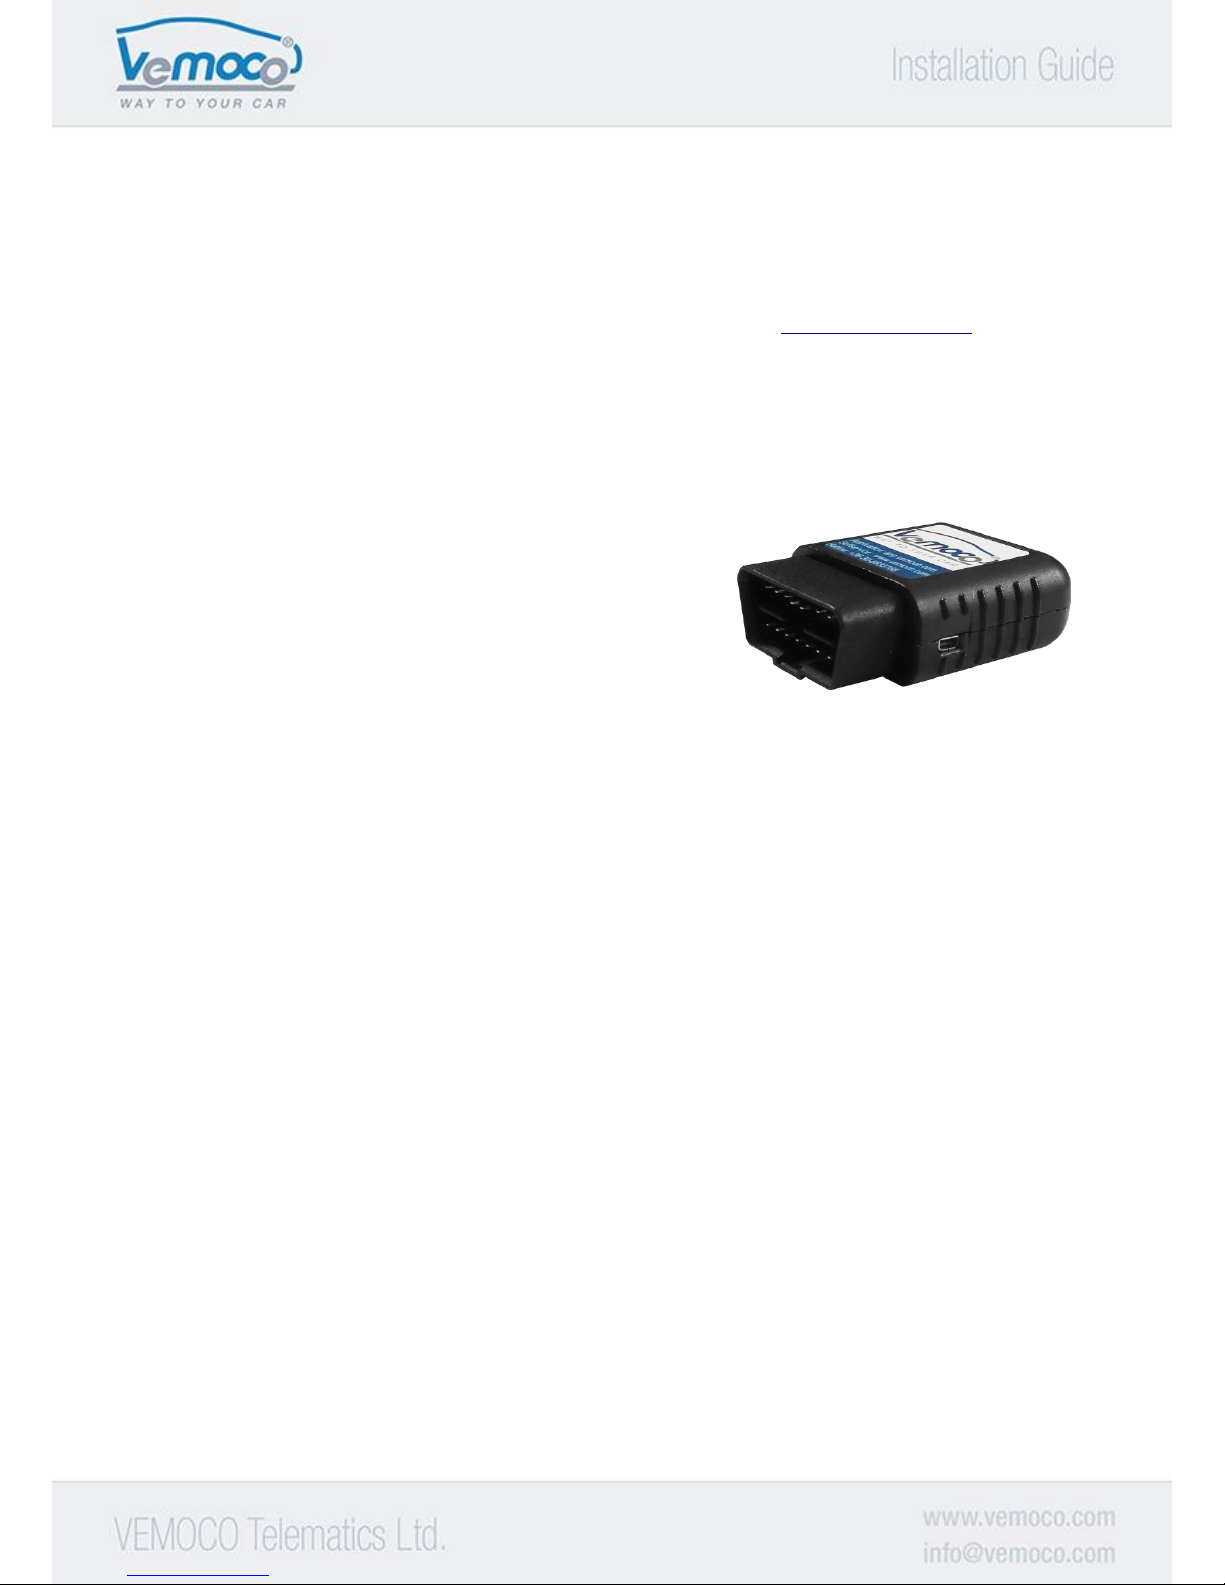
You can install the VEMOCO device immediately when you receive it by connecting it to vehicle’s OBD II
connector (see Fig. 1), technical assistance is not required for the installation. The exact location of the
connector varies by model, most of the time it is located at the driver’s side below the steering wheel.
Before connecting the device, please make sure that the vehicle is set in a stationary position, the
ignition key is removed and all devices are switched off.
If the device is connected, installation is ready. It
takes approximately 5 minutes for the GSM cellular
module to connect to the mobile operator and for
the GPS receiver to provide accurate location data.
During this period you may install the mobile app to
your phone. When the vehicle is stationary, the
device automatically enters sleep mode, thus
preserving battery life.
In some vehicles, the structure of the chassis may
prevent the uninterrupted reception of GPS signals.
In such a case it is recommended to use the OBD II
extension cable, available at the VEMOCO webshop
for an additional price.
Page 3
Installation of the mobile application
The free VEMOCO mobile application is compatible with smartphones and tablets using ANDROID
(Android 2.3 and above) and iOS (iOS 4.3 and above) operating systems.
Installation to Android devices
The app can be found and downloaded from the Google Play Store (https://play.google.com/store) by
searching for “VEMOCO”.
If downloading from the store is not available, you may download the application directly using the URL
http://www.vemoco.com/android
To do so, you need to set the permission for the installation of third party applications by enabling
Settings / Applications / Unknown sources (for Android 2.3)
Settings / Security / Unknown sources (for Android 3.0 and above)
After successfully downloading the app, please select the Install option. You may find the application on
your phone under the name VEMOCO, represented by the launch icon seen below.
VEMOCO
Following the installation you can start the app. Before you start using it, you need to log in with the
login name and password you received during the purchase procedure. The login data is also sent to the
e-mail address you provided. The login name and password can be changed later using the online
application.
Installation to iOS devices (iPhone, iPAD)
The app can be found and downloaded from the Apple App Store (https://store.apple.com) by searching
for “VEMOCO”.
If downloading from the store is not available, you may download the application directly using the URL
http://www.vemoco.com/iphone
After successfully downloading the app, please select the Install option. You may find the application on
your phone under the name VEMOCO, represented by the launch icon seen below.
Page 4
VEMOCO
Following the installation you can start the app. Before you start using it, you need to log in with the
login name and password you received during the purchase procedure. The login data is also sent to the
e-mail address you provided. The login name and password can be changed later using the online
application.
Accessing the VEMOCO service’s website
In addition to the mobile applications, you can also use our online service which provides an extended
range of functionalities. You can log in using the same login name and password as for the app, the login
data can also be modified here. The VEMOCO service website is available at http://app.vemoco.com
Congratulations, as you have successfully installed the VEMOCO device, mobile app and logged in to our
online service, you are now ready to use the service. We wish you a pleasant experience.
Taking care of your VEMOCO device
It is your responsibility to provide appropriate operating conditions for the VEMOCO device installed
and used in your vehicle. The following operational guidelines will help you to preserve long-term
trouble-free operation of the device.
1. Device disconnection
The device automatically detects when it is disconnected from the vehicle’s system.
It is your responsibility to ensure that the device is connected and to reconnect it in case
it was disconnected.
2. When bringing the vehicle to a service station
To enable us to provide you an uninterrupted service, please inform us when you bring
your vehicle to a service station. We recommend the removal of the device before visiting
the service station. As an alternative solution it is recommended to have it noted on the
service worksheet that the vehicle has a device connected to the OBD II port and that this
device is to be reconnected by the maintenance technician following servicing
procedures.
It is your responsibility to verify the connectivity of the device both before and after
servicing.
Page 5
3. When using car cleaning services
If a third party is accessing the passenger compartment to work there, it is your
responsibility to verify the connection of the VEMOCO device and to re-connect it in case
of it being unplugged.
4. When removing the device
If you uninstall the VEMOCO device from your vehicle, please make sure to store it in a
location in compliance with general electrical device storage rules: store in a secure
location without excessive temperature fluctuations and keep away from moisture.
5. When reconnecting the device
If you reconnect the device, please verify normal operation by checking the green, amber
and red status LEDs. LEDs are blinking slowly under normal operating conditions. In case
of an error, please remove and reconnect the device, keeping in mind the appropriate
connector alignment and secure connection.
If the status LEDs are still not blinking slowly, please contact VEMOCO Customer Service
by calling 00 36 30 683 3168.
Customer Service
VEMOCO
Page 6
Additional practical information
Troubleshooting
If you encounter difficulties using the product, please send us an email at [email protected] and we
will be back to you within 24 hours. On week d a y s you may also call us at 00 36 30 683 3168.
Operation of status LEDs
Status LEDs are located on the front side of the device below the blue sticker area:
Red LED: Power ON/OFF signal. Slow blinking denotes
powered ON state and normal operating
conditions.
Amber LED: Data connection status. Rapid blinking denotes an
ongoing GPRS connection procedure. Slow
blinking denotes that the connection has been
successfully established.
Green LED: GPS status. Rapid blinking denotes an ongoing GPS satellite acquisition procedure. Slow
blinking denotes that the satellite signals have successfully been acquired and they are
continuously received.
Page 7
Detailed technical specification:
16 pin connector
OBD-II connector
Red LED
Power status
Amber LED
Data connection status
Green LED
GPS reception status
USB port
Firmware upgrade and debugging
GPS antenna
Integrated
GSM antenna
Integrated
CPU
ARM7
GPS module
U-Blox
Location accuracy: <2.5m
Speed determination accuracy: 0.1m/s
GSM module
GSM900/1800MHz
GSM850/900/1800/1900MHz
3D acceleration sensor
Domain: ±2g/±4g/±8g
Dynamic, optional
Output Data Rate (ODR): 1.56-800Hz
Protocol
ISO 15765-4 (CAN)
ISO 14230-4 (Keyword Protocol 2000)
ISO 9141-2 (Asian, European, Chrysler vehicles)
SAE J1850 VPW (GM vehicles)
SAE J1850 PWM (Ford vehicles)
ISO 15765
ISO 11898 (raw CAN)
SAE J1939 OBD protocol
Material
ABS
Physical dimensions
62mm*48mm*20mm
Mass
60g
Supply voltage
9 - 32V
Current consumption
70mA operational current, 20mA sleep current
Operating temperature
-20°C - +55°C
Operating humidity
max. 95%
Page 8

 Loading...