

A u t o m a t i c
Hand dryer
ver 1.1
HIGH SPEED
T15HD/BS
T15HD/SS
T15HD
F1 Hand Dryer
VUK019
VUK019S
VUK018
Operating Instructions and Parts Manual (Automatic)
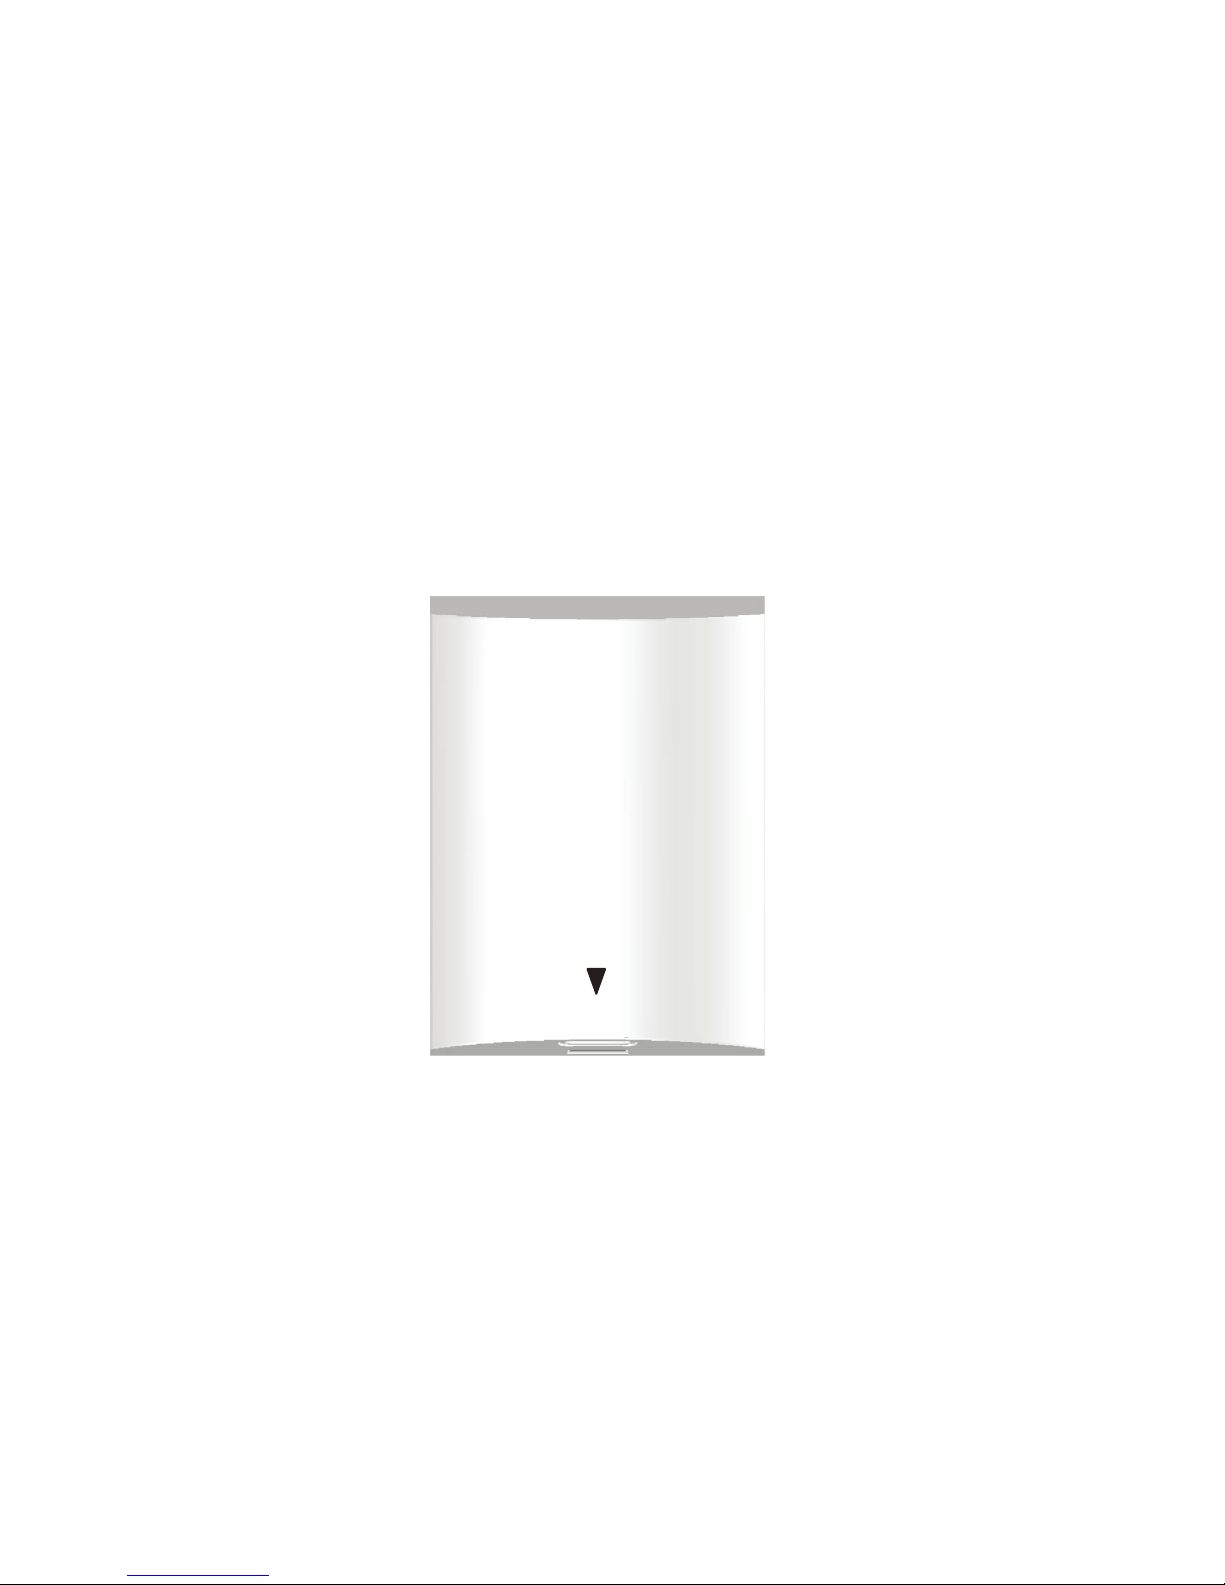
Surface Mount
Hand dryer
HIGHSPEED
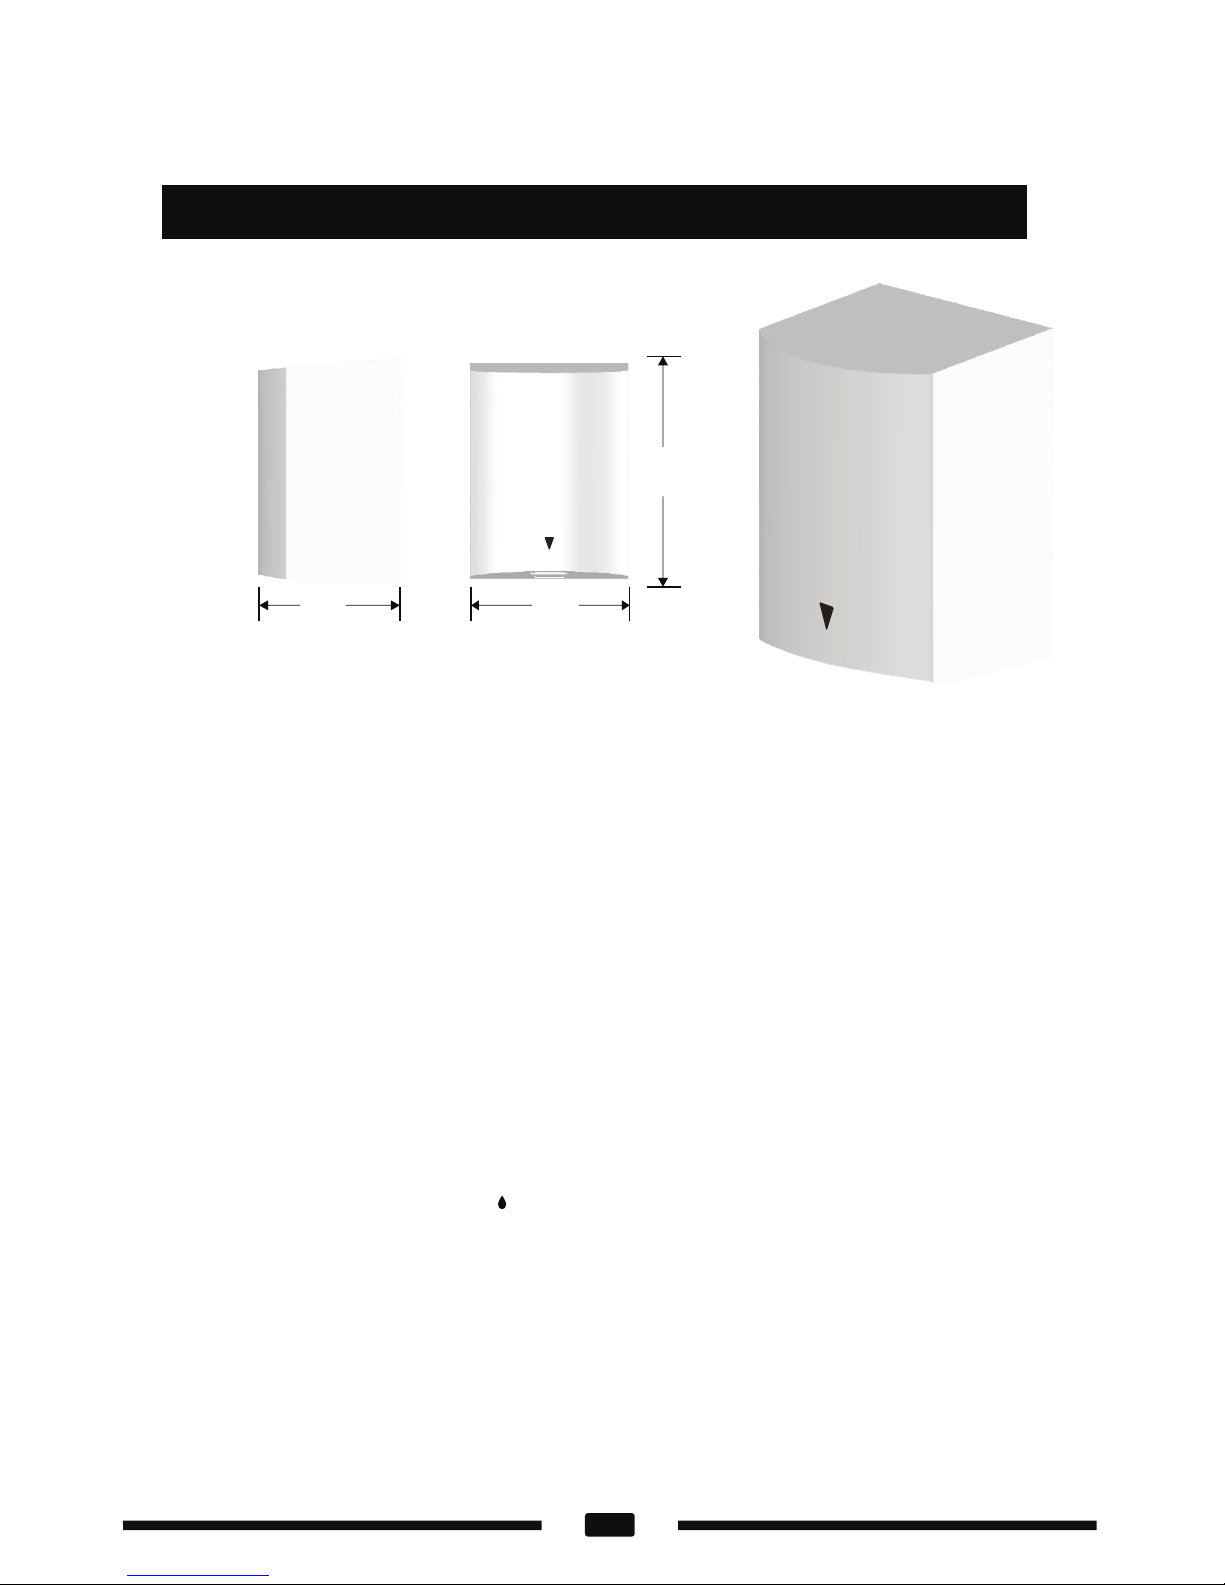
277 mm
201 mm175 mm
ITEM CATEGORY
Operating Voltage
Warm Air Speed Output
Motor Type
Motor Thermal Protection
Heater Element
Heater Thermal Protection
Drying Time
Stand-by Power
Circuit Operation
Sensor Range
Timing Protection
Drip proof
Isolation
Net Weight
Shipping Weight
Unit Size
Cover Type
PERFORMANCE DATA
TECHNICAL SPECIFICATIONS
1
220-240Vac, 50/60 Hz, 1.34-1.6 kW
75-100 m/s (169-225 mi/hr), Adjustable
350-700W, 12000-18000 R.R.M, Adjustable;
Brush Type, Dual Ball Bearings
Auto Resetting Thermostat turns unit off at 105°C (221°F)
450-900W, Adjustable
Auto Resetting Thermostat turns unit off at 85°C (185°F)
Less than 15 seconds
Less than 0.5W
Infrared Automatic, self adjusting
Auto adjust; standard 15 cm±2 cm (6”)
60 seconds auto shut off
IPX1
CLASS 1
Stainless steel; Bright finish. (#304 t:1.5 mm)
T15HD/SS - Stainless steel; Satin finish. (#304 t:1.5 mm)
5.8 kgs (12.8 lbs)
6.6 kgs (14.6 lbs)
201 mm W x 277 mm H x 175 mm D (7-29/32" x 10-29/32” x 6-57/64")
T15HD - Steel; White porcelain enamelled (t:1.6mm)
T15HD/BS -
VUK018 - Steel; White porcelain enamelled (t:1.6mm)
VUK019 -
VUK019S -

Operating Instructions and Parts Manual
Hand Dryer
Surface-mounted high speed hand dryer
2
General safety information:
-- NOTE: Do not install dryer over washbasin --
Disconnect power at the
service breaker before installing or servicing.
NOT FOR HOUSEHOLD USE - MAY CASE BURNS.
" IMPROPRE A L'USAGE DOMESTIQUE - PUET OCCASIONNER."
This product is intended
for installation by a qualified service person.
2
Use 1.0 mm solid conductor for wiring.
All units must be supplied
with a 3-wire service. The ground wire must
be connected to the dryer's backplate.
Failure to properly ground
unit could result in severe electrical shock
and/or death.
Installation
1. Make sure power supply breaker is switched off. Installation must be carried out in accordance
with the current edition of the local wiring regulations code having jurisdiction. Installation should
be performed only by a qualified electrician.
2. Place template against wall at desired height (see mounting height recommendations) and mark
locations of 4 mounting holes and wire service entry at knockout (KO) location.
Note: For two or more dryers, dryers should be no closer than 610mm (24") on center.
3. Remove and retain 2 cover screws and cover.
4. Connect supply wires to terminal block where indicated and connect ground wire to base plate
with ground screw (Connections: A. Connect the live wire (colored red or black) to the terminal
block marked "L". B. Connect the neutral wire (colored white or blue) to the terminal block marked
"N". C. Connect the ground wire (colored green or green and yellow) to the green screw marked " ").
Note that colors of live and neutral wires depend on voltage of supply service.
5. Replace cover. Do not over-tighten screws.
Type Y attachment
If the power supply cord is damaged, it must be replaced by the manufacturer
or its service agent or a similar qualified person in order to avoid a hazard.
Means for disconnection must be incorporated in the fixed wiring in
accordance with the wiring rules.

Operation
No-touch operation
Shake excess water from hands.
Place hands under the outlet to start operation.
Rub hands lightly and rapidly.
Stops automatically after hands are removed.
Periodic cleaning of the unit is recommended to ensure optimum performance.
Cleaning and Maintenance
Disconnect the electrical supply.
Remove the two cover-mounting screws.
Remove the cover.
Clean all dust lint from the interior of the dryer.
Replace the cover. Do not over tighten the screws.
Wipe the cover with a damp cloth and mild
cleaning solution. Do not Soak. Never use
abrasives to clean the cover.
Recommended mounting heights
- from bottom edge of dryer above finished floor (AFF)
Men
Women
Children 4-7 years
Children 8-10 years
Children 11-13 years
Children 14-16 years
Handicaped
(38") 960 mm
(32") 812 mm
(34") 860 mm
(36") 910 mm
(38") 960 mm
(34") 860 mm
(40”) 1000 mm
Operating Instructions and Parts Manual
Hand Dryer
Surface-mounted high speed hand dryer
3
Warm aır speed adjustment
Use flat blade screwdriver small enough to fit through access hole {Ø4,8mm [Ø3/16"]} in bottom grille of
cover (item 1). The adjustment potentiometer (item 20) is visible through the slots of the grille. With
respect to axis of screwdriver viewed from handle end, gently turn adjustment potentiometer
shaft clock-wise [CW] to increase power to maximum (shaft will hard stop; DO NOT OVERTURN!). Turn
tool gently CCW to reduce power as required (shaft will hard stop; DO NOT OVERTURN!). Note that at
minimum power the unit may not start if low line Voltage condition exists.
Heater Switch
1.Cut off the power, loosen the screw of the cover
and remove the cover.
2.Adjust the heater switch on the PCB with a
flathead screwdriver.
2.1 Turn the switch to "ON": heater on
2.2. Turn the switch to "1": heater off
Heater Element Switch ON/ OFF
item 1
i 20tem

Operating Instructions and Parts Manual
Hand Dryer
Surface-mounted high speed hand dryer
4
Diagram
T15HD/BS
T15HD/SS
T15HD
(part of item 22)
1
2
3
4
5
6
7
8
9
10
11
12
13
14
15
16
17
18
19
20
21
22
23
VUK019
VUK019S
VUK018

Repair parts list
Operating Instructions and Parts Manual
Hand Dryer
Surface-mounted high speed hand dryer
5
Key Description
Steel - White porcelain enamelled (T15HD)
Stainless Steel - Bright finish (T15HD/BS)
Stainless Steel - Satin finish (T15HD/SS)
Security hex screw (2 reqd.)
Shock absorber
Blower housing - Top
Motor rubber - Large
Motor
Motor rubber - Small
Blower housing - Bottom
Heater assembly
LED assembly
Air outlet
Sensor bracket
Sensor module
Blower housing bracket
Base plate
Nylon hole bushing
Cable clamp
Terminal block
Grounding screw
VR (variable resistance)
VR bracket
Circuit Board Module
Security hex wrench
1
2
3
4
5
6
7
8
9
10
11
12
13
14
15
16
17
18
19
20
21
22
23
(VUK018)
(VUK019)
(VUK019s)
 Loading...