

Page 1
VERSION II
SNAP-ON
LENS HOOD
USER MANUAL
Page 2

INTRODUCTION
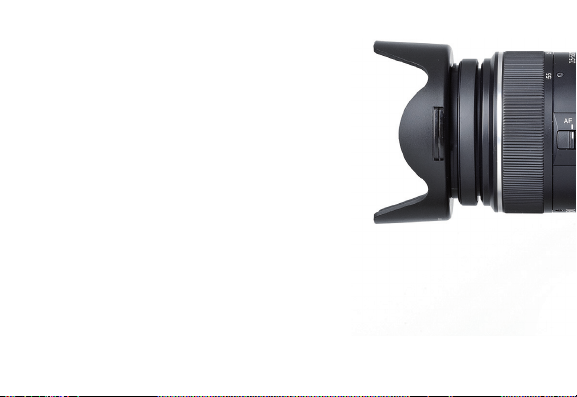
Thank you for choosing a Vello Snap- on Lens Hood. The Vello
Snap-on Lens Hood is primarily designed to prevent unwanted
stray light from entering your camera lens by extending and
shading the end of the lens.
Additional features allow the hood to be easily mounted in the
forward and reverse positions, and accept lens-compatible caps.
Please follow the instructions cont ained within this manual to
install and remove your Vello Snap- on Lens Hood properly.
Page 3
Benets of Vello
Snap -on Lens Hood:
• Petal Shape Maximizes
Hood Coverage
• Minimum Weight
& Hood Area
• Extra Protection From
Accidental Impact
• Reversible Design Allows
For Compact Storage
• Quality Matte Inside Finish
Eliminates interior reected light
• Durable & Impact-Resist ant
Plastic Housing
Note: T his dev ice is id eal for i ntern al focu s lense s;
full fr ame came ras with an at tache d lens ab ove
20mm; and A PS- C cameras wi th an at tache d
lens ab ove 15mm. Usag e of this d evice w ith a
lens be low the a llowan ce may cause vign etti ng.
Page 4

TO INSTALL ON LENS
Hold tulip-shaped lens hood with
“petals” facing away from camera
and ensure the word “TOP” is
facing upward on hood
(Note: Impro per ins talla tion of lens hoo d may cau se vignetting – verif y that the word “ TOP” is facing
upward o n hood and t he long er “peta ls” are o rient ed in top a nd bot tom pos itions)
Align top of lens hood with top of
camera lens; squeeze side tabs in
and gently snap into place on lter
thread
Page 5

TO REMOVE FROM LENS
TO REVERSE LENS HOOD
To detach lens hood, grasp base
of hood and squeeze side tabs in;
remove base from lter thread by
pulling outward
(Note: Do not gri p device by hood it self – a lways ke ep rm ho ld on
actual camer a and/or le ns to prevent acc ident al brea kage)
To reverse lens hood for storage
purposes, simply rotate hood with
“petals” facing toward camera and
gently snap into place on lter thread
Page 6

LENS CAP PLACEMENT
To install lens cap on top of lens
hood, snap lens-compatible cap
into thread adapter strips on sides
of hood; cap can be accepted by
hood in both forward and reverse
positions
(Note: Squeeze -lock tabs o n lens ca p must be
align ed wit h threa d adapte r stri ps on side s of
hood to b e properly sec ured)
Page 7

ADDITIONAL NOTES
• To maximize usage of the Vello
Snap-On Lens Hood, please
note the following:
• When installing lens hood
device, be sure to hold camera
and/or lens rmly; for ma ximum
protection, install hood on at
surface to prevent accidental
breakage
• While the lens hood will
accept camera-compatible
lens cap to help protect from
dust, the hood will not create
airtight seal with cap
• Always remove the lens
cap from lens hood before
removing actual lens hood
device from camera
Page 8

Vello provides a limited warranty that this product is free from defects in materials
Limited One-Year Warranty
and workmanship to the original purchaser under normal use for a period of
one (1) year from the original purchase date. Vello's responsibility with respect
to this limited warranty shall be limited solely to repair or replacement, at its
option, of any product which fails during normal consumer use. This warranty
does not extend to damage or failure which results from misuse, neglect,
accident, alteration, abuse, improper installation or maintenance. EXCEPT AS
PROVIDED HEREIN, VELLO MAKES NEITHER ANY EXPRESS WARRANTIES
NOR ANY IMPLIED WARRANTIES. INCLUDING BUT NOT LIMITED TO
ANY IMPLIED WARRANTY OF MERCHANTABILITY OR FITNESS FOR
A PARTICULAR PURPOSE. To obtain a replacement during the time of this
warranty please return the defective Item with proof of purchase along with
an RMA number to the place of purchase. This warranty gives you specic
legal rights, and you may also have other rights which vary from state to state.
Gradus Group
 Loading...