

Page 1
WS203 – Weather Station With Clock, In/Out Temp. & Humidity
1. Introduction
Thank you for buying the WS203! This weather station does a lot more than just display the
correct time. It also lets you read out both the indoor and outdoor temperature and the degree of
humidity. Weather forecast and pressure trend symbols advertise the weather for the following
hours and days.
Read the manual ca refully befor e br ingin g t he device into service.
2. Installation
Mount the WS203 on the included stand and place it near a window. You can also hang it on a
nail in the wall. Connect the plug of the outdoor sensor with the jack on the left side of the
housing and attach the sensor to an outside wall. Select a location where the sensor will be
protected against direct sunlight and rain.
3. Batteries (not included)
Remove the cover of the battery compartment, insert 2 AA-batteries and replace the cover.
Observe the polarity indications on the inside of the compartment !
The low-battery symbol
is displayed when the batteries need replacing.
4. Butto ns & Operation
CLK/HYGRO : Press this button to select the clock or the hygrometer
MEM : Press this button to activate/deactivate the memory function
MAX/MIN : Press this button to display the max/min memory while the memory function is
activated
SET/ADV : Use this button to confirm entered data
LIGHT : Press this button to trigger the backlight
5. Normal Display
First line : Weather forecast and pressure trend
Second line : Indoor or outdoor temperatur e
Third line : Relative humidity or clock
6. Setting the Clock
Hold the
with
digits will change faster if the
SET
button for three seconds to make the digits for the hours flash. Enter the hours
ADV
and confirm the hours with
SET
ADV
button is held.
. The digits for the minutes start to flash. Note that the
Enter the minutes with ADV an d confirm them with SET.
7. Weather Forecast and P ressur e Tren d
The device automatically measures the changes in atmospheric pressure and predicts the
changes for the next 12 to 24 hours based on the atmospheric pressure trend of the past 24
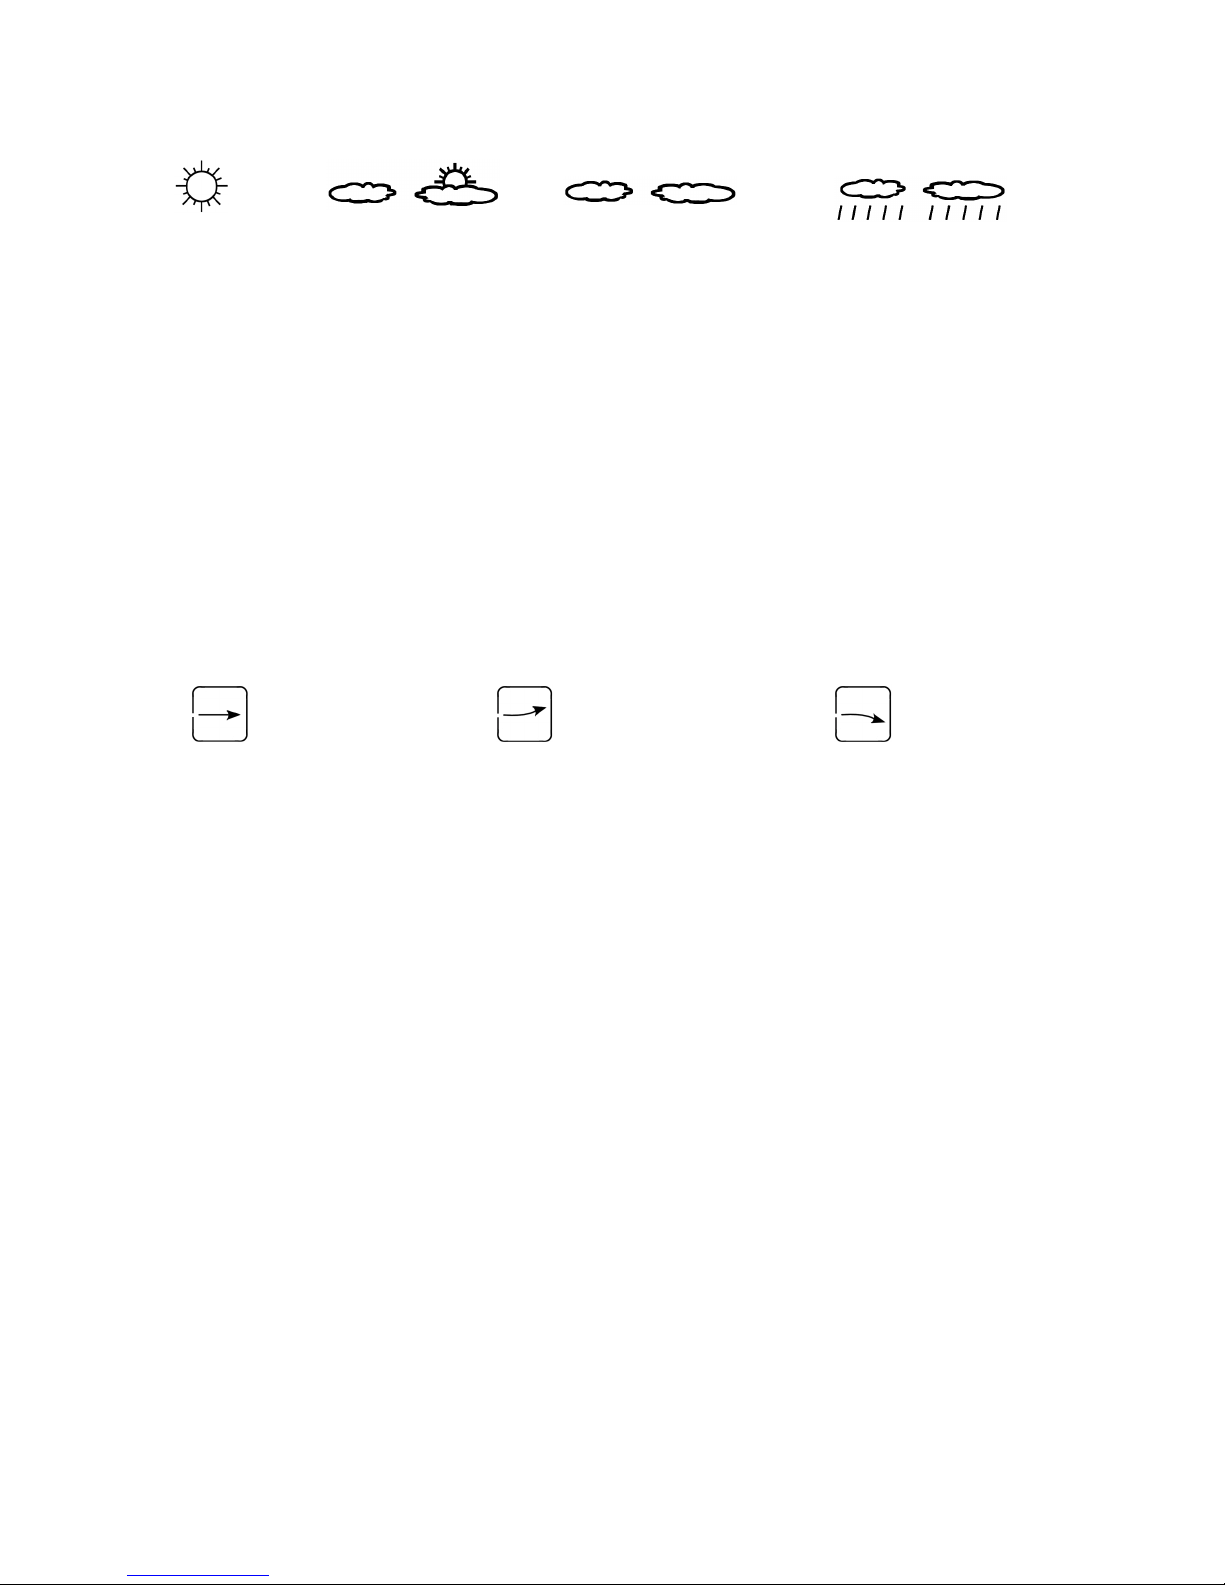
hours. The following weather icons are used :
WS203 VELLEMAN 1
Page 2
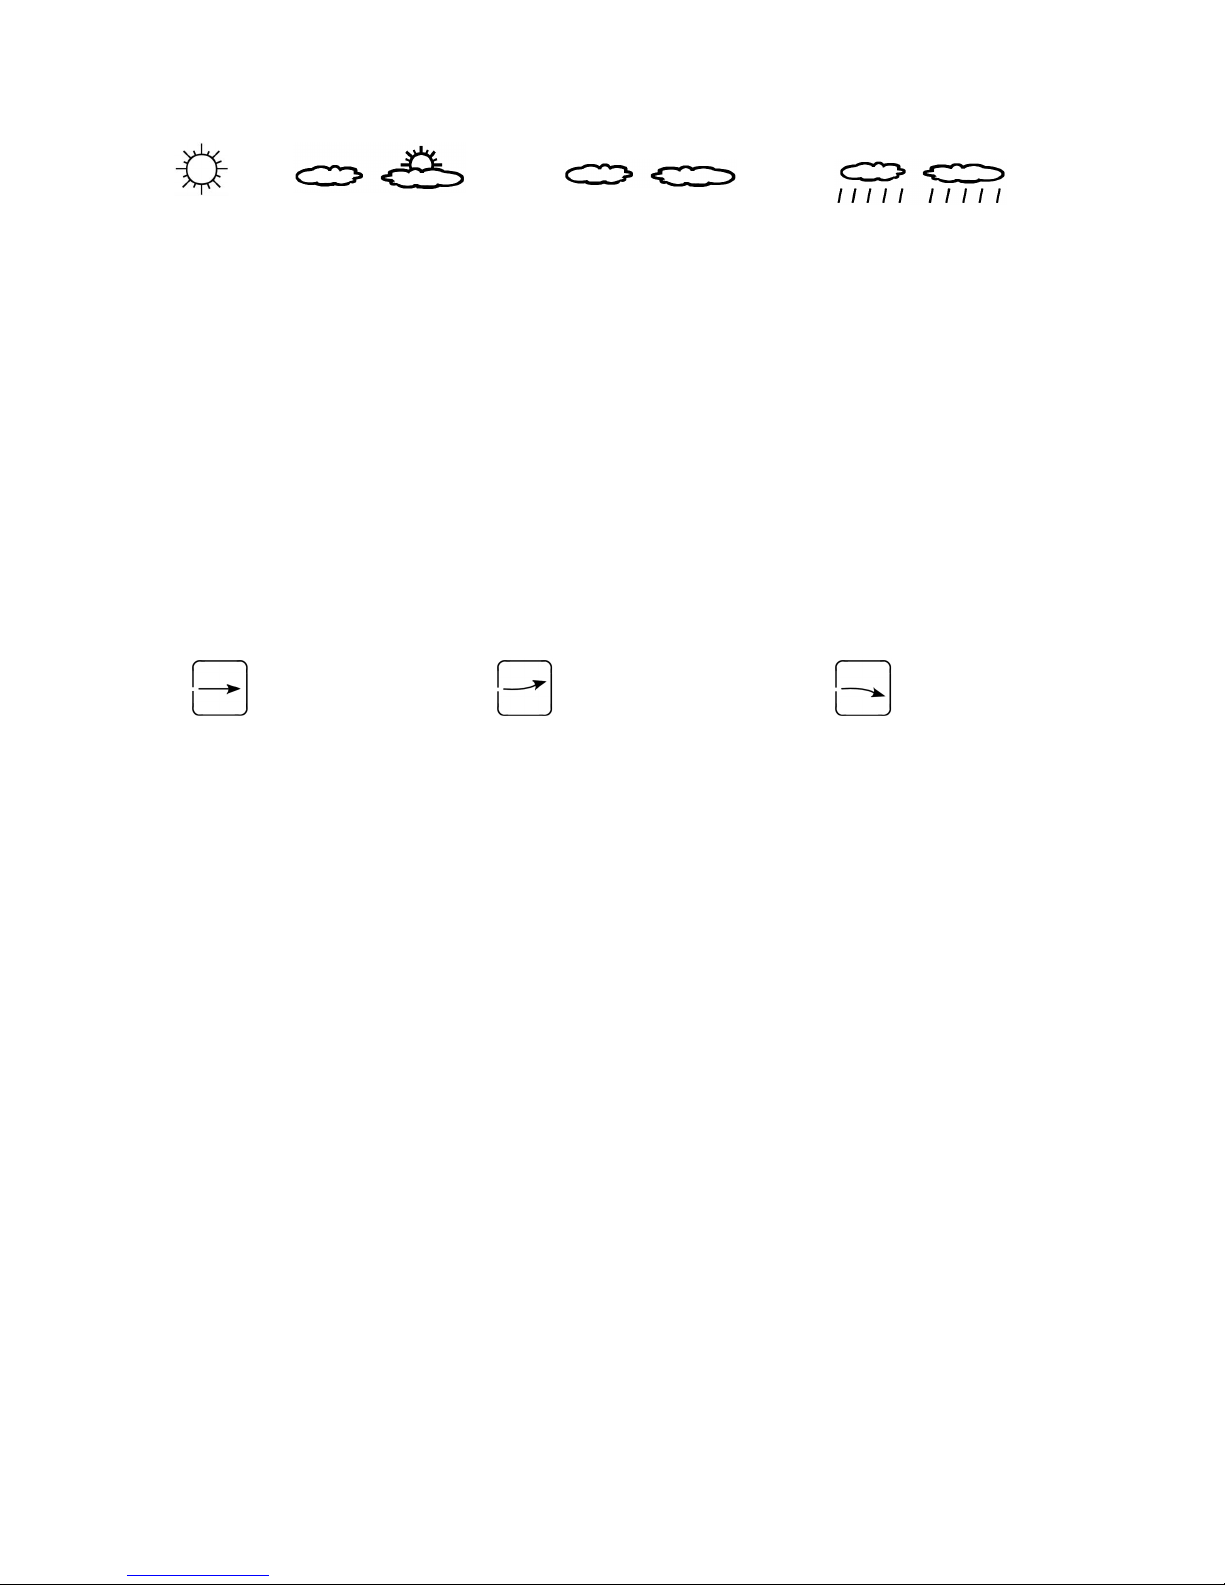
SUNNY SLIGHTLY CLOUDY CLOUDY RAINY
8. Setting the Data of the Normal Display Mode
Hold the
CLK/HYGRO
button for three seconds until “12hr” or “24hr” flashes on the third line of
the display. Press CLK/HYGRO to choose 12hr- or 24hr-mode and confirm with SET.
The digits on the second display line start to flash. Select °C or °F for the temperature display
CLK/HYGRO
with
and confirm your choice with
SET
.
The weather icon on the top display line starts to flash. Select the appropriate weather icon with
CLK/HYGRO
and confirm your choice with
SET
.
9. Pressure Trend Indicator
The pressure trend indicator in the top left-hand corner of the display indicates the evolution in
atmospheric pressure of the last hour. The following symbols are used :
stable rising falling
The “stable” symbol indicates the weather will rema in unchanged
The “rising” symbol indicates the weather is improving.
The “falling” symbol indicates the weather is deteriorating.
10. Outdoor Temperature
Plug the outdoor sensor into the WS203 to display the outdoor temperature instead of the
indoor temperature. Remove the plug to display the indoor temperature again.
11. LED Backlight
Press the LIGHT button to illuminate the display for ± 4 seconds.
12. Specifications
Indoor Temperature Range 0°C to +50°C
Outdoor Temperature Range -50°C to +70°C
Hygrometer 20 to 99%RH (resolution 1%)
Batteries 2 x AA-battery (not included)
This manual’s contents and specifications can be subject to change without prior
notification.
WS203 VELLEMAN 2
Page 3
WS203 – Weerstation met klok, binnen- & buitentemperatuur
en vochtigheids graad
1. Inleiding
Dank u voor uw aankoop! Dit weerstation kan veel meer dan enkel de juiste tijd weergeven. U
kunt ook de binnen- en buitentemperatuur en de vochtigheidsgraad uitlezen. Symbolen
voorspellen het weer en de evolutie van de luchtdruk voor de komende uren en dagen.
Lees deze handleiding aandachtig voor u het toestel in gebruik neemt.
2. Installatie
Monteer de WS203 op de meegeleverde voet en plaats hem naast het raam. U kunt het toestel
ook ophangen aan een nagel in de muur. Verbind de plug van de buitensensor met de jack aan
de linkerzijkant van de behuizing. Bevestig de sensor aan de buitenmuur op een plaats waar hij
beschermd zal zijn tegen rechtstreeks zonlicht en regen.
3. Batterijen (niet inbegrepen)
Verwijder het deksel van het batterijvak, breng 2 AA-batterijen in en sluit het batterijvak terug af.
Let op de polariteitsindicaties aan de binnenkant van het batterijvak !
Het batterij-laag symbool
4. Knoppen & bediening
CLK/HYGRO : Druk op deze knop om de klok of de hygrometer te selecteren
MEM : Druk op deze knop om de geheugenfunctie te activeren/deactiveren
MAX/MIN : Druk op deze knop om het max/min geheugen weer te geven terwijl de
geheugenfunctie is geactiveerd
SET/ADV : Druk op deze knop om ingestelde gegevens te bevestigen
LIGHT : Druk op deze knop om de achtergrondverlichting te activeren
5. Normale Display Mode
Eerste lijn : weersvoorspelling en luchtdruktendens
Tweede lijn : binnen- of buitentemperatuur
Derde lijn : relatieve vochtigheid of klok
6. Klok instellen
Houd de
knipperen. Geef de uren in met
beginnen te knipperen. Merk op dat de digits sneller gaan lopen indien u de
ingedrukt houdt.
Geef de minuten in met
7. Weersvoorspelling en luchtdruktendens
Het toestel meet automatisch de wijzigingen in luchtdruk en voorspelt de evolutie voor de
volgende 12 tot 24u op basis van de metingen van de laatste 24u. Volgende symbolen worden
gebrui kt :
SET
knop gedurende drie seconden ingedrukt om de digits voor de uren te doen
verschijnt op de display wanneer u de batterijen moet vervangen.
ADV
en bevestig ze met
ADV
en bevestig ze met
SET
SET
. De digits voor de minuten
ADV
knop
.
WS203 VELLEMAN 3
Page 4
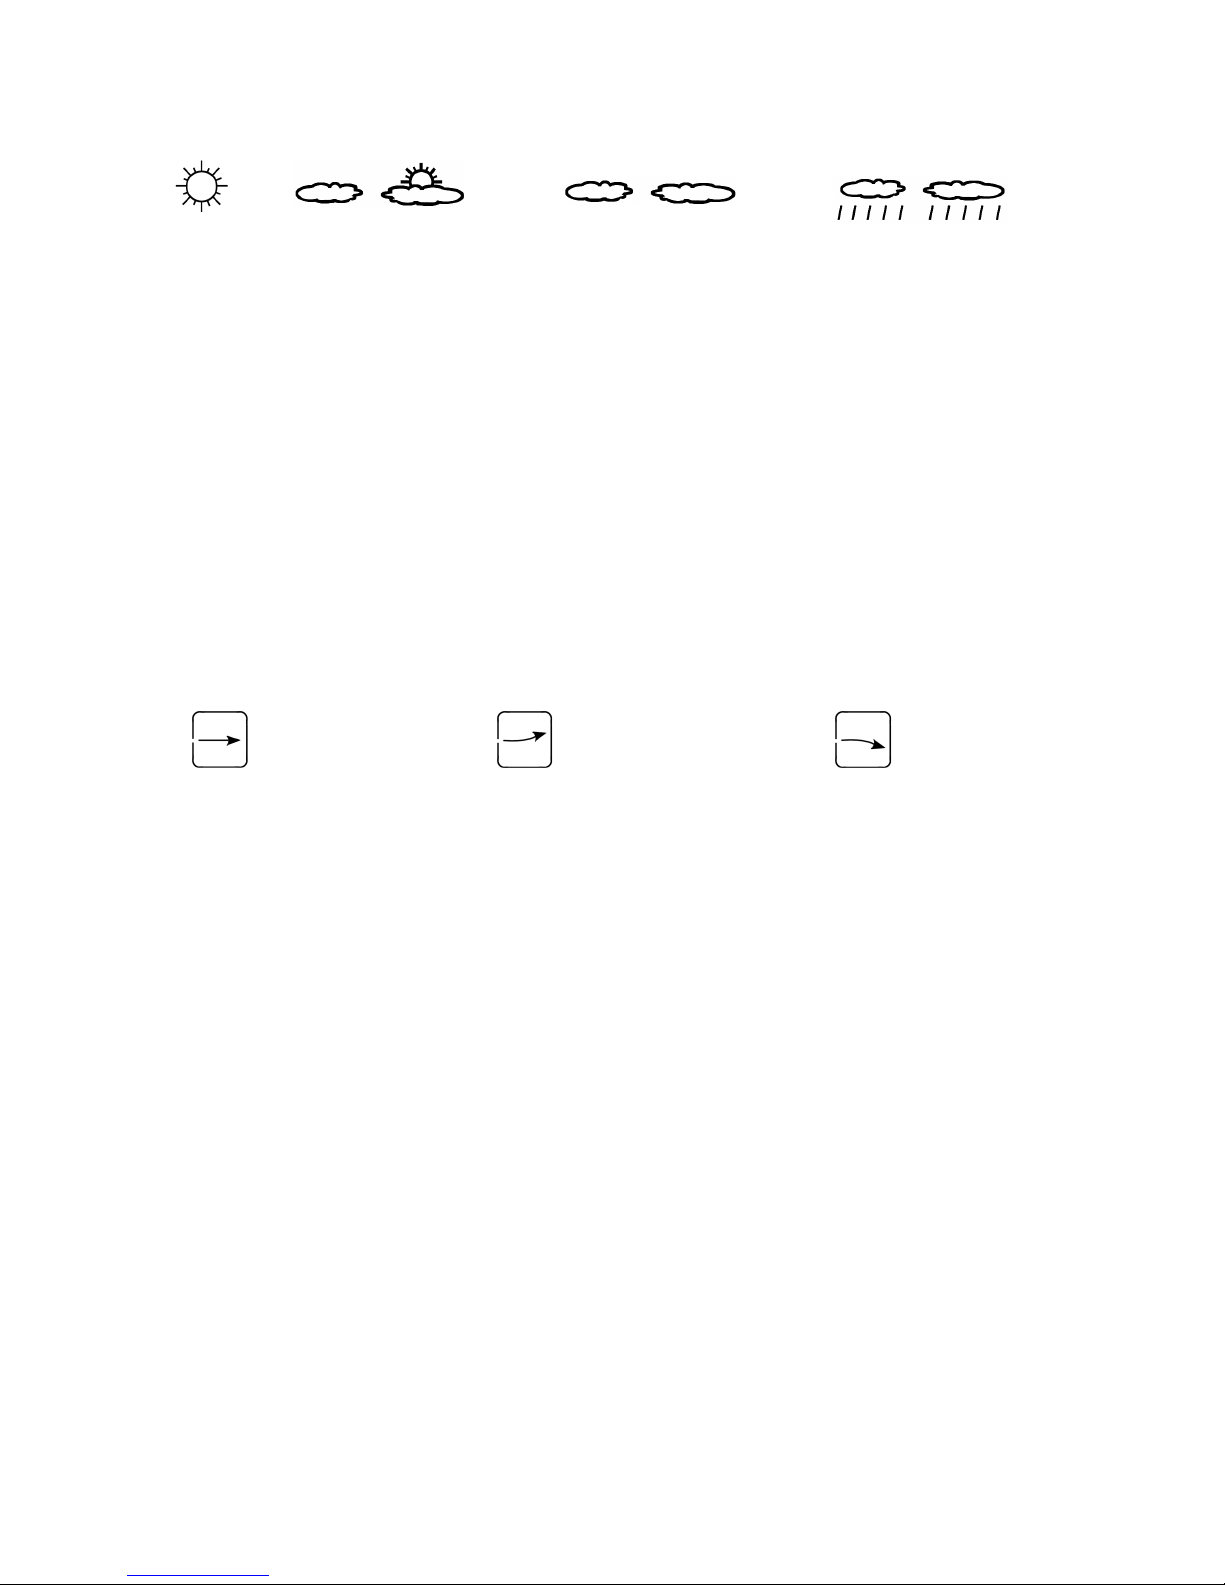
ZONNIG LICHT BEWOLKT BEWOLKT REGENACHTIG
8. Gegevens instellen van de normale displ a y mode
Houd de CLK/HYGRO knop gedurende drie seconden ingedrukt tot “12hr” of “24hr” begint te
knipperen op de derde lijn van de display. Kies één van deze twee mogelijkheden met
CLK/HYGRO
en bevestig uw keuze met
SET
.
De digits op de tweede lijn beginnen te knipperen. Selecteer °C of °F voor de
temperatuurdisplay met
CLK/HYGRO
en bevestig uw keuze met
SET
.
Het weersicoontje op de bovenste lijn begint te knipperen. Kies het geschikte icoontje met
CLK/HYGRO
en bevestig met
SET
.
9. Indicator voor luchtdruktendens
De indicator in de linkerbovenhoek van de display geeft de evolutie van de luchtdruk van het
laatste uur weer. Volgende symbolen worden gebruikt :
stabiel stijgend dalend
Het “stabiel” symbool geeft aan dat het weer niet zal veranderen
Het “stijgend” symbool geeft aan dat het weer beter wordt.
Het “dalend” symbool geeft aan dat het weer slechter wordt.
10. Buitentemperatuur
Sluit de buitensensor aan op de jack aan de linkerkant van de behuizing. De display geeft nu de
buitentemperatuur i.p.v. de binnentemperatuur weer. Ver wijder de plug om opnieuw de
binnentemperatuur weer te geven.
11. LED achtergrondverlichting
Druk op de
LIGHT
knop om de display gedurende ± 4 seconden te verlichten.
12. Specificaties
Meetbereik binnentemperatuur 0°C tot +50°C
Meetbereik buitentemperatuur -50°C tot +70°C
Hygrometer 20 tot 99% relatieve vochtigheid (resolutie 1%)
Batterijen 2 x AA-batterij (niet inbegrepen)
De inhoud en de specificaties van deze handleiding kunnen worden gewijzigd zonder
voorafgaande kennisgeving.
WS203 VELLEMAN 4
Page 5
WS203 – Station météo avec horloge, température in térieure &
extérieure et taux d’humidité
1. Introduction
Nous vous remercions de votre achat! Cette station a beaucoup plus à vous offrir que le simple
affichage de l’heure précise. Elle affiche la température intérieure, la température extérieure et
le taux d’humidité. Des symboles prévoient le temps et l’évolution de la pression atmosphérique
dans les heures et jours à venir.
Lisez ce manuel attentivement avant la mise en service de l’appareil.
2. Installation
Montez la WS203 sur le statif inclus et positionnez-le devant la fenêtre. Il est également
possible de suspendre l’appareil d’un clou dans le mur. Connectez la fiche du capteur extérieur
au jack au flanc gauche du boîtier. Fixez le capteur au mur extérieur à un endroit où il sera
protégé contre la pluie et les rayons solaires.
3. Piles (non incluses)
Enlevez le couvercle du compartiment des piles, insérez 2 piles LR6 (AA) et refermez le
compartiment des piles. Respectez les indications de polarité à l’intérieur du compartiment!
Le symbole ‘pile faible’
4. Boutons & opération
CLK/HYGRO : Pressez ce bouton pour sélectionner l’horloge ou le hygromètre
MEM : Pressez ce bouton pour activer/désactiver la mémoire
MAX/MIN : Pressez ce bouton pour afficher la mémoire max/min pendant que la fonction
mémoire est affichée
SET/ADV : Pressez ce bouton pour confirmer des données programmées
LIGHT : Pressez ce bouton pour activer le rétro-éclairage
5. Mode d’affichage normal
Première ligne : prévisions météo et tendance de la pression atmosphérique
Deuxième ligne : température intérieure ou extérieure
Troisième ligne : humidité relative ou horloge
6. Mise à l’heure
Enfoncez le bouton
Entrez les heures avec
clignoter. Remarquez que les digits changeront plus vite si vous gardez le bouton
Entrez les minutes avec
7. Prévisions météo et tendance de la pression atmos phérique
L’appareil suit automatiquement les changements de pression atmosphérique et prévoit
l’évolution des prochaines 12 à 24h à base des mesures des dernières 24h. Les symboles
suivants sont employés :
est affiché quand il faut remplacer les piles.
SET
pendant trois secondes pour faire clignoter les digits des heures.
ADV
et confirmez - les avec
ADV
et confirmez avec
SET
SET
. Les digits des minutes commencent à
.
ADV
enfoncé.
WS203 VELLEMAN 5
Page 6
ENSOLEILLE LEGEREMENT
NUAGEUX
COUVERT PLUVIEUX
8. Introduire les données du mode d’affichage normal
Enfoncez le bouton CLK/HYGRO pendant trois secondes, jusqu’à ce que le message “12hr” ou
“24hr” commence à clignoter sur la troisième ligne de l’afficheur. Choisissez un des deux avec
CLK/HYGRO
et confirmez votre choix avec
SET
.
Les digits de la deuxième ligne commencent à clignoter. Sélectionnez °C ou °F pour l’affichage
de température avec
CLK/HYGRO
et confirmez votre choix avec
SET
.
Les icônes de prévision de la ligne supérieure commencent à clignoter. Choisissez l’icône
appropriée a vec
CLK/HYGRO
et confirmez avec
SET
.
9. Indication de la tendance de la pression atmosphérique
L’indicateur dans le coin supérieur gauche de l’afficheur montre l’évolution de la pression
atmosphérique pendant la dernière heure à l’aide des symboles suivants :
stable
tendance à
la hausse
tendance à
la baisse
Le symbole “stable” indique que le temps ne changera pas
Le symbole “à la hausse” indique que le temps s’améliore.
Le symbole “à la baisse” indique que le temps se détériore.
10. Température extérieure
Enfichez le capteur extérieur pour afficher la température extérieure sur l’écran (au lieu de la
temp. int.). La température intérieure sera de nouveau affichée lorsque vous déconnectez le
câble du capteur extérieur.
11. Rétro-éclairage LED
Pressez le bouton
LIGHT
pour illuminer l’afficheur pendant ± 4 secondes.
12. Spécifications
Plage température intérieure 0°C à +50°C
Plage température extérieure -50°C à +70°C
Hygromètre humidité relative de 20 à 99% (résolution 1%)
Piles 2 x LR6 (AA) (non incluses)
Le contenu et les spécifications de ce manuel peuvent être modifiées sans notification
préalable.
WS203 VELLEMAN 6
 Loading...