

Page 1
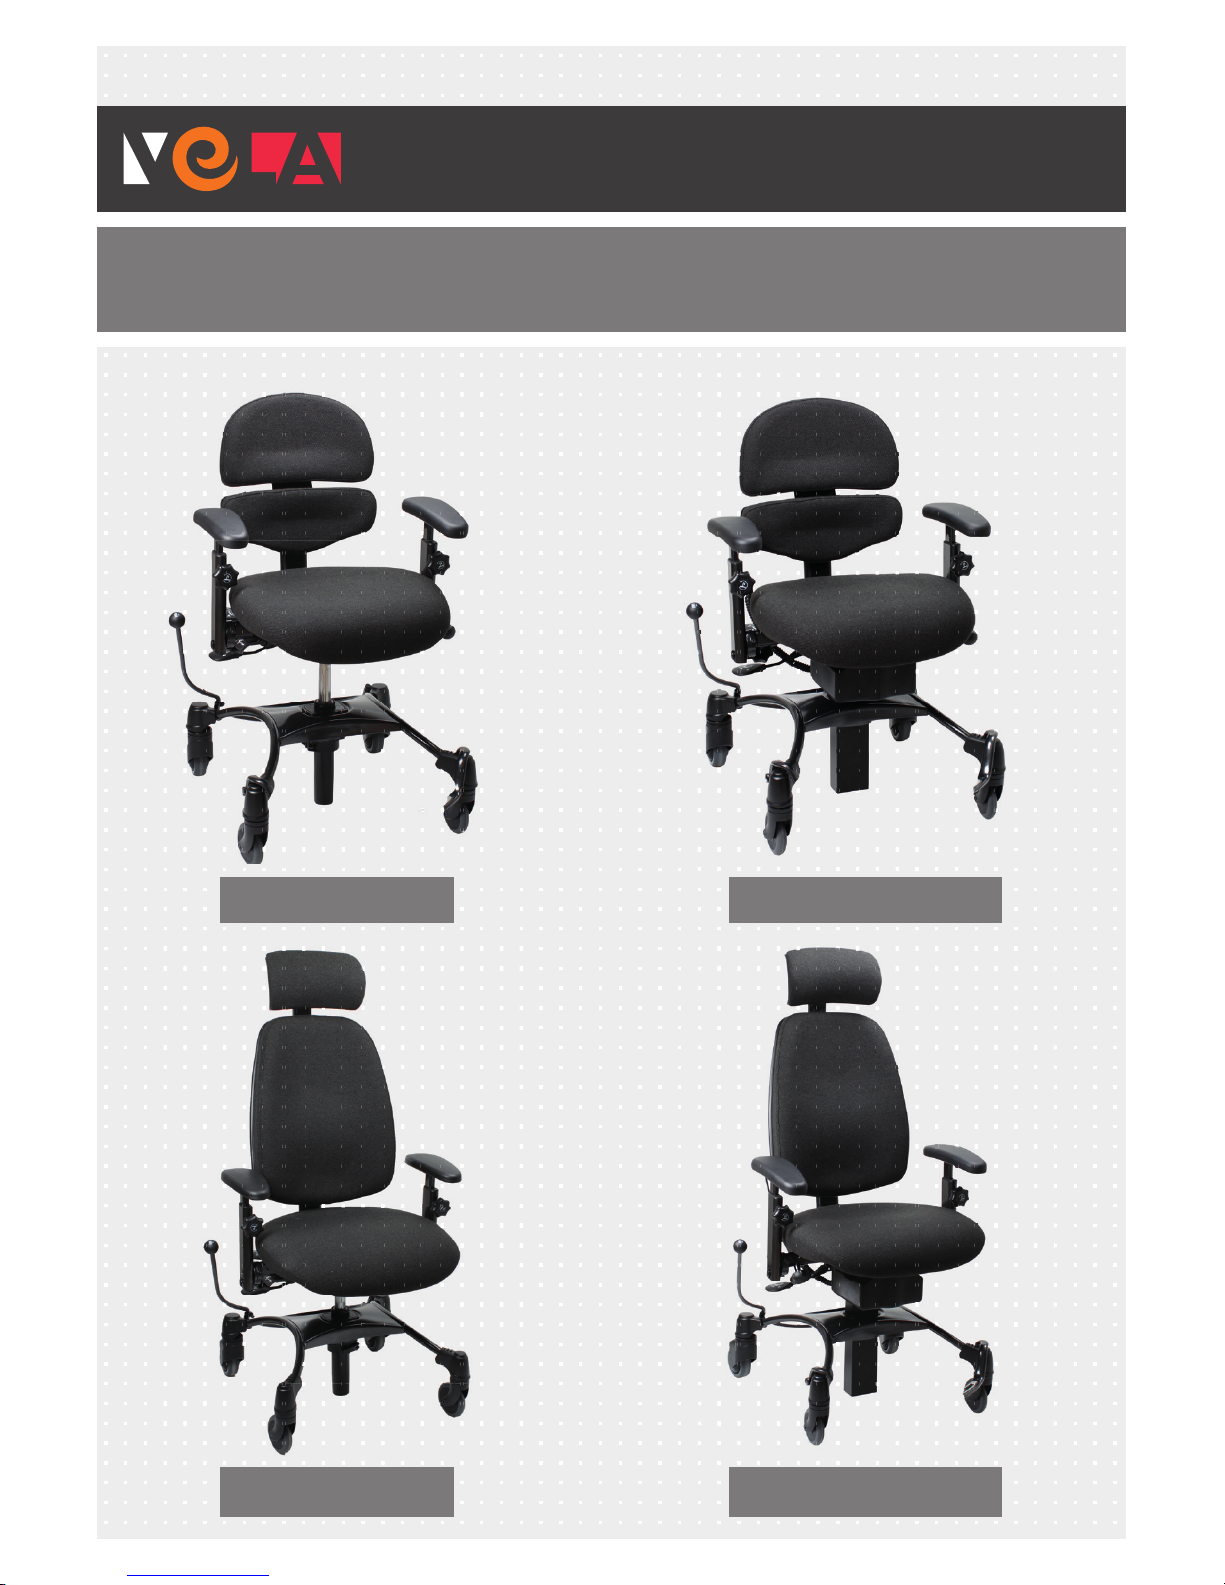
VELA Tango
VELA Tango 500 VELA Tango 500El
VELA Tango 510ElVELA Tango 510
500/500EL/510/510EL
VERSION:
USER MANUAL EN
Manual no. 105234
Page 2

TABLE OF CONTENTS
1.0. INTRODUCTION 3
1.1. SAFETY 4
1.1.1. Use 4
1.1.2. Transport 4
1.2. WARRANTY 4
1.3. UNPACKING THE CHAIR 5
1.4. CARE & MAINTENANCE 5
1.4.1. Wheels 5
1.4.2. Frame 5
1.4.3. Upholstery 5
1.5. RECYCLING 5
1.6. SETTINGS 6
1.6.1. Attaching the backrest 6
1.6.2. Height adjustment (VELA Tango El) 6
1.6.3. Height adjustment (VELA Tango) 6
1.6.4. Setting angle of seat 7
1.6.5. Setting angle of backrest 7
1.6.6. Adjusting lumbar support (ALB back) 7
1.6.7. Setting the back height 7
1.6.8. Back bolt (High back) 8
1.6.9. Adjusting the armrest height 8
1.6.10. Adjusting the armrest width 8
1.6.11. Fold-down armrest 8
1.6.12. Rotation 9
1.6.13. Brake 9
1.6.14. Charging (VELA Tango El) 9
1.6.15. Folding footrest 9
1.6.16. Footrest (optional) 10
1.6.17. Strolling bracket (optional) 10
1.6.18. Foot pedal for braking (optional) 10
1.6.19. Angle switch (optional) 10
1.6.20. Hand box (optional) 11
1.6.21. Electric braking (optional) 11
Page 3

3
DEAR CUSTOMER,
We would like to thank you for choosing VELA Tango.
We are certain that you will enjoy using this chair every
day. This user manual contains useful information
regarding settings, operation and maintenance of your
VELA Tango.
Important
Please read this user manual carefully and save it for
later use. It should always be available to the user
and accompany the chair. The user manual is also
available on VELA's website: www.vela.eu, where you
can also find other relevant information about VELA
Tango.
If you have questions, please contact your VELA
dealer.
VELA reserves the right to make changes.
VELA
Gøteborgvej 8-12
DK 9200 Aalborg SV
Denmark
www.vela.eu
1.0. INTRODUCTION
Page 4

4
1.1. SAFETY
This chair is CE marked
and complies with current
EU regulations. The chair is
manufactured by:
VELA, Gøteborgvej 8-12,
9200 Aalborg SV, Denmark.
VELA Tango 500/510 with electric
operation complies with all EMC
requirements according to IEC
60601-1-2.
1.1.1. USE
VELA Tango is designed for indoor,
seated use.
:: The chair is not built to stand on
:: To ensure the safe transfer of a
person to and from the chair the
brake must be activated.
All versions of VELA Tango 500/510
have been tested and approved for
users weighing up to 160 kg.
Note: People using a harness
in VELA Tango must always be
supervised while the harness is in
use.
1.1.2. TRANSPORT
When transporting the chair in a
car or aircraft or by other means of
transport, always use the brake. The
chair is not approved as a passenger
seat during transport and should not
be used as such.
Please observe the following
transport specifications:
Temperature: - 40°C to + 70°C
Humidity: 15-95%
Air pressure: PPP up to 1000 meters
above sea level
1.2. WARRANTY
VELA provides warranty by the
laws and regulations which are
debt in the country the chair is
bought in. The warranty applies
only when using original spare parts
and accessories and when any
adjustments are made by authorized
service technicians.
Note: Exceptions may be made
through special contractual
agreements directly with VELA.
VELA assumes no responsibility for
damage to the product or the user
that occurs due to:
:: Transport
:: Misuse
:: Normal wear and tear
:: Incorrect use
:: Use of parts other than original
spare parts and accessories
:: Adjustments carried out by
unauthorized service technicians
GENERAL
Page 5

5
1.3. UNPACKING THE CHAIR
VELA Tango is delivered in
environmentally friendly cardboard
packaging.
If there are missing parts or the chair
has been damaged during transport,
please contact VELA immediately. In
such cases, do not try to repair any
damages or use the chair.
The box in which the chair was
delivered should contain:
:: VELA Tango chair
:: User Manual for the chair
Note: see section 1.6.1. for properly
attaching the backrest.
1.4. CARE & MAINTENANCE
We recommend an annual
inspection of VELA Tango to identify
any defective or worn parts. The
user should regularly retighten all
removable parts.
1.4.1. WHEELS
It is advisable to periodically inspect
the wheels and remove any flu, dirt
etc.
1.4.2. FRAME
Clean with lukewarm water. If
necessary, add a pH-neutral soap.
1.4.3. UPHOLSTERY
Fabric: Clean using chemical
cleaners, with furniture cleaner or a
cloth wrung out with water.
Leatherette: Clean with water or
mild soap.
Medical textiles: Clean as described
above. However, disinfectant and
alcohol based cleaning can also be
used.
Leather: Clean with a vacuum
cleaner with a soft brush. Do not
use detergent.
1.5. RECYCLING
Several of the chair's materials are
recyclable. Please return the chair
to VELA or to your local recycling
centre.
Page 6

6
VELA
TANGO
VELA
TANGO EL
1.6.2. HEIGHT ADJUSTMENT (VELA TANGO EL)
Can be operated from the underside of either the right or left
armrest. The armrest can easily be moved to the opposite side.
VELA Tango El is also available with height adjustment via hand
box (if caregivers are to be able to adjust the height).
Note: Height function should only be used continuously for
one minute, then a nine-minute break should follow.
1.6.3. HEIGHT ADJUSTMENT (VELA TANGO)
Adjusted by pulling up the front handle on the right-hand side.
1.6. SETTINGS
The gas spring and the electric lifting mechanism
should only be replaced by a VELA technician or a
person trained in this fi eld.
1.6.1. ATTACHING THE BACKREST
The backrest is lowered into the hole. Screw the handle
back on and tighten securely.
Remember that the plastic disc should be placed in the
outermost position
as shown here.
ALB
BACK
HIGH
BACK
ALB
BACK
HIGH
BACK
Page 7

7
1.6.7. SETTING THE BACK HEIGHT
Release the handle located on the back. Adjust the back.
Remember to tighten the handle afterwards.
1.6.4. SETTING ANGLE OF SEAT
Adjusted by pulling up the middle handle on the right-hand
side.
The handle is pressed down to lock the desired seat angle.
Note: Be aware of pinching risk when adjusting the seat angle!
1.6.5. SETTING ANGLE OF BACKREST
Adjusted by pulling up the rear handle on the right-hand side.
The handle is pressed down to lock the desired back angle.
1.6.6. ADJUSTING LUMBAR SUPPORT (ALB BACK)
The backrest can be adjusted to provide optimal lumbar
support by pulling up the handle on the right-hand side of
the backrest. The backrest adjusts to fi t and support the lower
back. Release the handle, and the backrest remains in the
desired lumbar angle.
ALB
BACK
Page 8

8
1.6.11. FOLD-DOWN ARMREST
To fold down the armrest, press the button on the side of the
armrest and push the armrest backwards and down.
Note: The armrest is only locked when it is in an upright
position. The armrest can only be folded down if the width
adjustment of the armrest allows it.
1.6.10. ADJUSTING THE ARMREST WIDTH
Adjusted by loosening the screw under the seat on the seat
support and adjusting the armrest width by pulling out the
armrest. Remember to tighten the screw when done.
1.6.9. ADJUSTING THE ARMREST HEIGHT
Adjusted by loosening the screw on the armrest bar and
adjusting the height of the armrest. Remember to tighten the
screw when done.
1.6.8. BACK BOLT (HIGH BACK)
The backrest can be set to a specifi c angle by adjusting and
attaching the bolt mounted on the back of the backrest.
Page 9

9
1.6.15. FOLDING FOOTREST
Stabilising foot support that can also be used as a footboard
when moving in and out of the chair.
1.6.14. CHARGING (VELA TANGO EL)
Daily charging is recommended. Place operation plug in
charging socket - when the chair is charging, the LED on the
charger turns yellow. When the chair is fully charged, the LED
turns green. If the battery voltage is too low during use, you will
hear an audible alarm tone. Please charge the chair as soon as
possible. Note: The chair should not be used during charging.
1.6.12. ROTATION
The seat is rotated by pushing back on the front handle on
the left-hand side. Rotation can be turned and locked in the
following positions: 90° to the left and 90° to the right.
Note: Only use rotation when the seat is in a horizontal
position and the backrest is in a vertical position.
1.6.13. BRAKE
The brake on the VELA Tango is activated by moving the handle
on the side of the chair forward. Unlock the chair by moving
the handle back into the upright position. Note: The brake can
be moved to the other side by loosening the wing screw on the
brake lever, removing the plastic plug from the opposite side hole,
and inserting the brake lever. Tighten the wing screw fi rmly again.
Page 10

10
1.6.16. FOOTREST (OPTIONAL)
The footrest can be adjusted in length by loosening the hand
screw on the back of the footrest lever. Remember to tighten
the screw when done. The footrest can be folded up so that it
is not in the way when getting in and out of the chair.
1.6.17. STROLLING BRACKET (OPTIONAL)
Strolling bracket for transporting a person in the chair. The
strolling bracket is mounted to fi ttings under the seat using
two fi nger screws. This is also where the depth is adjusted. The
height is adjusted by pressing the two buttons on the side of
the bracket while the handle is positioned at the desired height.
1.6.19. ANGLE SWITCH (OPTIONAL)
Placed on the underside of the left or right-hand armrest as
required. Remember, position the switch correctly (see section
1.6.2.).
1.6.18. FOOT PEDAL FOR BRAKING (OPTIONAL)
On a VELA Tango with foot pedal the brake is activated by
pressing the upper part of the pedal forward. Unlock the chair
by moving the foot brake back into the upright position.
Note: The foot pedal can be mounted on the left or right-hand
side, on the rear of the chair.
Page 11

11
1.6.20. HAND BOX (OPTIONAL)
The hand box is used via push buttons on the front. VELA hand
boxes can have one or more functions. The icons on the hand
box show the button functions.
Note: Insert plug in hand box to operate functions.
1.6.21. ELECTRIC BRAKING (OPTIONAL)
On a VELA Tango with electric brake, the brake is activated and
deactivated using the hand box or angle switch. The brake is
hydraulic, so it is advisable to activate or deactivate the brake
completely when using this feature.
Note: This brake can only be used via switches under the
armrest, on the hand box, or on the angle switch.
Page 12

701.338 © Vermund Larsen A/S
VELA :: Gøteborgvej 8-12 :: DK-9200 Aalborg SV :: Tlf: +45 96 34 76 00 :: mail@vela.dk www.vela.eu
 Loading...