

Page 1
NS20-4P Net Power Switch
Quick Installation Guide
Page 2

Table of content
Chapter 1 pre-installation Precautions
Pre-installation Precautions:------------------------------------------- 2
Check the Package Contents:-------------------------------------------3
Control Box Appearance Guide:----------------------------------------3
Control Box Installation Procedure:----------------------------------- 4
E Touch App Introduction and Setting:-------------------------------- 6
When E Touch App cannot find the control box:--------------------- 7
E Touch App can control multiple control box:----------------------- 8
E Touch App name setting :-------------------------------------------- 10
E Touch App control type setting:------------------------------------- 11
E Touch App auto switch the schedule setting:--------------------- 14
E Touch App add controller setting:--------------------------------- 15
The machine specifications list:-------------------------------------- 16
Technical Support Services:------------------------------------------- 17
(For E Touch APP feature updates, and change some functions. You can download the latest
manual from the official website http://www.greenmarket.com.tw)
01
Page 3
Pre-installation Precautions:
1. Thank you to buy our company's products. This quick installation guide will illustrate each of the
installation steps sequentially. Please install step by step, and pay attention to related security
matters.
2. Before your installation, please confirm if WIFI AP in the network, the product needs to be
compatible with any WIFI AP, and let your smart phone can use WIFI to connect with Control Box.
3. Please confirm if your iPhone had installed "Smart Button" APP. If you have not installed Smart
Button APP to your phone, please search "Smart Button" APP in APP STORE and install.
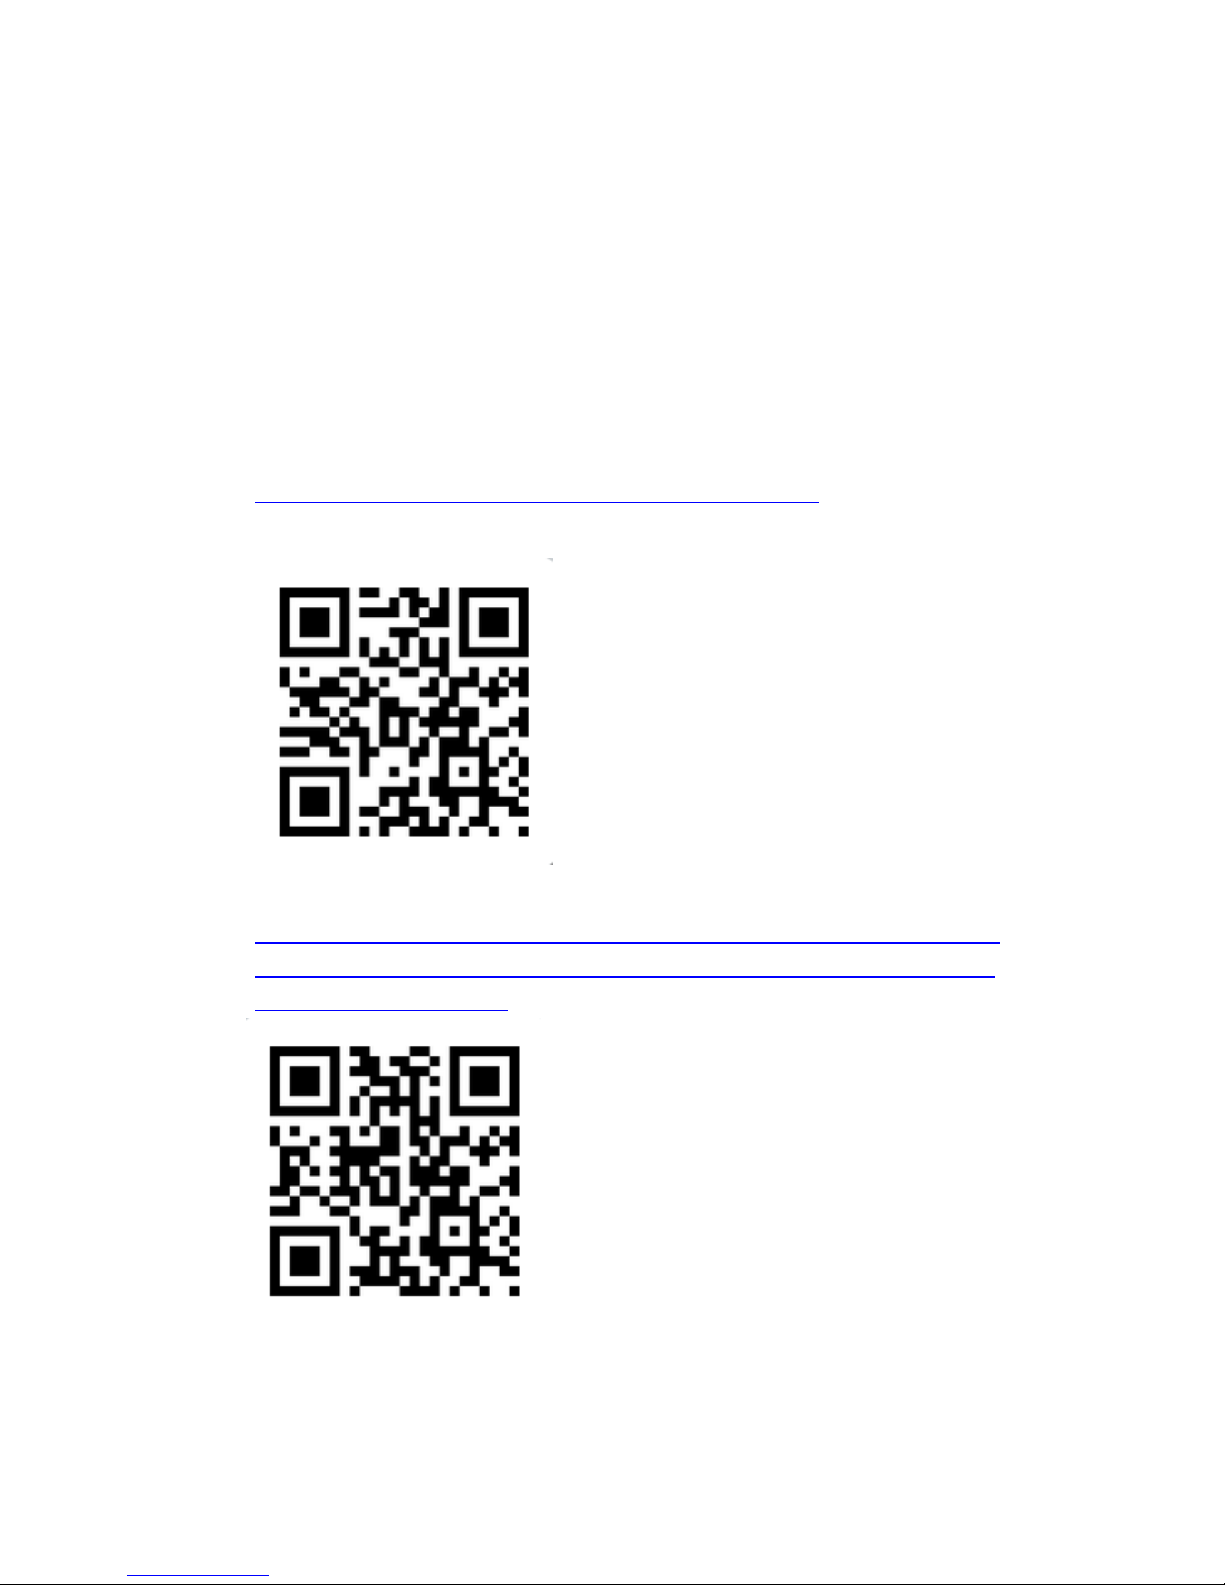
Link the URL directly:
IPhone
https://itunes.apple.com/tw/app/etouch/id654915177?mt=8
E Touch APP download link QR CODE
Google Play
https://play.google.com/store/apps/details?id=net.vector.mobile.ns20_4p.dingyu
&feature=search_result#?t=W251bGwsMSwxLDEsIm5ldC52ZWN0b3IubW9iaWxl
Lm5zMjBfNHAuZGluZ3l1Il0.
02
1
Page 4
Check the Package Contents:
Control Host Machine *1
Manual *1
Power cord *1
Network Line *1
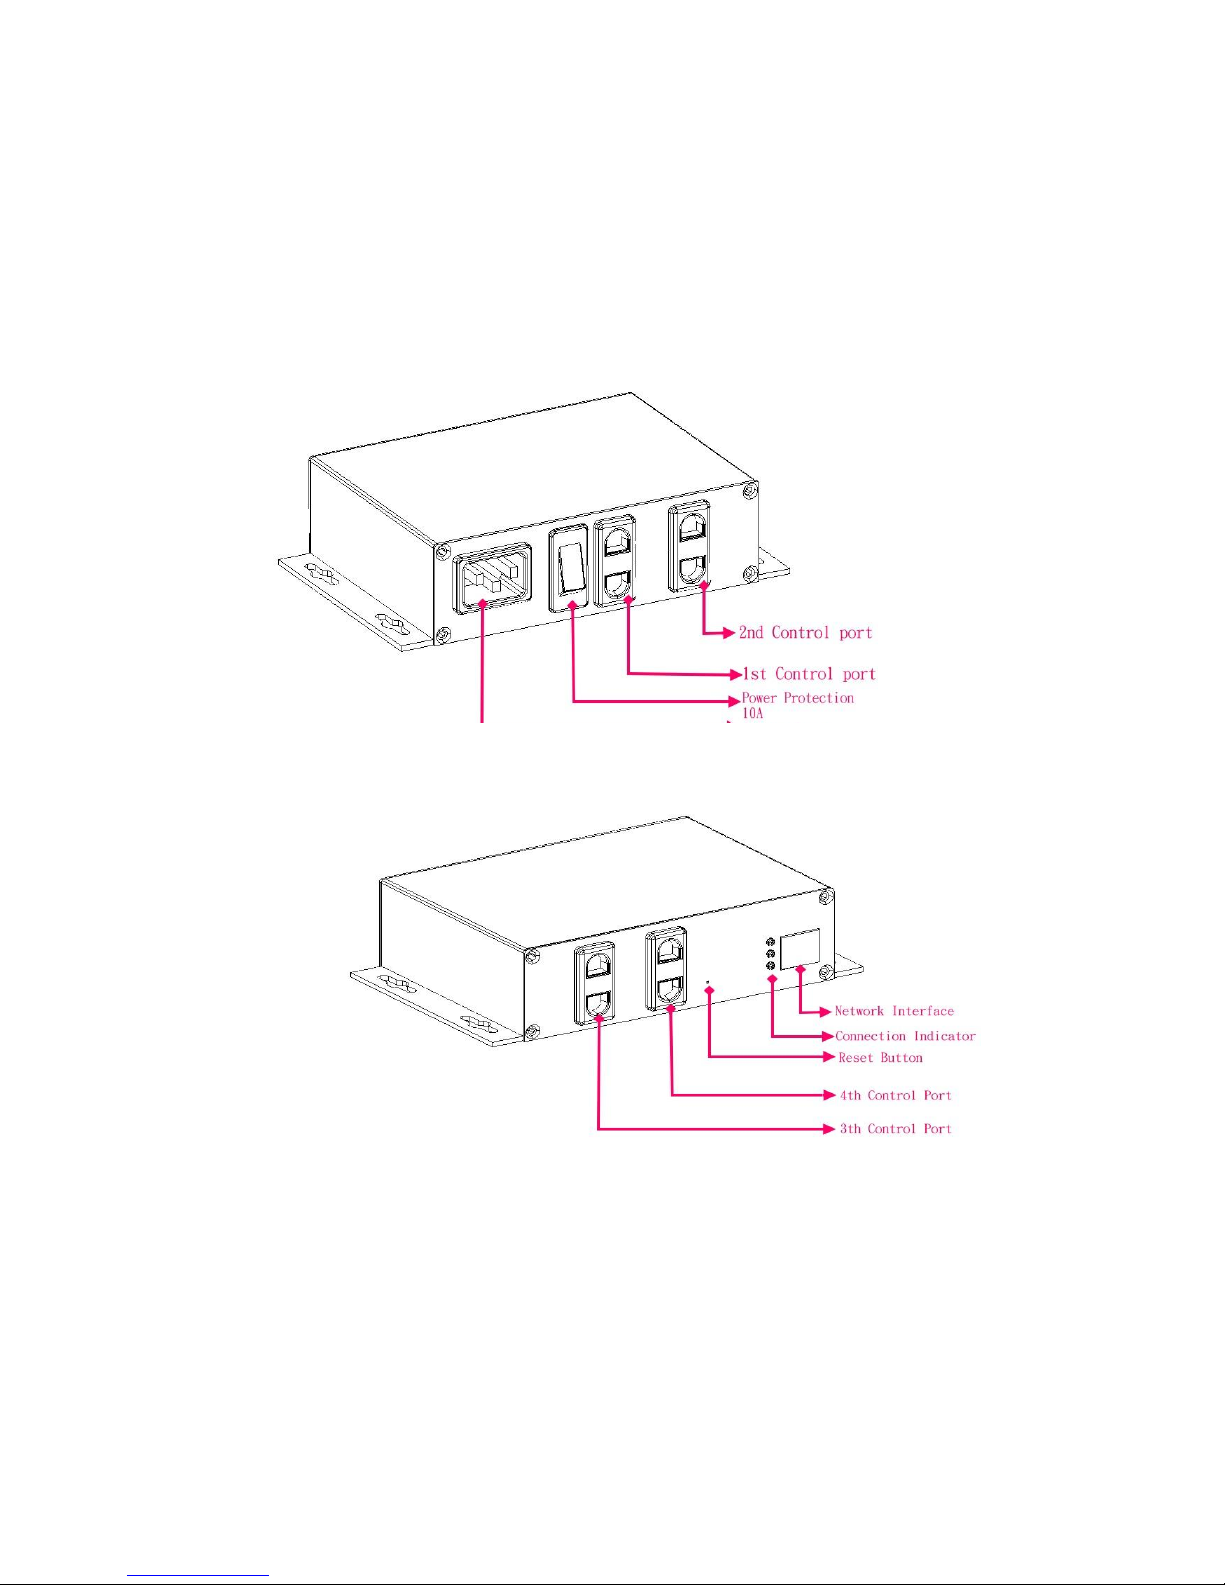
Control Box Appearance Guide:
:
Connection indicator lamps:
Three lamps to indicate different states
Red lamp: This lamp is on when the phone connect successfully, if not, it will be off.
Yellow lamp: This lamp is on when the phone connect to the Internet, if not, it will be off.
Green lamp: This lamp flashes when the system operated normally, the lamp is always on when
the machine turn on, it will be off if abnormal.
3
03
Page 5
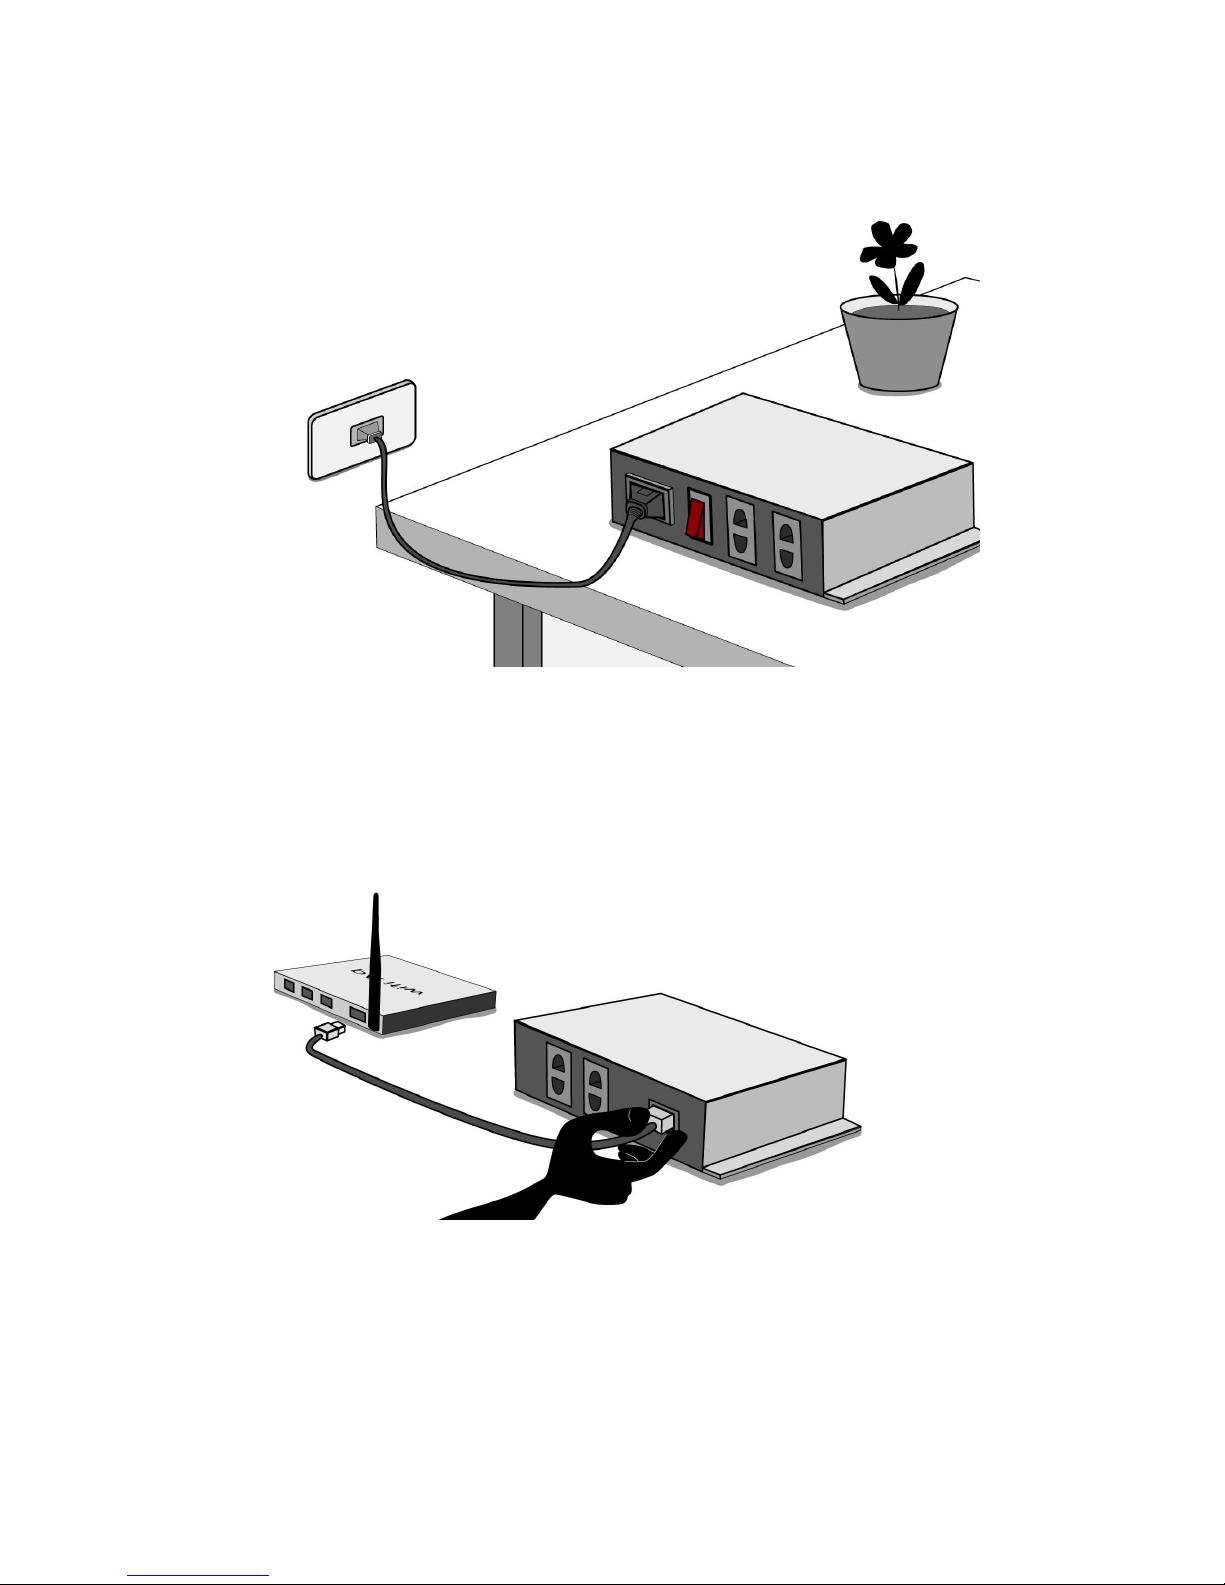
Control Box Installation Procedure:
1. Plug power cord to power outlet of control box, and then connect to the power supply.
Then turn on power switch
2. Plug network cable to network jack of control box, and connect another side to same domain of
WIFI AP.
(Note)
The control box is in DHCP mode, you don’t need to do any network settings
You can plug directly into hub socket of WIFI AP. As long as it’s in the same domain
as WIFI AP, and the phone is also using the same WIFI, mobile phones will be able to
connect Control Box Host Machine successfully.
04
Page 6
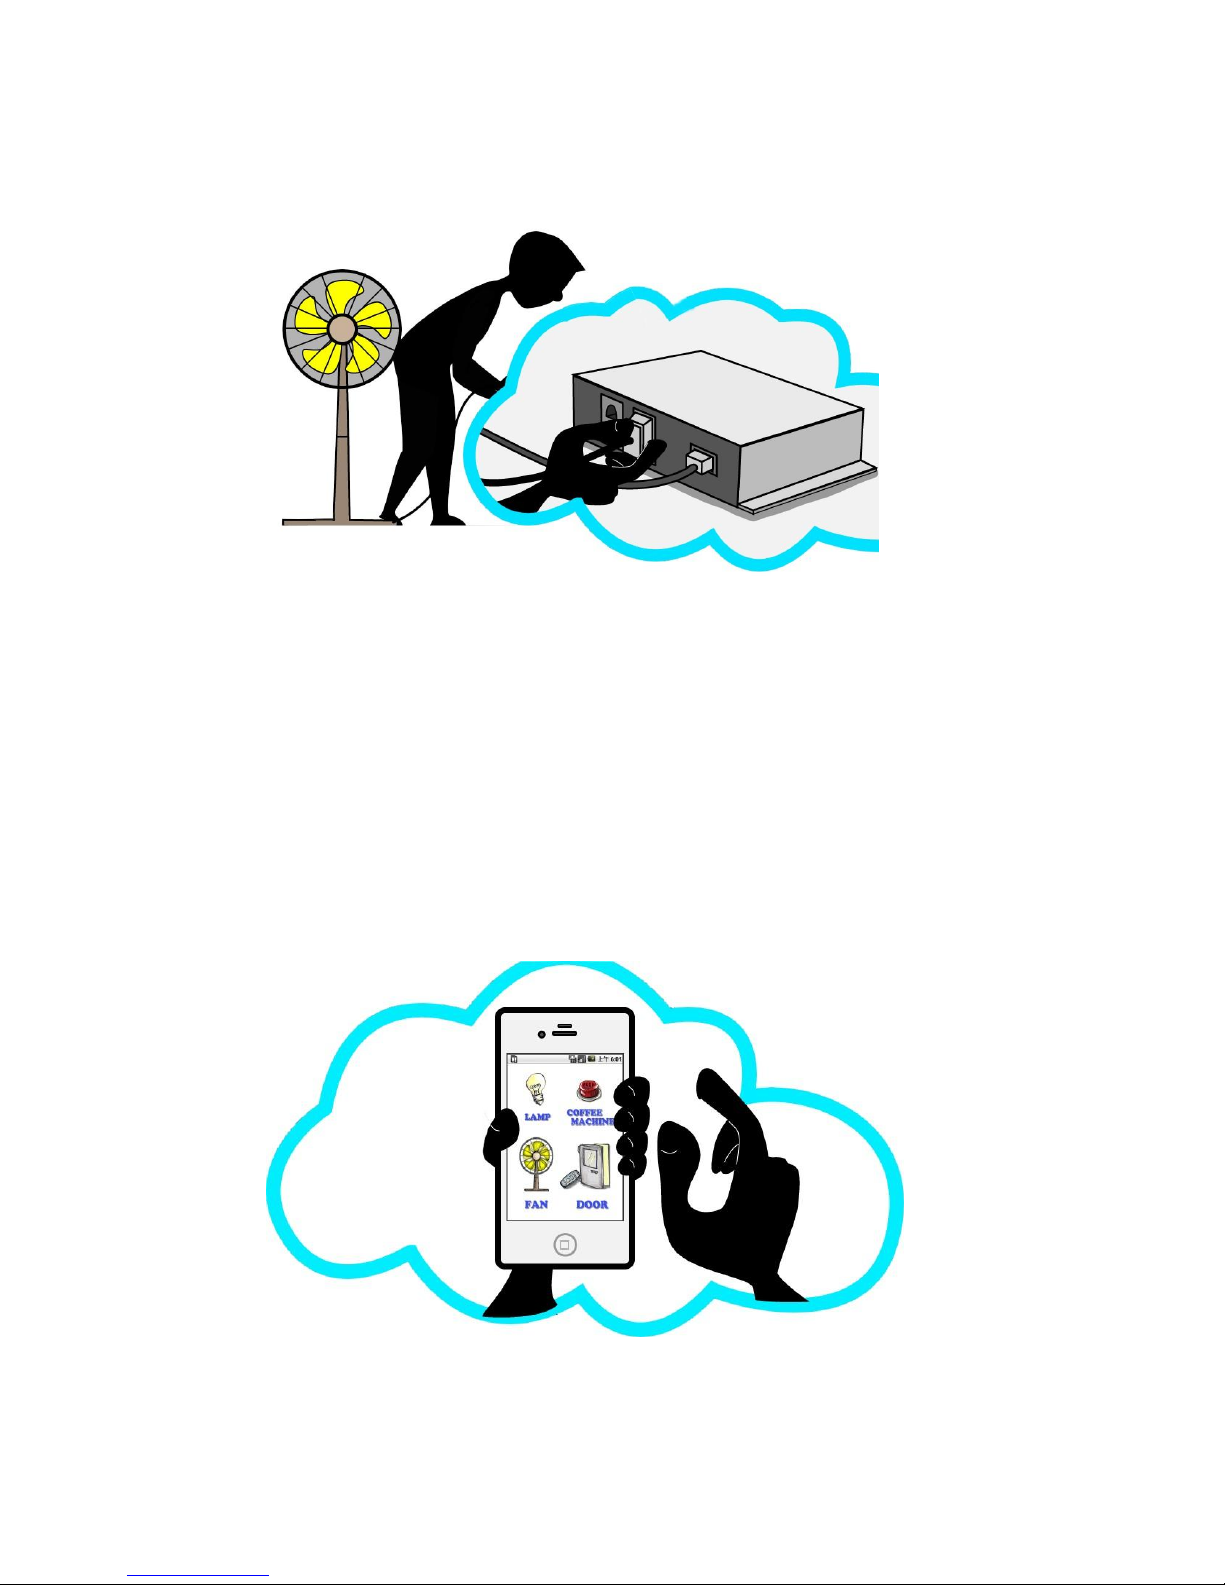
3. Plug connector plug of the controlled device into Control Box
For example:
If you want to control the fans, you have to plug the fan outlet into one of four control
socket of Control Box.
(Note)
Control Box power input is 100 ~ 240V AC, for multinational use, and it’s in line with
Taiwan regulatory, the U.S. regulatory and European regulatory plugs.
Overload Protection Device: If the total load of the four control sockets are more than 10A,
and it will start the disconnection protection automatically.
4. Set your mobile phone WIFI connection to WIFI AP. As long as you use Smart Button APP in your
mobile phone, it will connect the Control Box immediately, and you can use Smart Button APP to
control the device.
(Note)
You can install at least 10 sets Control Box in same WIFI network, and Smart Button APP
can control multiple Control Boxes simultaneously.
05
Page 7

ETouch APP Introduction and setting:
1. Find the ”E Touch icon on the mobile phone desktop, and press it of E Touch button to entry
E Touch APP
Setting Photo
Add an admin
Press here
and add a
New device
3. Scan QR code
06
Press here
to get
authorizstio
Page 8

When Smart Button APP is on, and it will search for Control Box in the same network automatically.
Once the connection is done successfully, it will automatically bring out successful setting name and
operation mode as follows:
When Smart Button APP cannot find the control box:
When you start Smart Button setting, please make sure both your mobile phone WIFI connection and
Control box are in the same network.
If WIFI network connection in your mobile phone, neither Control Box exist, or Control Box does not
turn on the power, and the screen will show that “Not Found”.
Make sure if:
1. You do install Control Box in the WIFI network
2. Your mobile phone does connect to the WIFI network
Not found control box screen
Not found WIFI connection Screen
Control Box name
07
Page 9

If you cannot find WIFI connection, you can press the "Re-search" button in home screen. Smart
Button will start searching for Control Box in the network. After you find Control Box, the home
screen will appear default name of Control Box, and the default names of four controlled devices as
follows:
E Touch APP can control multiple control box:
If you install more than one Control Box in the same network, you can use your fingers to slide screen
to the right, or press Toggle Key to view the list in Control Box, and select the Control Box in the list.
9
3G control box 1
WIFI control box2
Back
Re-search Button
The main function
Default names of four
controlled devices
08
Page 10

E Touch APP setting screen:
Setting Screen
Press setting button
Remove control box
09
Page 11

Click directly to change the name
Change the name of device
Change name and function
Schedule management
3G management
Change the name of device
Change the name of 4 ports
Control socket.
10
Page 12

E Touch APP setup the control type:
There are three kinds of control types:
1. Toggle Type: One click to be on, click again to be off.
2. Door Type:One click to be on, and recover in few seconds.
3. Neon Type: Click to be on for xx seconds, to be off for xx seconds automatically,
and to be on for xx seconds automatically, so the cycle. (xx seconds interval)
You can modify the name
You can modify the control type
11
Page 13

The door type need to setup time:
You can modify the name
You can modify the control type
You can modify the setting time.
Select open Screen:
12
Page 14

You have to re-set intervals in Neon
You can modify the name
You can modify the control type
You can modify Neon Types intervals
Select Interval Screen:
13
Page 15

E Touch APP schedule setting screen:
Return the setting screen
1
5
Schedule setting screen
接著
Add a new schedule
Click here to set Sunday to Monday
Click here to select four-port outlet
Schedule setting screen:
For example: you can set at 3:57every afternoon to turn on lamp2 power automatically
Click here to turn on power
Click here to adjust to4:22 PM
14
Page 16

E Touch APP add a new user
Return to the setting screen:
To 3G management
Key in the new name
Add a new user
15
Page 17

The machine specifications list:
Model:NS20-4P
Manufacturer:Vector Technology Corporation (VTC)
Production:Made in Taiwan
Dimensions:15.8 x 10.5 x 3.9 cm
Weight:510g
Max power input / output:100~240V AC 50/60Hz 10A
Overload protection:Turn off automatically when the current total of four
Ports are more than 7A
Operating temperature: 0~50°C
Operating Humidity:5~95%RH
Storage temperature: -20~ 85°C
Scan the QR CODE on phone
16
Page 18

Technical support and services:
Green Market
Official Website:
http://www.greenmarket.com.tw
Customer Service
E-mail:
service@greenmarket.com.tw
Customer Service
Phone:
02-26801206
Office Hours: Monday to Friday 9:00 to 17:00
Green Market
Address
8F., No.5, Ln. 122, Sec. 2, Ganyuan St., Shulin Dist., New
Taipei City 238, Taiwan
Online Customer
Service URL:
Go to https://www.greenmarket.com.tw/
Contact Service CenterFront Desk
Online Message
System:
Go to https://www.greenmarket.com.tw/
Contact Service CenterMessage Board
Online Repair Service:
Go to https://www.greenmarket.com.tw/
Contact Service Center Repair/Return
arrangement
17
 Loading...