

Veative RA8 Series User Manual

1. Connect the VR Controller to your smart phone or Veative
All-in-one headset through the USB cable that is attached to the VR Controller
2. Once the USB cable of the VR controller is connected to the smart phone/Allin-one VR Headset then it will be auto detected and a connection will be
established between both the devices.
3. Once connected, you can navigate through the menu and enter the Veative
VR app in the device through the controller
4. Matters needing attention
1. The USB compatible to your phone can be USB Type A,
Type B or Type C. Either of the three will be compatible to your phone
depending on the manufacturer & model of the device
2. If you face any issues in connecting the product through
the USB to your smart phone/All-in-one VR headset then unplug the cable from
your device and plug it again to get it auto connected.
3. The USB VR controller is powered through the device that it is connected to
so ensure that the device is adequately charge for smooth usage.
USER GUIDE
5. After-sales support
Please mail support@veative.com for further guidance on usage of the VR
controller
1. Product introduction
Thank you for choosing our products, this is a USB connected VR handle,
which can be used for navigating through your smart phone / All-in-one
VR headset.
The VR controller gives you the opportunity to interact with the Veative
VR Apps which is specifically designed keeping in mind the use of this
controller.
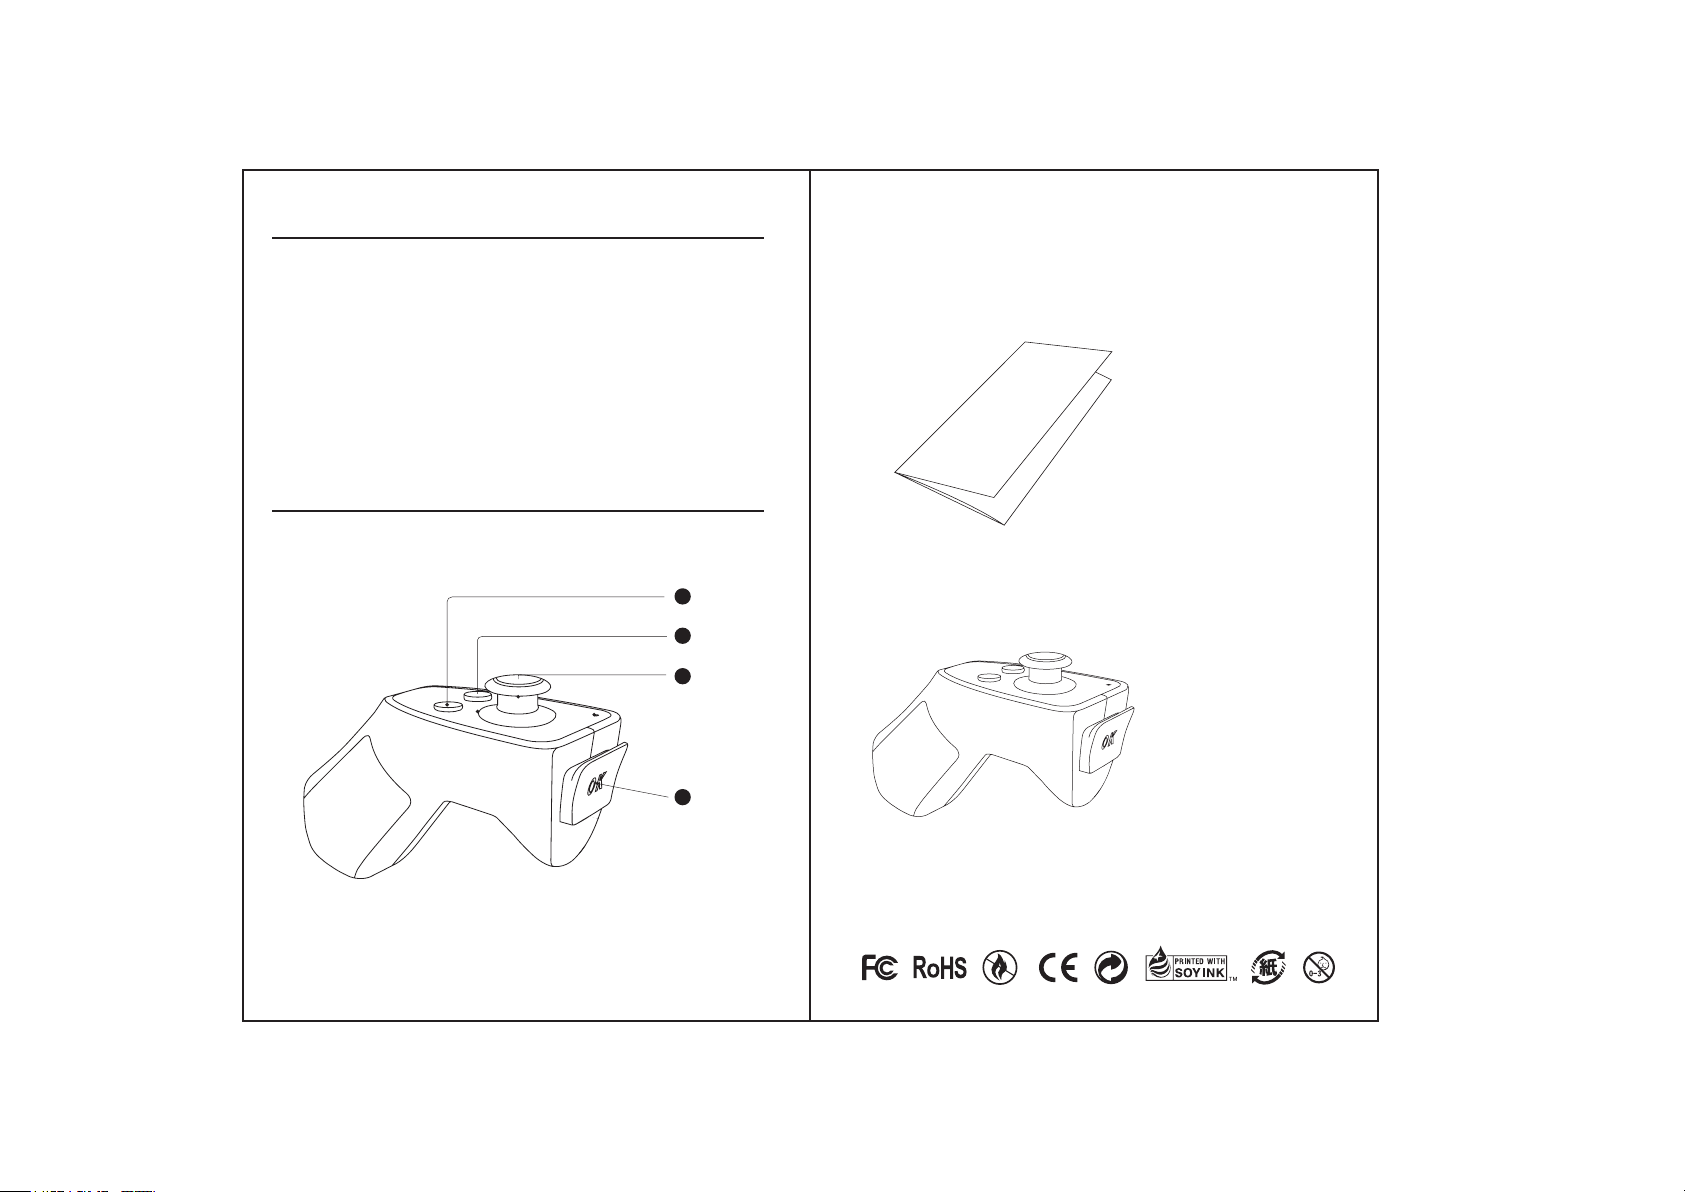
2. Basic Function instructions
1
Re tu rn
2
Me nu
3
36 0° Jo ys ti ck
Thank you for your purchase of the VR controller product,
please check the packing list:
(1pc manual)
(1pc device)
4
OK
 Loading...