

Quick Start Guide
Remote Control
Network Appliance
VB6000 WM
Power-on the Appliance
When powered-on, the VBrick appliance automatically runs through a self-test.
1. Insert
the power connector that comes with
the unit into the power receptacle on the rear
of the appliance.
2. Connect
the other end to a conventional
110/220 VAC power source.
3. The Power In LED on the back of VBrick
will illuminate and the front panel will display
status messages during the self-test.
4. Wait until the appliance completes its boot
sequence before continuing. This may take
1–3 minutes.
Note: The WM Appliance Admin Guide provides
a detailed description of product features and
functions. It's available on the Product CD or it
can be accessed from the Help link in the IWS
configuration program.
Quick Start Guide
Using
StreamPlayer
Verify Operation
Once installed, you can use the StreamPlayer Plus
application to view content being streamed from the VBrick
appliance.
1. Launch
the StreamPlayer Plus application. Go to Start >
All Programs > VBrick > StreamPlayer Plus.
2. The VBrick appliance automatically multicasts program
information (reference A) to the StreamPlayer application
running on your PC.
3. Y
ou should see a stream appear in the Program Info
column (reference B) of the StreamPlayer application.
The default stream name of the VBrick is the unit’s MAC
address.
4. Double-click
on the VBrick's MAC address (or host name)
to launch the stream in Windows Media Player (reference
C) and display the selected video stream on your PC.
5. You are now successfully streaming video to your PC.
A
B
C
Set the IP Address
When you power on the appliance, if a DHCP server is present on
your network, the VBrick will automatically get its IP Address and
Subnet Mask from the DHCP server. If this happens, no additional
configuration is required; go to Step 5 and install StreamPlayer Plus. If
the VBrick cannot get an IP address from the DHCP server (or a server
is not present), you will need to set the IP address manually using
the handheld IR Remote Control. Similarly, if your network requires a
Gateway IP Address, and this is not provided by the DHCP server,
you will also need to enter this manually.
1. Aim
the remote control at the IR Port (reference 4A) on the front
panel and press Local Edit (reference 4B). The display (reference
4C) on the front of the VBrick will request a password.
2. Pr
ess 23646 (“admin”, numerically) and press Select (reference 4D)
on the remote control.
3. If
the network is DHCP capable and you want the network to select
an IP address press Y and then press Select. The VBrick will reboot
and obtain an IP address. Otherwise, press Select to continue.
4. Enter
desired IP address. Use the
*
button for the decimal point and
the left/right buttons to erase characters entered by mistake.
5. When
done press Select. If the remaining settings do not need to
be modified, press Select again.
6.
If the IP, subnet mask or gateway addresses have been modified
and there are no errors, the VBrick will reboot.
7. Log back in to the VBrick using the Remote Contr
ol.
8. Set the Slot1 Destination IP address to a valid multicast address.
Note: The standard multicast address range is 224.0.0.0 to
239.255.255.255. VBrick recommends using 225.1.1.1 as a starting
multicast address.
Install StreamPlayer Plus
StreamPlayer Plus 4.3 or higher lets you receive
streaming video, originating from the VBrick, on
a local PC.
1. If
you did not order StreamPlayer you can
purchase and download a full copy or you
can install the 30-day evaluation copy that
is included on the Product CD. You will still
need to download a 30-day License file
before you can install StreamPlayer.
2. T
o download StreamPlayer or a License file,
go to www.vbrick.com/products/software.asp
and follow the instructions.
3. After
you download StreamPlayer, follow the
instructions and install the application as
directed.
3
6
4
5
2
Connect to the IP Network
An Ethernet cable connects the VBrick to the
network.
1. Plug
one end of the cable into the Ethernet
port on the VBrick appliance.
2. Plug
the other end of the cable into the net-
work switch.
3. When
power is applied, the green LEDs to
the right of the Ethernet port will illuminate
and the Activity light will flicker.
Note: This Quick Start Guide references the
following WM Appliance models:
9190-4200-000x – Single WM Encoder
9190-4200-100x
– Single WM Encoder with
Hard Drive
9190-4300-000x – Dual WM Encoder
9190-4300-100x
– Dual Encoder with Hard
Drive
•
•
•
•
2
BACK
1 1
3
FRONT
4C
4A
4B
4D
1
This document explains how to quickly
verify that you can stream audio and video
from your VBrick Network Appliance over
your local network. This side explains the
steps if using StreamPlayer; the other side
explains Windows Media Player. Make sure
you are using the right Quick Start Guide.
Verify the VBrick appliance "type" by checking the rear panel. Each slot is labelled
MPEG-2, MPEG-4, or WM.
An audio/video cable allows the VBrick appliance to receive audio/video from your input
source (a camera, VCR, DVD, etc.)
1. Fr
om a video input source (for example,
a camera, DVD, or VCR), connect a BNC
(composite video) cable to Composite In
on Slot 1 of the VBrick appliance using
the supplied cables and adapters.
2. Connect Left and Right cables from the
audio source to Audio In on the appliance.
Connect Video Input
System Requirements
Ethernet LAN
Multicast IGMP Version 2 or higher
Windows 2000, Windows XP (Service Pack 2
recommended)
500 MHz Pentium III processor (750 MHz recommended)
128 MB RAM
SVGA
video card 640x480, 256 colors or better
(acceleration recommended)
Windows-compatible sound device
Minimum 5 MB hard disk space for installation
Micr
osoft Internet Explorer 6.0 or higher
Microsoft DirectX Media 8.1 or higher
Microsoft Windows Media Player Version 7.1
(Windows 2000), 9.0 or higher (Windows XP)
•
•
•
•
•
•
•
•
•
•
•
12 Beaumont Road
Wallingford, CT 06492 USA
www.VBrick.com
4410-0153-0002 08/08/07
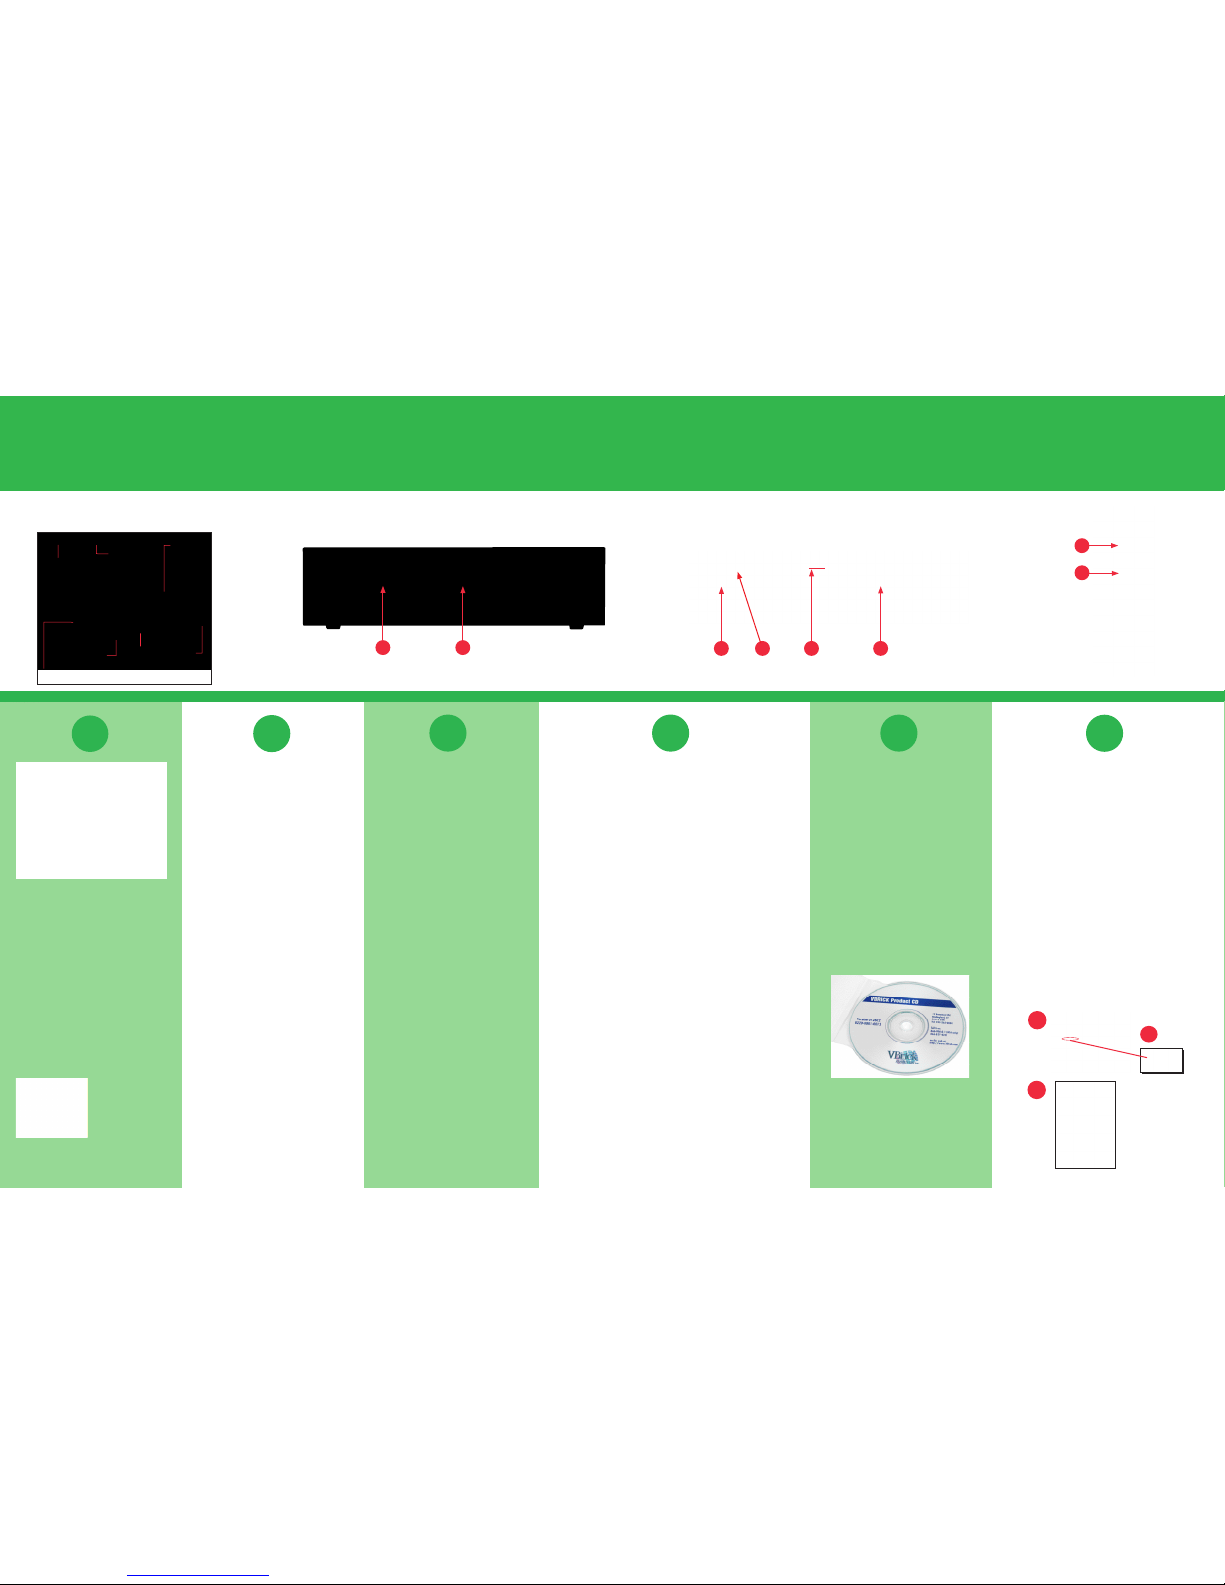
Unpack VBrick Appliance.
Each Shipment Includes:
VBrick network applianceEthernet network
cable
The Product CD contains VBrick appliance documentation and a 30day evaluation copy of StreamPlayer Plus viewing software.
Serial port
cable and
adapter
Remote Control
Cable and
adapter kit
Power supply
and cable
Quick Start Guide
Quick Start Guide
VB6000 WM
Network Appliance
Media Player
Using Windows
Power-on the Appliance
When powered-on, the VBrick appliance automatically runs
through a self-test.
1. Insert
the power connector that comes with the unit into
the power receptacle on the rear of the appliance.
2. Connect
the other end to a conventional 110/220 VAC
power source.
3. The Power In LED on the back of VBrick will illuminate
and the front panel will display status messages during the
self-test.
4. Wait until the appliance completes its boot sequence
before continuing. This may take 1–3 minutes.
Connect to the IP Network
An Ethernet cable connects the VBrick to the network.
1. Plug
one end of the cable into the Ethernet port on the
VBrick appliance.
2. Plug
the other end of the cable into the network switch.
3. When
power is applied, the green LEDs to the right of
the Ethernet port will illuminate and the Activity light will
flicker.
System Requirements
Ethernet LAN
Windows 98, 2000, XP (Service Pack 2 recommended)
500 MHz Pentium III processor (750 MHz recommended)
128 MB RAM
SVGA
video card 640x480, 256 colors or better (acceleration
recommended)
Windows-compatible sound device
Micr
osoft Internet Explorer 6.0 or higher
Microsoft DirectX Media 8.1 or higher
Microsoft Windows Media Player Version 7.1 (Windows 98
or 2000 only), 9.0 or higher (Windows XP or Vista)
•
•
•
•
•
•
•
•
•
Set the IP Address
When you power on the appliance, if a DHCP server is present on your network, the VBrick will automatically get its IP
Address and Subnet Mask from the DHCP server. If this
happens, no additional configuration is required; go to Step
5 and verify operation. If the VBrick cannot get an IP address
from the DHCP server (or a server is not present), you will
need to set the IP address manually using the handheld IR
Remote Control. Similarly, if your network requires a Gateway
IP Address, and this is not provided by the DHCP server, you
will also need to enter this manually.
1. Aim
the remote control at the IR Port (reference 4A) on the
front panel and press Local Edit (reference 4B). The display (reference 4C) on the front of the VBrick will request
a password.
2. Pr
ess 23646 (“admin”, numerically) and press Select (ref-
erence 4D) on the remote control.
3. If the network is DHCP capable and you want the net-
work to select an IP address press Y and then press
Select. The VBrick will reboot and obtain an IP address.
Otherwise, press Select to continue.
4. Enter
desired IP address. Use the
*
button for the decimal
point and the left/right buttons to erase characters entered
by mistake.
5. When
done press Select. If the remaining settings do not
need to be modified, press Select again.
6.
If the IP, subnet mask or gateway addresses have been
modified and there are no errors, the VBrick will reboot.
Verify Operation (HTTP/Unicast)
Windows Media Player lets you receive streaming video
originating from the VBrick appliance on a PC.
1. Login
to the VBrick IWS configuration utility (e.g.
http://vbrick_ipaddress) using the default user name and
password (admin/admin).
2. Go to Configuration: Encoder > Server.
3. Pr
ess the Begin Edit button to become the active editor.
4. Press Click here to play HTTP to launch a stream in
Windows Media Player (assuming you connected to a
video source in Step 1).
5.
If the stream runs in Windows Media Player you are successfully streaming HTTP/Unicast audio and video to the
PC.
Note: This Quick Start Guide references the following WM
Appliance models:
9190-4200-000x – Single WM Encoder
9190-4200-100x – Single WM Encoder with Hard Drive
9190-4300-000x – Dual WM Encoder
9190-4300-100x – Dual Encoder with Hard Drive
•
•
•
•
3
2
4
5
2
BACK
1 1
3
FRONT
4C
4A
Note: The WM Appliance Admin Guide provides a detailed
description of product features and functions. It's available
on the Product CD or it can be accessed from the Help link in
the IWS configuration program.
4D
4B
1
12 Beaumont Road
Wallingford, CT 06492 USA
www.VBrick.com
4410-0153-0002 08/08/07
An audio/video cable allows the VBrick appliance
to receive audio/video from your input source (a
camera, VCR, DVD, etc.)
1. Fr
om a video input source (for example, a camera, DVD, or VCR), connect a BNC (composite
video) cable to Composite In on Slot 1 of the
VBrick appliance using the supplied cables and
adapters.
2. Connect Left and Right cables from the audio
source to Audio In on the appliance.
Connect Video Input Source
This document explains how to quickly verify
that you can stream audio and video from
your VBrick Network Appliance over your local
network. This side explains the steps if using
Windows Media Player; the other side explains
StreamPlayer. Make sure you are using the
right Quick Start Guide. Verify the VBrick appliance "type" by checking the rear panel. Each
slot is labelled MPEG-2, MPEG-4, or WM.
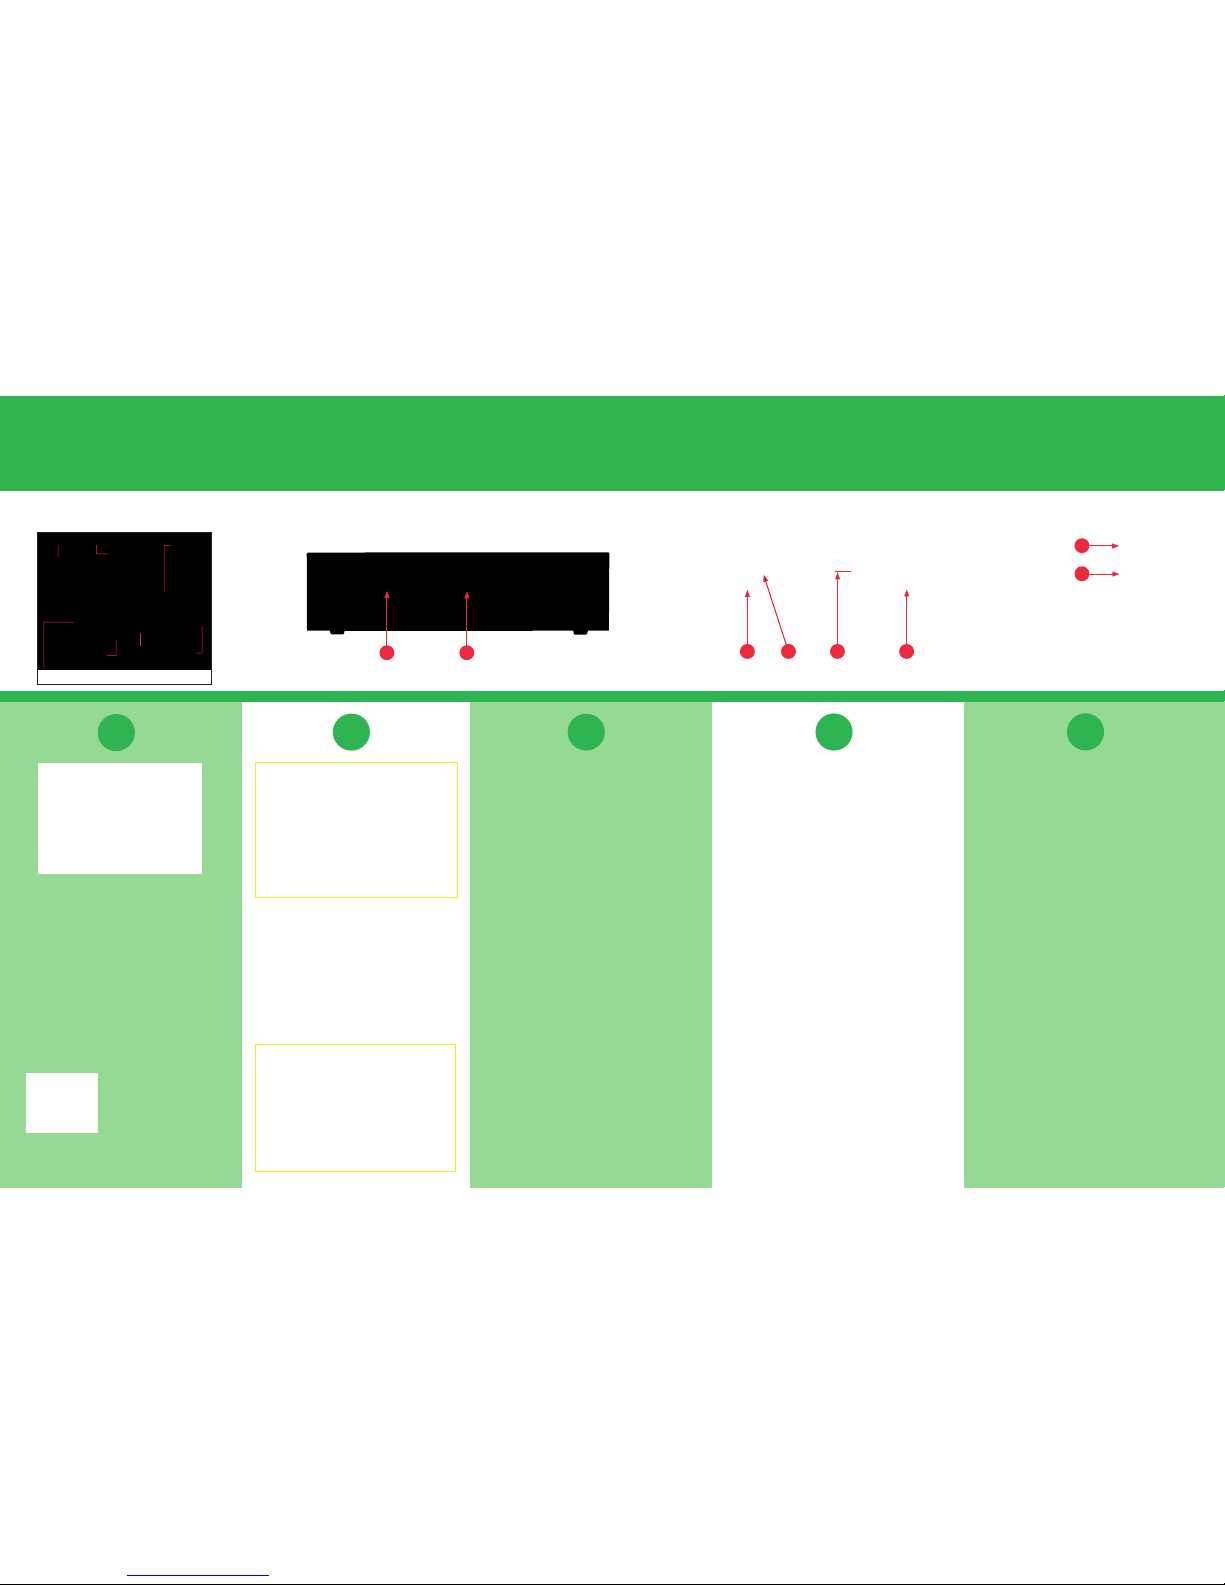
Unpack VBrick Appliance.
Each Shipment Includes:
VBrick network applianceEthernet network
cable
The Product CD contains VBrick appliance documentation and a 30day evaluation copy of StreamPlayer Plus viewing software.
Serial port
cable and
adapter
Remote Control
Cable and
adapter kit
Power supply
and cable
 Loading...