

Page 1
Compact Set-up
Sections used: Front and Pivot sections only
Use Cable 4
Camera capacity: up to 30lbs. in under slung position
Unit weight: 35.75 lbs.
Folded length: 55 inches.
Extended length: 7’ 3” ft.
Distance from tripod to camera: 5 ft 7 inches
Total vertical movement: 8 ft.
Mid Size Set-up
Sections used: Front, weight and Pivot sections only
Use Cable 3
Camera capacity: up to 30lbs. in under slung position
Unit weight: 45.9 lbs.
Folded length: 55 inches.
Extended length: 9ft 3 inches.
Distance from tripod to camera: 6 ft 7 inches
Total vertical movement: 9 ft.
Full Length Set-up
Sections used: Front, weight, middle and Pivot sections
Use Cable 1 and Cable 2
Camera capacity: up to 30lbs. in under slung position
Unit weight: 58.45 lbs.
Folded length: 55 inches.
Extended length: 13 ft. 10 inches
Distance from tripod to camera: 11 ft
Total vertical movement: 12 ft 6 inches.
Extended Length Set-up
Sections used: Front, weight, middle, middle extension and Pivot
sections
Use Cable 1, Ext. Cable 1 and Ext. Cable 2
Camera capacity: up to 30lbs. in under slung position
Unit weight: 74.3 lbs.
Folded length: 55 inches.
Extended length: 18 ft. 4 inches
Distance from tripod to camera: 15 ft 6 inches
Total vertical movement: 16 ft 6 inches.
Use Ext. Cable 1 and Ext. Cable 2
**To Change Cables**
Simply remove the cotter pin and remove pin, then place the
turnbuckle and hardware on the appropriate cable to be used.
Then replace pin and cotter pin.
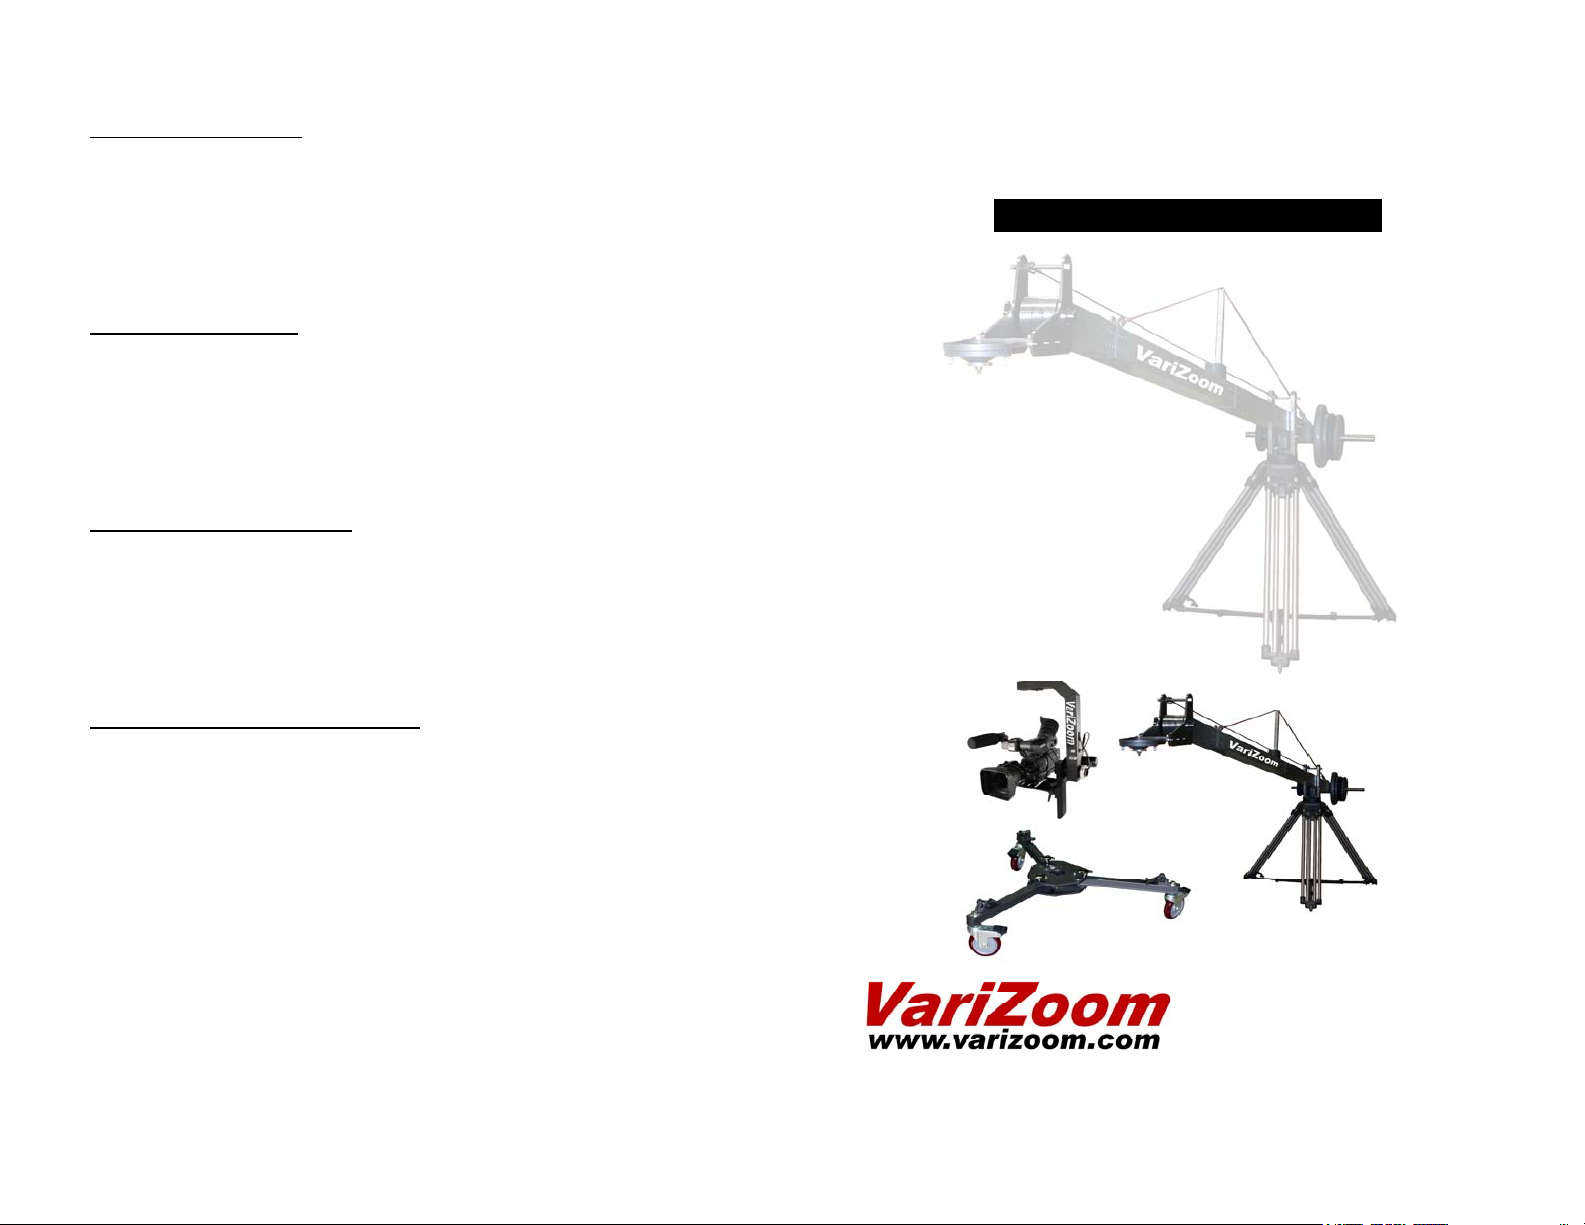
VZ-SNAPCRANE
Professional Compact
Camera Crane
Instruction Manual
Please read the instruction manual thoroughly
before operating your Crane system for the
first time to avoid injury or damaging the unit.
The durable construction of the snapcrane
makes it an excellent long-term investment, but
its precision design also means that you must
exercise care in the storage, transport, and
operation of the unit to ensure optimal longterm performance. Always remember to use
extreme caution when using an overhead crane.
Avoid power lines and windy conditions.
please Visit our website for additional
information.
888-826-3399
l
Page 2
Page 2
Now slide the
weight bar into the
hole at the rear of
the weight section.
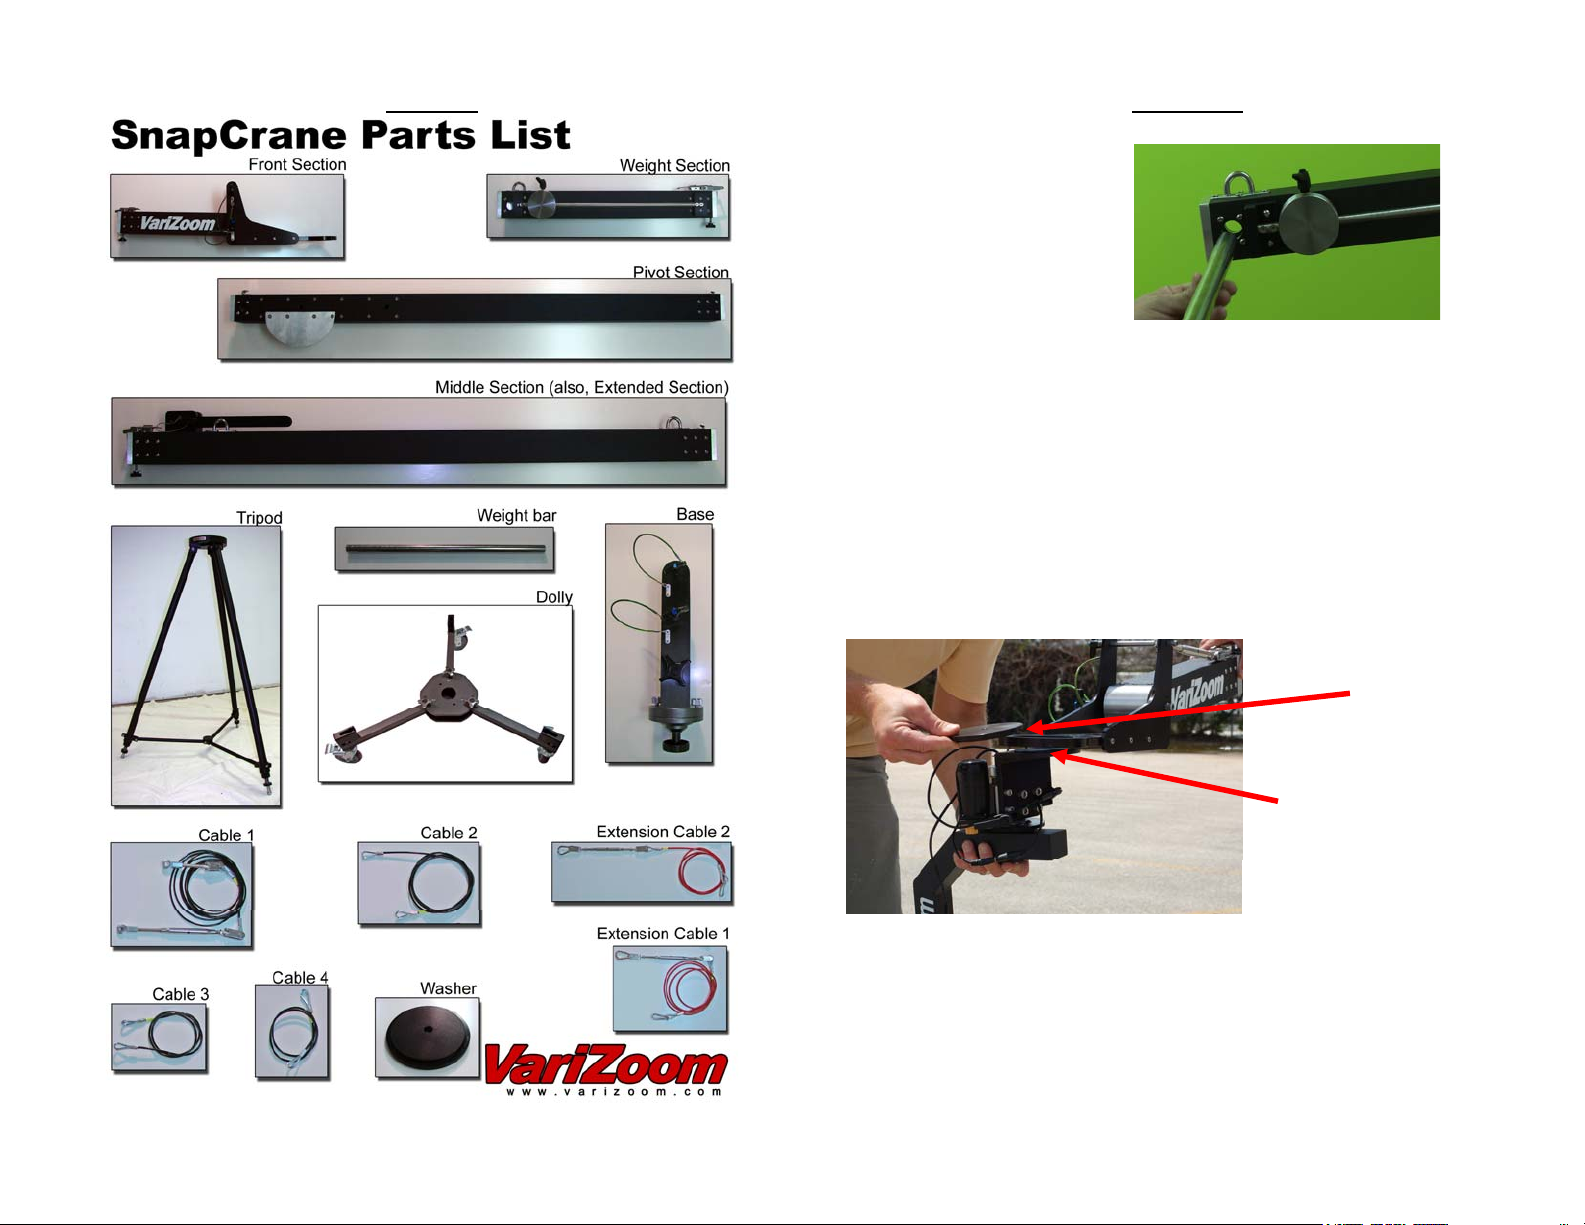
Your crane comes equipped with various different
sized cables for use with the different
configurations the Snapcrane can be used in.
*See back cover of manual for more information.
REMEMBER: make sure to Disengage brake knob
When operating the crane
When attaching a motion control head such as the
MC-50 or MC100, use the provided washer when
attaching them to the head of the crane.
Washer
Use the turnbuckles to remove slack from
cables and to level.
Congratulations!
Your snap crane is fully assembled.
Page 11
Pan and Tilt Head
in underslung
position
Page 3

Page 4
pivot section
The pivot section is the sub-section that
attaches to the base.
To install the pivot section of the crane – slide
the section into place between the arms of the
base.
Important:
When attaching pivot
section that the brake
knob and brake (shaped in
a half moon) are facing
the same direction.
Line up the lower pinhole located just above the
brake on the pivot section with the pinhole found
just above the brake knob on the base.
compact setup, use the pinhole located to the right of the
half moon shaped brake.
and slide pin into the base and pivot section until the
pin is securely through.
make sure
Next, press in the pin button
Note - For the
Page 9
CABLE instructions cont’d
Next, place the cable over the cable guide and
secure the other end (
latch point closest to the rear of the crane on the
weight section.
(fig.5)
with the turnbuckle
) to the
Note:
You May
need To release
Some slack By
Loosening Up
The Turnbuckle.
If you have the Extended version of the snap crane,
grab the red cable labeled “cable 1”.
Start by securing
The end
turnbuckle)
latch point closest
to the rear of the
crane.
Place the cable over the cable guide and secure the
other end with the turnbuckle to the latch point it
can reach closest to the front of the crane.
(with the
to the
(fig.5)
(fig.5)
Page 4

Page 10
Cable instructions cont’d
Next, Grab the other Red Cable labeled “ext cable
1”. Start by securing the end
the latch point closest to the front of the crane.
Then Place the cable over the cable guide and secure
the other end to the latch point it can reach closest
to the rear of the crane.
For the Full Length Crane, grab the black cable
labeled “Cable 2” or for the extended crane grab
“ext cable 2”. Start off with the turnbuckle end and
slide the top pin on the front section through the
rod end bearing.
(with the turnbuckle)
to
Take the other end and
slide the top pin on the
base section through
the other rod end.
NOTE: Make sure that
The Red Cable is on
top of the Black Cable
.
Make sure Black Cable is
on this side of the cable
guide
not on this side
Page 3
Tripod & dolly setup
Before assembling your crane, make sure that the
tripod legs are secured into the dolly receivers.
Adjust tripod spreader so it is fully extended and
locked.
For additional safety, secure and lock dolly wheels by
engaging dolly brakes.
the base
first, you will need to attach the base unit to the
tripod. Unscrew the base mounting bolt and insert
the base into the tripod.
re-attach the
base mounting bolt
securely making sure
that the base is seated
correctly into the bowl.
- now pull both pins out
by pressing in on the blue
button and pulling. let
the pins rest along side
the base.
Page 5

Page 6
extended section cont’d
Tighten the dovetail lock screw to lock down the two
sections.
Front section
Next, attach the front section to your crane.
Loosen the dovetail lock bolt just enough to allow
the two sections to engage.
Slide the front section into place and snap down the
locking latch. Tighten the dovetail lock screw to
lock down the two sections. Now pull top pin out and
flip the section over letting the pin rest along the
side of front.
Top pin
Page 7
weight section
If using the Crane in Compact mode, you can skip this section and
proceed to the Bottom of Page 8.
Next, you will need to attach the rear weight section
to the pivot section of your crane.
Loosen the dovetail lock bolt just enough to allow
the two sections to engage. Next, slide the weight
section into place and snap down the locking latch.
Tighten the dovetail lock screw to lock down the two
sections.
Important:
concise weight adjustments when balancing crane.
the micro adjuster can be used for
Page 6

Page 8
CABLE instructions
First, unlock the cable guide by pulling the pin out
from the middle section or both middle and extended
section if you’ve purchased the extended crane.
Lift cable guide to the upright position and re-insert
the pin to secure in place.
For the Full Length Version of the SnapCrane, grab
the red cable labeled “cable 1”.
Start by securing the quick release clamp to the
latch point closest to the front of the crane.
Page 5
middle section
If using the Crane in Compact or Mid-Size mode, you can skip this
section and proceed to page 7.
Next you will need to attach the middle section to
the pivot section.
Loosen the dovetail
lock bolt just enough
to allow the two
sections to engage.
Slide the middle
section into place and
snap down the locking
latch.
tighten the dovetail
lock screw to lock
down the two sections.
extended section
this next section only applies if you purchased the
extended section with the snap crane.
Loosen the dovetail lock bolt just enough to allow
the two sections to engage. Then slide the
middle/extended section into the other middle section
and snap down the locking latch.
 Loading...