

Page 1
Quick Start Guide
Van Walt Ltd | Prestwick Lane | Grayswood | Haslemere | Surrey | GU27 2DU | Tel. 01428 661 660 | Fax. 01428 656 808 | www.vanwalt.com
+44 (0)1428 661 660
Aquaread™
This guide is meant to serve as a quick reference
for operating the Aquaread Aquameter and
Aquaprobe.
It is for your convenience and is not intended to
replace the information found in the Operations
Manual provided.
Connecting an AQUAPROBE
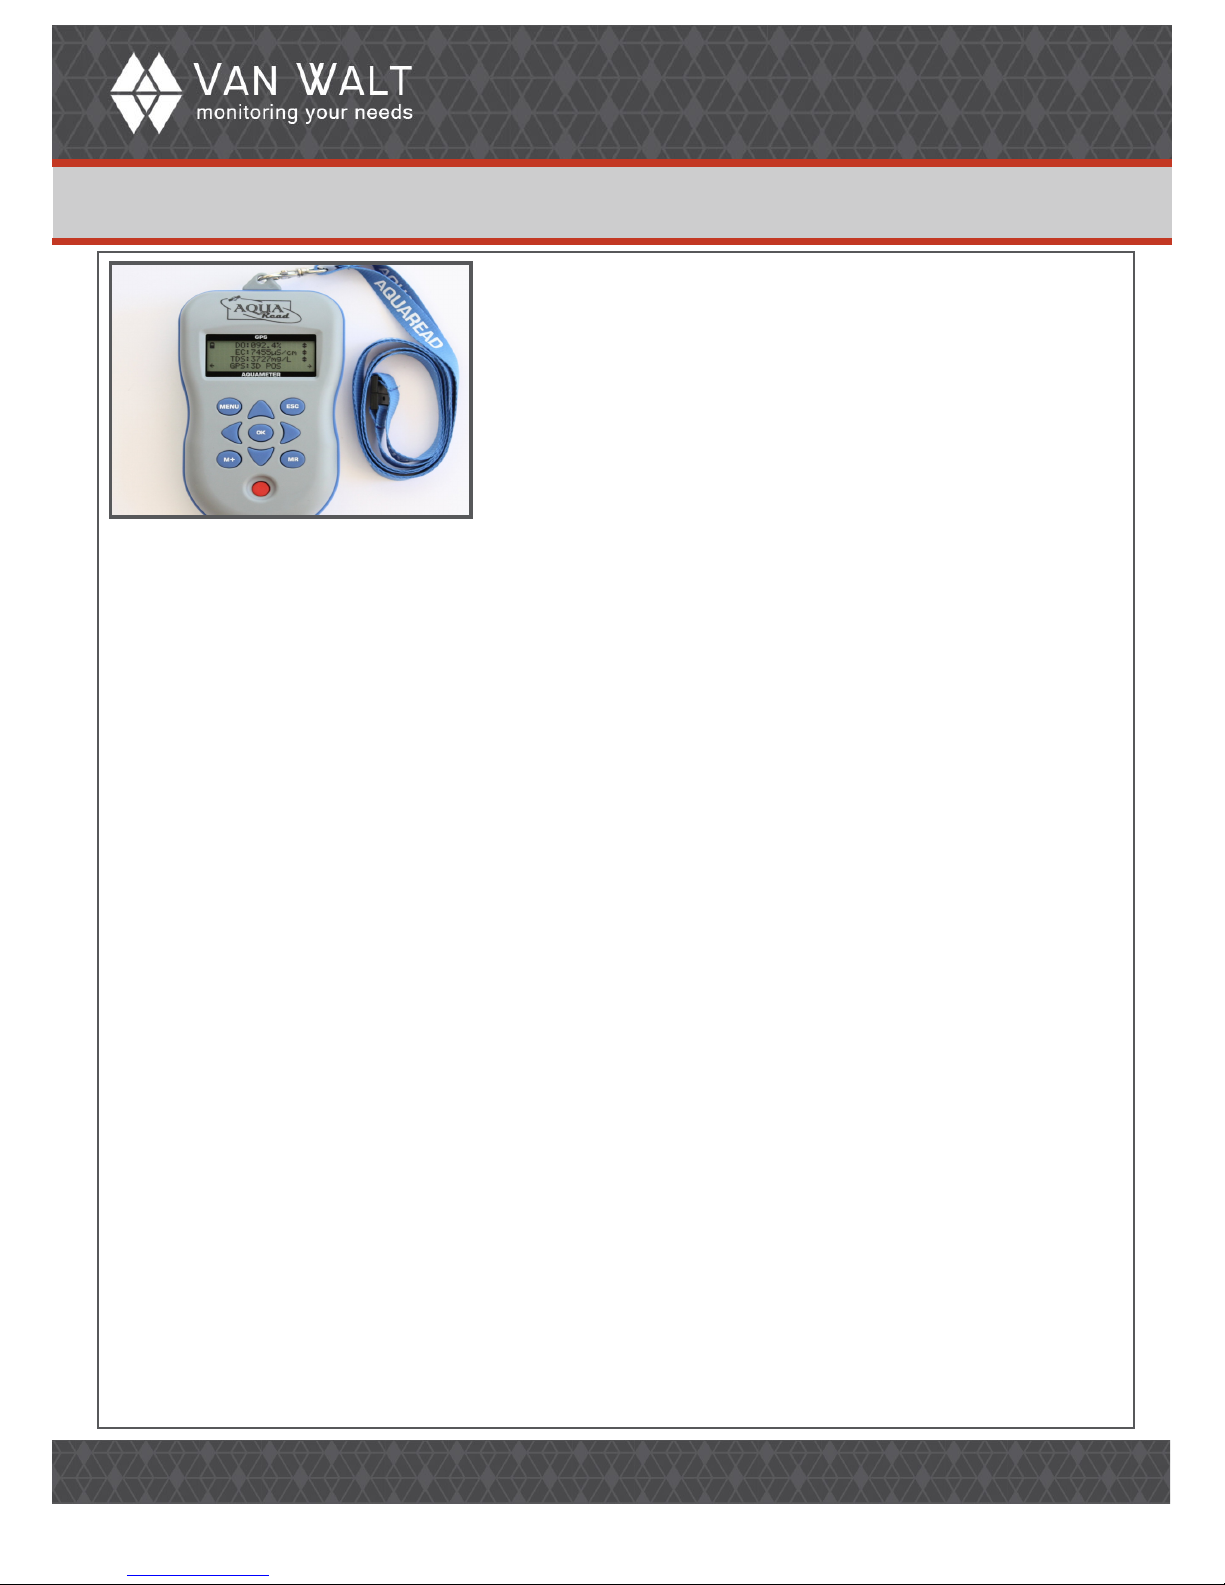
To connect the Aquaprobe to the Aquameter, align the key slot of the AQUAPROBE plug with the
AQUAMETER socket, then press the plug into the socket and tighten the retaining collar. Always ensure
the AQUAMETER is switched off prior to connecting or disconnecting an AQUAPROBE.
Switching On
To switch the meter on or off, briey press the red key. If you do not press any keys for thirty minutes,
the meter will automatically switch off. If the AQUAPROBE is connected correctly, the meter will read
the Probe’s serial number and model number, then will automatically congure itself to display only
those readings the current AQUAPROBE is capable of taking. Initial Probe readings will be displayed
on the meter’s screen along with the current GPS status (GPS model only).
Taking Measurements
If the AQUAPROBE you are using includes a pH/ORP electrode, remove the storage cap by pulling the
red lanyard straight down. Do not use a twisting motion. Fit the protective Sleeve Cap into the open
end of the sleeve if required then immerse the AQUAPROBE in the sample water, making sure that
the water level covers the minimum immersion depth groove halfway up the Probe sleeve. Switch the
AQUAMETER on.
If the current AQUAPROBE / AQUAMETER combination is capable of reading more than three
parameters, left/right arrows will appear at the bottom corners of the screen to indicate further data
screens are available. To access these screens, simply press either the left or right arrow keys. Any
value that is out of range or unavailable will be displayed as dashes. WARNING If the AQUAPROBE you
are using includes a pH/ORP electrode, remember to remove the protective Sleeve Cap and replace
the pH/ORP storage cap after use. Failure to do so will damage the electrode.
Choosing the displayed units
The AQUAMETER only displays one set of units per parameter, e.g. either DO% or DOmg/l. To alter the
way the AQUAMETER displays readings, press the MENU key, choose Settings then Units. On the Units
Menu screen, select the reading you want to alter from the list then use the up/down arrow keys to
alter the settings. For more details, refer to the full instruction manual. If you are logging data on the
meter all readings are recorded.
Trend Indication
To the right of each reading, a trend indication is given. This consists of either an upwards facing arrow
(which indicates the value of the reading is rising), a downwards facing arrow (which indicates the
value of the reading is falling) or a two-headed arrow which indicates a steady reading. Gently stir
the Probe in the sample until the temperature reading is steady. By this time the other values should
be reasonably steady and ready for saving.
RR114V1_09/05/2012_TD
Page 2

Quick Start Guide
Van Walt Ltd | Prestwick Lane | Grayswood | Haslemere | Surrey | GU27 2DU | Tel. 01428 661 660 | Fax. 01428 656 808 | www.vanwalt.com
+44 (0)1428 661 660
Saving and Recalling Measurements
When you are happy that the readings are stable, press the M+ key to snapshot the readings along
with the time, date, GLP (calibration) data and position (GPS models only). As each reading is saved, a
numeric memory location ‘Tag’ will be briey displayed which you can note down. This Tag can be used
to identify readings at a later date, both on the Aquameter and when using Aqualink software. To recall
your readings, press the MR key. On entering Memory Recall mode, the most recent set of readings are
displayed rst. To see earlier readings, press the up arrow key. To view all the parameters within one set
of readings, use the left/right arrow keys as described earlier. If you want to save readings automatically
on a regular basis, press the MENU key then select Auto Data Logging. Using the arrow keys to navigate,
set the desired logging interval, set the Status to ON then press OK. An asterisk (*) will ash on and off just
below the battery symbol on the main screens to indicate Auto Data Logging is active.
Using the Aquaprobe with a ow cell
The Aquaread Flowcell is supplied with two pairs of spigots, one pair to t 6mm (1/4”) ID tube and one
pair to t 10mm (3/8”) ID tube. The spigots have a tapered thread so should be screwed into the inlet
and outlet holes of the Flowcell until they are tight. At this point, they should seal due to the taper. If a
spigot will not seal properly, remove it then re-insert with some PTFE plumber’s tape wrapped around the
thread. When using the Flow Cell the lower Sleeve must be tted to the Aquaprobe, but the protective
Sleeve Cap must not be tted as this will reduce ow and cause turbulence. Loosen the screw collar
located at the top of the Flowcell and moisten the seal with fresh water. Slide the Aquaprobe in all the
way, ensuring it is properly seated in the recess where the clear tube enters the base. Tighten the screw
collar to clamp the Aquaprobe in place.
Connect the Flowcell to a pumping device so that sample water enters at the bottom and exits at the
top. Adjust the ow rate so that there is no visible turbulence or cavitation within the Flowcell. Connect
an Aquameter and monitor the readings. If the readings are jumpy or erratic, reduce the ow rate. Flow
rates above 60 litres/hour (16 US gallons/hour) are not recommended.
Aquaread™
 Loading...