

Page 1
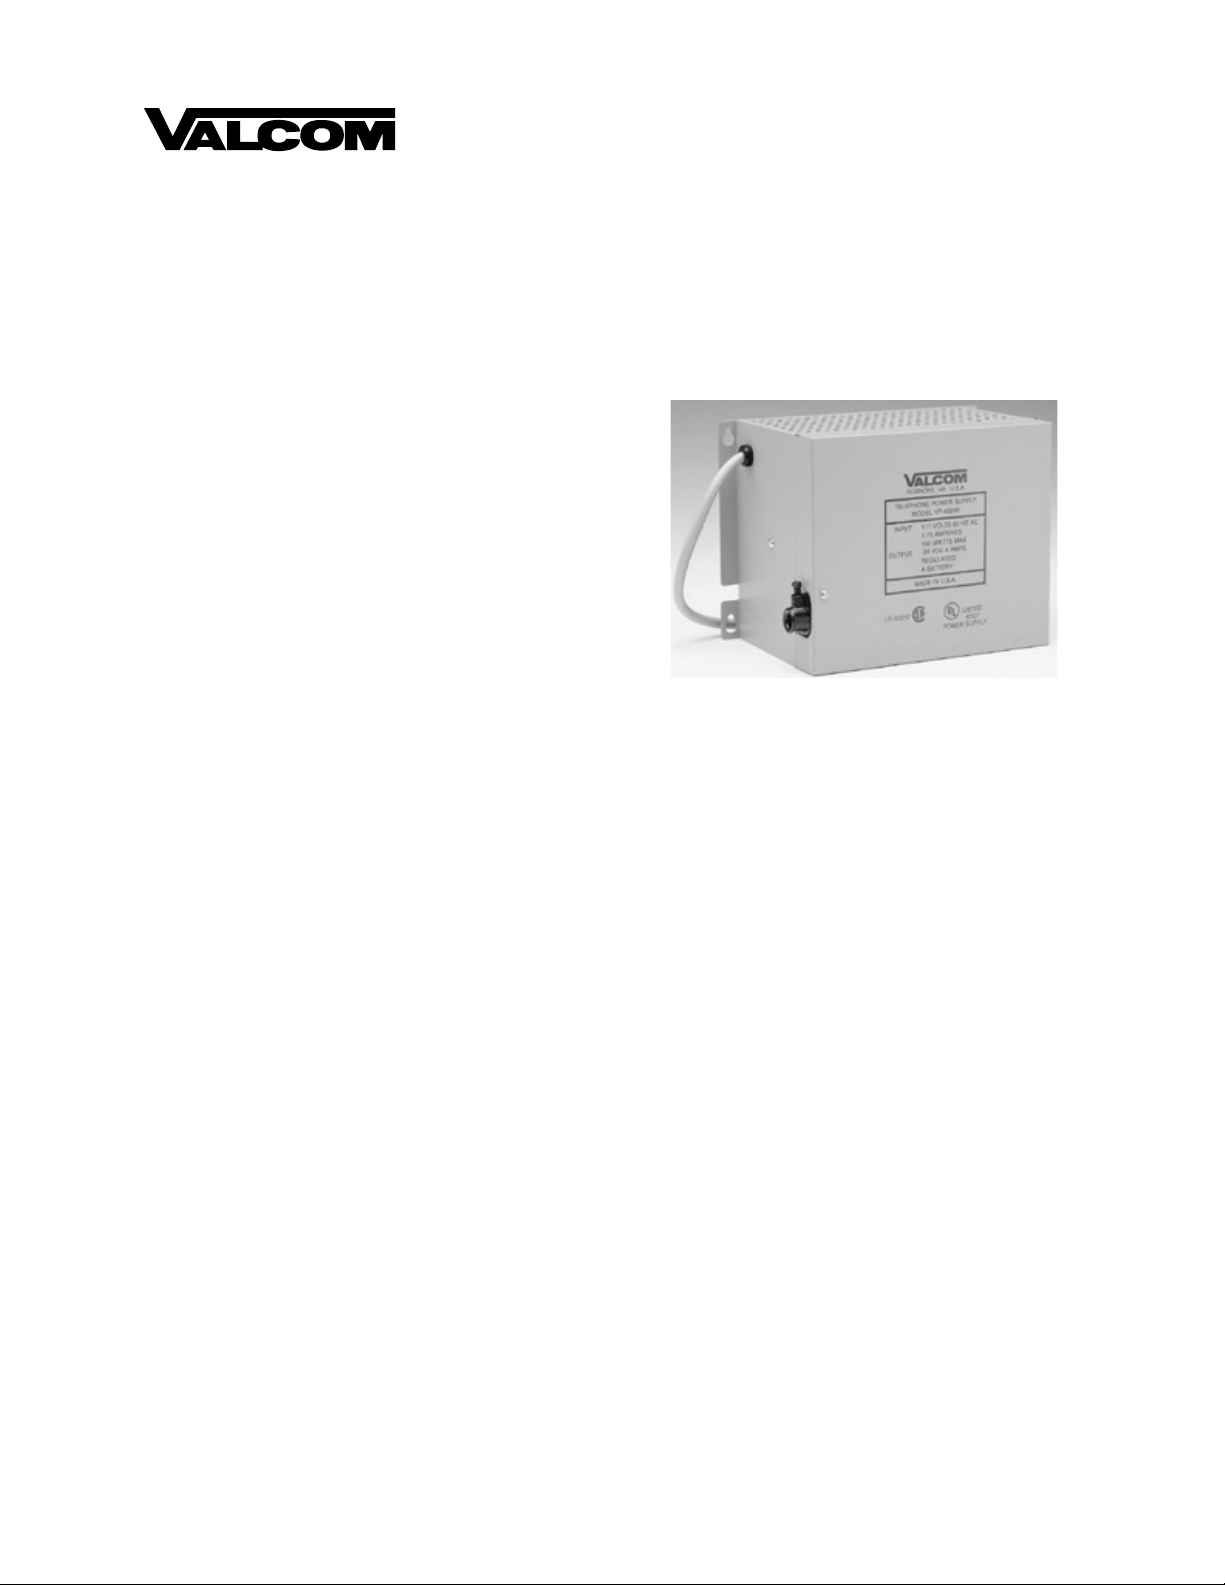
VP-4024B
-24 VOLT DC POWER SUPPLY
INTRODUCTION
These instructions provide the specifications,
installation and maintenance information for the
VP-4024B, -24 Volt Power Supply.
SPECIFICATIONS
The VP-4024B is a fully regulated -24 Vdc 4 amp
power supply. The primary is protected by a circuit
breaker and the two amp outputs by fuses. The
output is floating with respect to ground, and the two
outputs may be connected together for one 4 amp
output. The regulator will maintain -24 volts "2V
over the rated range of input voltages and output
loads. A greater than 4 amp load on power up will
cause the power supply to current limit and the
overload LED will light. Short circuit protection is
provided. Over voltage is provided to limit the
output voltage to approximately -28 volts should a
failure occur within the power supply.
Applications
The VP-4024B is designed to be used with -
VSP-VP-4024B
Issue 6
Nominal Specifications
Power Requirements
Input Voltage: 105-120 Vac, 60 Hz, 150 watts max
1.75 amps
Dimensions: 7.0"H x 9 .5”W x 5.5"D
(17.78cm H x 24.13cm W x 13.97cm D)
Weight: 12 lbs. (5.45 kg)
Output Characteristics: -24 Vdc regulated "2V
"A" battery
Ripple 10 millivolts RMS max.
Two 2 amp outputs
• All Valcom page control units
• Valcom one-way amplified speaker assemblies
• Any application where -24 Vdc filtered talk
battery is required
Design Features
• Regulated -24 volts DC "A" battery
• Two 2 amp fused outputs
• Outputs may be connected for one output total 4
amps at 25 degrees C
• Input circuit breaker protected
• LED indication of output overload
• Full current limiting
• Over voltage protection
• Floating output
• Full electronic supply
INSTALLATION
The VP-4024B is designed to be wall mounted within
7 feet of an AC receptacle. A cold water pipe or
earth ground should be connected to the local ground
screw terminal using 12 AWG or larger ground wire.
Connections
• Connections to Valcom page control units are
shown in Figure 1.
• When using the VP-4024B with Valcom page
equipment, a strap may be added from the local
ground terminal to either of the ground outputs.
• When installing Valcom one-way amplified
horns, connect the white and black wires of the
horn to the power supply -24V and ground
terminals respectively.
• When installing Valcom one-way speakers
connect the -24V and ground terminals of the
speaker to the corresponding power terminals.
1 947724
Page 2

NOTE: Each –24 Vdc screw terminal is fused by a
2 amp WER 2 type fuse. Therefore, when
connecting equipment to this power supply, the load
should be distributed between the (2) 2 amp output
terminals and each load should not exceed 2 amps.
Permanent Installation Instructions
(For use when local codes require conduit to power
supply)
Before beginning this procedure, disconnect power
supply from AC service and customer connections.
A. Connect the AC input green/grounding
conductor and the green ground wire from
the faceplate to the chassis connection for
the ground wiring.
B. Connect the black wire to the circuit breaker
terminal using a .250" tab receptacle.*
C. Connect the white wire to the transformer
terminal using a .250" tab receptacle.*
6. Join faceplate to cabinet; replace the six (6)
screws and lockwashers.
7. Reconnect supply to customer connections,
and return power supply to service.
1. Open cover of supply. Remove the six (6)
screws holding the faceplate to the cabinet.
2. Using pliers, squeeze the strain relief
bushing associated with the AC input cord.
This enables the removal of the power cord
and strain relief bushing from the unit.
3. Separate faceplate from cabinet. Disconnect
the power cord leads from the supply - black
wire from the circuit breaker; white wire
from the transformer; green wire from the
chassis connection.
4. Using a knockout punch (Greenlee #3807 or
equivalent), enlarge the power cord access
hole to 0.875" diameter to accommodate a
1/2" trade side conduit fitting.
5. Install conduit fitting and run the AC input
leads through the fitting. Connect as
follows:
NOTE: The minimum recommended wire
size for AC input leads is 18 AWG; use wire
rated for at least 105 degrees C.
* AMP #42660-2 or an equivalent.
TECHNICAL ASSISTANCE
When trouble is reported, verify the unit is properly
connected and there are no broken connections
leading to this unit.
Assistance in troubleshooting is available from the
factory. When calling, you should have a VOM and a
test set and be calling from the job site. Call (540)
427-3900 and ask for Technical Support, or (540)
427-6000 for Valcom 24-hour Automated Support or
visit our website at http://www.valcom.com.
Valcom equipment is not field repairable. Valcom,
Inc. maintains service facilities in Roanoke, VA.
Should repairs be necessary, attach a tag to the unit
clearly stating company name, address, phone
number, contact person, and the nature of the
problem. Send the unit to:
Valcom, Inc.
Repair and Return Dept.
5614 Hollins Road
Roanoke, VA 24019-5056
Problem Solution
1. No output.
2. Overload LED lights.
3. Blows fuses.
TROUBLESHOOTING CHART
a. Verify AC present at receptacle.
b. Check for blown fuse.
c. Press circuit breaker to reset.
a. Locate and correct short circuit in output wiring.
b. Verify total equipment power consumption does not exceed 4 amps.
a. Verify total equipment power consumption does not exceed 2 amps per
output.
b. Disconnect AC while making p ower connections.
2 947724
Page 3

Valcom, Inc. warrants its products to be free from defects in materials and w orkmanship under conditions of normal use and service
VALCOM LIMITED WARRANTY
for a period of one year from the date of shipment. The obligation under this warranty shall be limited to the replacement, repair or
refund of any such defective device within the warranty period, provided that:
1. inspection by Valcom, Inc. indicates the validity of the claim,
2. the defect is not the result of damage, misuse, or negligence after the original shipment.
3. the product has not been altered in any way or repaired by others and that factory sealed units are unopened (A service
4. freight charges for the return of products to Valcom are prepaid,
5. all units ‘out of warranty’ are subject to a service charge. The service charge will cover minor repairs (Major repairs will be
This warranty is i n lieu of and exclud es al l other warranties, expressed or imp lied, and in no event shall Valco m, Inc. be
liable for any anticipated profits, consequential damages, loss of time or other losses incurred by the buyer in connection
with the purchase, operation, or use of the product.
This warranty specifically excludes damage incurred in shipment. In the event a product is received in damaged condit ion, the
carrier should be notified immediately. Claims for such damage should be filed with the carrier involved in accordance with the
F.O.B. point.
charge plus parts and labor will be applied to units defaced or phy sically damaged),
subject to additional charges for parts and labor).
Headquarters: In Canada
Valcom, Inc. CMX Corporation
1111 Industry Avenue 35 Van Kirk Drive #11 and 12
Roanoke, VA 24013 Brampton, Ontario L7A1A5
Phone: (540) 427-3900 Phone: (905) 456-1072
FAX: (540) 427-3517 FAX: (905) 456-2269
VP-4024B
POWER SUPPLY
PAGE
CONTROL
UNIT
A GROUND
A BATTERY
B GROUND
B BATTERY
Alternate Ground Method: If using earth or cold
water pipe ground, do not connect to LOC GND.
STRAP
-24V
-24V
GND
GND
LOC
GND
STRAP
EARTH OR COLD
WATER PIPE GROUND
FIGURE 1 - CONNECTIONS TO VALCOM PAGE CONTROL UNITS
3 947724
 Loading...