

Page 1
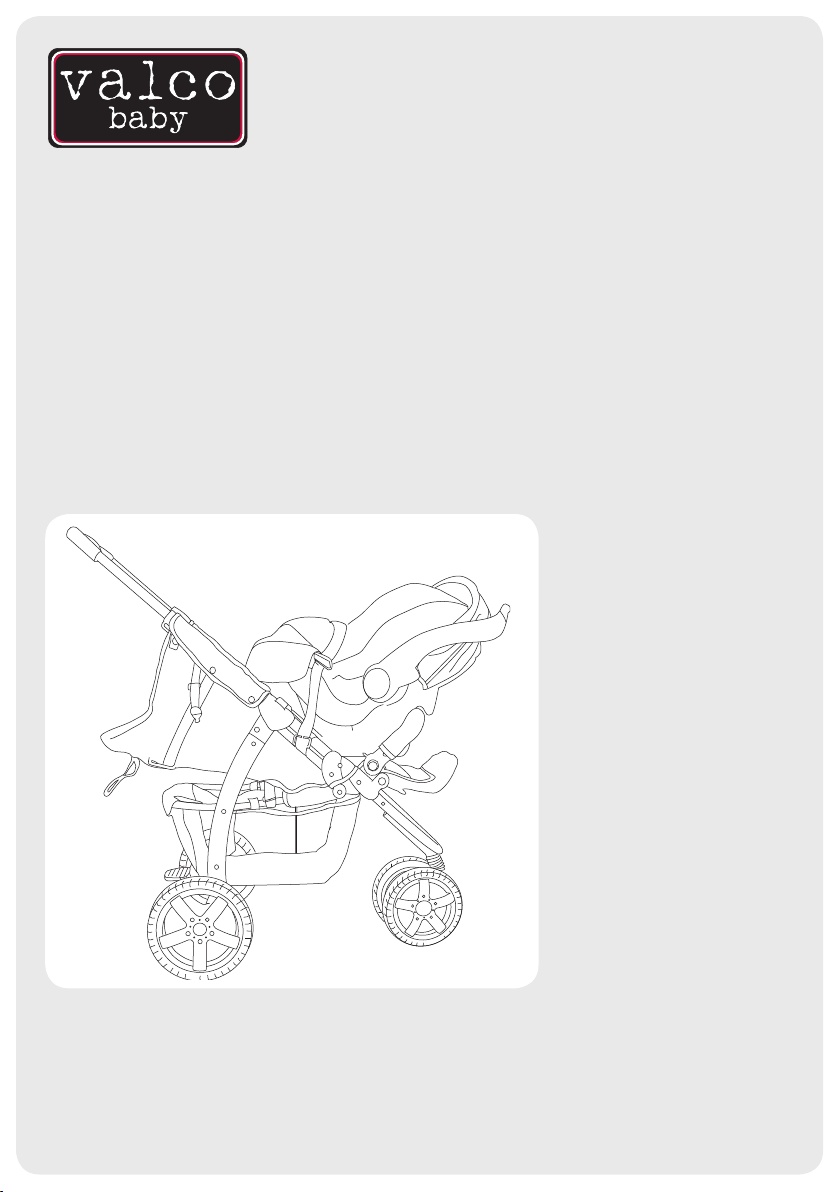
Latitude Car Seat Adaptor
Compatible with most Graco and Britax Car Seats
PRODUCT REFERENCE GUIDE
Thank you for purchasing a quality VALCO product. Please read and follow the instructions outlined in this
guide carefully. Familiarise yourself with the construction and safety features; be sure that you understand all
the warnings and safety guidelines before use.
Important: Please read the following instructions carefully before assembling this prodcut. Retain this
guide in a safe place for future reference.
Due to our policy of continuous
product development, this
product is constantly evolving. It
is possible that some features or
procedures outlined here have
changed since this document
was written. If you are unsure
of any procedure shown here,
please contact us via the web
at info@valco.com.au to obtain
the most up to date information
before use. Include the batch
number, which can be found on a
sticker on the frame.
FURTHER INFORMATION
In Australia/New Zealand
www.valco.com.au
www.valco.co.nz
In North America only
www.valcobaby.com
1800 610 7850
All pictures and diagrams herein
are provided for illustration
purposes only. Actual product,
colour or fabric may vary. VALCO
reserves the right to modify or
alter any specication or colour
without notice or obligation to
modify any product previously
purchased
© Copyright VE 2008
Page 2
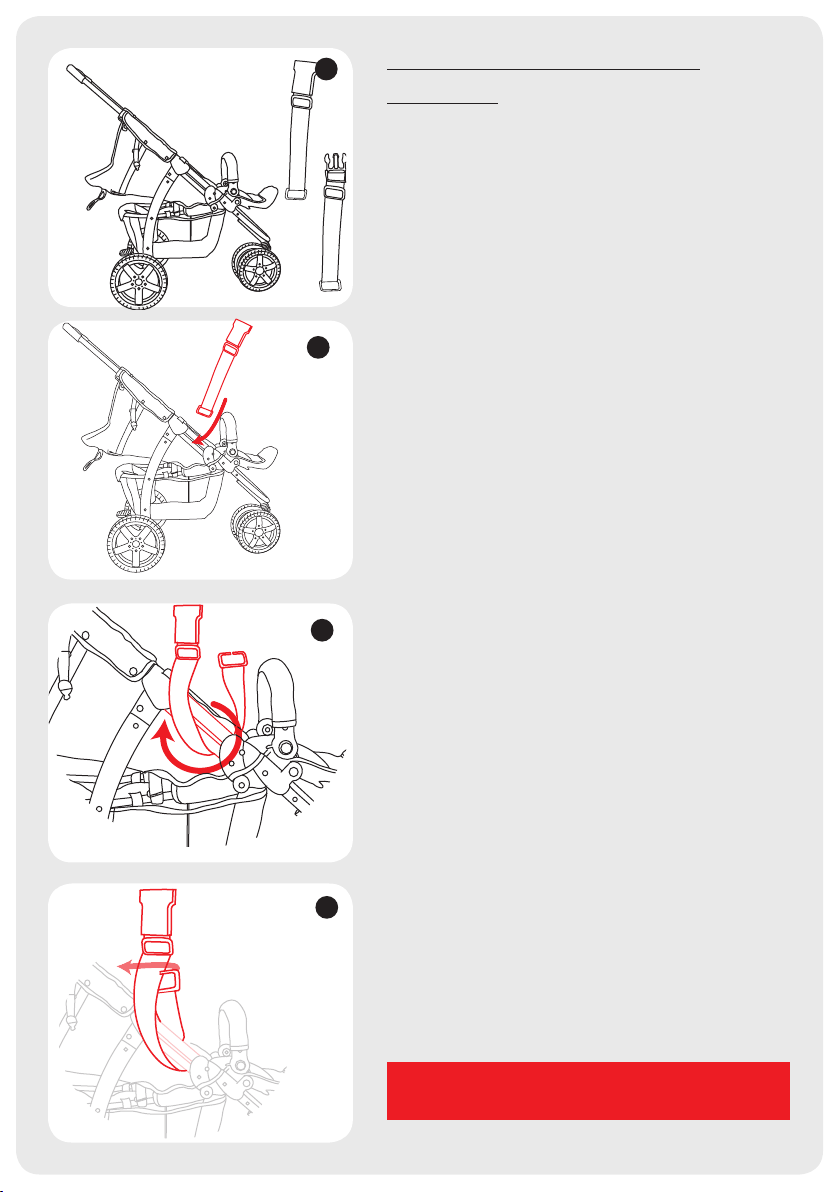
A
Female Buckle
Male Buckle
Seat Reclined
Select a strap to secure to stroller
Wrap the strap around side bar
GRACO/ BRITAX CAR SEAT
ADAPTOR
FIGURE A
1. Begin preparing the Latitude stroller for the Car Seat
Adaptor by removing the canopy (hood), from the stroller,
and reclining the seat to its fully reclined position.
2. Locate the extra Male and Female straps, included with
your original purchase.
FIGURE B
B
3. Select a strap to secure around the side bar of the
Latitude stroller.
C
FIGURE C
4. Fit the strap around the side bar of the Latitude stroller.
D
FIGURE D
5. Slip the strap through the ‘opening’ of the metal loop at
the end of the strap.
IMPORTANT WARNING: ALWAYS TEST THAT ALL
STRAPS ARE SECURELY ENGAGED BEFORE USE.
Page 3

E
Pull up to tighten
Secure on stroller
Insert Car Seat
Secure seat over front bar
Loop buckles through car seat
belt hooks, and secure buckle.
FIGURE E
6. Once strap is through the metal loop, pull plastic end up
to tighten, and secure on stroller.
7. Repeat process outlined in Figures B to E on other side
bar of stroller, with the other strap.
F
FIGURE F
8. Place car seat in seat portion of the stroller.
TIP: BE SURE THAT SEAT IS FULLY RECLINED.
G
FIGURE G
9. Be sure your car seat is securely tted over the front
bumper bar, and in the stroller seat.
TIP: YOU MAY WANT TO ADJUST THE FRONT BUMPER BAR
FOR MOST SECURE FIT.
H
FIGURE H
10. Locate a Male/Female strap attached to side of stroller.
11. Slip strap through the car seat belt hooks on the side of
the car seat.
12. Repeat with the other strap.
13. Insert Male clip into its Female counterpart and buckle.
14. Adjust straps to tighten around car seat.
Page 4

WARNINGS
•Always follow car seat manufacturers instructions when in use.
•Be sure to check that all clamps, Velcro and buckles are securely xed
and in place before use.
• Check all parts for breakage or fatigue before use. Discontinue
immediately if any part is found to be damaged or broken.
• NEVER leave any child unattended at any time.
• This product is intended for domestic use only. It is not intended for
commercial use.
In Australia/New Zealand
www.valco.com.au
www.valco.co.nz
In North America only
www.valcobaby.com
1 800 610 7850
 Loading...