

Page 1
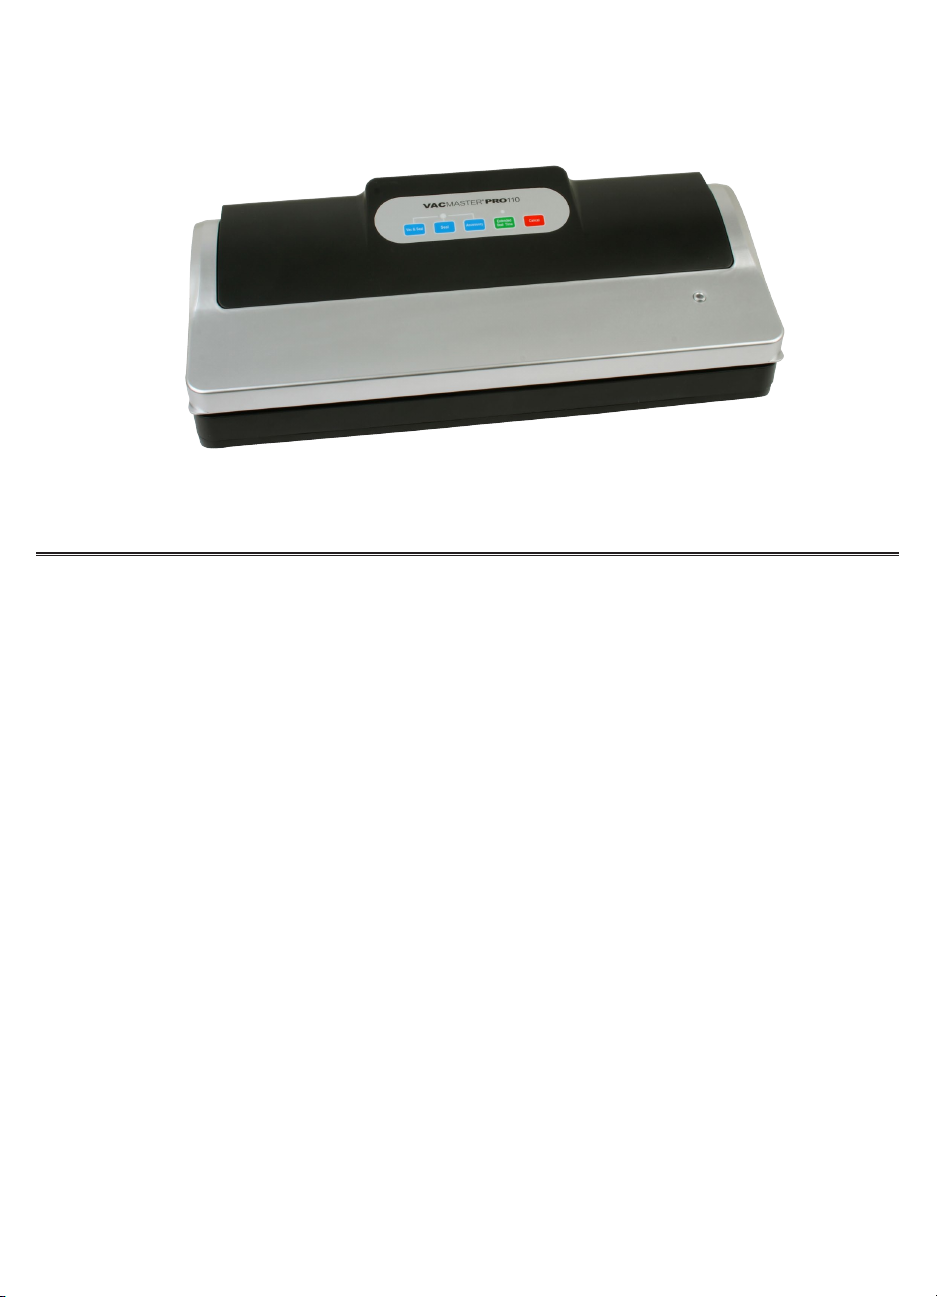
VAC
MASTER
®
PRO110
User’s Guide
ank you for purchasing the VACMASTER® PRO110 Vacuum Packaging Machine.
You are about to revolutionize your home with one of the strongest vacuum packaging
systems available. With the help of the PRO110, you will now be able to keep food
fresher, longer in the refrigerator, freezer or pantry. e PRO110 eectively removes air
and extends freshness up to ve times longer than normal methods. Also, the PRO110
can be used to preserve and organize household items like keepsakes, small toys and
easy-to-lose items. You will soon nd your PRO110 to be so versatile and convenient, it
will never leave your countertop.
e style of the PRO110 is clean and simple with a lightweight, compact design. is
machine is fully automatic and features a variety of options typically found in more
advanced machines. Our machines are constructed with high-quality, fully tested,
top-rated components to ensure optimum performance.
By using VACMASTER® vacuum bags and canisters, you can extend food life, maintain
food quality, and reduce freezer burn. Less wasted food means lower grocery bills. Use
VACMASTER® bags and accessories and you will benet from years of trouble-free and
cost-eective vacuum packaging.
Carefully read and follow usage and maintenance directions. For more information on
your PRO110, including Uses & Tips, FAQs and Warranty Registration, please visit us at
www.aryvacmaster.com.
Page 2

Choose a suitable sized vacuum
1
bag, and place item(s) to be vacuum
packaged in bag.
Allow at least 3 inches of head
2
space between contents and top of
the bag.
Lay the open end of bag across
3
the seal bar, keeping the opening
within the perimeter of the gasket.
Close the lid, pressing rmly on
4
both corners to lock lid in place.
How to Vacuum with Vacuum Bags
Press the “Vac & Seal” button, and
5
the following sequence will occur:
• Vacuum cycle begins
• Seal cycle starts
• Lid unlocks
e vacuum and seal process is now complete.
6
Take the bag out and inspect the vacuum
7
and seal. A successful seal will look clear.
If the seal is spotty, incomplete, wrinkled,
white, or milky, cut the seal and restart the
vacuum sealing process.
Lay open end of bag across the seal
1
bar, keeping the opening within the
perimeter of the gasket.
Close the lid, pressing rmly on
2
both corners to lock lid in place.
Press the “Seal” button, and the
3
following sequence will occur:
• Vacuum cycle begins
• Seal cycle starts
• Lid unlocks
How to Make a Bag
Sealing cycle is complete.
4
Take the bag out and inspect the vacuum
5
and seal. A successful seal will look clear.
If the seal is spotty, incomplete, wrinkled,
white, or milky colored, cut the seal and
restart the vacuum sealing process.
Page 3
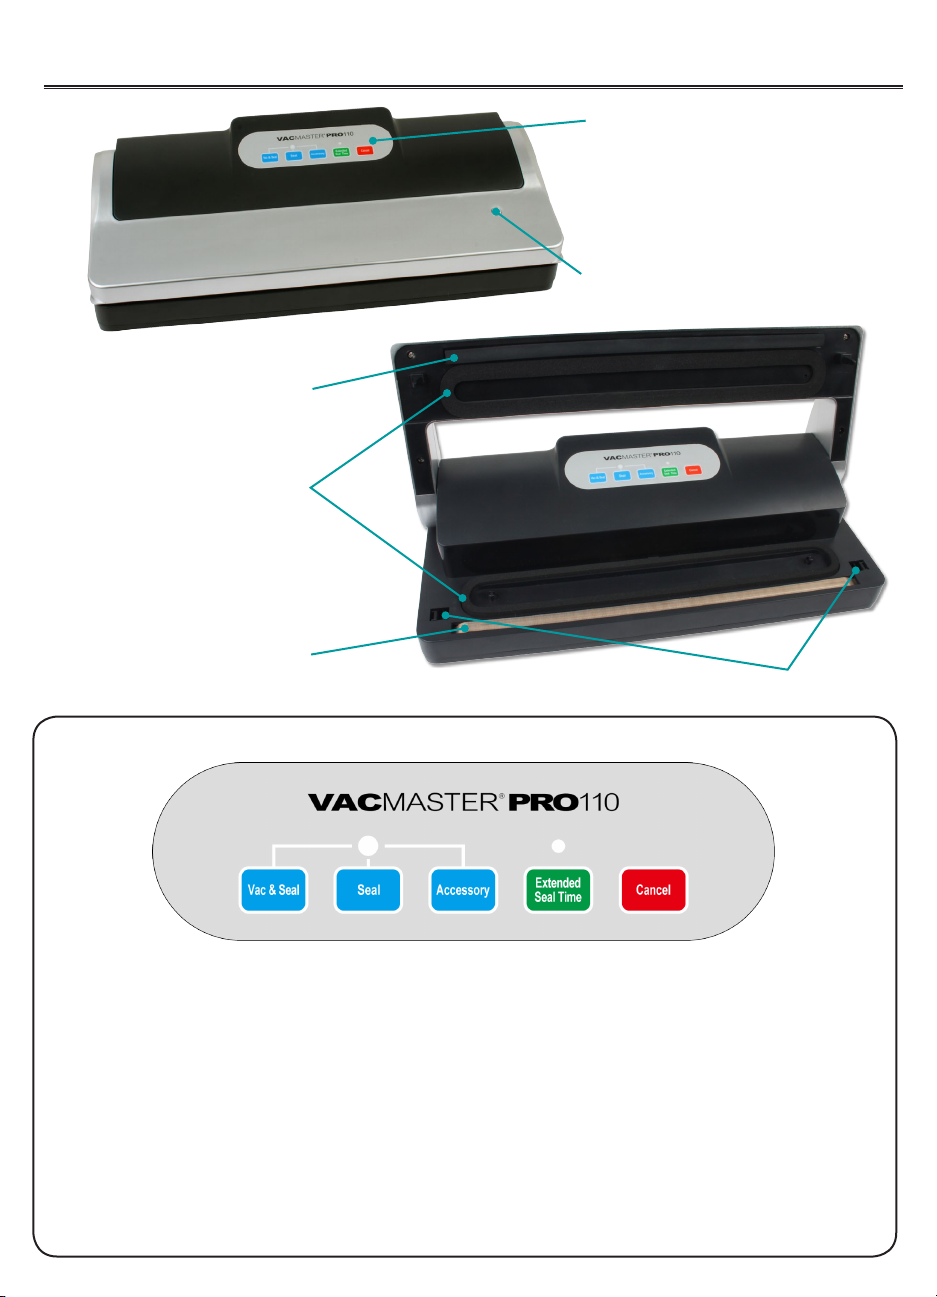
Seal Pad
Gasket
Features of Your VACMASTER® PRO110
Control Panel
Vac & Seal Button
Seal Button
Accessory Button
Extended Seal Time Button
Cancel Button
Accessory Port
Seal Bar
Control Panel
Power Indicator Light
Light illuminates when the unit is
turned on or in use.
Vac & Seal Button
Press for hands-free automatic vacuum
packaging. is button is only used for
vacuum bags.
Seal Button
Used only to seal and make bags.
Lid Locks
Accessory Button
Press to vacuum canisters. See the
“Vacuum Package with Canisters” section.
Extended Seal Time Button
Used to extend the seal time.
Cancel Button
Use to cancel all processes immediately.
Page 4

1
Place items to be packaged in canister.
Make sure lid of canister is dry and free of
food particles and debris. Do not overll.
Place lid on top of canister (lid sits on rim
2
of canister until vacuum process begins.)
Turn knob so arrow points to “vacuum”.
3
Close lid on PRO110, pressing rmly on
both corners to lock lid in place.
Attach accessory hose to port on
4
canister lid and attach opposite end
of the hose to accessory port on the
machine.
Vacuum Packaging with Canisters
5
Press “Accessory” button, while slightly
pressing down on the canister lid for 3-5
seconds to start the vacuum cycle.
When the vacuum process is complete,
6
turn knob to the “lock” position and
remove the hose from canister lid. Store
canister in refrigerator. DO NOT FREEZE.
7
To open the canister, twist the knob to the
“Open” position.
Tips for Troubleshooting
1
If your machine will not turn on, ensure the machine is properly plugged into a grounded
outlet. Check the power cord for tears or frays.
2
If you are not achieving a complete vacuum:
• Ensure the open end of the bag is across the gasket and within the vacuum chamber.
• Also, the bag must be laid at across the seal bar. Wrinkles and bulges may result in an
insucient seal.
• Inspect the seal. A successful seal will look clear. If the seal is spotty, incomplete, wrinkled,
white or milky, cut the seal and restart the sealing process.
• For best results, use VACMASTER® bags, rolls and accessories.
If the vacuum is lost after sealing, check for small puncture holes in the bag, then cover any
3
sharp edges with a VACMASTER® Bone Guard Sheet, and vacuum package in a new bag.
4
If your canister will not properly vacuum:
• Ensure that the accessory hose is inserted into the lid.
• Ensure that the canister lid is set to the “Vacuum” setting.
• Check the canister for cracks or damage.
• Always leave at least 1 inch of head space between the contents and the rim of the canister.
Page 5

Tips for Successful Vacuum Packaging
Read this manual carefully before using your PRO110 for the rst time.
1
Vacuum packaging is not a substitute for canning. Any perishable foods that
2
require refrigeration or freezing must still be refrigerated or frozen after packaging.
Use only VACMASTER® vacuum bags, rolls, accessories, and attachments.
3
4
Do not use the PRO110 on a wet or hot surface or near a heat source.
Do not immerse machine or power cord in any liquid.
5
Use only grounded power sources. Do not use with an extension cord.
6
7
Do not operate appliance with a damaged cord.
e PRO110 should only be used for its intended purposes.
8
9
Unplug machine before cleaning your PRO110. Use a clean damp cloth and mild soap.
Never vacuum package garlic or fungi, such as mushrooms. A dangerous chemical reaction
10
takes place when the air is removed.
Some fruits and vegetables may release gases (out-gases). e vacuum may be lost when
11
packaging these fruits and vegetables. Blanching or freezing before vacuum packaging
helps prevent this.
Delicate foods can be frozen prior to packaging to help them hold their shape.
12
13
If packaging fresh meats without pre-freezing, place a folded paper towel between
the meat and the top of the bag to help absorb the moisture.
14
To vacuum liquids, pre-freeze in a dish or an ice cube tray.
15
A VACMASTER® Bone Guard Sheet can be used to cover sharp edges to
prevent bag punctures.
16
VACMASTER® vacuum bags are boilable, freezable and microwavable.
17
Only use canisters designed for vacuum packaging. Other containers may implode
under pressure.
18
Allow foods and liquids to cool prior to vacuum packaging.
19
Hand wash canister lids. Do not put in dishwasher. e canister itself is dishwasher safe.
Page 6

ARY, Inc.
P.O. Box 412888
Kansas City, MO 64141
www.aryvacmaster.com
800.821.7849
All Rights Reserved. VACMASTER® is a registered trademark of ARY, Inc. in the United States and other countries.
 Loading...