

Page 1

Mobile Broadband Card
PLS5750
www.utstar.com/handsets
Page 2

CONTENTS
1. BEFORE USING PLS5750 ................................................................................1
1.1 About this User’s Manual ..........................................................................................1
1.2 Product Overview ......................................................................................................
1
1.3 Product Package Contents .......................................................................................
1
1.4 Introduction to PLS5750 PC Card ............................................................................
1
1.5 Product Features .......................................................................................................
2
1.6 Product Handling .......................................................................................................2
1.7 Configuration ..............................................................................................................
2
2. INSTALLATION AND SETUP FOR QUICKLINK MOBILE .............................3
2.1 QuickLink Mobile Setup Program .............................................................................3
2.2 QuickLink Mobile Setup Wizard ................................................................................
6
3. USING QUICKLINK MOBILE ............................................................................8
3.1 Features .....................................................................................................................8
3.2 Getting Started ..........................................................................................................
8
3.3 Connecting .................................................................................................................
9
4. QUICKLINK MOBILE PREFERENCES .........................................................12
4.1 General Preferences ...............................................................................................12
4.2 WWAN Specific Settings .........................................................................................13
4.3 Additional Features ..................................................................................................15
5. INSTALLING PLS5750 ....................................................................................19
5.1 Precautions ..............................................................................................................19
5.2 Recommended System Requirements ..................................................................19
5.3 Installing Software ...................................................................................................20
6. REGULATORY AND SAFETY INFORMATION .............................................25
6.1 Regulatory Notices ..................................................................................................25
6.2 Operating Conditions ...............................................................................................25
6.3 Warnings and Cautions ...........................................................................................25
6.4 Safety Precautions ..................................................................................................26
CONTENTS
Page 3

1. BEFORE USING PLS5750
1.1 About this User’s Manual
You will find all the information you need to install and use the PLS5750 in
this user’s manual. Before using the PLS5750, you must properly install the
PLS5750 by closely following the installation instructions.
Instructions
• Before inserting the PLS5750 card into your laptop install the PLS5750
software. The installation software is included in the product package.
Insert the CD into your CD-ROM drive. Installation may take a few minutes.
• It is highly recommended that you read the safety precautions described in
this manual before using the PLS5750.
1.2 Product Overview
Thank you for purchasing PLS5750 PC Card.
The PLS5750 is a 3G wireless card that enables high-speed wireless
communication from your laptop. PLS5750 is simple to install and use.
1.3 Product Package Contents
The following items are included in the product package. If any of the items listed
below are missing, please contact the retail location where you purchased the
product.
- PLS5750 Wireless PC Card Modem
- Installation CD containing software and user’s manual
- Quick Start Guide
1.4 Introduction to PLS5750 PC Card
The PLS5750 is designed for the PCMCIA card slot, which is available in most
laptop models. The PLS5750 can be used to access the Internet, your company’s
intranet, or you can use it to send and receive email. It is extremely useful when
you are away from the office, on the road, or where ever a wireline Internet access
is not readily available.
1
Page 4

2
1.5 Product Features
- Power management: PLS5750 utilizes power management and system overhead
reduction functions provided by the standard 32-bit CardBus electrical interface
for maximum power savings.
- Antenna design: Efficient, innovative design optimizes data transfer rate and
sensitivity to network signals.
- Type II PCMCIA format that supports CardBus I/O interface.
- Supports North American PCS (1900 MHz) and Cellular (800 MHz) bands.
- Utilizes QUALCOMM MSM6800 chip set.
- Supports 3G network technologies.
- Optimized data rate: Maximum 2 Mbps receiving speed and maximum 144 kbps
sending speed.
- Supports WIN 2000, XP and Vista systems with installed host software and
driver.
1.6 Product Handling
- Do not put any adhesive labels on the PLS5750 card. It may leave a sticky
residue that can cause problems inside the laptop PC card slot.
- The PLS5750 card should easily slide into the PC card slot. Do not force the
PLS5750 into the slot as it may cause damage to the card and/or the slot.
- Keep the PLS5750 in a dry and clean place. (Storage temperature: - 22°F to
149°F [- 30°C to 65°C]). Keep your card away from liquids, dust and excessive
heat.
1.7 Configuration
To use the PLS5750, you should install the software included in the installation
CD and configure the PLS5750 card. See the next section for more information on
software installation and PC card configuration.
Precaution: Do not insert the PLS5750 before installing the software on your
laptop computer. When you complete the software installation, the system will
prompt you to insert the PLS5750 into the PCMCIA card slot.
Page 5
3
2. INSTALLATION AND SETUP FOR QUICKLINK MOBILE
This section will guide you through the installation and setup process for QuickLink
Mobile. Before getting started, you should become familiar with the documentation
that came with your PC Card.
CD’s
1. If you purchased a PC Card, there is only one CD that contains QuickLink
Mobile and PC Card drivers.
Getting Started
To install QuickLink Mobile:
1. Turn on your computer then close all applications.
2. Insert the CD-ROM into your CD drive.
3. If set up does not automatically start, click the Start button on the taskbar then
choose Run. Type D:\Start (where D is the letter of your CD-ROM drive) then
click OK.
4. Follow the steps in the next section.
* QuickLink Mobile software must be installed before you insert the PC Card in to
the computer for the first time. Only after the software has been installed can
Windows successfully install and configure the PC Card.
2.1 QuickLink Mobile Setup Program
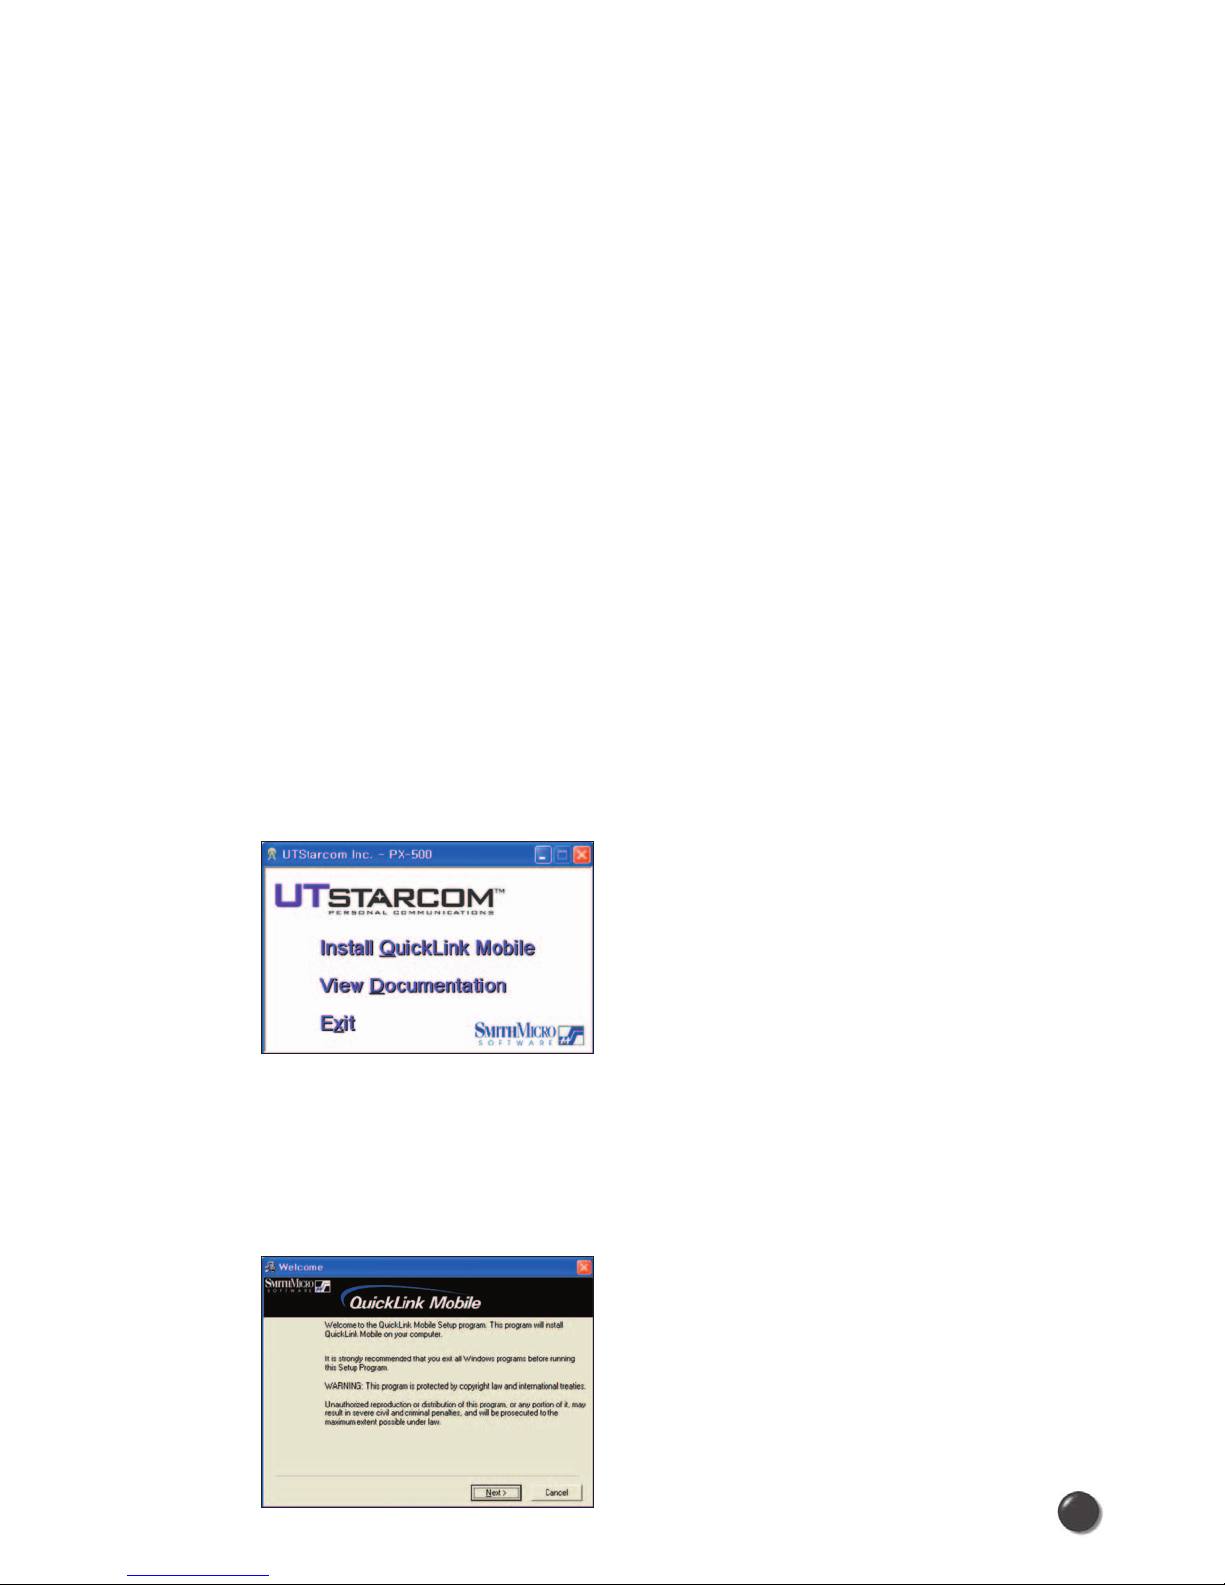
STEP 1: Click the “Install Quicklink Mobile”. A screen will appear asking if you want to
run QLmobile.exe. Select Yes. The “Welcome” screen appears. Click the Next
button to continue with the installation process.
Page 6
STEP 2: After the Welcome screen you will see QuickLink Mobile License Agreement.
In order to install and use this product you must agree with the terms of this
agreement. Select “I agree with this software license agreement”, then click
the Next button to continue. If you do not agree with this agreement, click the
Cancel button to exit.
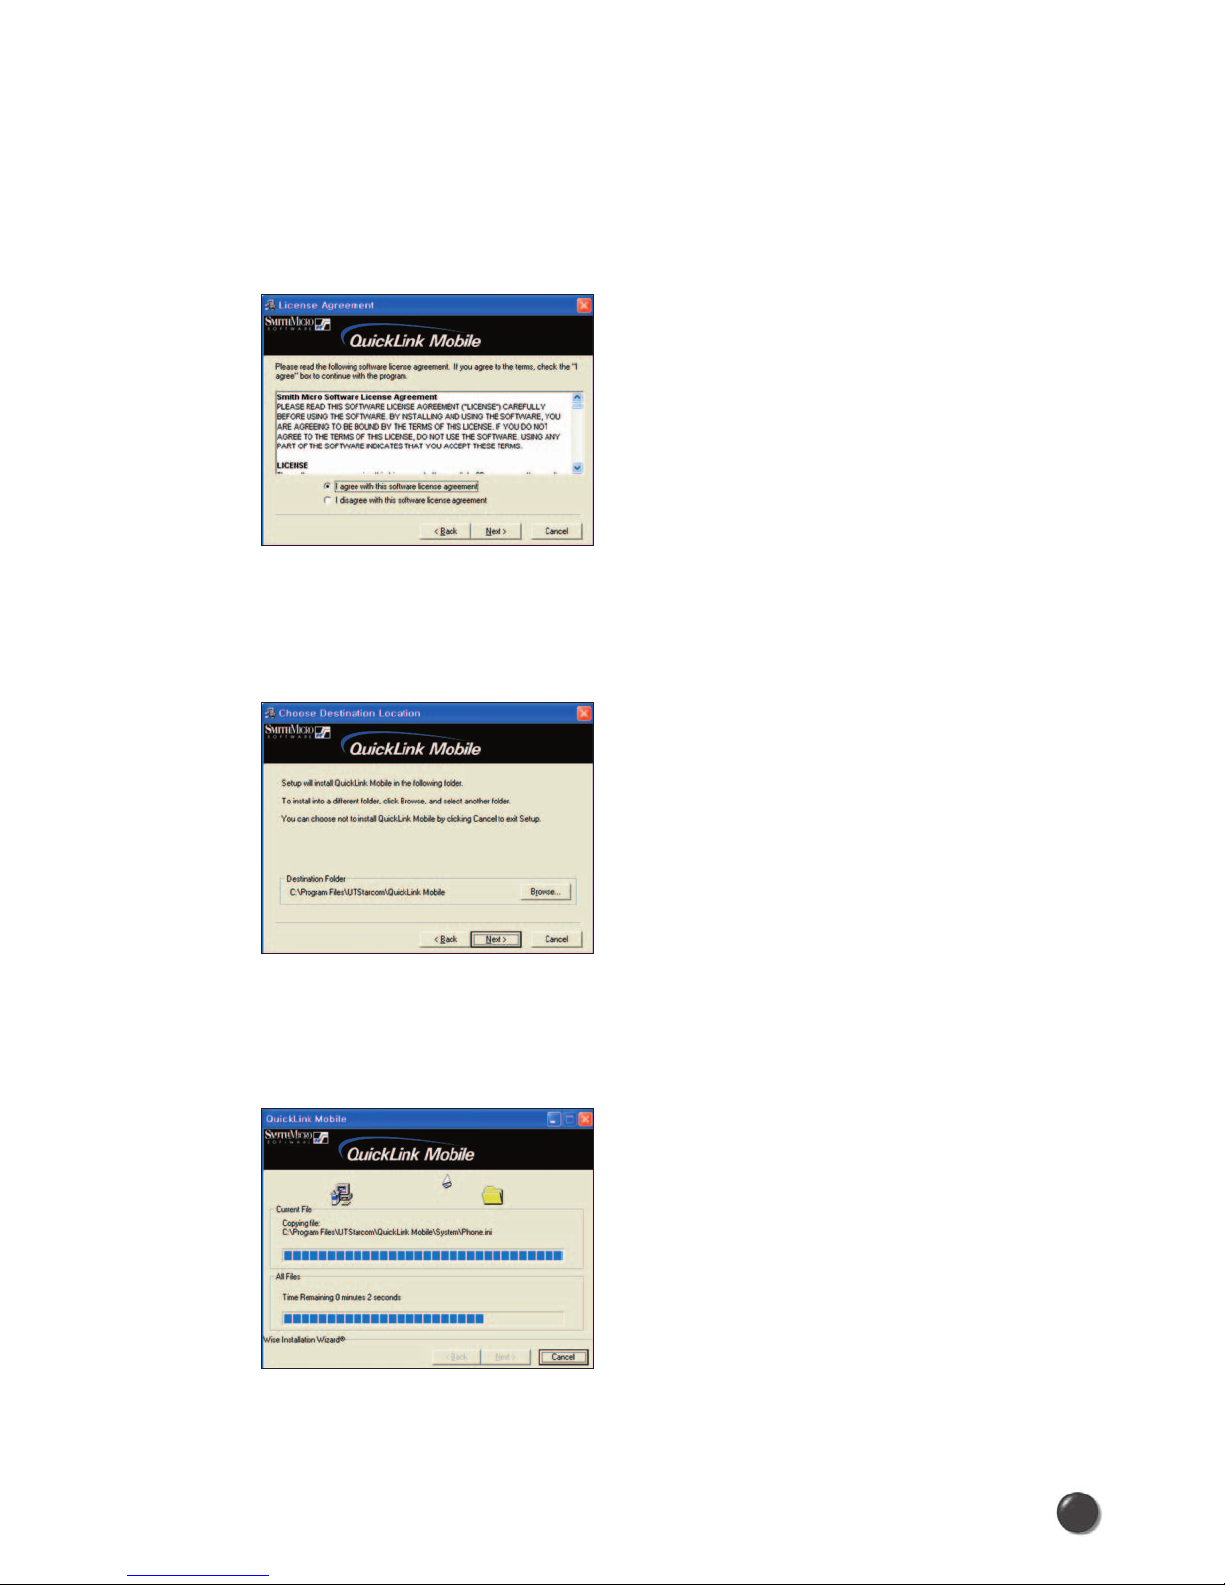
STEP 3: You are now ready to select the location on your computer where QuickLink
Mobile should be installed. It is recommended that you do not modify the
default destination folder. Click the Next button to continue.
STEP 4: During this step the components of QuickLink Mobile product are being
installed onto your computer. Installation will occur to the destination folder
specified in Step 3 above.
4
Page 7
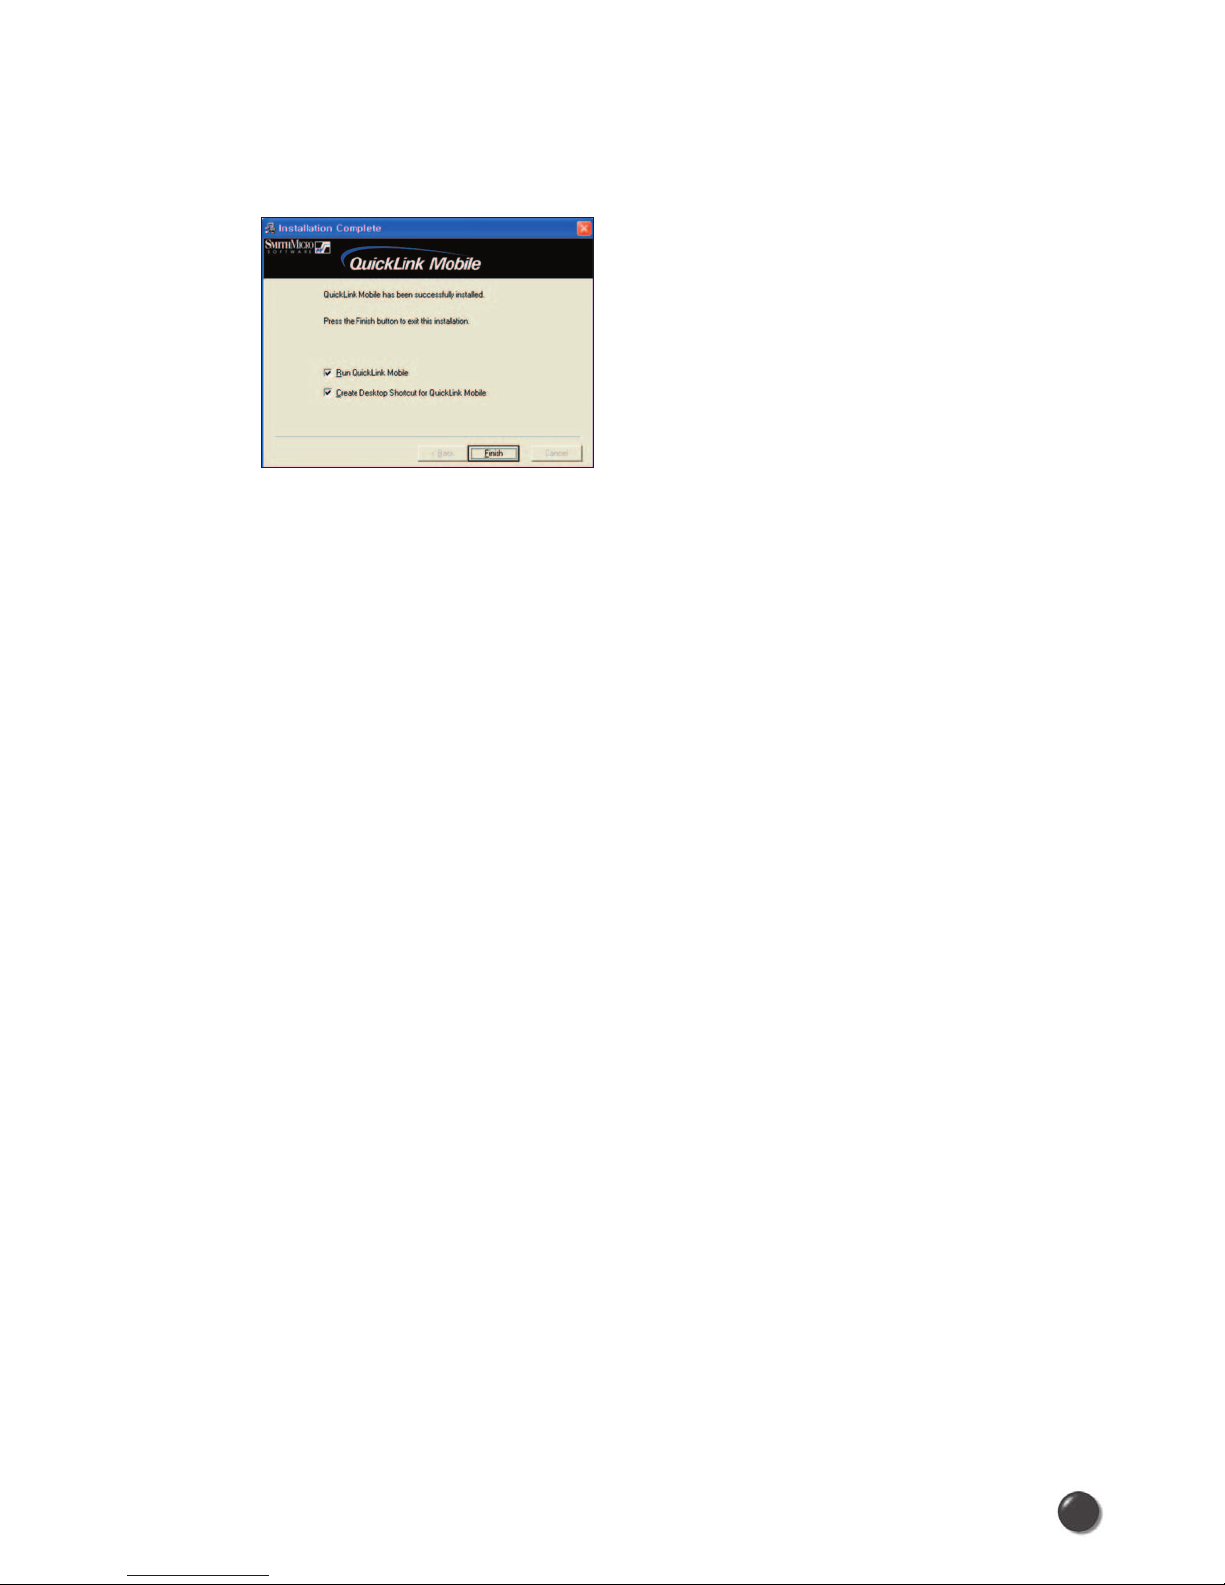
STEP 5: Installation is now complete. Click the Finish button to leave QuickLink Mobile
setup program and begin using your new software.
* The setup program will automatically create a QuickLink Mobile shortcut on
your desktop.
5
Page 8
2.2 QuickLink Mobile Setup Wizard
After you have successfully completed the installation process of QuickLink
Mobile, you are ready to start QuickLink Mobile program and begin your initial
setup. The steps in the Setup Wizard are critical to the proper operation of
QuickLink Mobile.
STEP 1: To start QuickLink Mobile program click the Start button, select the Programs
menu and choose QuickLink Mobile menu item.
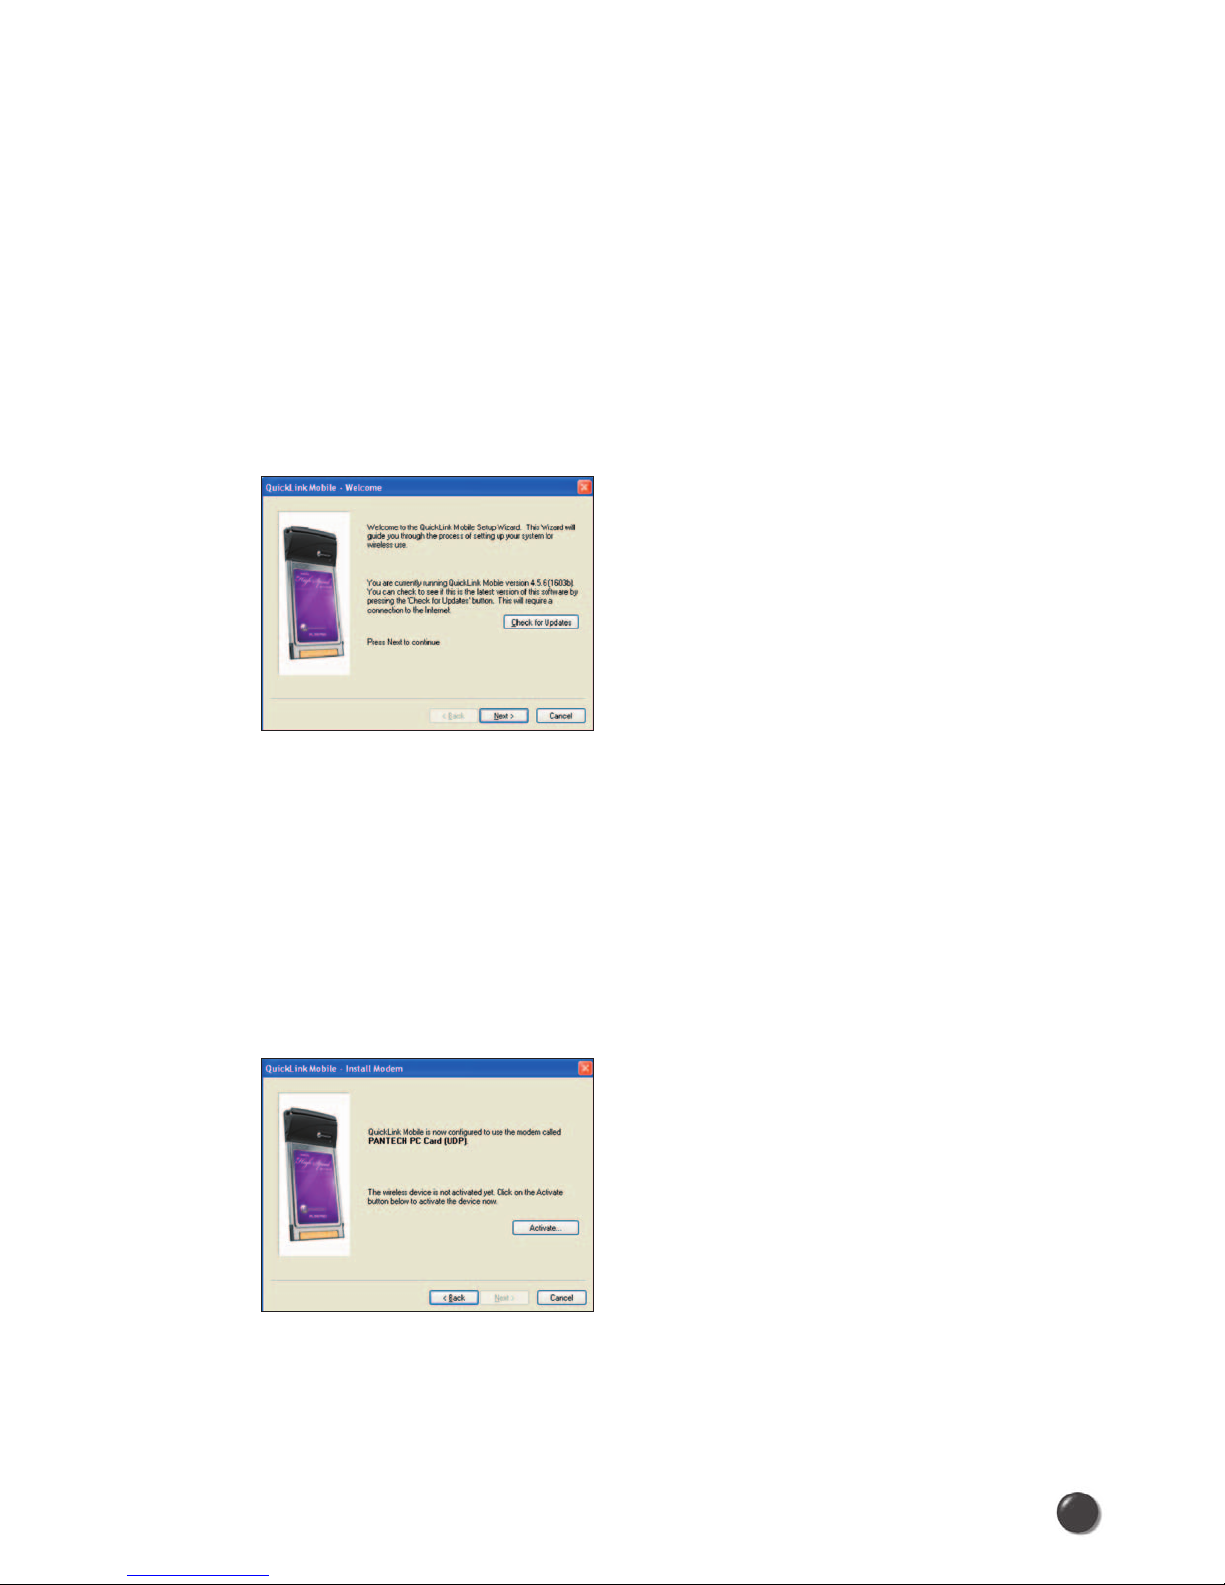
STEP 2: On first-run of QuickLink Mobile the Setup Wizard will automatically run.
The “Welcome” screen appears.
If you have an Internet connection, it is recommended that you check to see if you are
running the latest version of QuickLink Mobile. Click the Check for Updates button to
perform this check.
Click Next to continue.
STEP 3: For PC Card users, insert your PC Card now, then wait for Windows to detect
and install drivers for the device.
Click Activate.
Note: If the Card has already been activated, the screen above will not
appear. You will need to use the “Activate” menu in the connection manager
window under >Tools> Activation.
6
Page 9
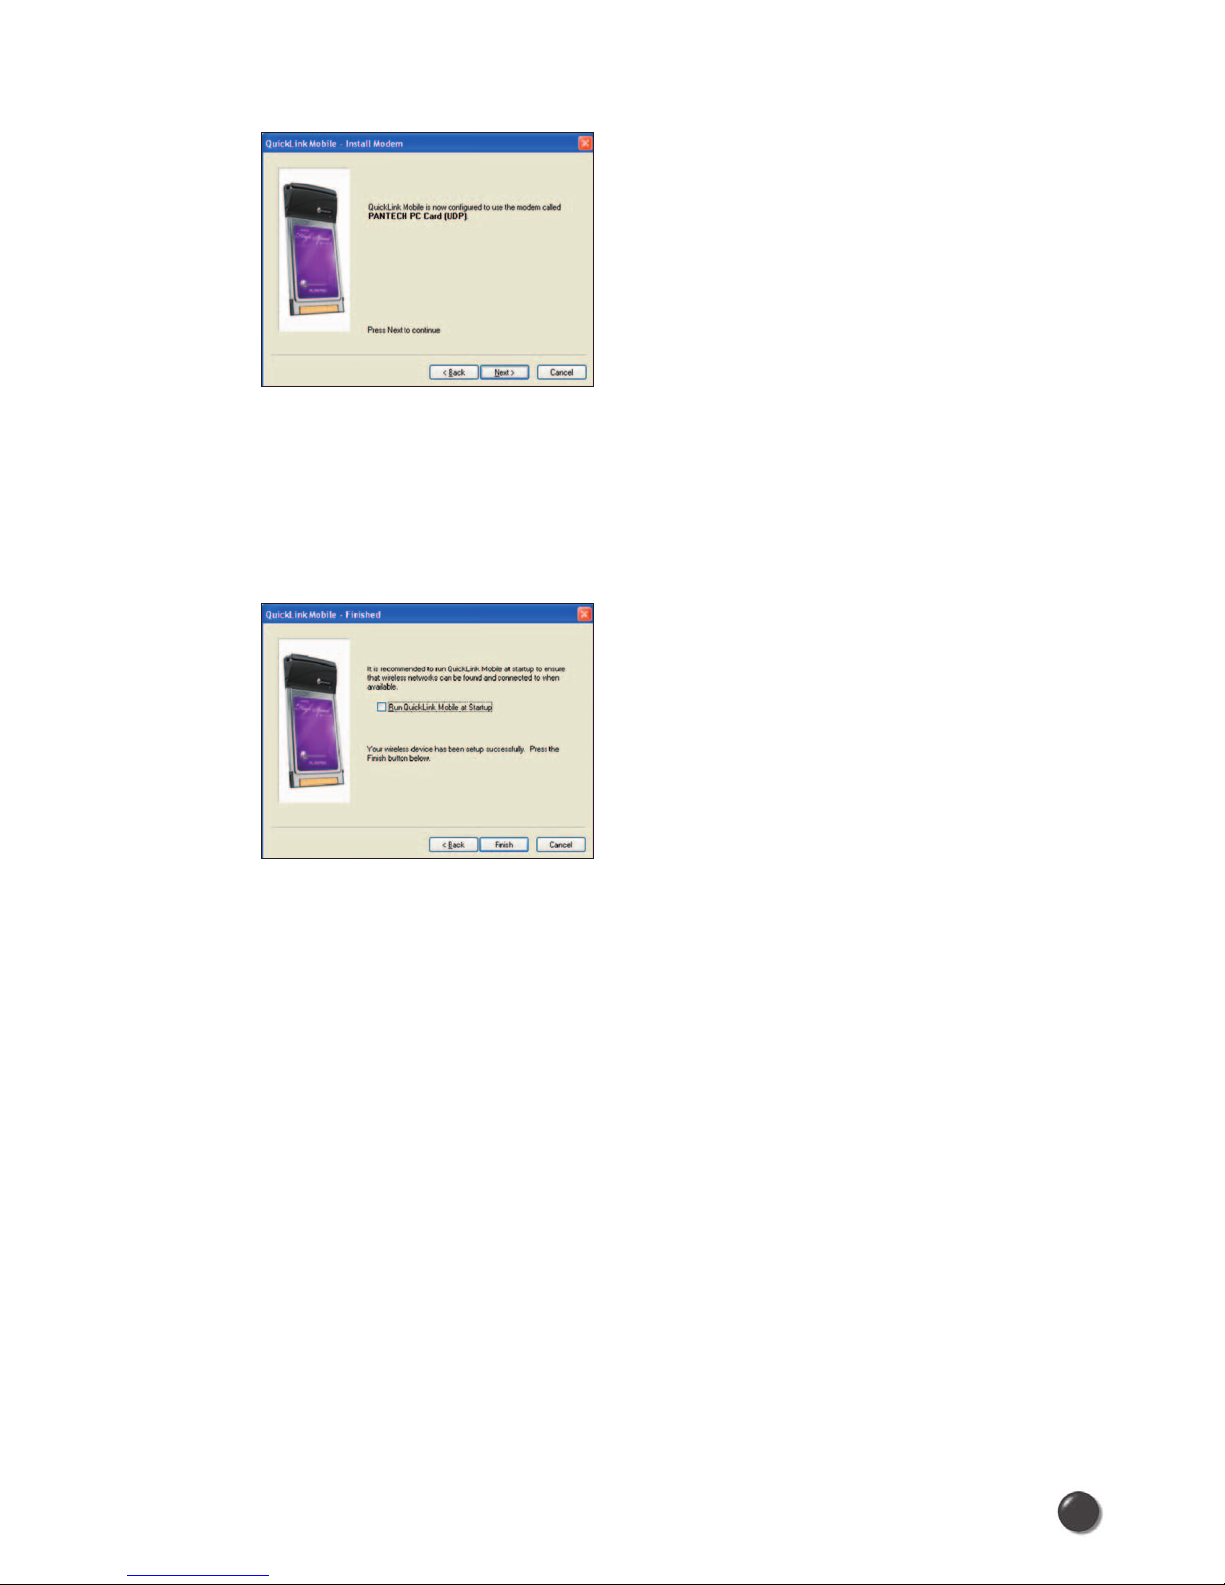
STEP 4: The detection and configuration process for your wireless device is now
complete. In this step you can elect to run QuickLink Mobile automatically
every time you start your computer. To do so, check the “Run QuickLink
Mobile at Startup” checkbox. Click Finish when complete.
Please familiarize yourself with the information in the “Using QuickLink Mobile” and
“Connecting to the Internet” sections of this guide.
7
Page 10

3. USING QUICKLINK MOBILE
Today’s online world offers more services everyday and Wireless gives you
the tools you need to take advantage of the best in connectivity solutions. With
QuickLink Mobile, enjoy the freedom and convenience of wireless Internet
connectivity from your notebook computer!
3.1 Features
WWAN (Wireless Wide Area Network, 1xEV-DO/1xRTT/CDMA) Specific
Features:
• Configures your PC to use your PC Card as a modem.
• Creates an Data Connection if using an EVDO capable PC Card.
• Copies utility to create wireless copies of your dial-up connections, if
supported by your device.
• Test function for WWAN device.
* A WWAN capable device is required to use the WWAN features. Individual
WWAN features are also device dependent as described in the WWAN section
above.
Other Features:
• Logs connections used, duration and bytes sent and received.
• See the section “Additional Features” for more information about the features
of QuickLink Mobile.
3.2 Getting Started
Double click on QuickLink Mobile icon on your desktop or click on the Windows
Start menu and select QuickLink Mobile from the list of Programs.
About the Wireless Networks View
QuickLink Mobile will open the Wireless Networks window by default.
This view is where you manage your wireless connections.
The Wireless Networks window displays all currently available network
connections.
8
Page 11

At a glance you can see the signal strength and battery level.
Select “Refresh Networks” from the “Tools” menu to update the information in this
panel. Your current connection state and the elapsed time of the connection are
displayed along the bottom of the status bar.
If your expected connection does not appear or inserted your wireless CDMA PC
Card after starting QuickLink Mobile, select “Refresh Networks” from the “Tools”
menu.
* If you change PC Cards, you will need to run the Setup Wizard again.
To do this, select “Run Wizard” from the “Tools” menu.
3.3 Connecting
Once your device is properly configured, connecting to the Internet is as simple as
selecting the network connection type shown in the list and clicking the Networks
button.
1. Select Data Connection.
2. Click the “Connect” button when it becomes enabled.
Once connected, the “Connect” button will change to “Disconnect”. Simply click
this to end your current connection. To connect to any other network shown, select
it, and then select “Connect”.
The Status Bar
Information regarding your current network connection can be seen in the status
bar along the bottom of QuickLink Mobile interface. For more information on this
status bar, see the section “The Status Bar” in the “Additional Features” section.
* The first time you connect with the Data Connection, a connectivity warning
message will appear. You have the option to suppress these warning messages
when they are displayed.
9
Page 12

QuickLink Mobile will display status information at the bottom during the
connection process as well as while connected. When not connected, the status
text in the lower left corner will display “Not connected” for the currently selected
network. The timer will display “00:00:00”. Once connected, the status text will
display “Connected” and the elapsed timer will begin to run.
The pop up status can be turned off, if desired, by selecting “Options”,
“Preferences”, “Options” tab, then un-checking “Show popup status windows by
tray”. Right clicking on the tray icon provides various options and double clicking
on it will always show the application. Placing your cursor on it will display the
current connection status.
Based on your preferences, your browser or e-mail or VPN program can be
launched automatically, or you can launch whatever software you want to use.
At any time during your connection you can check your current connection speed
and throughput stats in the Statistics tab of the Session Information window.
To see this window, select “Statistics” from the “Session” menu.
The Session Information window will also contain a My Computer tab if applicable.
The My Computer tab contains detailed information about your computer.
This information is helpful when troubleshooting a problem.
When using the “Data” connection:
By default Quicklink Mobile enables the software for the Data connections.
If your connection fails when you try to connect, with QuickLink Mobile returning to
its idle state, you should try to connect again. If you feel you may have incorrectly
entered your wireless telephone number during initial setup, select “Tools”, “Run
Wizard”.
10
Page 13

Dormancy:
The data session becomes dormant if you are not sending or receiving any data.
As soon as you resume sending or receiving data, the data session will return to
an active state.
Depending on your device and service plan, your data session may disconnect
during a dormant state.
11
Page 14

4. QUICKLINK MOBILE PREFERENCES
4.1 General Preferences
Options Tab
Click on “Options”, then “Preferences”.
Minimize application into tray: When you minimize the application it will now show
in the Windows task bar. To restore the application click on QuickLink Mobile tray icon,
and select Show Application.
Show popup status windows by tray: Displays small popup sliding windows in
the lower right corner of the screen when connections are made, and when network
connections are lost.
Run QuickLink Mobile at Startup: Automatically launches QuickLink Mobile
whenever you start your computer.
Updates Tab
12
Page 15

This feature allows QuickLink Mobile to automatically check for software updates.
If an update is available, you will be notified of its size and approximate download
times.
You will be given the choice to download or cancel. If you select download, a
display appears that shows the progress as the update is downloading with the
option to cancel if desired. You do not need to download the updates wirelessly;
you can use any connection to the Internet.
Note: If you download the updates wirelessly, normal usage charges apply.
You can allow the software to automatically check for updates, daily, weekly
(default), or monthly. It only checks when the application is running and when it
detects that you are connected and able to access the Internet. If desired, you can
select “Manually” and the software will only check for updates when you select
“Update Now” (pictured above), or when you select, from QuickLink Mobile’s main
screen, “Help”, “Check for Updates”.
4.2 WWAN Specific Settings
WWAN Preferences
Click on “Options”, then “Preferences”.
WWAN Options
Set Options . . . : This is used to set various WWAN connection settings. See below.
Automatically Connect: If desired, you can select to have QuickLink Mobile
automatically connect at application startup.
13
Page 16

Connect Tab
When you select the “Set Options” button from the screen above, the following
options will appear (“Options”, “Preferences”, “WWAN tab”, “Set Options. . . “) :
Do not open my browser: With this option selected, when you connect to a WWAN
network, QuickLink Mobile will not automatically launch your default web browser.
Open my browser to my default home page: With this option selected, when you
connect to a WWAN network, QuickLink Mobile will automatically launch your default
web browser and your home page will load.
Open my browser to this URL: With this option selected, when you connect to a
WWAN network, QuickLink Mobile will automatically launch your default web browser
but do it in such a way that the URL you specify will load instead of your home page.
Turn off graphics: If you select this it will turn off graphics in Internet Explorer.
With these options off, web pages will load faster but you will have to right click and
select “show picture” for any pictures you want to see.
Run program on connection: This allows automatically running a program when you
use QuickLink Mobile to connect to a WWAN network. Select the browse button, ,
to browse to the desired application you want to run when you connect to a WWAN
network using QuickLink Mobile. The application will run for all WWAN connections
made from QuickLink Mobile.
14
Page 17

VPN Tab
The following options exist on the VPN tab (“Options”, “Preferences”, “WWAN” tab,
“Set Options. . . “, “VPN” tab) :
VPN Client: QuickLink Mobile automatically detects if certain VPN clients like
Microsoft, Cisco, CheckPoint, etc are installed on the computer and allows you to
select the one you wish to use. Check with your network administrator to setup your
VPN connection.
If the VPN client you wish to use does not appear in the list, you can select Other VPN
Application.
Other VPN Application: This allows running a VPN program when QuickLink Mobile
connects to a network. Enter the full path to an executable, or select the browse
button, , to find the path to the desired application.
4.3 Additional Features
In addition to the basic features mentioned in previous sections, QuickLink Mobile
has the additional features listed below.
The Status Bar
The details of your current connection can be seen in the status bar at the bottom
of QuickLink Mobile interface. This status bar is always visible when the interface
is fully expanded.
You can see the service area as an icon showing on the left bottom of the
QuickLink Mobile interface. You can be seen the 1X icon when you are in at 1X
coverage area, DO icon when you are in EVDO Rev.0 coverage area, and rA icon
when you are in EVDO Rev.A coverage.
15
Page 18

Connection Status
The text on the status bar reflects your current state. During an active connection,
this text will change to “Connected”. If you are not connected, it will display “Not
Connected”.
WWAN PC Card Status Area
The text can change to the following:
• Device not inserted: Your WWAN PC Card is removed from the laptop.
• Device not activated: Your PC Card needs to be activated. Select Activation
from the Tools menu.
Coverage
For PC Cards, an icon will display if you are in Broadband coverage.
Hover the mouse to see the tool tip showing the name of the current network.
Throughput
The amount of data that you have sent and received since the current network
connection was initiated can be seen by holding the mouse over the green up and
down arrows on the left side of the status bar.
Elapsed Time
The amount of time that has elapsed since the current network connection was
initiated is tracked on the lower left side of the status bar.
The Session Menu
Connect / Disconnect: You can connect or disconnect the wireless networks.
Log: This provides a concise session log of your network activity. Click on a column
heading to sort the log. This window also displays the total number of sessions as well
as the total time connected.
16
Page 19

The information displayed in the Usage log can be customized using the controls
that appear just below the list.
To view only the connection history of a specific network type, check the “Selected
connection” checkbox and select the desired type from the drop-down list. To
view only the connections made during a specific interval, check the “Date range”
checkbox and specify the date in the “From:” and “To:” fields.
To export this log as a CSV file, click the Export button that is immediately above
the log. To clear the log, press the Clear button. Note that clearing the log cannot
be undone.
Close: Exit the application.
The Tools Menu
Test WWAN Device: Retrieve and display detailed information about your WWAN
device (1xEV-DO/1xRTT/CDMA PC Card) such as manufacturer, model, version, etc.
This information can be valuable when troubleshooting a problem.
Run Wizard:
Runs the Setup Wizard again. Useful if you need to reconfigure
QuickLink Mobile to use a new PC Card.
17
Page 20

Activation: Programs the activation code, phone number, and IMSI(MIN) to the
PC card.
Data Setup: Please contact the service provider for details.
The Options Menu
Control Panels: From this menu you have access to your systems “Modem”, “Network
and Dial-Up Connections”, and “Internet” control panels. You can also see all control
panels by selecting “All”.
Preferences: This is used to select preferences for settings related with connection.
Please see WWAN Specific Settings for details.
Always on Top: When checked, QuickLink Mobile window displays in front of all other
open application windows, even if another window is placed over QuickLink Mobile
Software window.
The “Internet” button
Launches the default web browser on your computer.
The “Email” button
Launches the default email application on your computer.
The Help Menu
The Connection Manager has a Help section.
Please see the Help section for additional questions.
“Email” Button “Internet” Button
18
Page 21

5. INSTALLING PLS5750
5.1 Precautions
Once the card has been inserted into the laptop, do not remove it from your
laptop without first completing the unplugging/ejection process.
(See page 21 for more information on this process.)
5.2 Recommended System Requirements
To successfully install and use the PLS5750 card in your laptop, the following
system specifications are required.
* PLS5750 is not designed for hand-held or Pocket PCs. Also, SMS or voice
service is not supported.
Item
Operating system
Card slots
Processor
Disk drive
Memory
Disk space
Dial-up networking
Required Specification
Windows® 2000 / Windows
®
XP / Windows® Vista
PCMCIA card slot (CardBus)
Pentium 150MHz or faster
CD-ROM
32 MB
14MB
DUN bound to TCP/IP
19
Page 22

5.3 Installing Software
5.3.1 Warnings
• Make sure to complete the unplugging/ejection process before removing
the PLS5750. If you remove the card improperly, the product may be
damaged.
• Before inserting the PLS5750 into your laptop’s PC Card slot, remove the
Installation CD from the CD-ROM drive.
5.3.2 Notes
• If you have inserted the card properly, Windows will inform you of the new
hardware. Wait for a while until Windows completes “Found New Hardware”
task. In Windows 2000, several windows similar to “Found New Hardware”
window can appear and disappear automatically. In Windows XP, several tool
tips similar to the “Found New Hardware” function will appear and disappear
in the system tray automatically. In Windows Vista, several tool tips similar to
the “Installing device driver software” function will appear and disappear in the
system tray automatically. Once hardware detection is complete, you will be
prompted to start activation.
• You should hear a short beep sound each time you insert or remove the
PLS5750, which is quite normal. It is an audible notification that your laptop
recognizes the new hardware.
20
Page 23

5.3.3 Unplugging or Ejecting the Card
• Make sure to complete the unplug/eject process before removing the
PLS5750. If you remove the card improperly, the product can become
damaged.
• Double click the Unplug/Eject Hardware icon in the system tray.
Windows 2000 Windows XP
1) Unplug or Eject Hardware with Win2000
• As shown in the above figure, two “NEC PCI to USB Open Host Controller”
will be displayed in the Hardware devices list of Win2000. However, one of
them is disabled and marked with “V”.
Select the device with no “V” mark. If you select it and click the “Stop” button,
the following window will appear.
• Select either of the “NEC PCI to USB Open Host Controller” and click the
[OK] button.
Windows Vista
21
Page 24

• The dialog box above will appear. Click the [OK] button.
• Then, the above window will appear. Now, you can unplug the PLS5750.
2) Unplug or Eject Hardware with Win XP
• As shown above, only one “NEC PCI to USB Open Host Controller” will be
displayed in Windows XP.
Select “NEC PCI to USB Open Host Controller” and click the “Stop” button.
22
Page 25

• Then, two “NEC PCI to USB Open Host Controller” will be displayed.
Select either one of them and click the [OK] button.
• Click the [Close] button. Now, you can Unplug the PLS5750.
3) Unplug or Eject Hardware with Win Vista
• As shown above, only one “NEC PCI to USB Open Host Controller” will be
displayed in Windows Vista.
Select “NEC PCI to USB Open Host Controller” and click the “Stop” button.
23
Page 26

When Inserting and removing the
PC Card, grip both sides.
Do not handle or remove the PC
Card by pulling on the antenna.
• Then, two “NEC PCI to USB Open Host Controller” will be displayed.
Select one of them and click the [OK] button.
• Click the [Close] button. Now, you can unplug PLS5750.
• Remove the PLS5750 from your laptop. When removing the PLS5750,
always grip either sides of the card rather than the top and bottom of the
card. Gripping the top and bottom of the card and pulling the card can place
unnecessary pressure on the antenna and cause damage. Use the Card
Ejector tool on your laptop, if it is available.
24
Page 27

6. REGULATORY AND SAFETY INFORMATION
6.1 Regulatory Notices
PLS5750 complies with Parts 15, 22, and 24 of the FCC rules. It has been tested
with the typical laptop computer with the side loading PCMCIA bay. This PC
card must not be co-located or operated in conjunction with any other antenna
or transmitter. If you use this PC card in any other configuration, the FCC RF
Exposure compliance limit can be exceeded.
6.2 Operating Conditions
1) This device may not cause harmful
interference, and this device must
accept any interference received,
including interference that may
cause undesirable operations.
2) The manufactuerer stipulates that
the antenna should be more than
2.0 cm(0.6'') from all persons.
6.3 Warnings and Cautions
1) Modifying or changing this PC card without express authorization
can nullify compliance with RF exposure guidelines.
2) This PC card has been tested and found to comply with the limits
pursuant to Part 15, 22, and 24 of the FCC Rules.
These limits are designed to provide reasonable protection against
harmful interference when appropriately installed.
This PC card generates, uses, and can radiate radio frequency and,
if not installed and used according to the instructions provided, it may
cause harmful interference to radio communication.
However, there is no guarantee that interference will not occur in
any particular installation.
25
Page 28

3) If this PC card does cause harmful interference with radio or television
signals (determine this by turning the PC card off and on), attempt to
correct the interference by trying one or more of the following:
• Reorient or relocate the antenna.
• Increase the separation between the PC card and receiver.
• Connect the PC card into an outlet on a circuit different from that to which
the receiver is connected.
• Consult the dealer or an experienced radio/TV technician for help.
4) This PC card does not exceed the Class B limits for radio noise
emissions from digital apparatus as set out in the interference causing
equipment standard entitled “Digital Apparatus”, ICES-003 of the
Department of Communications.
5) If you have purchased this product under a United States Government
contract, it shall be subject to restrictions as set forth in subparagraph
(C)(1)(ii) of Defense Federal Acquisitions Regulations (DFARs) Section
252.227-7013 for Department of Defense contracts, and as set forth in
Federal Acquisitions Regulations (FARs) Section 52.227-19 for civilian
agency contracts or any successor regulations. If further government
regulations apply, it is your responsibility to ensure compliance with
such regulations.
6.4 Safety Precautions
1) Data transmission and reception cannot be guaranteed because of
the nature of wireless communications. Data can be delayed,
corrupted or lost during transmission. Even though it is quite rare that
significant data delay or loss occurs if the PC card is used in a normal
manner, this PC card should not be used in cases that data
transmission or reception failure could result in damage of any kind to
the user or another party, including but not limited to personal injury,
death or loss of personal property. UTStarcom bears no responsibility
for damages or losses of any kind resulting from delays or errors in
data transmission using the PC card, or for failure of the PC card to
transmit or receive such data.
26
Page 29

2) Do not use this PC card in areas where blasting is in progress, where
explosive atmospheres may be present, near medical equipment, life
support equipment, or any equipment which may be susceptible to any
form of radio interference. Turn off this PC card in these areas, since it
can transmit signals that could interfere with this equipment.
3) Do not use this PC card in any aircraft whether the aircraft is on the
ground or in flight. Make sure to turn off this PC card in aircraft.
If used in aircraft, it can transmit signals that could interfere with
various aircraft systems.
4) Do not use this PC card while driving a car, since it can distract the
driver’s driving. In some area, using the communication device while
driving a car is illegal.
* WARNING: This product contains a chemical known to the State of
California to cause cancer.
* WARNING: This product contains a chemical known to the State of
California to cause birth defects or other reproductive harm.
27
 Loading...