

“TIME” was not
set properly.
Lights come
on before
the actual
time.
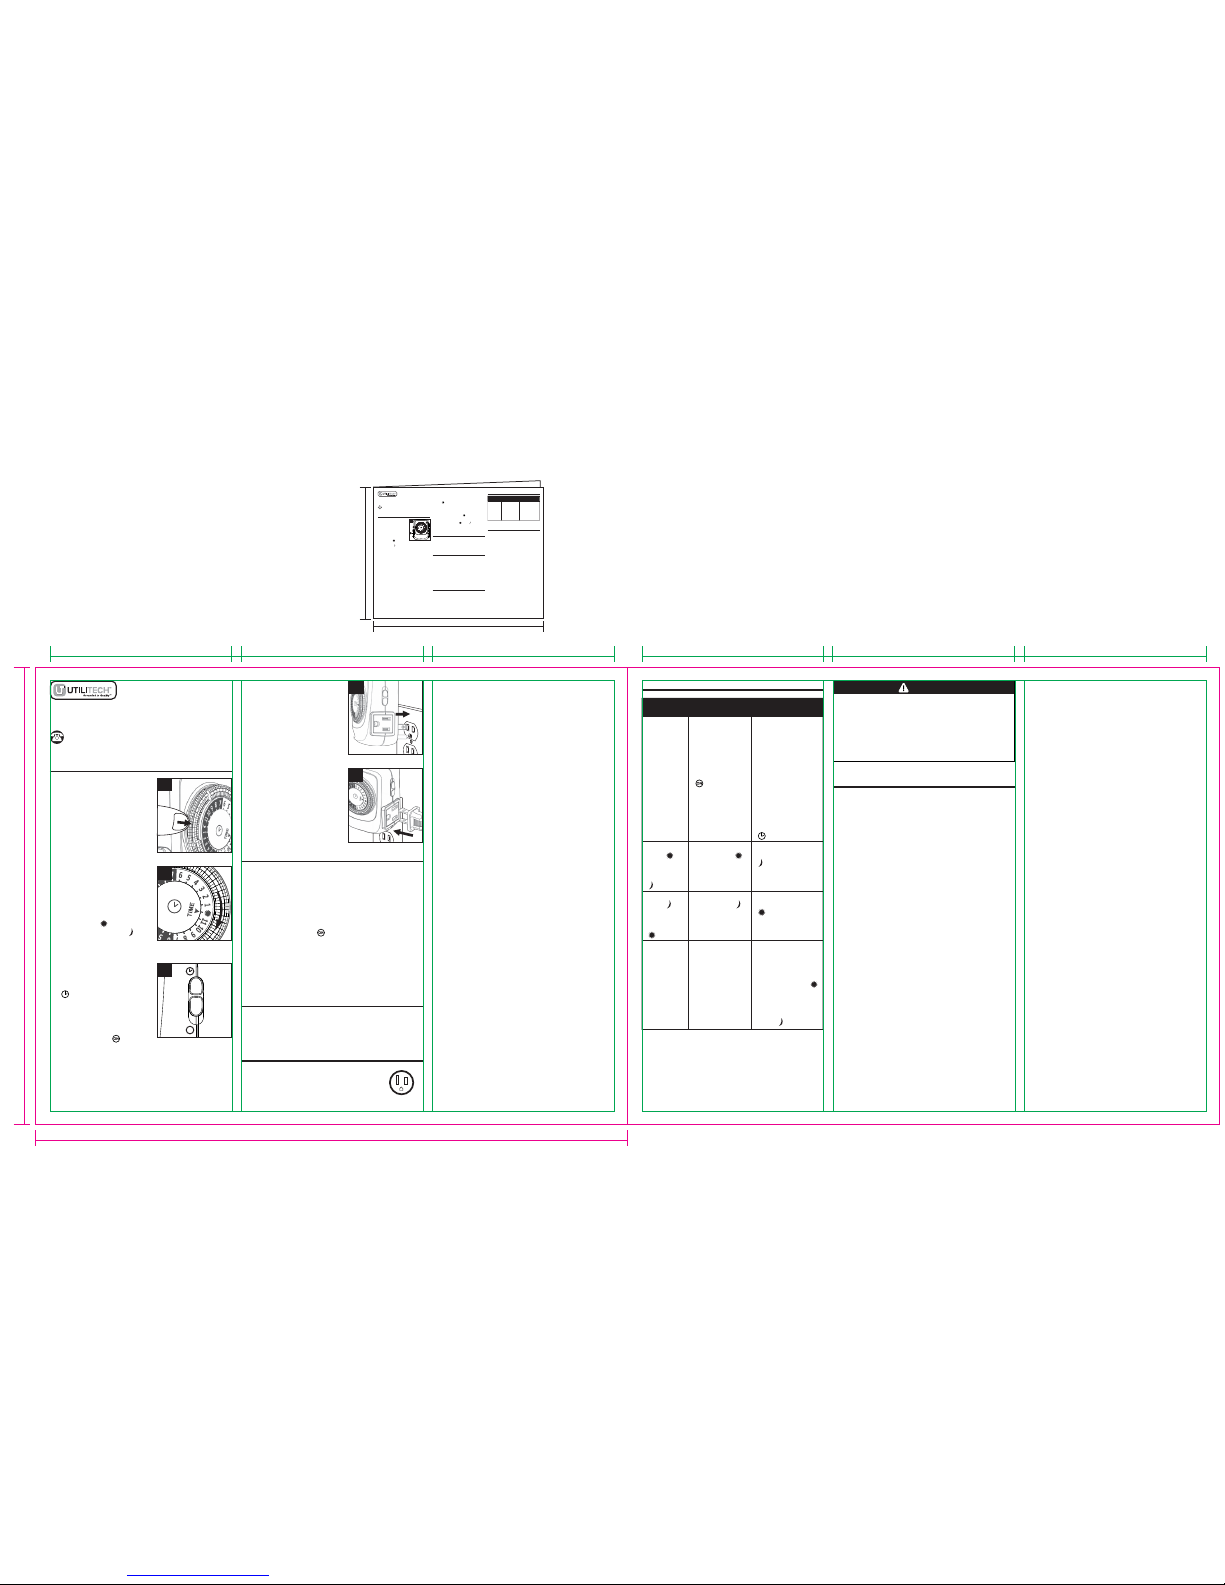
ITEM #0224879
MODEL #TM-089
OPERATING INSTRUCTIONS
TIMER
1. Set a period of time for the
unit to be “ON”.
Locate the gray pins and
push them down at the
marked times when the
attached device should be
“ON”. Each pin represents a
30-minute time interval.
Call customer service at 1-866-994-4148,
8 a.m. - 6 p.m., EST, Monday - Thursday,
8 a.m. - 5 p.m., EST, Friday.
WARRANTY
TROUBLESHOOTING
• For information on product warranty please call
customer service at 1-866-994-4148, 8 a.m. - 6 p.m.,
EST, Monday - Thursday, 8 a.m. - 5 p.m., EST,
Friday.
• This product is guaranteed to be free of defects for
a limited period of one year from the date of
purchase.
• If the product suddenly malfunctions and is not
damaged by external factors or personal reasons
within the one year warranty limit from the day of
purchase, the product maybe considered for repair.
If the product is damaged due to natural disaster like
fire, lightning, flood, hurricane, etc., the product will
not be considered for repair.
Risk of Electric Shock
Keep children away. Unplug timer before cleaning.
Fully insert plug. Do not use in wet locations.
Risk of Fire
Do not use to control appliances that contain heating
elements (cooking appliances, heaters, irons, etc.).
Do not exceed electrical ratings. For indoor use only.
PROBLEM POSSIBLE
CAUSE
CORRECTIVE
ACTION
Lights do
not turn on
as
programmed.
HELPFUL TIPS
IN CASE OF POWER FAILURE
Unit will stop operating if the power goes out. Once
power is resumed, reset the time of day as explained in
Step 2 of the instructions.
Do not attach a device that exceeds the unit ratings.
125 V AC / 60 Hz
15 A / 1,875 W Resistive (General Purpose)
15 A / 1,875 W Tungsten (Incandescent)
1/2 HP (Horsepower Motor)
2. Set the “TIME”.
Rotate the entire gray push pin dial clockwise until the
arrow marked “TIME” aligns
with the current time of day
on the dial. “ ” hours are
highlighted in white. “ ”
hours are highlighted in
black.
Be sure the pins are
pushed down in the
“ ” section
(highlighted in black
on the timer dial).
Lights come
on in “ ”
but are
supposed to
come on in
“ ”
Pins were pushed
down in the “ ”
section
(highlighted in
white on the timer
dial).
Ensure the
connected lights are
functional by
plugging them
directly onto the
outlet. Be sure the
connected lights are
in the "ON" position
if they have their
own switch. Make
sure the outlet the
timer is plugged into
is active. Check
that the "BYPASS
SWITCH" is in the
" " position.
3. Set “BYPASS SWITCH”.
When the switch is in the
“ ” position, the unit will
automatically turn your
attached device on and off
according to the
programmed time. When the
switch is in the “ ” position,
the unit will bypass the
programming and your
attached device will remain
on.
4. Plug the unit into an
electrical outlet.
The unit will rest against the
outlet at a slight upward
angle, making it easier to
see and operate the push pin dial.
5. Attach up to two devices to
the unit.
Plug the devices into outlets
on either side of the unit.
• This timer repeats the same settings daily.
• To push down or pull up the gray pins, use your finger
or the tip of a small instrument such as a pen or pencil.
• You can set up to 48 different “ON” and “OFF” times
in a 24-hour period. Pins pressed down represent the
“ON” time. Pins in the up position represent “OFF”
time.
• Switching the unit to “ ” will bypass programming;
however, the timer dial will continue to rotate and
maintain the current time.
• Once the timer is plugged into an outlet, it will sit at a
slight upward angle making it easier to read and
program the unit.
Connected lights
are not in "ON"
position; they are
not functioning;
timer is not
receiving power,
or "BYPASS
SWITCH" is in the
" " position.
Pins were pushed
down in the “ ”
section
(highlighted in
white on the timer
dial).
Lights come
on in “ ”
but are
supposed to
come on in
“ ”
Refer to step 2 of
this manual. Be sure
“TIME” is set in the
white section on the
timer dial if the
“TIME” is in the “ .”
The “TIME” should
be set in the black
section on the timer
dial if the “TIME” is
in the “ .”
Be sure the pins are
pushed down in the
“ ” section
(highlighted in black
on the timer dial).
SAFETY INFORMATION
This unit is a “grounded” device. The male
plug contains a ground pin and is only
intended for use with a three-pronged
grounded outlet.
WARNING
1
2
ON
3
4
5
• Do not plug this timer into an extension cord or other
electrical adapter. Plug directly into an electrical
outlet.
• Do not connect this timer to appliances that contain
heating elements (cooking appliances, heaters, irons,
etc. Failure of the timer to shut off such devices may
lead to overheating and potential fire.)
• Do not plug in this timer if it is wet.
• Do not clean this timer when it is plugged in.
• Do not exceed the maximum ratings of the timer.
• Potential shock hazard: Keep out of reach of children.
AB14390 Printed in China
3.3833” 3.3833” 3.3833” 3.3833” 3.3833” 3.3833”
Item: 224879(TM-089)
Page size: 11”(W)x8.5”(H)
Dieline: ______
Layout area: ______
Version Submitted by KAB: R1-2
Submission date: 2014/05/12
11”
8.5”
Page 1
11”
8.5”
NOTE: The unit you are plugging into the timer
has to be ON.
4. The switch on the side of the timer must be in the
up “ ” position for the timer function to work.
5. You may override operation of the timer by setting
the switch to the down “ON” position. Then the
power supply will always be “ON”. Be sure to set
the switch back to the up “ ” position for the
timer to function.
NOTE: Make sure day or night area is correct
on the dial when setting the timer.
ITEM #0224879
MODEL #TM-089
OPERATING INSTRUCTIONS
TIMER
1. Button Layout
1. Side switch:
The side switch is used to
set the timer function:
Always ON or Timer
Control.
2. Timer dial:
• Day time :
7:00 AM~6:00 PM
Night time :
7:00 PM~6:00 AM
• Each segment pin represents 30 minutes:
2 segment pins = 1 hour.
• 24 hour cycle with 24 on/off settings.
• Pin in down position means ON.
• Pin in up position means OFF.
3. Outlets:
Plug the lights or devices to be controlled by the
timer into one of the outlets.
2. Setting the clock
Be sure segments are pulled up before
programming.
1. To set the current time, turn the dial clockwise
and set the arrow to thecurrent time.
2. Determine the desired start time and push down
all the pins until reaching the desired OFF time.
3. Plug your electrical devices directly into the
outlets on the timer. Electrical devices must be
“ON” for the timer control to work properly.
Call customer service at 1-866-994-4148,
8 a.m. - 6 p.m., EST, Monday - Thursday,
8 a.m. - 5 p.m., EST, Friday.
WARRANTY
TROUBLESHOOTING
• For information on product warranty please call
customer service at 1-866-994-4148, 8 a.m. - 6 p.m.,
EST, Monday - Thursday, 8 a.m. - 5 p.m., EST,
Friday.
• Do not plug this timer into an extension cord or other
electrical adapter. Plug directly into an electrical
outlet.
• Do not connect this timer to appliances that contain
heating elements (cooking appliances, heaters, irons,
etc. Failure of the timer to shut off such devices may
lead to overheating and potential fire.
• Do not plug in this timer if it is wet.
• Do not clean this timer when it is plugged in.
• Do not exceed the maximum ratings of the timer.
• Potential shock hazard: Keep out of reach of children.
• This product is guaranteed to be free of defects for
a limited period of one year form the date of
purchase.
• If the product suddenly malfunctions and is not
damaged by external factors or personal reasons
within the one year warranty limit from the day of
purchase, the product maybe considered for repair.
If the product is damaged due to natural disaster like
fire, lightning, flood, hurricane, etc., the product will
not be considered for repair.
PROBLEM POSSIBLE
CAUSE
CORRECTIVE
ACTION
The devices
do not turn
OFF and ON
at the
desired time.
The timer is
programmed
incorrectly.
Check to make sure
the timer is
programmed
correctly or insert an
object.
Make sure the light
or device is on.
HELPFUL TIPS
SAFETY INFORMATION
• Do not attach a device that exceeds the unit ratings
as described in the Safety Information section of this
manual.
Please read and understand this entire manual before
use.
RATINGS:
125Vac 60Hz 15 A Resistive.
15 A General Use.
1875 W Tungsten.
500 VA Electronic Ballast.
1/2 HP.
CARE AND MAINTENANCE
• Plug directly into an electrical outlet.
• Do not use in wet locations.
• Use indoors only.
1
8
8
9
11
3
7
9
10
1
2
4
5
2
10
11
1
3
4
6
7
5
6
TIME
2
1
3 3
AB13550 Printed in China

Riesgo de descarga eléctrica
Mantenga alejado de los niños. Desenchufe el
temporizador antes de limpiarlo. Inserte
completamente el enchufe. No lo utilice en lugares
con agua.
Riesgo de incendio
No utilice el producto para controlar
electrodomésticos que contengan elementos para
calentar (electrodomésticos de cocina, calentadores,
planchas, etc.). No exceda la capacidad eléctrica
nominal. Solo para uso en interiores.
ARTÍCULO #0224879
MODELO #TM-089
TEMPORIZADOR
Llame al Departamento de Servicio al Cliente al
1-866-994-4148, de lunes a jueves de 8 a.m. a 6 p.m.,
y los viernes de 8 a.m. a 5 p.m., hora estándar del Este.
• Si desea más información sobre la garantía del
producto, llame a nuestro Departamento de Servicio
al Cliente al 1-866-994-4148 de lunes a jueves de
8 a.m. a 6 p.m., y los viernes de 8 a.m. a 5 p.m., hora
estándar del Este.
• Este producto está garantizado contra defectos por
un período de un año a partir de la fecha de compra.
• Si el producto intempestivamente empieza a fallar y
no presenta daños debido a factores externos ni por
razones personales dentro del año de la garantía
desde la fecha de compra, es posible que el producto
califique para la reparación. Si el producto sufre
daños debido a desastres naturales como incendios,
rayos, inundaciones, huracanes, etc., este no
calificará para la reparación.
El tiempo no se
estableció
correctamente.
Las luces se
encienden
antes de la
hora real.
INSTRUCCIONES DE FUNCIONAMIENTO
1. Establezca un periodo para
que la unidad se encienda.
Ubique los botones grises y
presiónelos hacia abajo en
las horas marcadas en que
el dispositivo conectado
debe encenderse. Cada
botón representa un
intervalo de 30 minutos.
GARANTÍA
SOLUCIÓN DE PROBLEMAS
PROBLEMA CAUSA
POSIBLE
ACCIÓN
CORRECTIVA
Las luces no
se
encienden
según lo
programado.
CONSEJOS PRÁCTICOS
EN CASO DE UN CORTE DE ENERGÍA
La unidad dejará de funcionar si se interrumpe la
alimentación. Una vez que se restablezca, vuelva a
fijar la hora del día según se explicó en el paso 2 de
las instrucciones.
No conecte un dispositivo que supere la clasificación
de la unidad.
125 V AC / 60 Hz
15 A / 1,875 W Resistivo (Uso General)
15 A / 1,875 W Tungsteno (Incandescente)
1/2 HP (Motor de caballos de fuerza)
2. Establezca la hora.
Gire todo el selector de
botones grises en dirección
de las manecillas del reloj
hasta que la flecha marcada
“TIME” se alinee con la hora
actual del día en el selector.
Las horas " " aparecen
resaltadas en blanco. Las horas " " aparecen
resaltadas en negro.
Asegúrese de que
los botones se
presionaron en la
sección " "
(resaltados en
negro en el selector
del temporizador).
Las luces se
encienden
en el horario
" " en lugar
del horario
" ".
Los botones se
presionaron en la
sección " "
(resaltados en
blanco en el
selector del
temporizador).
Asegúrese de que
las luces
conectadas
funcionan
enchufándolas
directamente al
tomacorriente.
Asegúrese de que
las luces
conectadas estén
en la posición de
encendido si tienen
su propio interruptor.
Asegúrese de que el
tomacorriente al
cual está enchufado
el temporizador esté
energizado. Revise
que el interruptor de
derivación esté en
la posición “ ”.
3. Establezca el interruptor de
derivación.
Cuando el interruptor está
en la posición " ", la unidad
encenderá/apagará
automáticamente los
dispositivos conectados de
acuerdo con la hora
programada. Cuando el interruptor está en la
posición " ", la unidad omitirá la programación y
los dispositivos conectados permanecerán
encendidos.
4. Enchufe la unidad a un
tomacorriente.
La unidad se apoyará en el
tomacorriente en un ángulo
ligeramente ascendente, lo
que hace que sea más fácil
ver y operar el selector de
botones.
5. Conecte hasta dos
dispositivos a la unidad.
Enchufe los dispositivos en
los tomacorrientes a cada
lado de la unidad.
• Este temporizador repite los mismos ajustes todos
los días.
• Para presionar o levantar los botones grises, use el
dedo o la punta de un instrumento pequeño como un
lápiz o un bolígrafo.
• Puede configurar hasta 48 horas diferentes de
encendido y apagado en un período de 24 horas. Los
botones presionados representan la hora de
encendido. Los botones levantados representan la
hora de apagado.
• Al encender la unidad en “ ” se omitirá la
programación; sin embargo, el selector del
temporizador seguirá girando y mantendrá la hora
actual.
• Una vez que el temporizador esté enchufado en un
tomacorriente, quedará en un ángulo ligeramente
ascendente para que sea más fácil ver y programar
la unidad.
Las luces
conectadas no
están en la
posición de
encendido; no
funcionan; el
temporizador no
recibe
alimentación o el
interruptor de
derivación está
en la posición
" ".
Los botones se
presionaron en la
sección " "
(resaltados en
blanco en el
selector del
temporizador).
Las luces se
encienden
en el horario
" " en lugar
del horario
" ".
Consulte el paso 2
de este manual.
Asegúrese de que
el tiempo esté
establecido en la
sección blanca en el
selector del
temporizador si la
hora está en “ ”.
El tiempo debe estar
establecido en la
sección negra del
selector del
temporizador si la
hora está en " ".
Asegúrese de que
los botones se
presionaron en la
sección " "
(resaltados en negro
en el selector del
temporizador).
INFORMACIÓN DE SEGURIDAD
Esta unidad es un dispositivo "con
puesta a tierra". El enchufe macho
contiene una clavija de puesta a
tierra y está destinada solo para su
uso con un tomacorriente de puesta
a tierra de tres clavijas.
AVERTISSEMENT
1
2
ON
3
4
5
• No conecte este temporizador en una extensión
eléctrica ni en ningún adaptador eléctrico. Enchúfelo
directamente en un tomacorriente eléctrico.
• No conecte este temporizador en electrodomésticos
que contengan elementos para calentar
(electrodomésticos de cocina, calentadores,
planchas, etc.). Una falla del temporizador al no
apagar dichos electrodomésticos podría causar que
los mismos se recalienten y un posible incendio.
• No enchufe este temporizador si está mojado.
• No limpie este temporizador cuando se encuentre
enchufado.
• No supere los rangos máximos de este temporizador.
• Peligro de descarga potencial: Mantenga alejado del
alcance de los niños.
Impreso en China
3.3833” 3.3833” 3.3833” 3.3833” 3.3833” 3.3833”
11”
8.5”
Page 3
 Loading...