

Page 1

Pre-drilled mounting holes
Tel: 877 55 US SUN (877-558-7786)
www.ussunlight.com
support@ussunlight.com
Rigid Tube Kit for Model 2014ST
Installation and Mounting Guide
The Rigid Tube Kit can be installed as a retrofit to the standard flex tube that has
already been installed, or as part of a new installation of the 2014ST. Please read the
entire installation guide before beginning your installation.
REQUIRED TOOLSBOX CONTENTS / PARTS LIST
1.
#8 Panhead
Screws
(3 each)
2.
Foil Tape
29 ft.
Crimped edge
14” Rigid Tube Lower Elbow
(with crimped bottom)
Part# 29-02-005
14” Rigid Tube Upper Elbow
Part# 29-02-004
Removal of the old ex tube material
Cut around edge to
expose retaining band.
fig. 1 fig. 2 fig. 3 fig. 4
Step 1
You will need to remove the diffuser assembly and retaining
band from the diffuser housing first. Start by removing the trim
ring and diffuser assembly. (fig. 1)
Step 2
Using a utility knife, cut the flex material around the inside of
the housing to expose the retaining band. (fig. 2) If you have a
Light Kit installed you will need to remove that as well, consult
the Light Kit install instructions for removing.
2’ Straight Tube - 3 pieces
Part# 29-02-007
3. 4.
1. Tin Snips
2. Drill with a Phillips Bit
or a Phillips Screwdriver
3. Measuring Tape
4. Utility Knife
Step 3
Remove the retaining band from the housing by removing the
three nuts and washers from the screw posts. (fig. 3)
Step 4
From inside the attic, lift the flex tube out of the diffuser housing, make sure to compress it to clear the screw posts. (fig. 4)
© Copyright 2011 US Sunlight Corp, Inc. 2014ST-RT-C01_ver1
Page 2

Retaining
ring
fig. 5 fig. 6 fig. 7 fig. 8
Step 5
Raise the flex tube material up to the dome assembly so you
can see the aluminium retaining ring. (fig. 5)
Step 6
Using the lower edge of the retaining ring as a guide, cut the
material all the way around to separate it from the dome assembly. (fig. 6) Try to make the cut as smooth as possible.
Step 7
Expose the spiral wire, and using the tin snips, cut the wire away
as close to the edge as shown. (fig. 8)
Step 8
Push up any exposed wire or
tube material left behind.
(fig. 9)
(fig. 7)
Assemble the straight tube lengths
The Rigid Tube Kit comes with three 2 ft straight extension tubes. When installed with the Upper and Lower Elbows a
7.5 ft. total length may be achieved in most cases. You will need to measure the distance from the edge of the flange
at the dome opening, down to the top of the Diffuser Housing to find the total length. If your installation requires more
distance, you can order additional straight tubes on our website: www.ussunlight.com
Tube when
assembled
should have
a slight cone
shape.
Mark
at 3/8”
L
i
n
e
u
p
w
i
t
h
t
h
i
s
e
d
g
e
DOUBLE SIDED TAPE
outside of flat sheet
(reflective surface on the other side)
Mark
at 1”
L
i
n
e
u
p
w
it
h
t
h
i
s
e
d
g
e
fig. 9
fig. 10
Step 9
After determining how many straight tubes you require, you
will need to assemble them as follows: There should be scribe
marks on both sides of the outer surface where the double stick
tape is applied. (ill. a) If not, use a pen to mark the locations at
1 inch and 3/8 inch as shown in (fig. 10 & 11) then peel off the
backing tape. (fig. 12)
Step 10
Before continuing, cut a piece of the 2” foil tape about 24” in
length and have it nearby. (fig. 13) Turn the flat sheet on its
back (reflective surface up) and peel away about 2-3” of the
protective film on the side opposite the double sided tape.
Then form a cylinder and secure the first side at 3/8” (fig. 14)
Use the other hand to steady the cylinder in the center.
Then secure the other side at 1”. (fig. 15) IMPORTANT:
Firmly press on both sides (inside and out) of the entire
length of the tube to secure the double stick tape.
Now immediately apply the foil tape along the outside edge
down the entire length. (fig. 16) Press firmly in place up and
down the length to secure. (fig. 17)
Repeat step 10 for other tubes if necessary.
Line up the far edge (3/8”)
and press to hold.
ill. a
Cut a 24” strip.
fig. 12
Then line up the
near edge (1”)
and press to hold.
fig. 14 fig. 15
Press firmly
to secure.
fig. 16
fig. 11
fig. 13
fig. 17
Page 3

IMPORTANT:
Remove the protective lm
Before beginning the fitting and installation, peel off all of the
protective film on the inside of each component. Otherwise,
you won’t be able to peel the film after the tube is sealed.
(fig. 18 and 19).
fig. 18 fig. 19
Dry t the components before securing
It is important to “dry fit” the parts of the Rigid Tube Kit as close as possible to their final angles before securing. The
best method is to try to line up the Upper Elbow to the Lower Elbow by changing the tilt and rotation of each as they are
sitting in the Dome Flange and Diffuser Housing. The requirement is that they line up as much as possible prior to inserting the straight tube length(s). If you can, check with a yard stick or long level along both edges as shown in (fig. 20).
Retaining Ring
Rotating
the base
fig. 25
fig. 26
fig. 20
Flange
fig. 21
fig. 22
fig. 23
Tilting the Elbow
fig. 24
Step 11
The Upper Elbow fits inside the flange and rests against the retaining ring. (fig. 21) Fit the Upper Elbow into the flange and adjust the angle
to point at the Diffuser Housing (fig. 22) The crimped edge of Lower Elbow fits into the Diffuser Housing and rests on the three retaining band
posts (fig. 23) Both elbows adjust the same way as shown in (fig. 24 & 25). When satisfied with the initial adjustments, draw a registration
mark to indicate the desired angles. (fig. 26)
Secure the Upper Elbow
Step 12
With the Upper Elbow held securely against the retaining ring
in the final desired position, drive a Mounting Screw through
one of the pre drilled holes into the Flange. (fig. 27) Continue
until all three screws are installed. (fig. 28)
fig. 27 fig. 28
Fit the Straight Tube length(s)
Step 13
As you fit the Straight Tube(s) into position, the larger opening
of the tube(s) should always be at the top and should fit over
the preceeding tube or elbow (fig. 29) and then fit inside the
bottom component as you work your way down the installation. (fig. 30 & 31) Make final small adjustments to the Lower
Elbow if necessary. Overlap each component by no less than
1” and try to minimize any protruding areas to create smooth
transitions between each piece. (fig. 32)
Fit on the outside
of the top
components
Fit on the inside
of the bottom
components
fig. 29 fig. 30
Adjust for a tight,
smooth transition
fig. 31 fig. 32
Page 4
Apply Foil Tape to seal and secure
Step 14
Cut strips of the foil tape about 45” in length and apply to all transition areas starting from the Upper Elbow. (fig. 33 & 34)
When you get to the transition at the Diffuser Housing and Lower Elbow, cut a large piece of tape about 52” in length to
adequately cover the uneven surface as shown in (fig. 35 & 36). Try to form the tape around the surfaces without tearing
so that it will create a tight seal.
After you have taped
the transition areas,
your Rigid Tube Kit is
installed. (fig. 35)
Just replace the
Diffuser Assembly and
fig. 33
fig. 35
Trim Ring to complete
the process.
fig. 34
fig. 36 fig. 37
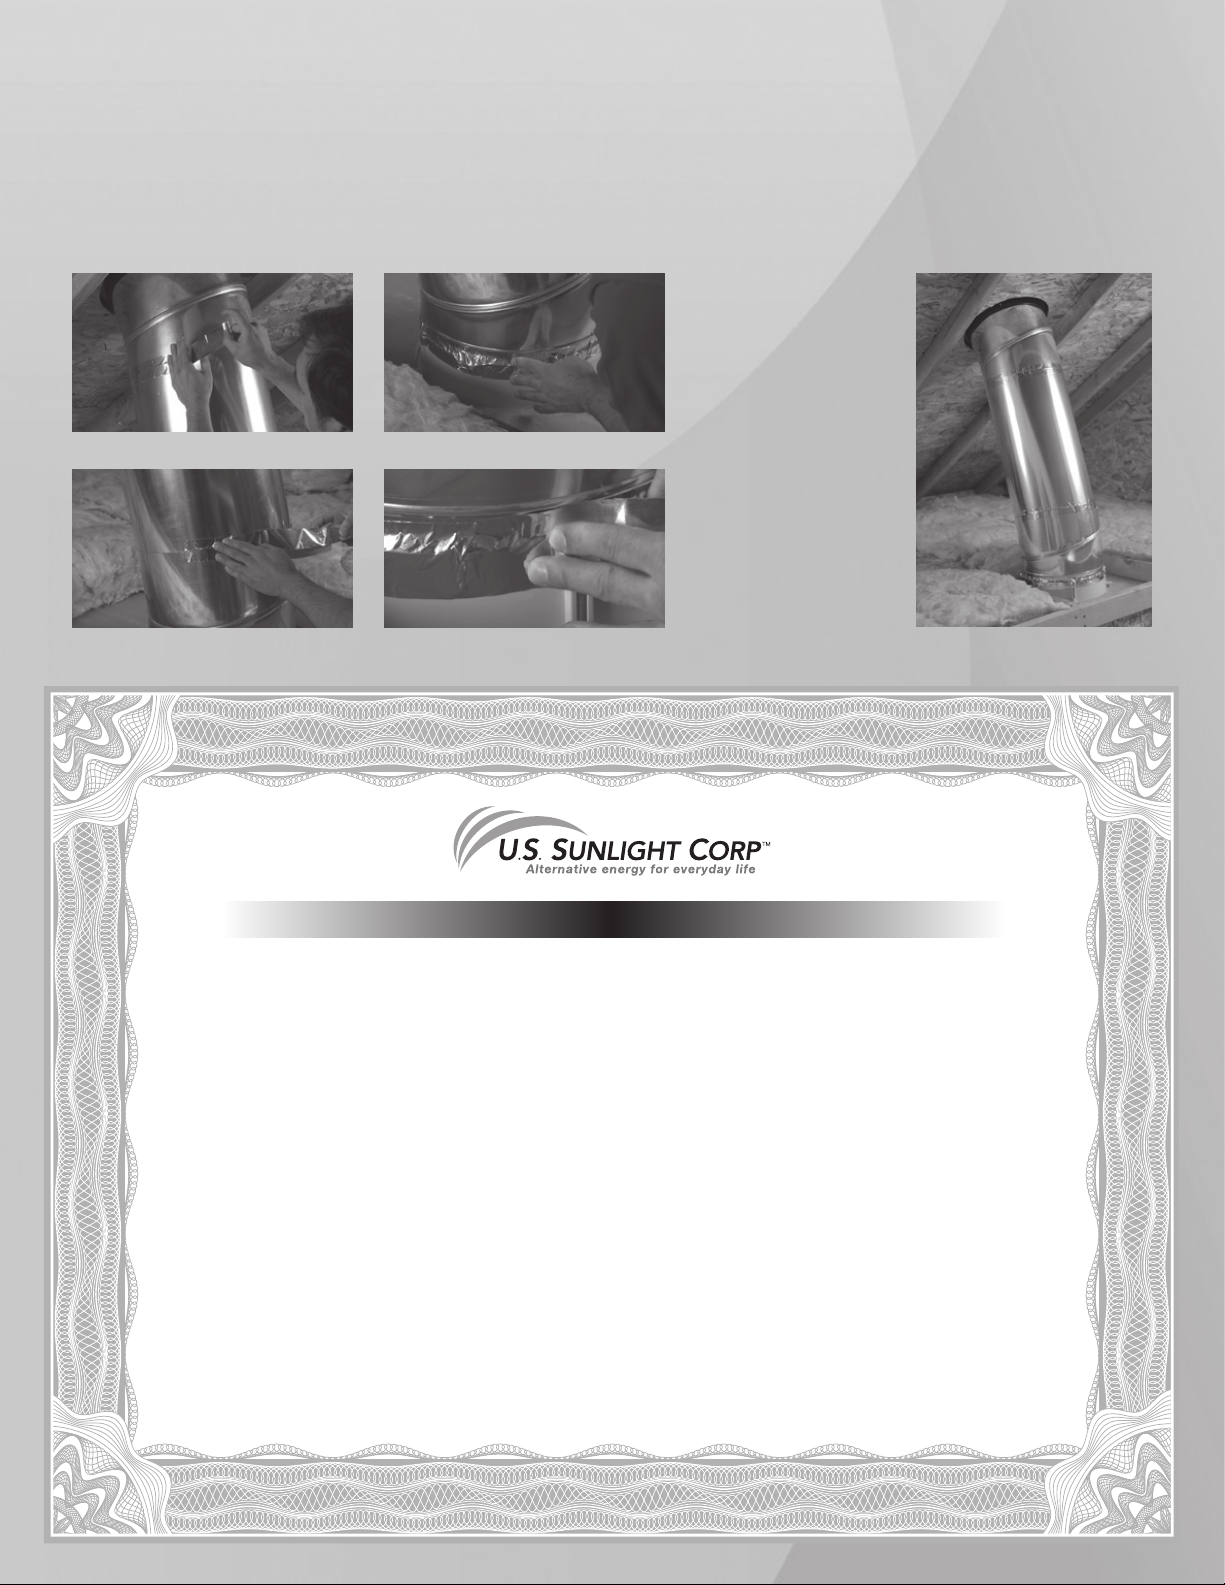
WARRANTY
Manufacturer’s Limited Warranty
U. S. Sunlight Corp. (“Manufacturer”) warrants that certain of its product components are free from defects of workmanship and/or materials
for a period of time commencing on the date of original purchase and continuing as noted hereafter: (a) roof ashing for a period of ten (10)
years (b) exible tubing for a period of ten (10) years (c) ceiling lens diffuser house for a period of ten (10) years.
Disclaimer
Except as expressly set forth herein, all Manufacturer’s products, including components thereof, are sold “AS IS” without warranty of
merchantability, tness for intended purpose, or other warranty, express or implied. In no event shall Manufacturer be liable for the loss of
prots, indirect, special, incidental, consequential or other similar damages, including but not limited to any claim or demand arising out of the
installation, furnishing, or functioning of a product or use by purchaser or any third party. The warranty terms and conditions detailed above
do not extend to misuse, neglect, abuse, alteration, exposure to extreme weather conditions, lightning strikes, physical damage to any
product, or damages caused by transportation or installation of any product. Manufacturer explicitly does not warrant any labor, shipping, or
service fees incurred by purchaser for the replacement, repair, or exchange of any product or product components claimed under the above
warranty terms and conditions.
Warranty Claims
Warranty claims shall be submitted in writing to Manufacturer at its principal place of business. Claims shall include a copy of the original
purchase invoice, purchaser’s name, address, telephone number, and e-mail address, and such other particulars as are necessary to
describe the claimed defect. If requested by Manufacturer, purchaser shall ship the claimed defective component(s) to Manufacturer’s
principal place of business, FOB destination, freight prepaid, for evaluation. As to any product component determined by Manufacturer to
contain a defect covered by its warranty, Manufacturer reserves the right, at its discretion, to repair or replace the defective component, or
rebate a portion of the purchase price prorated based on the balance of the warranty term.
General
This limited warranty contains all of the terms and conditions of Manufacturer’s warranty of the purchased product and its components. No
representation, arrangement, or agreement not appearing herein shall be binding on Manufacturer. This limited warranty is issued in and shall
be governed by the laws of the State of California.
 Loading...