

Page 1
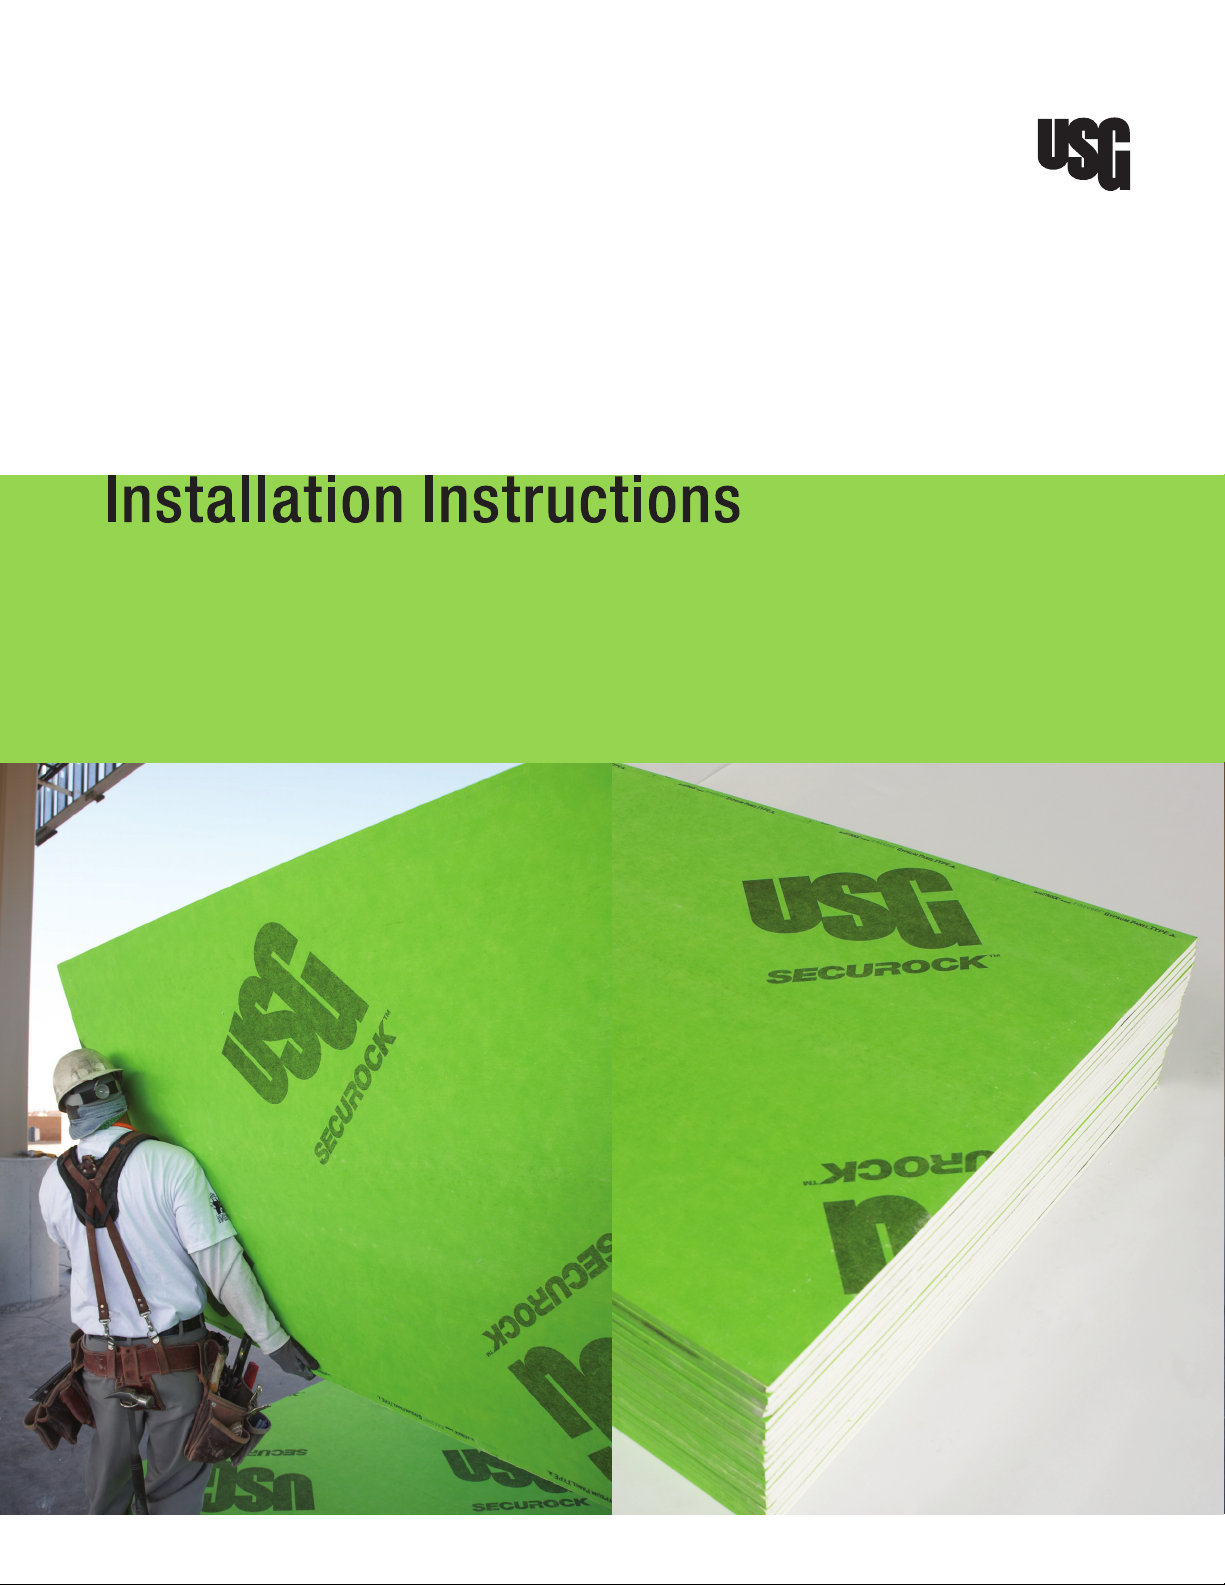
Securock
Sheathing
TM
Glass-Mat
Page 2

General 1.1 USG Securock™ glass-mat sheathing meets or exceeds all requirements of ASTM C-1177 Standard
Specification for Glass-Mat Substrate for Use as Sheathing.
thicknesses, 48" wide, and standard lengths of 8', 9' and 10', with square edges. Other sizes are
available on special order.
1.2 This product may be used under exterior claddings where conventional gypsum sheathing products have
traditionally been used, such as brick veneer, clapboard, wood shingles or shakes, plywood, vinyl, metal
and conventional stucco. This product may also be used as a substrate for mechanically and adhesively
attached EIFS.
1.3 Details and requirements pertaining to framing and application limitations shall be controlled by the
cladding, structural or fire-resistant-rated system, and must be approved by the architect, engineer or
design professional of record.
1.4 This product shall be installed in accordance with GA-253 Application of Gypsum Sheathing, ASTM C-1280
Standard Specification for Application of Gypsum Sheathing and the requirements of USG product
literature.
1.5 This product is not approved for use as a nail base.
1.6 Details and requirements pertaining to framing and application limitations shall be controlled by the
cladding, structural or fire-resistant-rated system, and must be approved by the design professional
of record.
1.7 Details for construction for a specific assembly to achieve a required fire resistance shall be installed in
accordance with actual fire resistive testing. Consult the actual UL design for more details.
1.8 Where sound control is required, details of construction shall be in accordance with an acoustical test
report of an assembly that has met the required acoustical value(s).
1.9 Where resistance to racking shear and/or transverse wind load is required, system design capacities
shall be obtained from USG-published literature, engineering evaluations and test reports of a specific
assembly where mandated by local code requirements.
1.10 Always wear appropriate personal protective equipment, such as gloves, safety glasses, hearing protection
and a NIOSH-approved dust mask, when handling and installing glass-mat sheathing panels.
Panels are available in 1/2" and 5/8"
Delivery and Job-Site Storage 2.1 All materials shall be delivered in their original, unopened packages and stored in an enclosed shelter
providing protection from damage and exposure to the elements. WARNING: Store all Securock glass-mat
sheathing panels flat, unless the site manager directs vertical stacking to avoid point overloading of the floor
structure or a tripping hazard. Panels are heavy and can fall over, causing serious injury or death. Do not
move unless authorized.
2.2 Prevent face, back and edges of the panels from exposure to cascading water.
Framing 3.1 Securock glass-mat sheathing shall be installed on either wood or steel framing. The framing system
shall be sized and designed to meet the requirements of the intended application.
3.2 The maximum spacing for framing members is 24" o.c.
3.3 Framing shall be straight and true, attached securely following accepted engineering practices and as
required for the intended design.
3.4 The surfaces to which abutting edges or ends of the sheathing are to be attached shall not be less than
1-1/4
3.5 Bearing surfaces shall not be less than 3/4
3.6 Framing members shall be installed so that the surface will be on an even plane, unless otherwise specified,
after the sheathing has been applied. The fastening surface shall not vary more than 1/8
of the faces of adjacent framing members.
" for steel framing and 1-1/2
" for wood framing.
" for internal corners or angles.
" from the plane
Page 3

Sheathing Cutting and Application 4.1 Securock glass-mat sheathing may be applied with long dimensions parallel or perpendicular to framing
members except where limited by specific requirements. Sheathing orientation may be governed by local
code or by the requirements of shear or fire-rated construction. Consult local codes and site-specific
construction documents to ensure such requirements are met for every assembly prior to construction.
4.2 Securock glass-mat sheathing shall be cut to size by scoring the face mat with a utility knife from the face
side, or by sawing. Separate by snapping the panel away from the score line to fracture the core and then
by scoring the back mat with a utility knife. If a power saw is used, a cordless, low-rpm saw will generate
less airborne debris than a corded power saw.
4.3 The cut edges and ends of the sheathing shall be trimmed to obtain neat-fitting joints when installed.
4.4 Holes for pipe penetrations, fixtures or other small openings shall be scored or saw-cut from the face side
before removing the cutout.
4.5 Install panels with the logo side out. Panels are labeled “this side out” along the edge that must be visible
from the exterior side of the assembly when installed properly.
4.6 All vertical ends and edge joints shall abut over the centers of framing members and shall be offset a
minimum of one framing bay between adjacent rows of sheathing panels.
4.7 Center panel joints on framing members. Fit panels closely at edges and ends, but do not force together.
Hold panels in firm contact with framing members and secure with fasteners as specified. Fasteners
shall be driven flush with the panel surface, without countersinking or being deep enough to break the glass
mat, and into the framing. Fasten the panel to framing, working from the center of the panel toward the
edges and ends.
4.8 Screw profile must be designed for the framing in use, unless superseded by a more stringent specification.
The minimum requirements for sheathing fasteners shall be as follows:
a. Nails: 11-gauge hot-dipped galvanized roofing nails having a 7/16
1/2
b. Screws: (1-1/4
c. Corrosion Resistance: Where sheet-type weather-resistive barriers or self-adhering membranes are
placed over the sheathing, corrosion resistance shall be equal to or greater than a hot-dipped galvanized
coating of 1.5 ounces of zinc per square foot of surface area. Where liquid or fluid-applied air and water
barriers are applied to the sheathing, or where no sheet-type weather-resistive barrier is used, screws
shall have a corrosion resistance of more than 800 hours per ASTM B-117. Stainless steel fasteners
may be used in coastal or aggressive environments.
d. Edge Distance: The minimum distance from any fastener to the edge or end of the panel is 3/8
e. Spacing: Maximum fastener spacing is 8" o.c.
4.9 Supplementary use of panel adhesive will strengthen the connection and bridge minor irregularities between
the panel and framing, facilitating enhanced performance and appearance. The use of adhesive, however,
will not reduce the number of fasteners required by the specification. For optimal bond, apply adhesive in
accordance with manufacturer’s instructions. Framing must be free from oil and dirt, and sheathing must be
clean and dry.
4.10 Fit sheathing snugly around window and door openings. Sheathing joints shall be offset a minimum of 4"
from the edge of any opening.
4.11 Sheathing shall be flashed at all openings (head, sill, etc.), and all roof/wall intersections (step, kickout, etc.)
so that water intrusion will not contact the sheathing.
4.12 Sheathing shall be no less than 8" from the finish grade in weather and water-protected siding and no less
than 12" from the ground when used in correctly drained and vented crawl spaces.
" sheathing, 1-3/4
") (1-5/8
" for 5/8
" sheathing.
") #6 buglehead corrosion-resistant fasteners.
" diameter head, 1-1/2
" for
".
Page 4

Soffit Construction 5.1 The roof must be dried-in prior to the installation of sheathing in horizontal applications.
5.2 Maximum fastener spacing for soffits is 8" o.c.
5.3 Panels are subject to expansion and contraction due to changes in temperature and humidity. The maxi-
mum spacing of control joints shall be 30'. A 1/4
" clearance joint is required between Securock glass-mat
sheathing panels and adjacent walls, fascia, beams or columns. Wings of “L,” “U” and “T”-shaped areas
should be separated with control joints.
5.4 Adequate ventilation in accordance with the local code requirements shall be provided for the space
immediately above the panels.
5.5 Applications must be designed to resist wind uplift.
5.6 Fascia boards should extend at least 1/4
" below the ceiling board or adjacent trim moldings, whichever is
lower, to provide a drip edge.
Option 1 Apply a synthetic-type Direct Applied Finish System in accordance with the finish manufacturer’s
recommendations.
Option 2 Embed Sheetrock® brand paper joint tape in Sheetrock® brand DurabonD® setting-type joint compound over all
joints. After fill coat has set, apply finish coat of Sheetrock DurabonD setting-type joint compound over joints.
Once dry, apply a smooth, uniform skim coat of Sheetrock DurabonD setting-type joint compound over the
entire surface of the panels.
After the joint compound has dried, apply one coat of a good quality latex flat exterior primer and finish with
two coats of a balanced, good quality alkyd or latex exterior finish paint.
Control Joints 6.1 The location and design of control joints are the responsibility of the design professional of record.
6.2 Control joints shall be installed at all building expansion/construction joints.
6.3 Locate all other control joints as per cladding system requirements or in accordance with ASTM C-1280
Standard Specification for Application of Gypsum Sheathing, whichever is more stringent.
Cleanup 7.1 Leftover material shall be removed from the job site.
7.2 Waste material shall be disposed of in a safe manner and in compliance with site, local, state and/or
federal requirements.
Exposure After Installation 8.1 USG Securock glass-mat sheathing shall be covered by an exterior cladding or other weather-resistive
barrier and is not intended for long-term exposure. Sheathing shall not be exposed to the elements for more
than 12 months after it has been installed. Immediately upon installing the panels, the joints should be
finished and the entire panel covered with a weather-resistive barrier if the exposure time will be more
than 12 months.
8.2 Apply weather-resistive or water barriers and flashing as required by and in accordance with the applicable
local code requirements and the recommendations of the exterior cladding manufacturer, whichever is
more stringent.
8.3 For maximum protection, the design professional may recommend treating the cut edges with a low-
modulus silicone sealant; treat joints by embedding 4"-wide Durock™ exterior tape in a low-modulus silicone
sealant and strike joints flush using a trowel or broad knife. Allow sealant to cure per manufacturer's
instructions prior to installation of weather-resistive barrier and/or cladding system. Note: This treatment
should be used only under mechanically attached weather-resistive barriers and cladding systems.
Manufactured by
United States Gypsum Company
550 West Adams Street
Chicago, IL 60661
www.usg.com
The following trademarks used
herein are owned by United States
Gypsum Company or a related
company: Securock, Durock, USG.
WB2451/rev. 6-09
© 2009, United States Gypsum Company
Printed in U.S.A.
 Loading...