

Page 1

Tip Sheet
Parts and Components
May include some or all of the following:
Compässo™ Elite
Suspension Trim System
Before beginning installation of the COMPÄSSO™ Elite Ceiling System, check the enclosed bill of materials to
ensure that all parts are present and undamaged. Read all installation instructions first and familiarize yourself
with the system’s components. This is extremely important because parts will become permanently damaged if
they are installed incorrectly! To help with identification, all parts are poly-bagged. This is to be used with the
IC464 General Installation Guide.
R42
7
1
corner splice plate (bend 90)
72.43
R135
R63
3
11
69.50
10
finish face
9
field cut
finish face
77.72
43.24
R54
2
R81
Bill of Materials (BOM) and
Reflected Ceiling Plan
6
R47
65.80
finish face
37.15
4
11
field cut
11
field cut
8
79.97
R49
65.80
field cut
37.15
5
142
11
field cut
Suspension Trim—Straight
(available in 2", 4", 6", 8" and 10" heights)
Suspension Trim – Curved
(available in 2", 4", 6", 8" and 10" heights)
Splice Plate Attachment Clips 90° Inside Corner
90° Outside Corner (12" x 12")
Outside corners are delivered with the
system as one piece, mitered and formed.
C
OMPÄSSO Elite Clip Installation 1. Install clip into lower boss (tracks of COMPÄSSO Elite)
and tighten screw.
C
OMPÄSSO ELITE trim
COMPÄSSO Elite Trim
COMPÄSSO ELITE
COMPÄSSO Elite
attachment clip
Attachment Clip
13/4" (height) tee
1-3/4" (height) tee
2. Align cut grid member on side of clip and fasten
with self-tapping screw.
Note: If grid clip occurs at a splice, remove the tab portion of the clip and use the same screw to attach to one of the two tapped holes in
the center of the splice. Slide splice left or right to suit.
Page 2
Tip Sheet
COMPÄSSO Elite Splice Plate When laying out the COMPÄSSO Elite Trim, use the same splice plate,
COMPÄSSO ELITE trim
but do not tighten the screws. When all is aligned and the grid is
measured, cut, and attached to the trim, insert splice plate and
permanently tighten the screws to secure.
OMPÄSSO ELITE splice plate
C
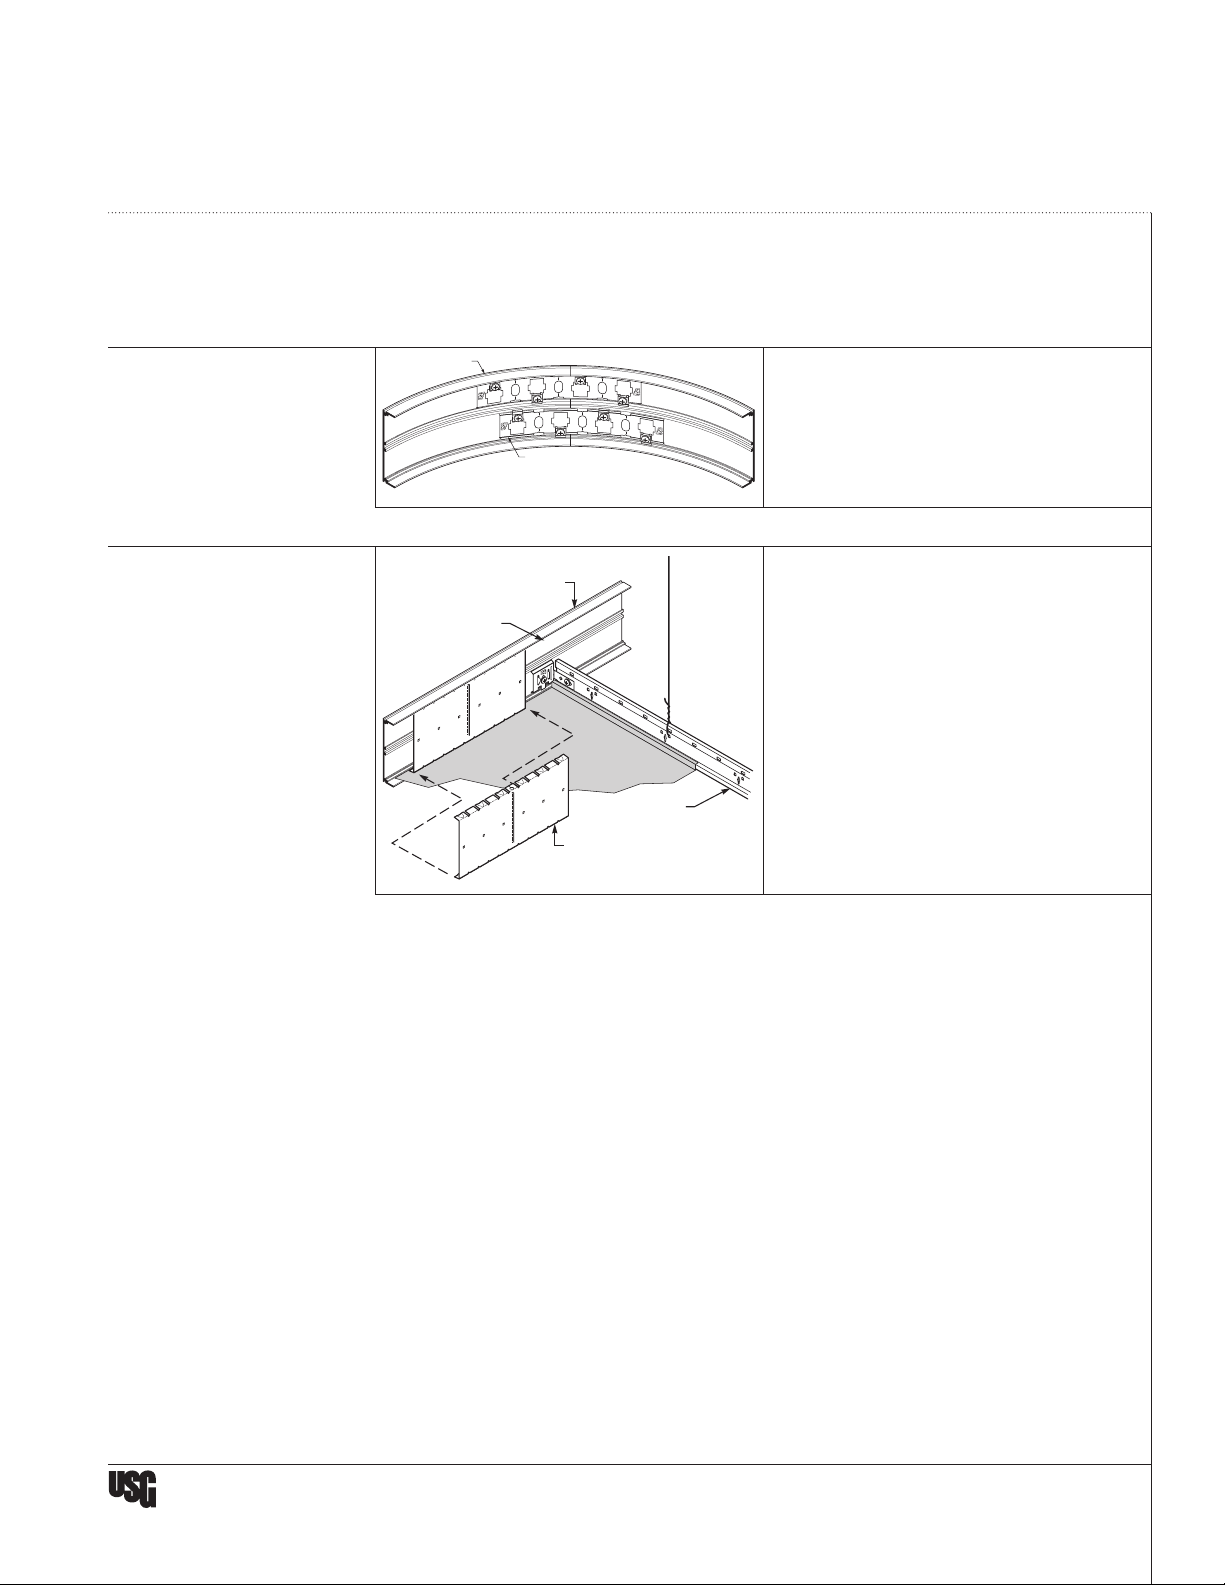
Metal Ceiling Panel Installation
with C
OMPÄSSO Elite
C
OMPÄSSO
C
OMPÄSSO
E
trim
LITE
Use the notched COMPÄSSO splice plates supplied to hold down cut
Celebration™ or Panz® panels at the perimeter as shown.
attachment clip
1
/2" (height) tee
1
C
OMPÄSSO
standard splice
(used as metal panel hold-down clip)
Technical Service
800 USG.4YOU
Website
usg.com
Samples/Literature
888 874.2450
Samples/Literature E-mail
samplit@usg.com
Samples/Literature/Fax
888 874.2348
Customer Service
800 950.3839
Note
All products described here may not be
available in all geographic markets and are
subject to change without notice. Consult
your local sales office or representative for
information.
Trademarks
The following are trademarks of USG
Interiors, Inc. or a related company:
Celebration, COMPÄSSO, Panz, USG, USG in
stylized letters.
Manufactured by USG Interiors, Inc.
550 West Adams Street
Chicago, IL 60661
Notice
We shall not be liable for incidental or
consequential damages, directly or
indirectly sustained, nor for any loss caused
by application of these goods not in
accordance with current printed instruction
or for other than intended use. Our liability
is expressly limited to replacement of
defective goods. Any claim shall be deemed
waived unless made in writing to us within
thirty (30) days from the date it was or
reasonably should have been discovered.
Safety First!
Follow good safety/industrial hygiene
practices during installation. Wear
appropriate personal protective equipment.
Read MSDS and literature before
specification and installation.
IC589/4-11
© 2011, USG Interiors, Inc.
Printed in U.S.A.
 Loading...