

Page 1
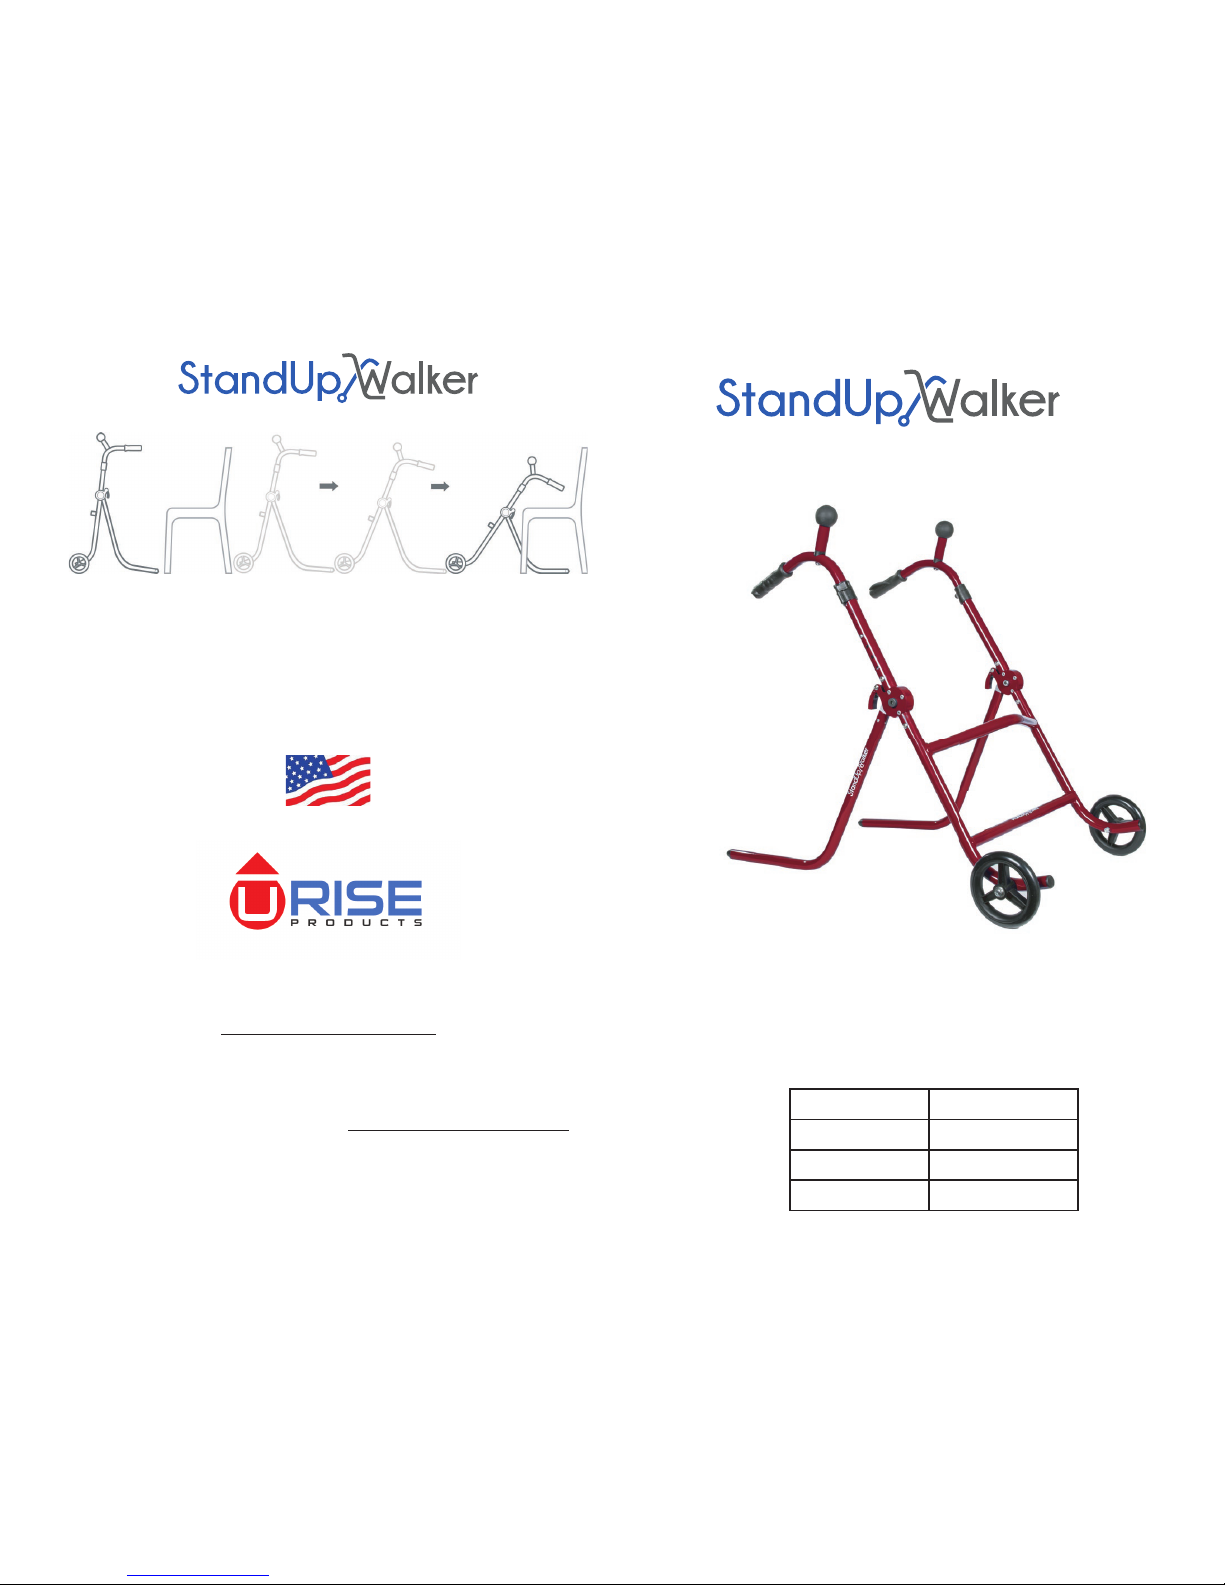
PRODUCT SPECIFICATIONS
This is a user guide for both the 18” width and 22” width
products. The 2 -in -1 Stand -Assist + Walker is designed
primarily for indoor use.
18” & 22” User Guide
.com
Weight Capacity
400 lbs.
Product Weight
10.5 lbs.
Size Options
18” W and 22” W
Frame Warranty
Limited Lifetime
StandUp Walker
• 2-in-1 Stand-Assist + Walker
• Weight capacity: 400 lbs
• 18” and 22” width options
• Height adjustable
To learn more about StandUp Walker, including warranty in-
formation, visit our website at www.StandUpWalker.com
Please read all instructions before use.
©2016 URise Products, LLC
URise Products, LLC
Charlotte, NC
Designed and Assembled in USA
www.URiseProducts.com
1-844-99-URise
Made in USA
Page 2
How to Fold the StandUp Walker
Step 1. Release the snap collar on each arm. Press the corre-
sponding push button and turn the telescoping arm so that the
handle is towards the middle of the frame. Then secure the snap
collar. This will keep the arms from rotating during
transport. Repeat with second arm.
Step 2. To fold the legs, turn the StandUp Walker sideways on its
frame. Push the button on the leg and rotate the leg 180
degrees to the corresponding hole location. Repeat with other
How to Fit the StandUp Walker
Step 1. When the user is standing,
adjust the height of the handles so that
they are ev
en with wrists of the user.
Step 2. To adjust the handle height,
unlock the snap collars, then press
the spring-loaded push button in and
adjust the height up or down.
Step 3. Once the arm has been properly
adjusted, be sure to secure the snap
collar for stability.
URise Products has created video tutorials that match the
descriptions below at www.StandUpWalker.com/use.
PRECAUTIONS:
Do no
t use on stairs, moving sidewalks or escalators.
BE AWARE OF OBJECTS AND OBSTRUCTIONS DURING USE.
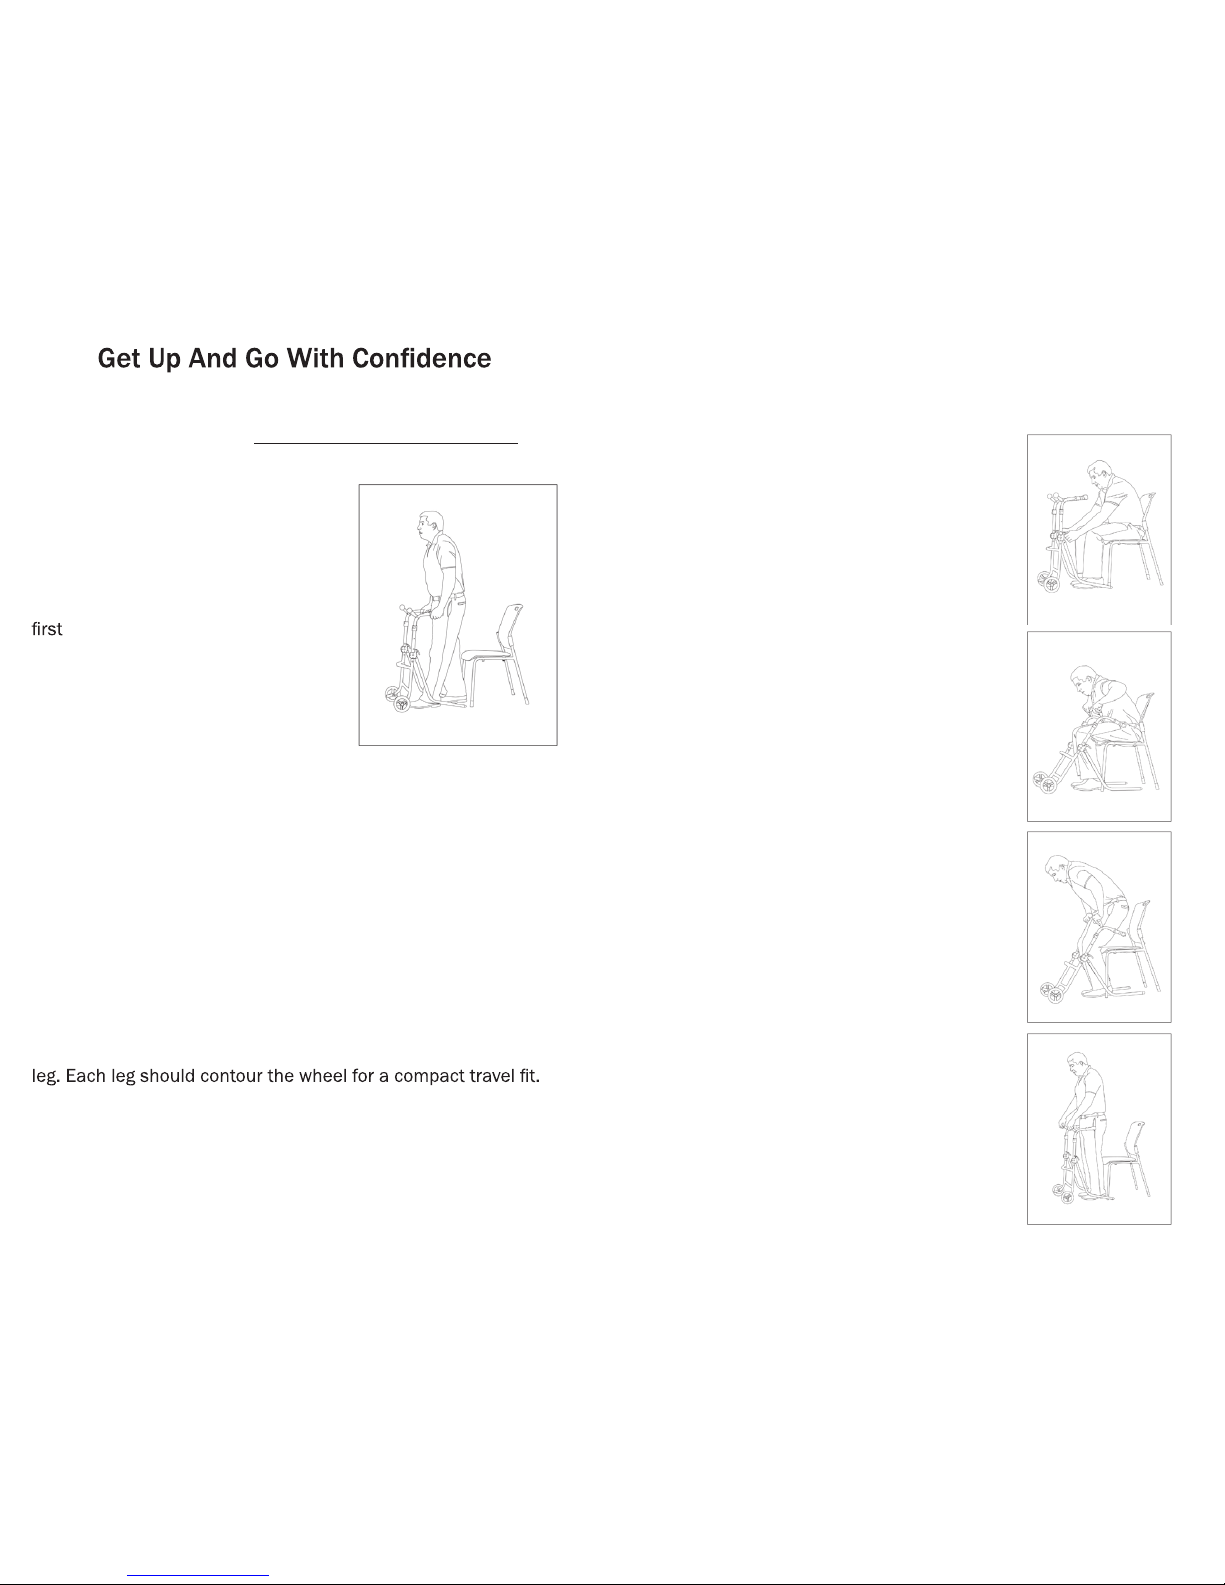
How to Use the StandUp Walker
While in a seated position, be sure the StandUp Walker is within
reach of the user.
Step 1. To engage for use, lift up on each
of the two levers in the middle of the unit
simultaneously to release the security
pins. The StandUp Walker will then drop
to the lower ergonomic position.
Step 2. Pull the walker as close as
possible so that the skis are positioned
under the seat. There are three different
hand positions: pistol, medium and the
recommended ball-joint grips.
Step 3. As the user rises, their weight can
be placed entirely on the StandUp
Walker.
Step 4: Once standing, lift the StandUp
Walker using the ball-joint grips attached
to the handles. The hinges will automatically secure when lifted into the standing position. Listen for the audible click
sound before engaging the StandUp
Walker for mobility.
 Loading...