

Page 1
Page 2
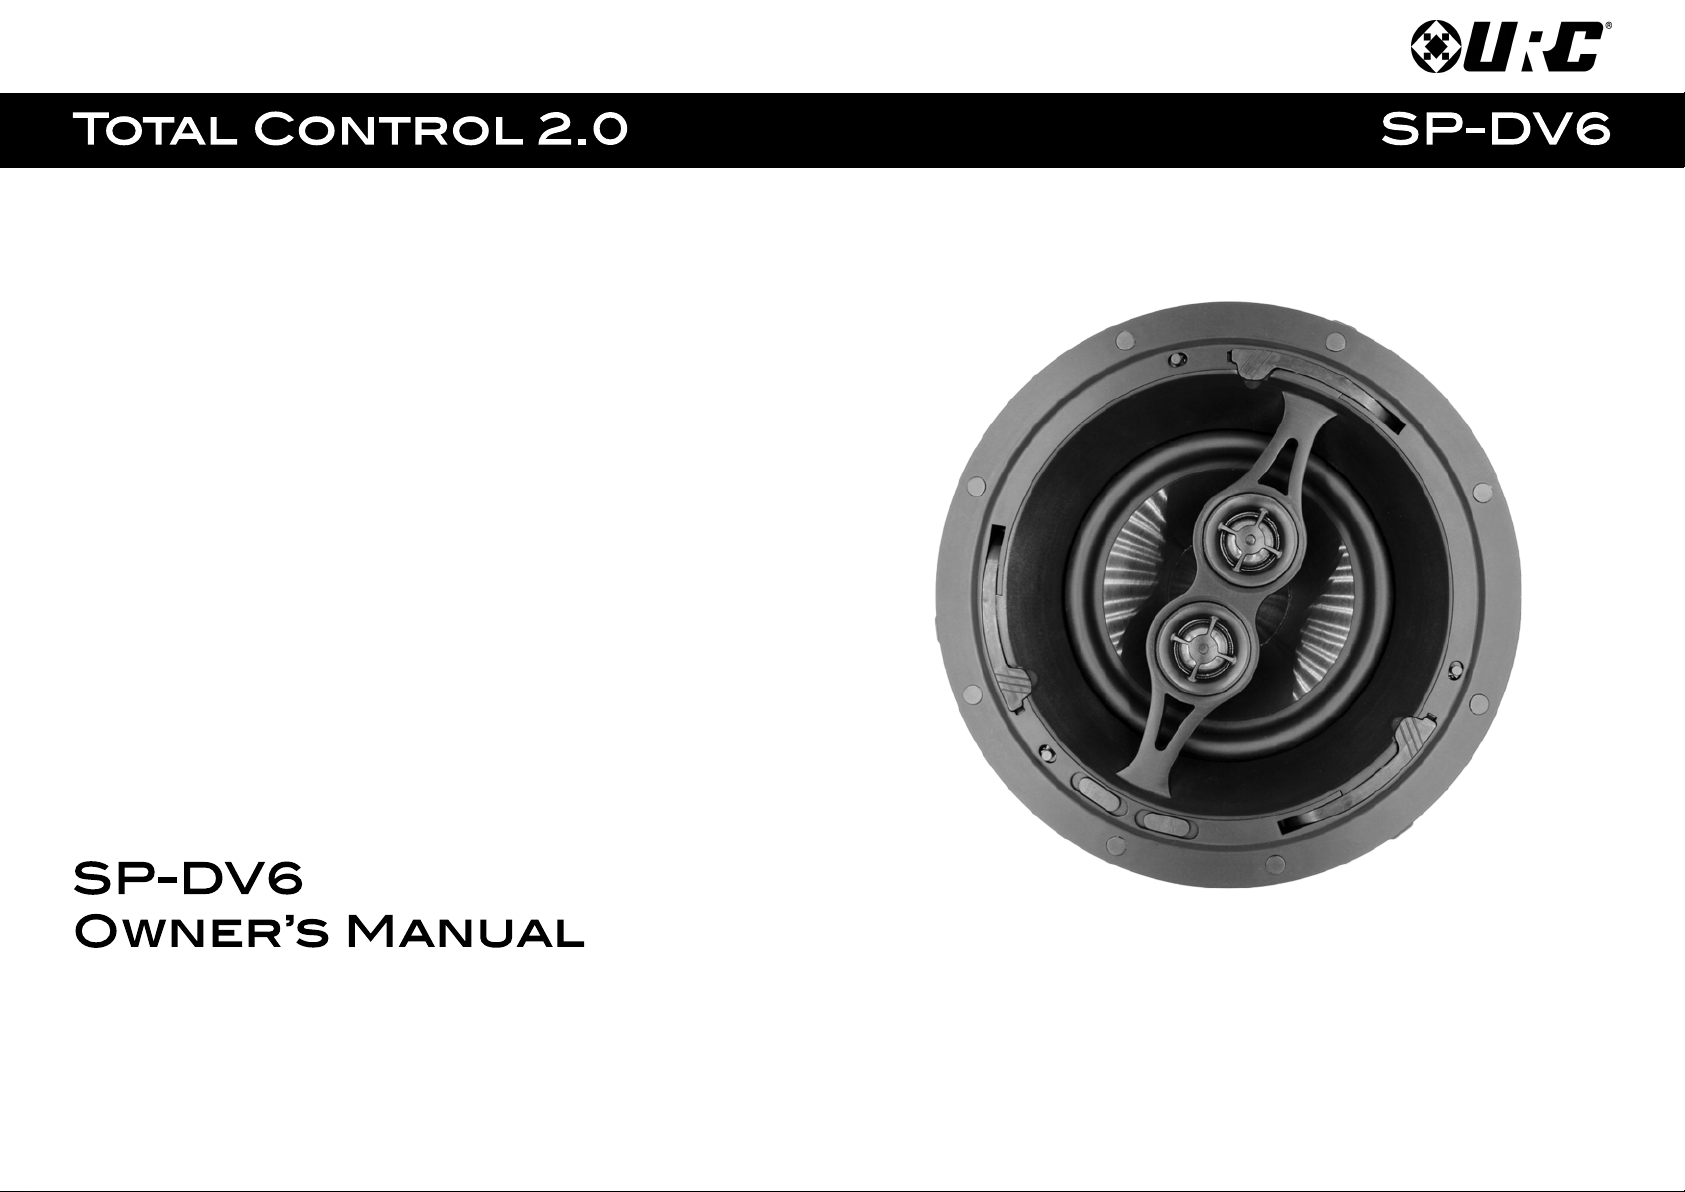
Overview:
Congratulations and thank you for your purchase of URC's architectural in-ceiling
speakers. You have embarked on a listening and style experience that brings enjoyment
to your home for years to come. The following instructions provide detailed procedures
for expert installation of URC's architectural speaker systems for maximum performance.
URC's architectural speakers have been carefully crafted for easy installation in a variety
of residential applications. By following this step-by-step process you will soon enjoy
the signature sound that is the hallmark of all URC's architectural audio products.
Preliminary Inspection:
Your URC's architectural speakers left our factory after rigorous manufacturing
process control and final quality inspection. Carefully unpack your new speakers and
inspect for any damage that may have occurred during shipment or subsequent
handling.
For best performance, we recommend you use at least 18 gauge speaker wire. For
new home construction, wiring will generally be done prior to the installation of wall
board and should already be in the desired location. For installation into existing
construction we recommend you consult an expert installer. Be sure to pull wires by
the most expedient and efficient route.
We have tried to make our installation guide as easy to follow as possible.
Please take a little time to become familiar with the contents to avoid unforeseen and
irritating mistakes.
1
Page 3
2
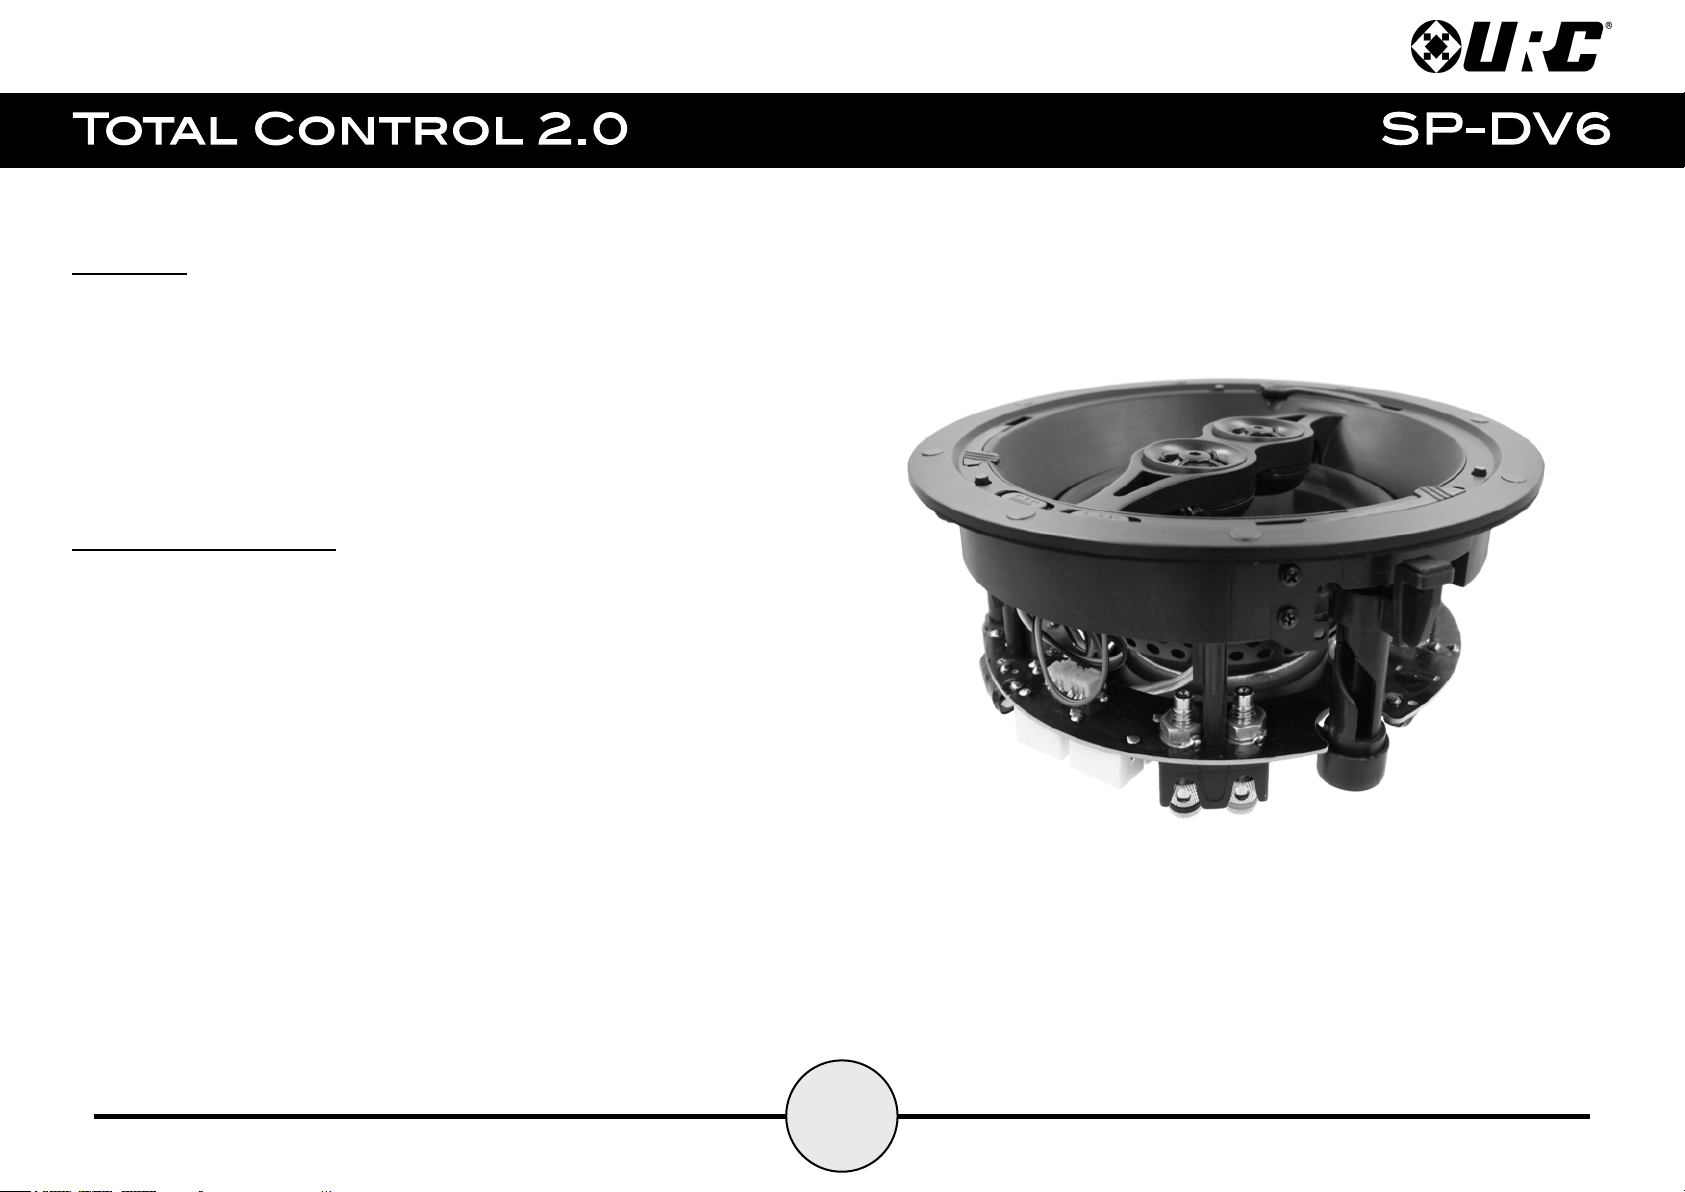
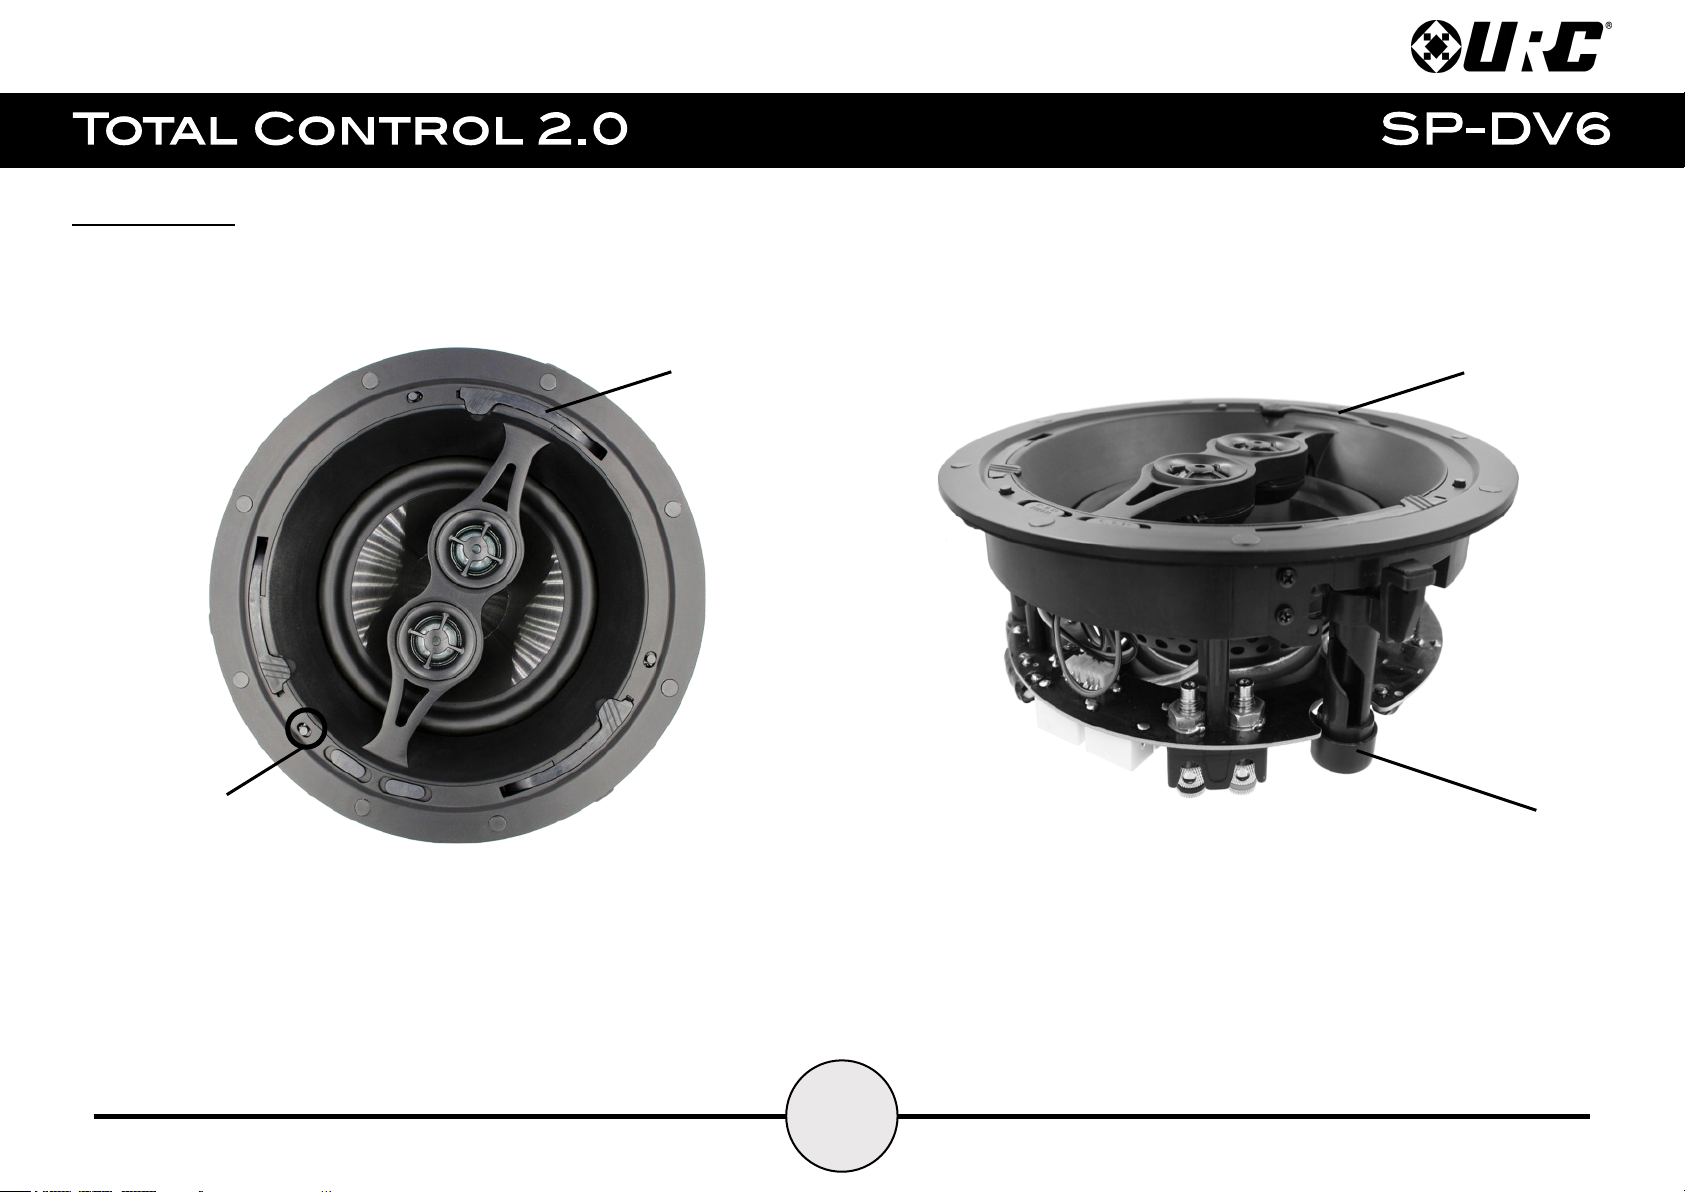
Clamp Design:
The SP-DV6 speakers use a clamping lock mechanism that makes installing them into
any ceiling quick and easy.
Release Mechanism
Locking Clamps
Locking Clamps
Dog Ears
Page 4
3
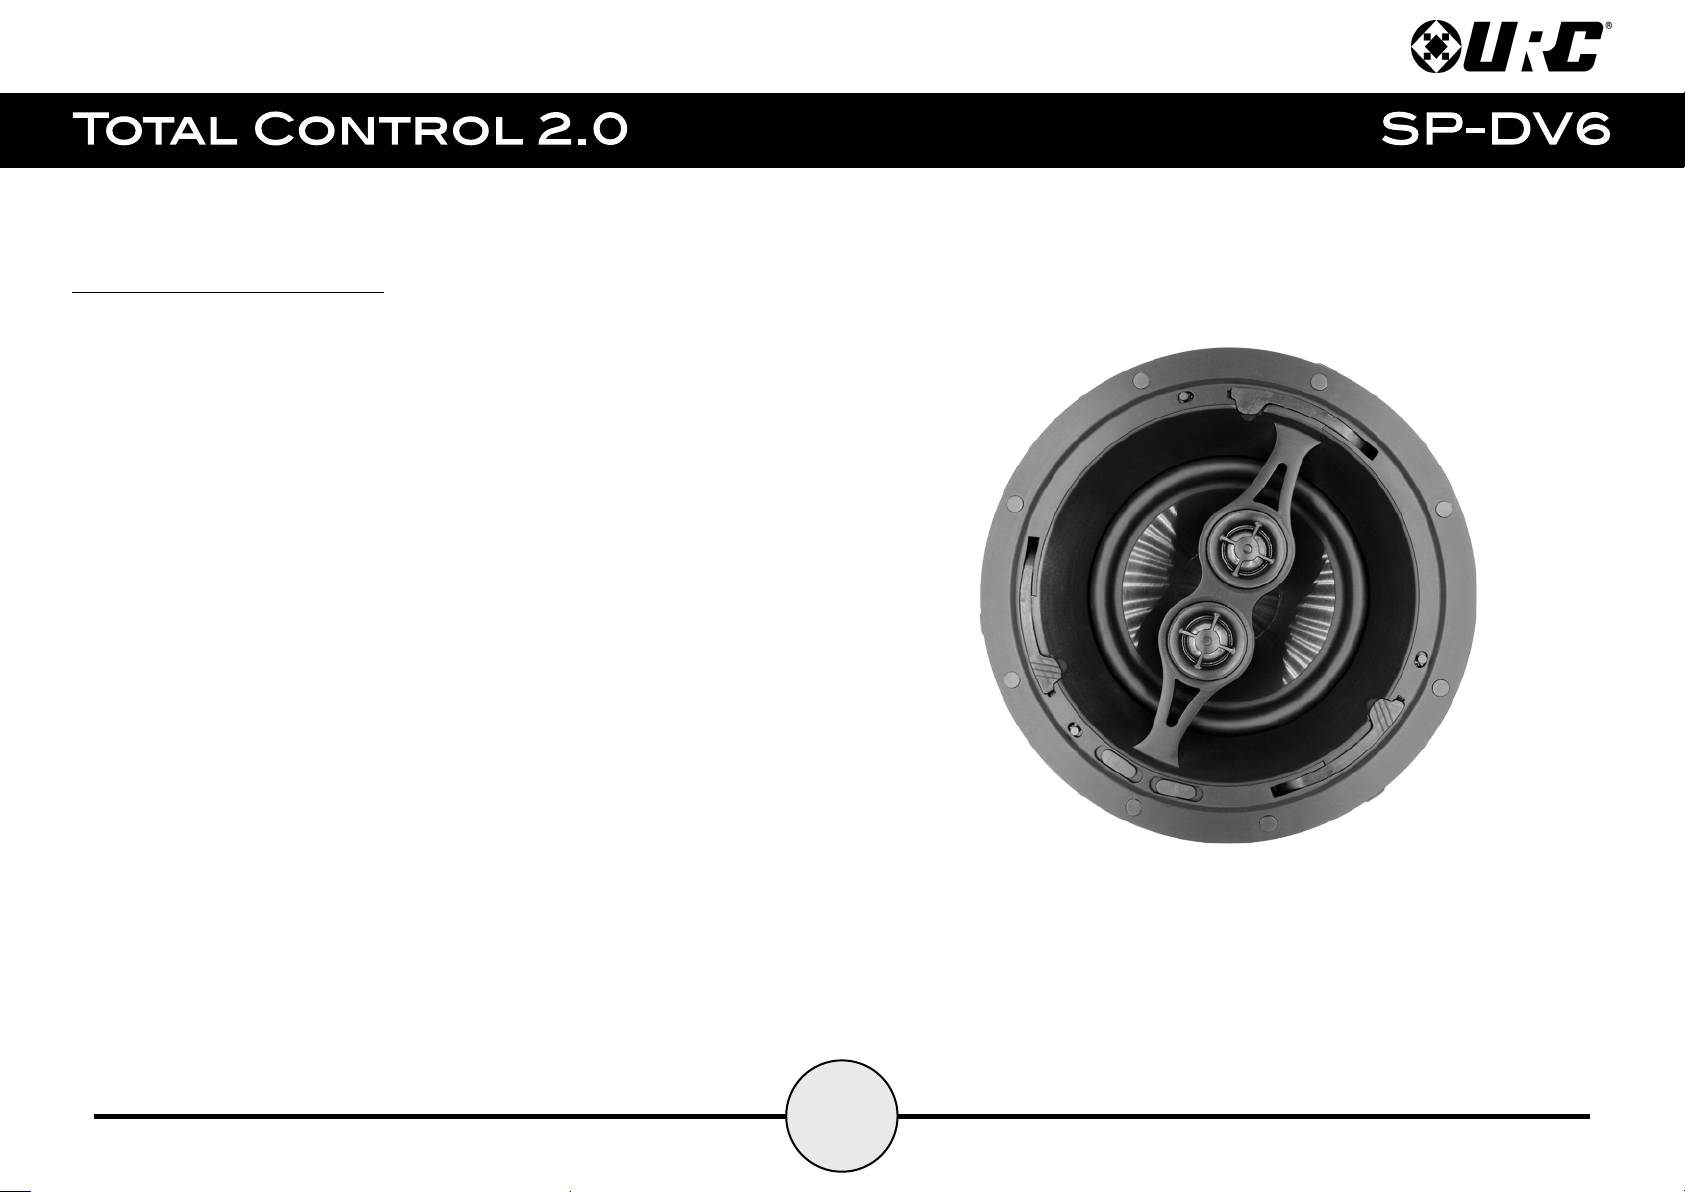
Optimum Speaker Location:
The SP-DV6 consists of dual tweeters with dual voice coils into a single speaker to
produce stereo sound. An excellent solution to deliver stereo audio into smaller rooms
(office space, study, kitchen, bathroom, etc.). Consider the room environment and
furniture placement while selecting your primary listening area.
Note: Before installing your speakers, make note of the locations of lighting fixtures,
electrical wiring, plumbing, HVAC ducting, or any other possible obstructions.
After you have selected the best speaker location, locate the framing studs or ceiling
joists. This is to avoid obstructions when making your speaker cut-outs. Each URC's
architectural in-ceiling speaker includes a cut-out template with an outline of the exact
hole size. Make a small hole near the center of your cut-out template. Check for any
possible interference before making the complete cut-out. If you find no obstructions,
cut out the entire speaker hole and check for insulation. If there is no insulation above
your speaker cut-out, we recommend placing a square of Dacron or fiberglass
dampening material above the speaker hole. Make sure any foil or paper backing is
facing away from the rear of the speaker.
Pivoting Tweeters:
● Point directly at the listening areas for a more direct sound source
● Reflect sound off hard surfaces for a more diffused sound field
Page 5

4
Final Installation:
Confirm that connecting wires are present at the speaker locations you’ve chosen.
You’re now ready for the final installation.
It is usually best to turn the speaker over (grill down) and securely hold the outer flange
for support. Then return the dog ears to their previous position so they are tight against
the frame and won’t interfere when pushing the speaker into the cut-out.
Make sure the dog ears are flush against the speaker frame so they will clear when
pushing the speaker into the cut-out hole and connecting the removable speaker plugs.
Hold the speaker securely near the cut-out hole and connect the positive and negative
wires, making sure to observe polarity – usually wiring will correspond in color to the
push terminals, red to red (+) and black to black (-).
When the connecting wires are secure, push the speaker into the cut-out until flush with
the ceiling surface, push the clamps down to tighten the dog ears to the ceiling. For
further instruction, refer to page 6. This will automatically rotates the dog ears away
from the frame and pulls them to the rear of the mounting surface.
Page 6

5
Painting & Cosmetics:
Always remove the speaker grill from the baffle for painting. It is best to paint the grill
when uninstalled to avoid excess paint in the perforated holes. Always remove the
(Dacron) scrim cloth before painting the grill. The (Dacron) scrim cloth inside the grill is
treated with a light adhesive for easy removal and replacement. Carefully peel it away
and replace it when your painted surface is fully dried.
Basic Level Control Adjustment:
URC's architectural in-ceiling speaker models include individual woofer and tweeter
SPL (volume) controls so you can adjust the balance of low and high frequencies to
best suit your individual listening area. We recommend setting the tweeter levels first
and then match them with the desired bass output.
If you are connecting more than one pair of speakers to your amplifier, we suggest
using the lower bass SPL position until you confirm your amplifier can handle the
additional power requirement.
High Frequency Adjustment:
Since high frequencies are directional, almost all URC's architectural in-ceiling speaker
models are equipped with adjustable, pivoting tweeters. While taking care not to
touch the tweeter domes, rotate the tweeter toward the primary listening area.
Mission Statement:
All URC's architectural speakers are designed with the latest acoustic and cosmetic
innovations. It is our policy to continually improve performance, mechanical function and
cosmetics and we reserve the right to change specifications to incorporate the latest
improvements at our discretion.
URC's architectural speaker products are guaranteed to meet or exceed the
specifications included in this manual and carry with them a lifetime limited
warranty under normal conditions of use. This warranty covers free parts and
labor on all components with the obligation that URC's will repair or replace any
component found defective in materials or workmanship. This warranty does not
apply to products that have been abused, incorrectly installed, modified,
disassembled and/or repaired by anyone other than URC or our appointed repair
facility. Products qualified under this warranty must be returned to the factory or
a service center designated by URC, with all transportation and insurance charges
pre-paid. Contact URC’s technical support team for RMA and instructions.
Once you have the tweeters positioned and speaker volume adjusted to your
preference, replace the grill securely so it is flush with the surrounding trim ring
and enjoy!
Page 7

6
Installation Instructions:
Prior to installing URC architectural speakers, assure that speaker wire has been run
from the equipment or volume control location to each potential speaker location:
1. Determine and select a location for each speaker.
Location Considerations:
Choose a location for each speaker that is free of any
obstructions created by joists, HVAC ductwork, electrical wire
runs, plumbing or anything else that might not allow for the
depth of the speaker or create interference or noise.
2. Mark the hole to cut out for the speaker using the supplied template. If
installing speakers near a side wall, remember to allow for the size of the
speaker bezel.
Template Diameter:
Page 8

7
3. Strip the insulation on each speaker wire approximately ¼” - ½”and insert into
the banana plug speaker terminal .
Confirm that the positive (+) and negative (-) lines are connected to the
appropriate location.
Assure that there are no loose wires protruding from the terminal.
4. Insert the banana plug connector to the speaker, observe proper polarity of each
banana plug (positive & negative).
Page 9

8
5. Insert the speaker into the ceiling.
6. Push the clamps into the speaker. This tightens the dog ears (page 2) and
locks the speaker in place.
Page 10

9
Removing the Speakers:
The clamp mechanism makes removing these speakers simple:
1. Locate the Release Switch on the front of the speaker, each clamp has a
Release Switch.
2. Flip down the Release Switch associated to each clamp. Then pull the clamp
away from the speaker, this pushes the dog ears away from the ceiling
loosening the speaker.
3. Carefully remove the speaker from the ceiling and remove the banana plug
connector.
Release Switch
Page 11

10
Speaker Specifications:
Speaker Type: In-ceiling, 2-way
Woofer: 6.5” injection polypropylene cone
Tweeters: Dual, ¾” silk, swivel
Power Handling: 5-100 watts
Impedance: 8 ohms
Frequency Response: 50-20KHz
Sensitivity: 91dB
EQ Adjustments: Tweeter & woofer -3, 0, +3
Grill Type: Micromesh, Iron
Finish Dimensions: 9.45” (240mm) diameter, 3.98” (101mm) depth
Cutout Dimension: 8.15” (207mm)
Page 12

Limitation of Liability:
A. IN NO EVENT WILL URC BE LIABLE FOR ANY DAMAGES RELATING TO THE DEALER’S OR ANY OTHER PARTY’S FAILURE TO PERFORM ITS RESPONSIBILITIES.
B. THE LIABILITY OF URC, IF ANY, FOR DAMAGES FOR ANY CLAIMS OF ANY KIND WHATSOEVER AND REGARDLESS OF THE LEGAL THEORY WITH REGARD TO ANY
ORDER PLACED BY THE DEALER HEREUNDER, REGARDLESS OF THE DELIVERY OR NON-DELIVERY OF SUCH PRODUCTS, OR WITH RESPECT TO THE PRODUCTS
COVERED HEREBY, SHALL NOT BE GREATER THAN THE ACTUAL PURCHASE PRICE OF PRODUCTS WITH RESPECT TO WHICH SUCH CLAIM IS MADE. UNDER NO
CIRCUMSTANCES SHALL URC BE LIABLE TO THE DEALER FOR COMPENSATION, REIMBURSEMENT OR DAMAGE ON ACCOUNT OF THE LOSS OF PRESENT OR
PROSPECTIVE PROFITS, EXPENDITURES, INVESTMENTS OR COMMITMENTS, WHETHER IN THE ESTABLISHMENT, DEVELOPMENT OR MAINTENANCE OF BUSINESS
REPUTATION OR GOODWILL.
C. IN NO EVENT WILL URC BE LIABLE FOR (I) ANY INCIDENTAL, INDIRECT, SPECIAL OR CONSEQUENTIAL DAMAGES INCLUDING LOSS OF: USE, REVENUES, PROFITS, OR
SAVINGS, EVEN IF URC KNEW OR SHOULD HAVE KNOWN OF THE POSSIBILITY OF SUCH DAMAGES, OR (II) CLAIMS, DEMANDS OR ACTIONS AGAINST THE DEALER
BY ANY PERSON.
D. In no event shall URC be liable for any errors or omissions of the Dealer or any other third party.
E. In no event shall URC be liable to any counterparty with the Dealer.
F. In no event shall URC be liable to the end user of the Products.
G. In no event shall URC be liable for any events beyond its control.
11
 Loading...