

Installation Guide
HotLok® Rack Airow Management Kit
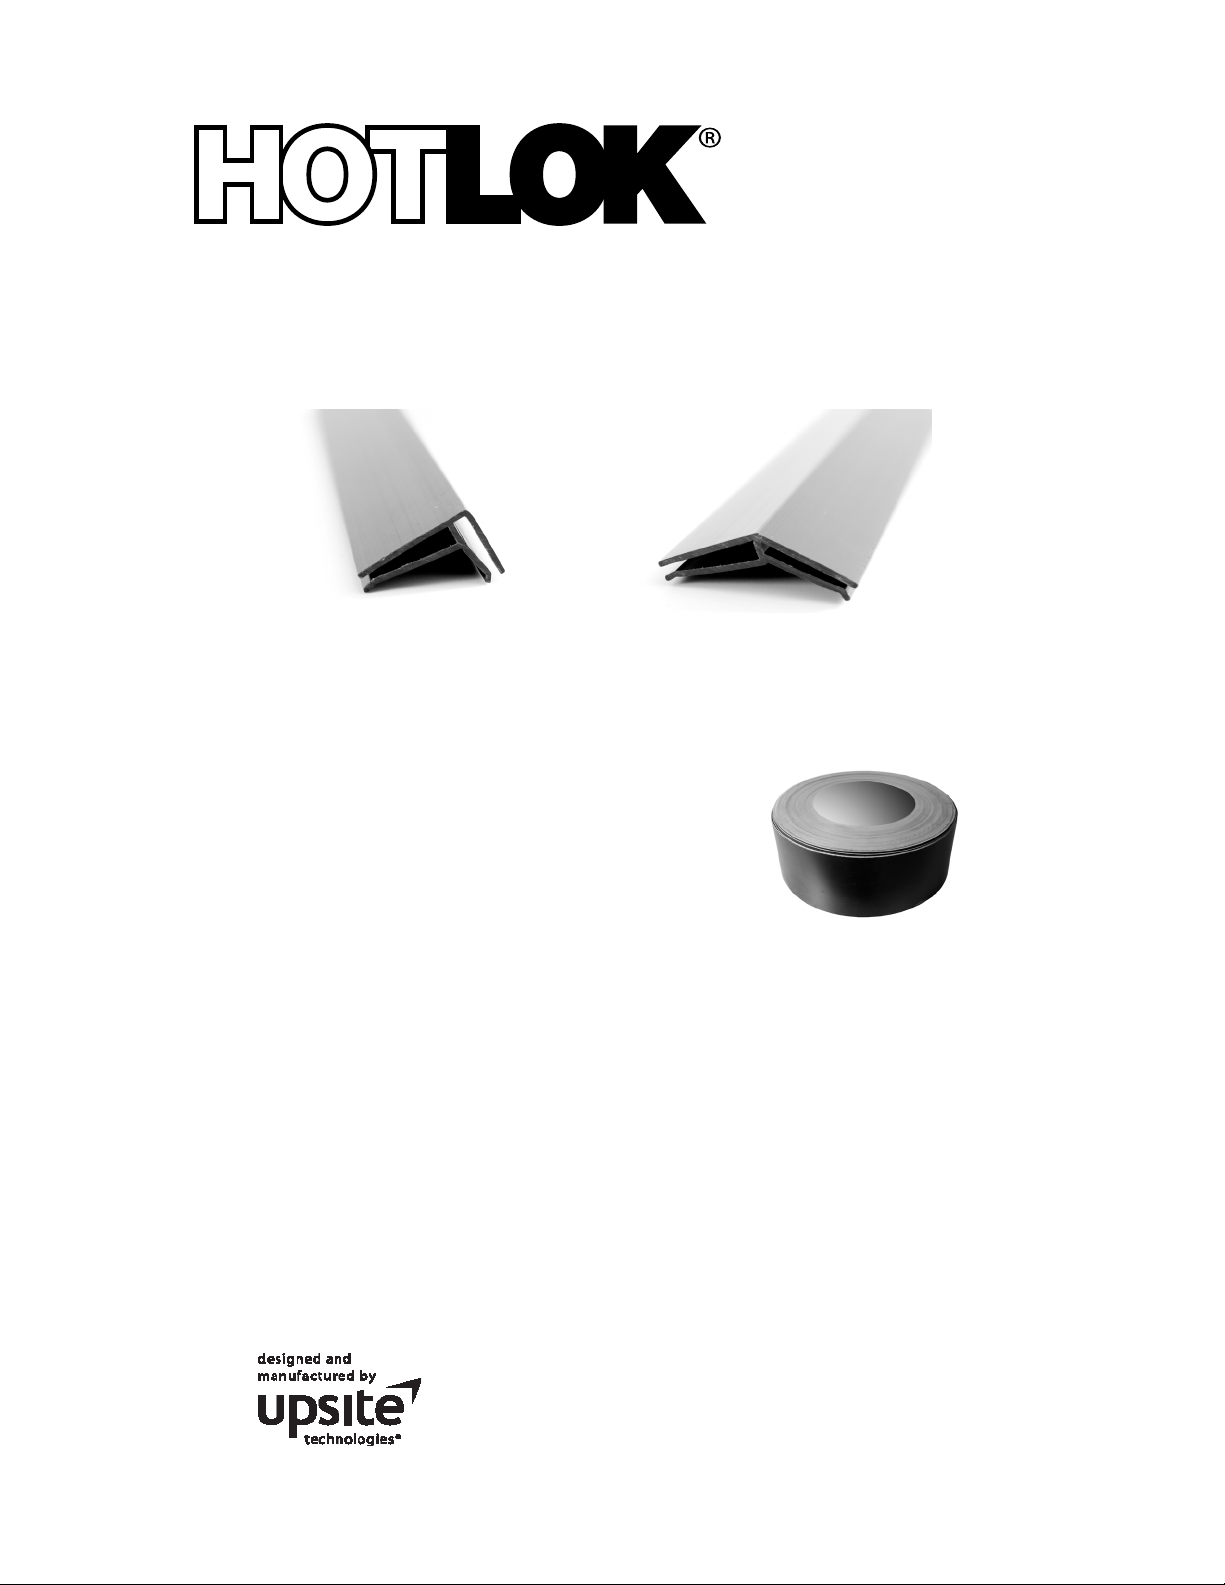
Mounting Extrusion Part Numbers
90°Profile @ 105’ - 10132 45°Profile @ 105’ - 10134
90º Prole - Part No. 10132 45º Prole - Part No. 10134
Sealing Membrane Part Numbers
2.5” Wide Roll @ 100’ - 10139
4.0” Wide Roll @ 100’ - 10140
5.5” Wide Roll @ 100’ - 10141
2.5” Roll @ 100’ - Part No. 10139 4” Roll @ 100’ - Part No. 10140
5.5” Roll @ 100’ - Part No. 10141
Table of Contents
Tools Required for Installation Page 2
Installation Procedures Page 3-4
General Information Page 5
Safety Information Page 5
Warranty Page 6
Each kit contains the following items:
Mounting Extrusions (15)
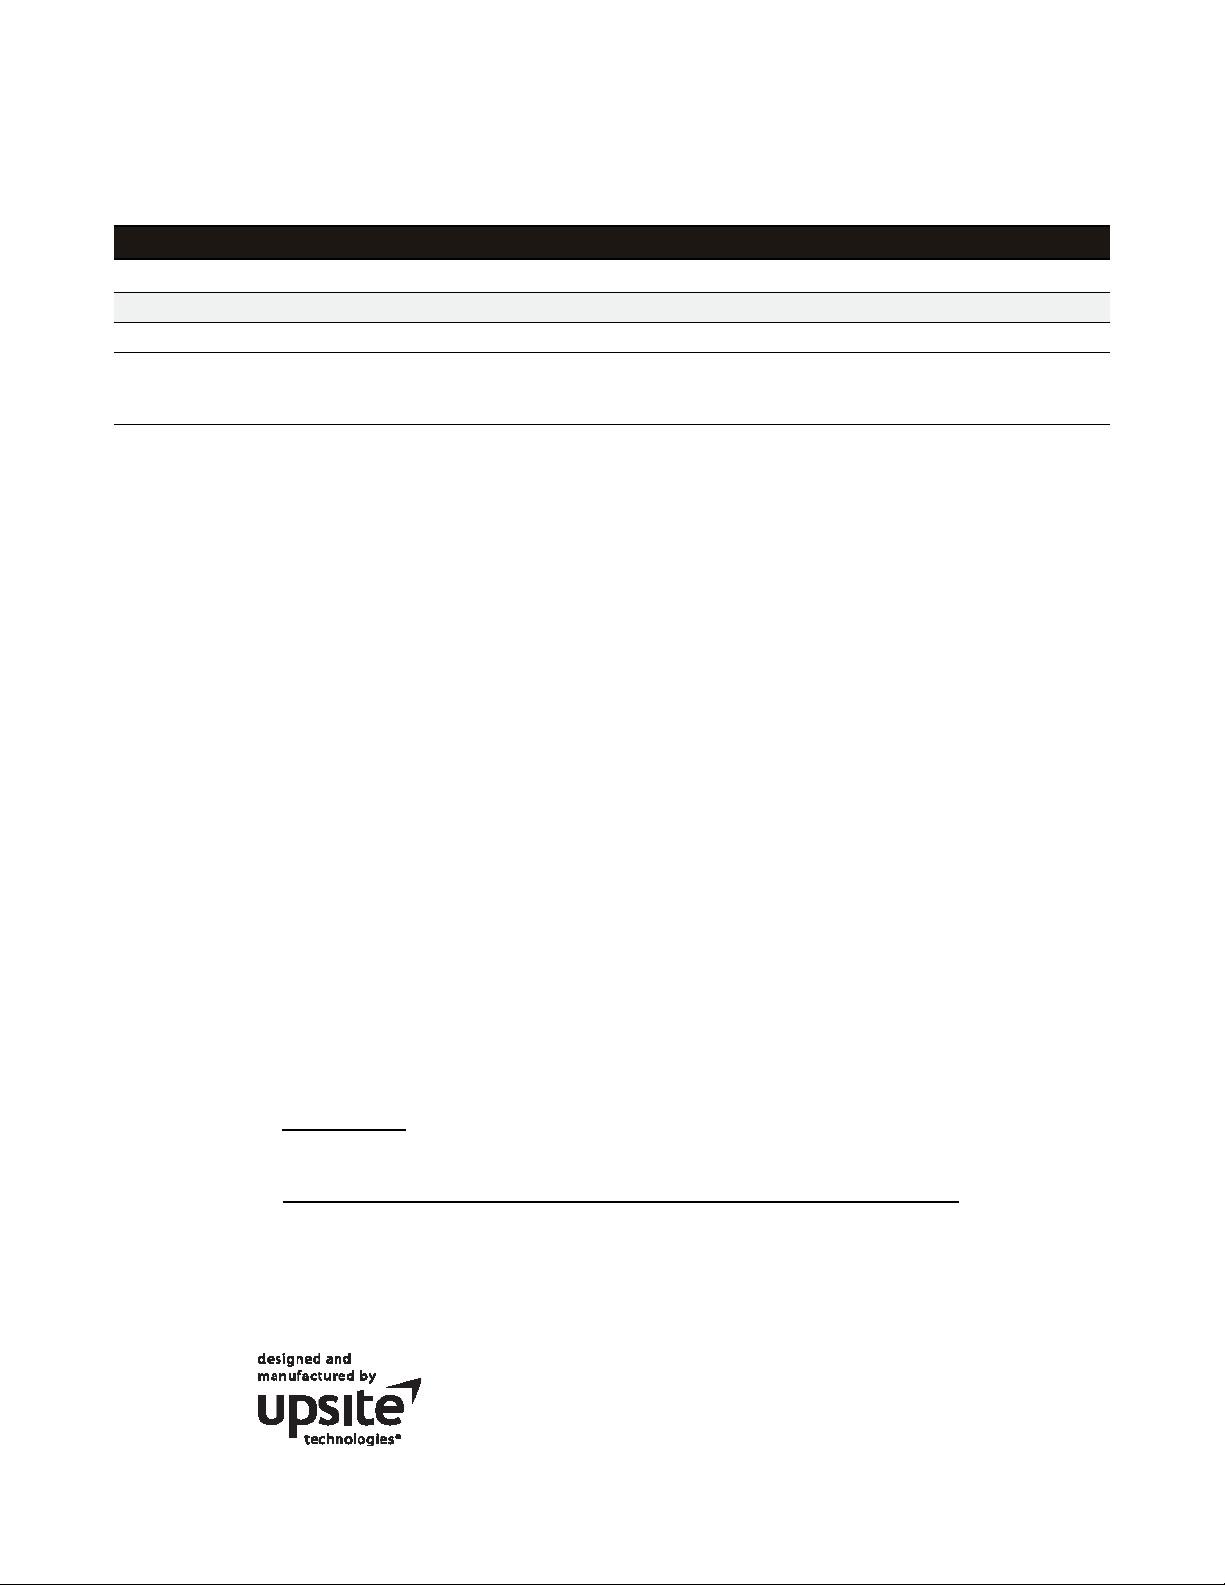
Roll of Sealing Membrane 100 feet in length (1)
Roll of 3M
TM
double sided adhesive (1)
888.982.7800
www.upsite.com
1
Installation Guide
HotLok® Rack Airow Management Kit
Proles - Mounting Extrusion Proles - Sealing Membrane
Part No. 10132 90
Part No. 10134 45
Note: 105 feet (32m) of Prole is provided in fteen 7 foot (2.1m) long pieces. Sealing panel material is provided in the
selected width (2.5”, 4.0” or 5.5”) in a single 100 foot (30.5m) long roll. Extrusion Prole and Sealing Membrane sold
separately.
º Profile @ 105’
º Profile @ 105’
Tools Required for Installation
• For cutting the Mounting Extrusions, you will need a chop saw, miter saw, tin snips or other cutting
instrument
• For cutting the sealing membrane, you will need scissors, box cutter or a sharp blade
• Tape measure
Preparation Required For Installation
1. Determine the best method to customize your data rack.
Part No. 10139 2.5” Wide Roll @ 100’
Part No. 10140 4.0” Wide Roll @ 100’
Part No. 10141 5.5” Wide Roll @ 100’
a. No external lip will require internal installation of Mounting Extrusions to the inside panel
or side wall of the rack system using the supplied double sided adhesive.
b. External “lip” on the rack system allows for clip-on method to the extended or protruding
area on the rack.
2. For the Mounting Extrusions, use the tape measure to take measurements for the internal/exter-
nal area where the mounting extrusions will be placed (sides, top and bottom of rack). Measure
around any obstacles, mounting brackets or interferences, as you will place Mounting Extrusions
around these on the rack systems.
3. Cut the Mounting Extrusions to your size specications.
4. For the Sealing Membrane, measure the area where the Membrane will be placed.
a. Special Note: Measure the length, top and bottom and add 1/2 to 1 inch to measurement
for extra material. The corner areas will be addressed in the installation.
b. Cut out any special notches, customized to your rack system as needed.
888.982.7800
www.upsite.com
2

Installation Guide
HotLok® Rack Airow Management Kit
Installation Procedures
The HotLok® Rack Airow Management Kit ts most rack congura-
tions based upon your measurements taken during the preparation
directions. The design is to be easy for removal and reuse as needed
for your rack systems.
Surface for
Adhesive
1. Clean rack surface to be free of dust, lint or dirt particles where
the Mounting Extrusions will be installed. This is especially critical
when using the adhesive material, as any dirt or debris will impact
the adhesive.
a. Use an alcohol wipe or a clean cotton cloth, damp with a
solution of at least 50% isopropyl alcohol.
i.Helpful Hint: When choosing your cleaning cloth,
do not use fabric or paper that will disintegrate or
leave particles that could interfere with the adhe-
sive.
2. Install the Mounting Extrusion
a. External clip-on method:
i. Install each piece that is cut on the “lip” of the
rack using the proper clip.
Special Note: See Figures 1 and 2 for the
proper retention clip to use for the rack and
for the Sealing Membrane.
b. For adhesive (inside of the rack method):
i. Attach the adhesive to the Rack Lip Retention Clip
face (see Figures 1 and 2) but leave the adhesive
backing on until the product is ready to install.
ii. When ready to install, peel off the backing and
place inside of your rack system.
Helpful Hint: Press rmly along the full
length of the extrusion to secure in place
Sealing Membrane
Retention Clip
Sealing Membrane
Retention Clip
Rack “Lip”
Retention Clip
(gure 1)
Surface for
Adhesive
Rack “Lip”
Retention Clip
(gure 2)
888.982.7800
www.upsite.com
3

Installation Guide
HotLok® Rack Airow Management Kit
Installation Procedures
3. Sealing Membrane installation for both internal and external Mounting Extrusions.
a. Start the sealing membrane into the retention clip using one corner and then press along the length of the
mounting extrusion to insert the full length of the membrane.
i. Helpful Hint: Take small sections at a time to help push into the extrusion
ii: Alternate Assembly: The Sealing Membrane can be inserted into the Mounting Extrusion before plac-
ing inside of the cabinet. This may require good spacing of the Mounting Extrusions on the sealing membrane.
b. The Sealing Membrane should rest ush with the rack system, with no gaps, to minimize airow inside of the
rack system.
c. If your Sealing Membrane is not sitting ush due to an obtrusion, obstacle and/or notch, it may be helpful to
cut the membrane around the obstruction or attempt to work out the “kinks” by repositioning the Sealing Membrane in
the Mounting Extrusion. Additionally, the double sided adhesive can be used to secure the membrane to adjacent parts.
888.982.7800
www.upsite.com
4

Installation Guide
HotLok® Rack Airow Management Kit
General Information
The maintenance of the manufacturers’ guidelines for proper cooling may result in the overheating of equip-
ment. Before minimizing rack airow, ensure proper airow to the intake side of your computer equipment or
cabinets is feasible through the use of devices such as perforated oor tiles. Achieving proper airow to the
intake side of the computer equipment and or cabinets is the responsibility of the customer.
Safety Requirements
Installers must be familiar with standard safety and risk management practices when working in raised oor
environments and when modifying racks and cabinets.
Customer Support
If you have any questions, please
contact us at 505-982-7800
Monday – Friday, 7AM–4PM MT
Email us at info@upsite.com
Patents Pending | P/N 60239 Rev. A © 2012
Upsite Technologies, Inc.
4900 Lang Avenue NE, Suite 204
Albuquerque, NM 87109
888.982.7800
www.upsite.com
5

Limited Warranty
HotLok® Rack Airow Management Kit
Upsite Technologies, Inc. (the Company) warrants to the original purchaser that products delivered hereunder will be free
of defects in materials and workmanship for a period of twelve (12) months from the date of purchase (the “Warranty
Period”).
The Company shall, at its option, within the Warranty Period, either repair or replace free of charge, any product or part
thereof found, upon the Company’s inspection, to be defective in materials and workmanship, and will return the repaired
or replaced product to the purchaser at Company’s expense.
For warranty service and shipping instructions, contact the Company at the telephone number shown below. If the product
is under warranty and the defect appears to be covered by this Limited Warranty, the Company will issue to the purchaser
a Notice of Authorization For Warranty Return. Products returned to the Company for warranty service must be accompanied by a statement of defect, the Notice of Authorization for Warranty Return provided by the Company, and proof of
purchase.
This Limited Warranty is conditioned on the following:
1. The Company must be notied within 12 months of purchase and have been given the opportunity of inspection by
return of any alleged defective product free and clear of all liens and encumbrances to the Company or its manufacturer; and
2. The product must not have been abused, misused, or improperly maintained, and/or repaired during such period; and
3. Such defect has not been caused by corrosion or exposure to other than ordinary wear and tear.
4. The installation and use of the product has been accordance with the manufacturer’s instructions and has not been
modied or customized to include but not limited to cut, resized, burned, glued, bent, re-shaped, disassembled, attachments added to, improperly installed or used in a manner other than intended.
The company makes no other express or implied warranty or representation of any kind whatsoever including any
warranty of merchantability or tness for a particular purpose and all such other warranties are hereby included.
The Company’s maximum liability hereunder is limited to the purchase price of the product. In no event shall the Company be liable for any consequential, indirect, incidental, or special damages of any nature arising from the sale or use of
the product, whether based in contract, tort, strict liability, or otherwise.
Note: Some jurisdictions do not allow limitations on incidental or consequential damages or how long an implied warranty
lasts, so that the above limitations may not fully apply. This warranty gives specic legal rights and you may also have
other rights which may vary from jurisdiction to jurisdiction.
For complete warranty and repair information Call (888) 982-7800 or visit upsite.com
888.982.7800
www.upsite.com
6
 Loading...