

Page 1
Page 2
Q50
Nevo
provides fully-customizable control of all of your home theater
devices. Its touch-sensitive screen is software-based, so your installer/
integrator can include just those controls you actually use.
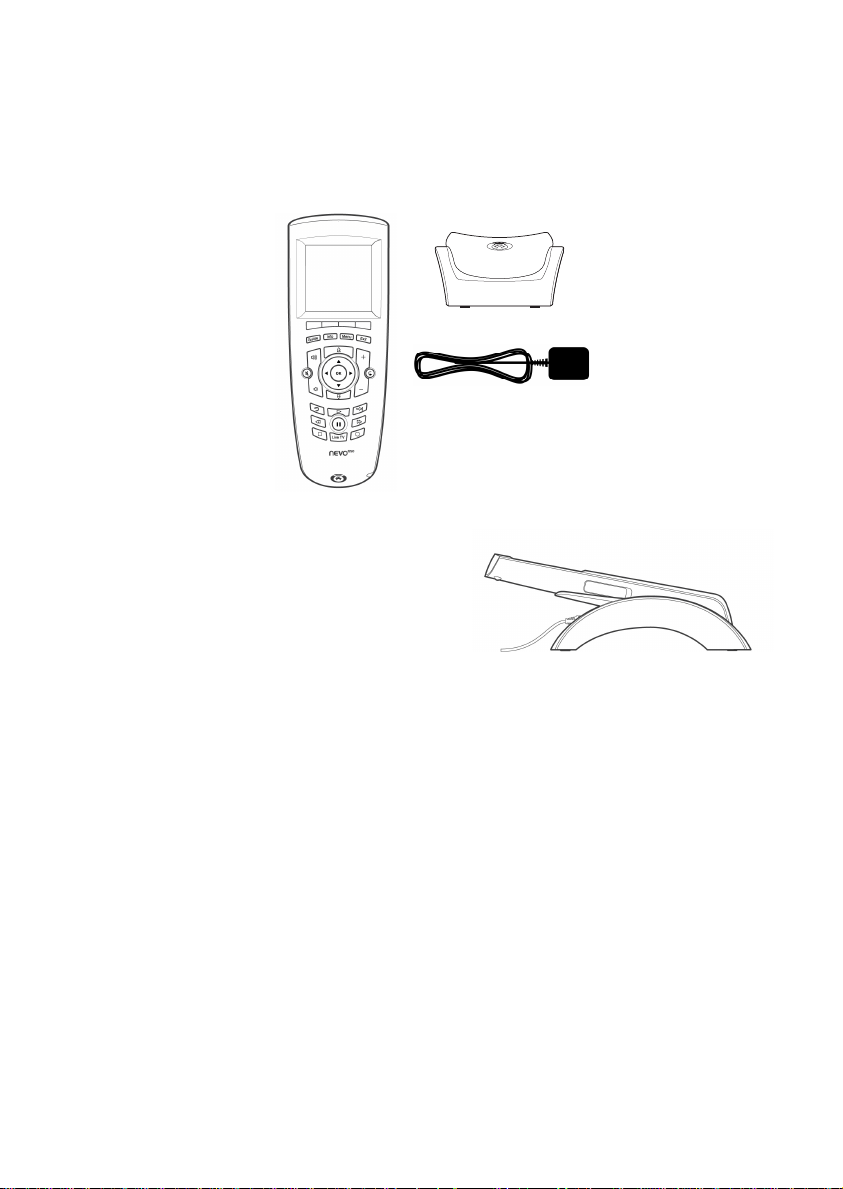
Before You Use Nevo
Please ensure your Nevo
Q50
Nevo
To charge your Nevo
Universal
Controller
Q50
:
Q50
Q50
is fully charged before use.
Charging Cradle
AC Power
Adapter; varies
by country
1. Connect the power adapter to the
charging cradle and plug the adapter
into a wall outlet.
2. Power on and dock Nevo
Q50
to begin
charging the battery. If it has not
already been charged, it will take 3-4 hours to fully charge the battery the
first time.
Recharging Nevo
Q50
Nevo
has a built-in Lithium-ion rechargeable battery. Nevo
Q50
Q50
beeps and
displays a warning message when the battery is running low. You should dock
Q50
Nevo
at this time to charge the battery
.
You can dismiss the warning message by clicking OK; if you do so and the
battery power becomes critically low,
critical low battery warning message. You cannot dismiss this message and
should dock Nevo
To do c k Ne v o
Q50
immediately.
Q50
, simply set the controller in the charging cradle. When it
Nevo
Q50
will beep and display a
is correctly docked, the blue light will appear on the bottom of the remote.
About Battery Life
As with all battery-operated devices, battery life will vary depending on
use. It is a good practice to keep Nevo
Q50
in its charging cradle when you
are not using it.
Page 3

Getting to Know Nevo
Q50
Nevo
offers the following types of controls:
Q50
Touchscreen: To use the touchscreen, gently touch the buttons that appear
on it. If you prefer, slide the stylus from its storage port on the bottom of
Q50
Nevo
:
Using the stylus, gently tap buttons on
the touchscreen to control your home
theater and home automation devices.
You may prefer to always use the stylus
when you are configuring settings. Talk
Stylus
with your installer/integrator for more
information on these settings.
Q50
Nevo
Nevo
Keys: The keys on
Q50
have been customized
Function
Keys
to your preference by your
installer/integrator. An
additional set of unlabeled
keys (function keys) appear
immediately below the
Hard
Keys
touchscreen, above the hard
buttons. A label appears on the
touchscreen above them to
indicate the functions assigned
to those keys.
LEFT SIDE
BACK
RIGHT SIDE
On/Off Switch
up=ON
down=OFF
USB Port
Reset
Button
Toggle Wheel
Programmable
Home Key
Move the toggle wheel up and down to move between the screens. Press the
toggle wheel in to return to the first page of the current page collection.
Note: The On/Off Switch must be moved completely into the up or down
position to turn Nevo
Q50
on or off.
Page 4

Caring for Nevo
Use only the stylus to switch Nevo
C
lean your remote with a soft, damp cloth using a gentle, non-caustic cleaner
Q50
Q50
on or off. Avoid using sharp objects.
CAUTION:Do not use a caustic or abrasive cleaner. This may damage the
surface of your controller.
.
For more information, contact
your installer/integrator:
Installer/integrator: attach your
business card or business
sticker here.
NOTICE:
trademarks or trademarks of Universal Electronics Inc., in the United States and/or other
countries. Other product and company names may be trademarks of their respective
companies.
Nevo, NevoStudio, Nevo
Q50
, NevoStudio Pro and NevoConnect are registered
FCC NOTICE: This equipment has been tested and found to comply with the limits for a class B
digital device, pursuant to part 15 of the FCC Rules. These limits are designed to provide a reasonable protection against harmful interference in a residential installation. This equipment generates, uses, and can radiate radio frequency energy, and if not installed and used in accordance with
the instructions, may cause harmful interference to radio communications.
However, there is no guarantee that interference will not occur in a particular installation. If this
equipment does cause harmful interference to radio or television reception, which can be determined by turning the equipment off and on, the user is encouraged to try to correct the interference
by one or more of the following measures:
• Reorient or relocate the receiving antenna.
• Increase the separation between the equipment and receiver.
• Connect the equipment into an outlet or a circuit different from that to which the receiver is
connected.
• Consult the dealer or an experienced radio/TV technician for help
Operation is subject to the following two conditions: (1) this product may not cause harmful interference, and (2) this product must accept any interference received, including interference that
may cause undesired operation.
This equipment has been verified to comply with the limits for a class B computing device, pursuant to FCC Rules. In order to maintain compliance with FCC regulations, shielded cables must be
used with this equipment. Operation with non-approved equipment or unshielded cables is likely
to result in interference to radio and TV reception. The user is cautioned that changes and modifications made to the equipment without the approval of the manufacturer could void the user’s
authority to operate this equipment.
FCC ID: MG362400
IC ID: 2575A-URC6240
Copyright © 2007 Universal Electronics Inc
All rights reserved.
Docu men t ve rsion NQ50QGP101007
Page 5

Corporate Headquarters
Universal Electronics
6101 Gateway Drive
Cypress, CA 90630-4841
www.uei.com
International Headquarters
Universal Electronics
Institutenweg 21
7521 PH Enschede
The Netherlands
www.uei.com
 Loading...